Desserts
Breakfast
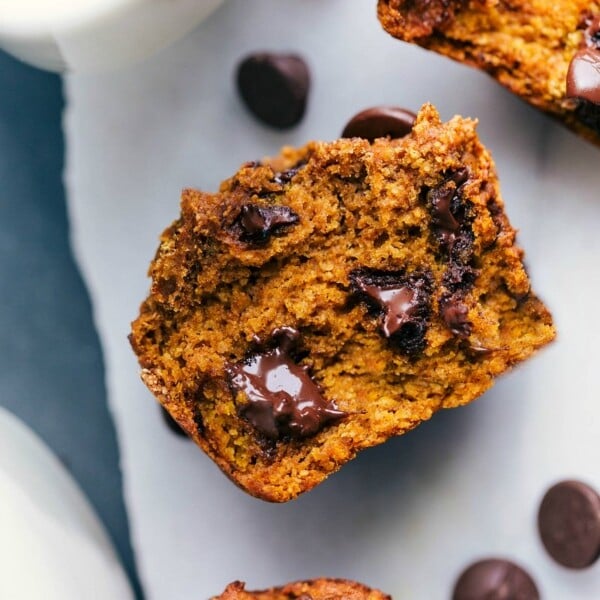
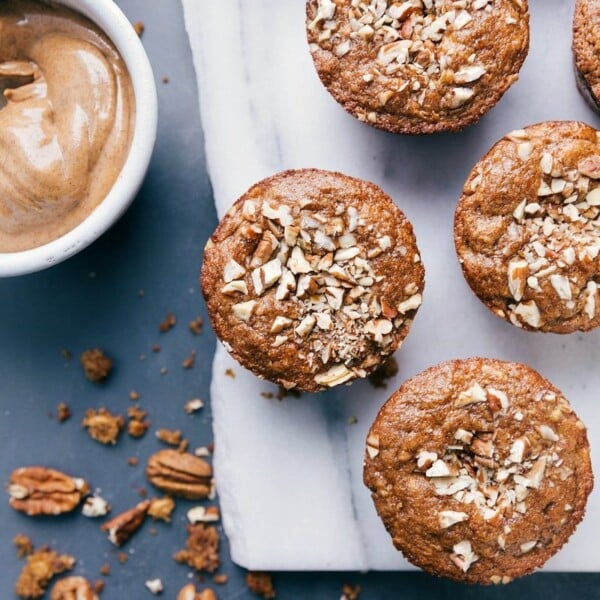
Chocolate Peanut Butter Muffins
Salads
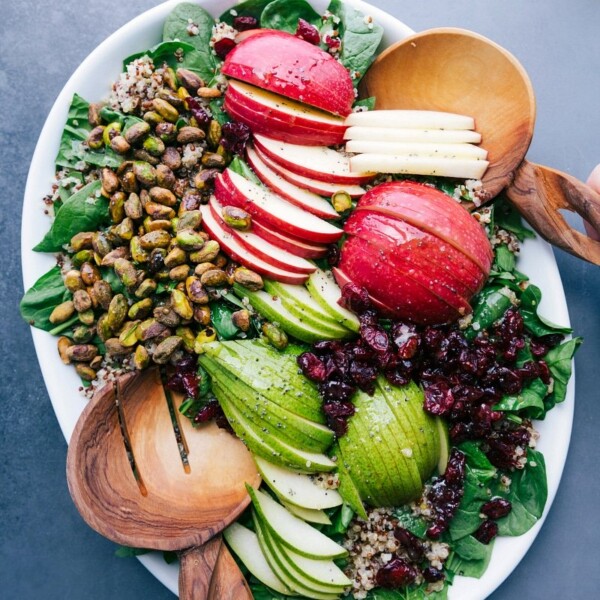
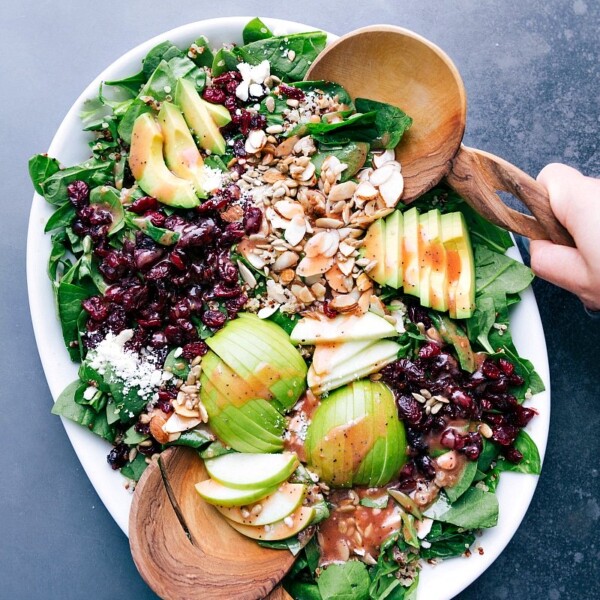
Quinoa Apple Salad
Breakfast
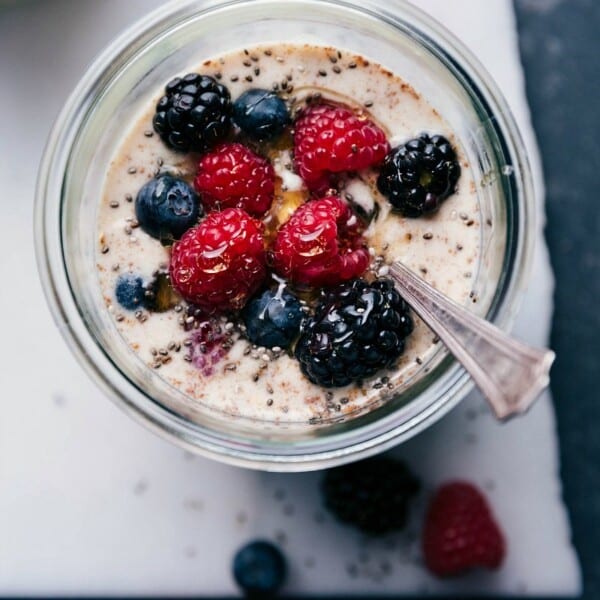
Overnight Oats
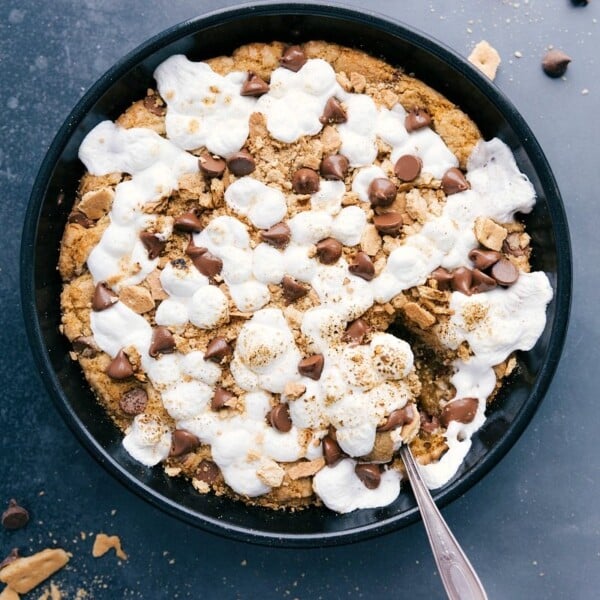
Desserts
S’mores Pizookie
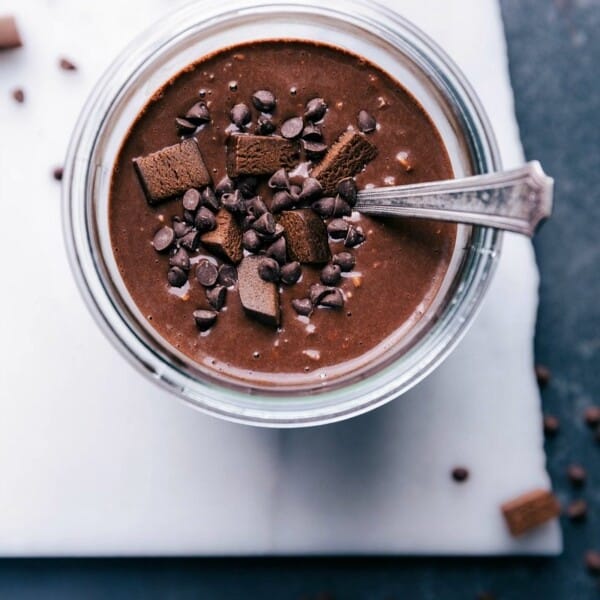
Breakfast
Brownie Batter Overnight Oats
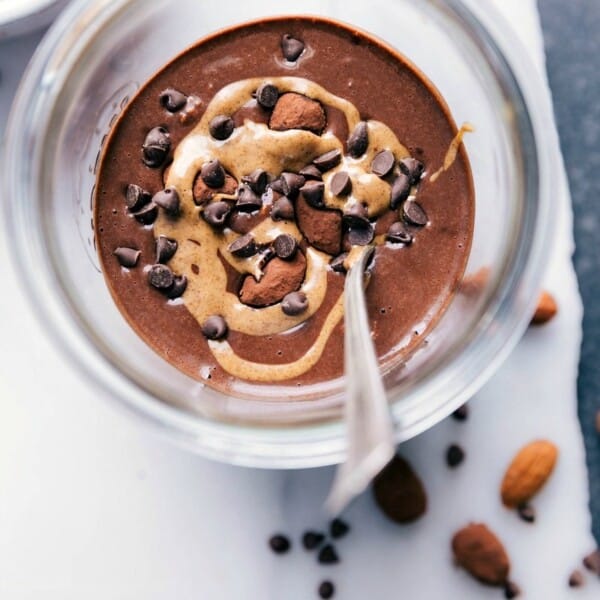
Breakfast
Chocolate Almond Overnight Oats
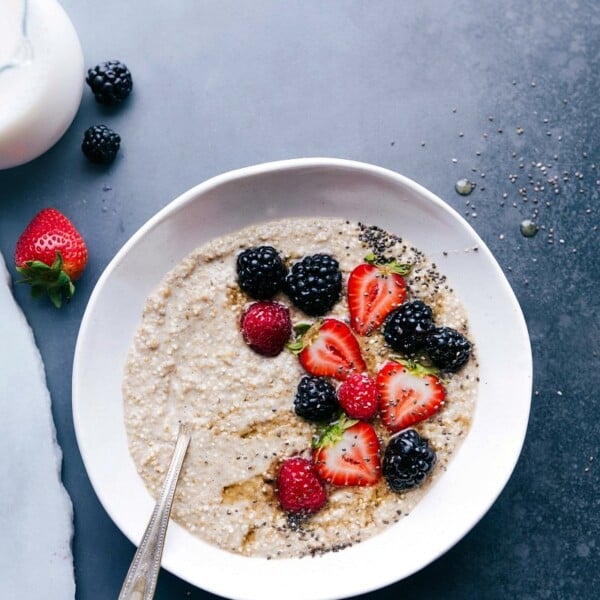
Breakfast
Overnight Steel Cut Oats Recipe
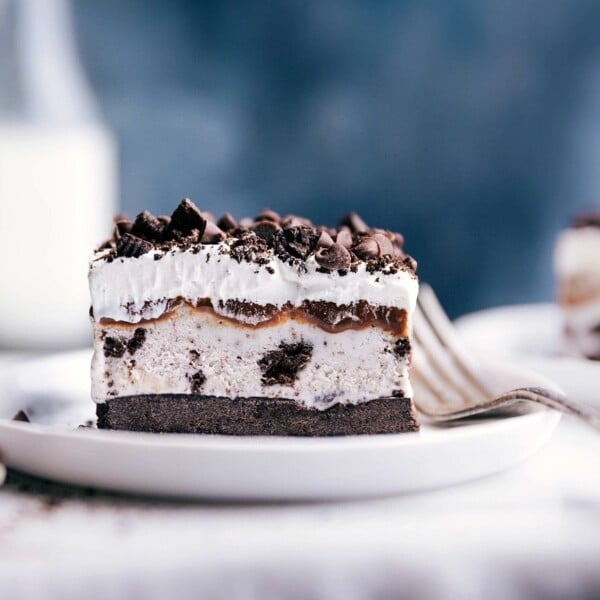
Desserts
Oreo Ice Cream Cake Recipe
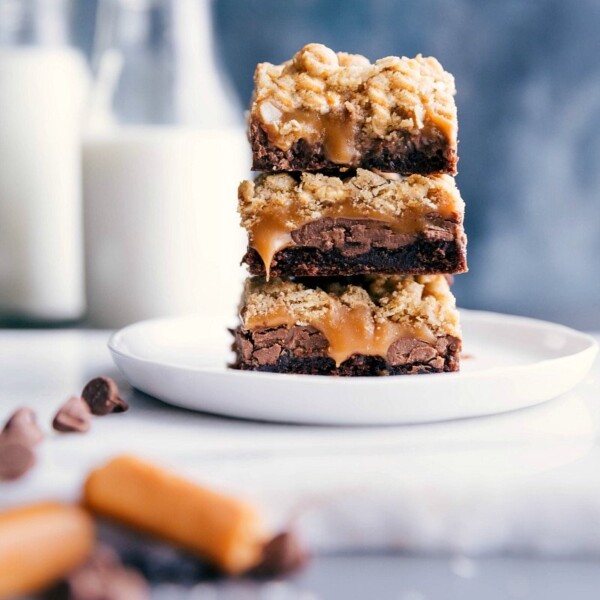
Desserts
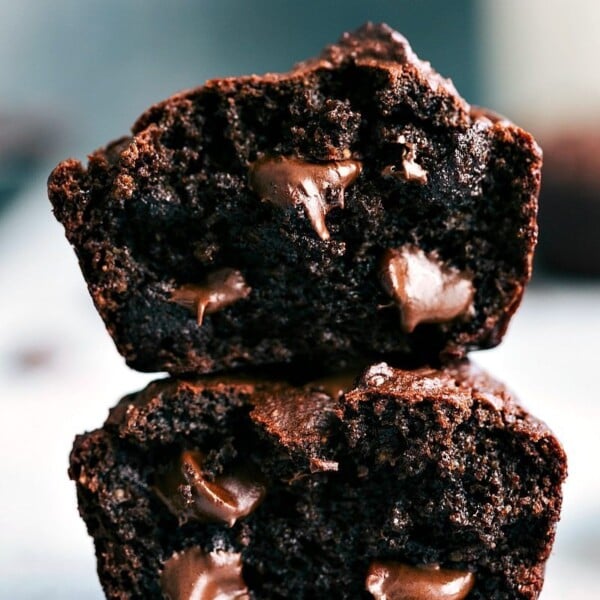
Brownie Cookie Bars

Dinner
Tex Mex Quinoa
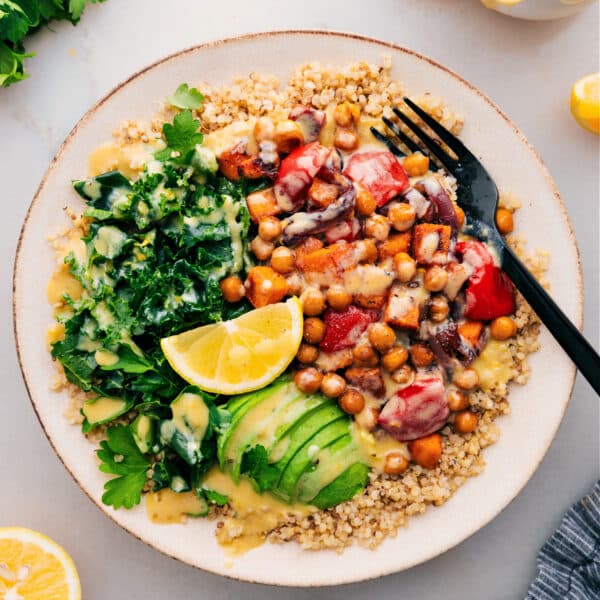
Dinner
Buddha Bowl
Desserts
Gluten Free Apple Muffins
Salads
Quinoa and Almond Salad
Sandwiches
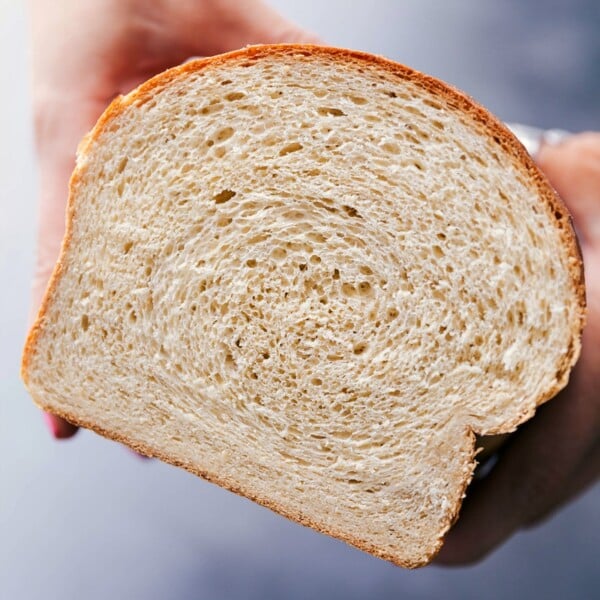
Honey Whole Wheat Bread
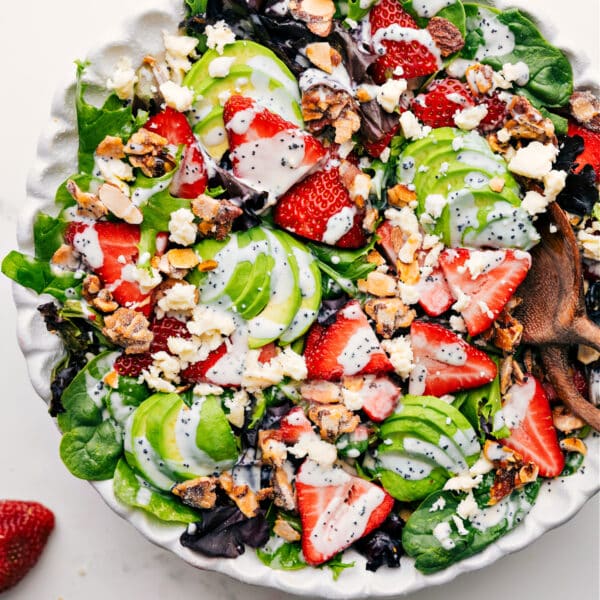
Salads
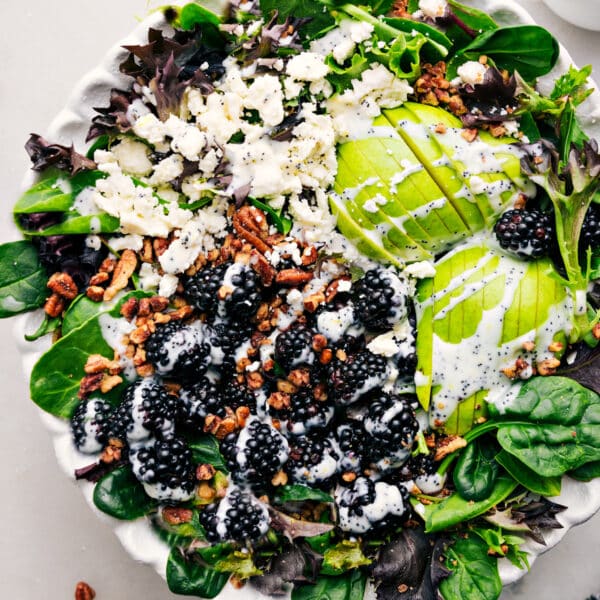
Blackberry Salad
Breakfast


