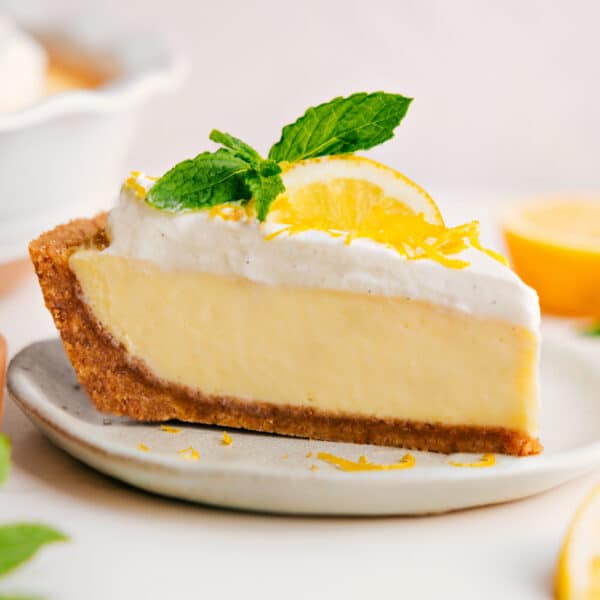
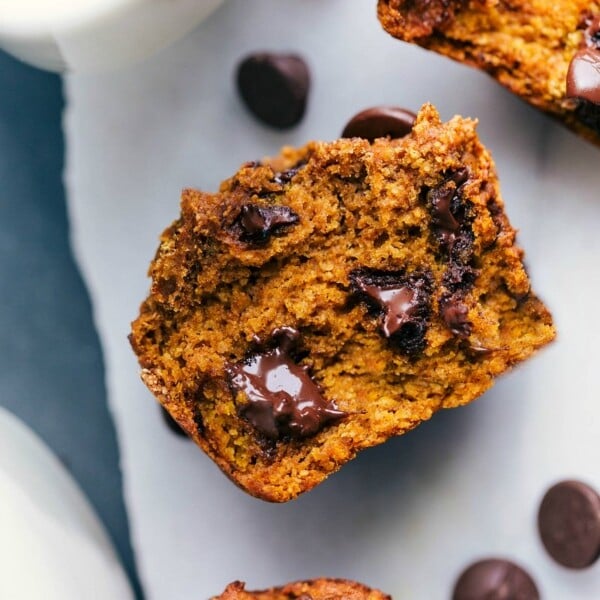
Desserts
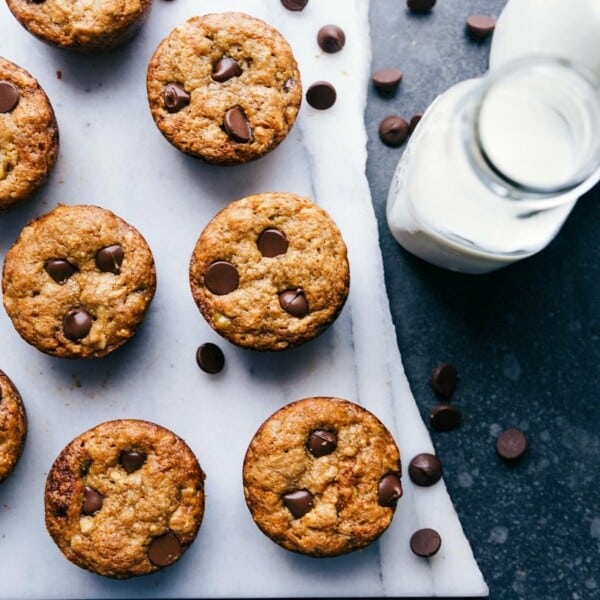
Breakfast
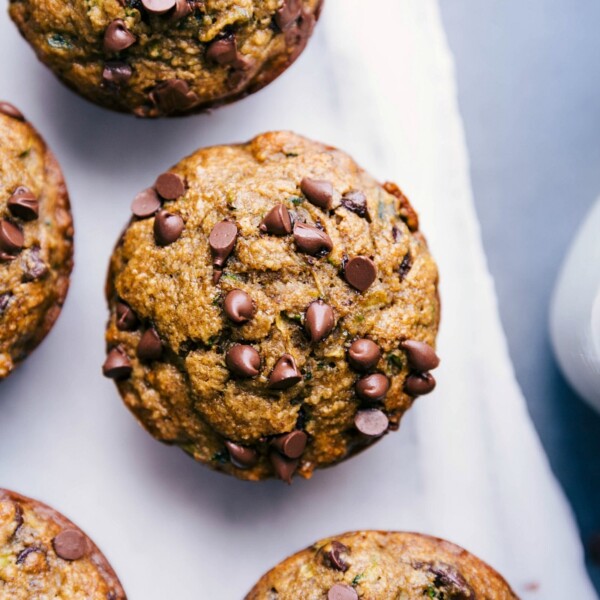
Gluten Free Zucchini Muffins
Desserts
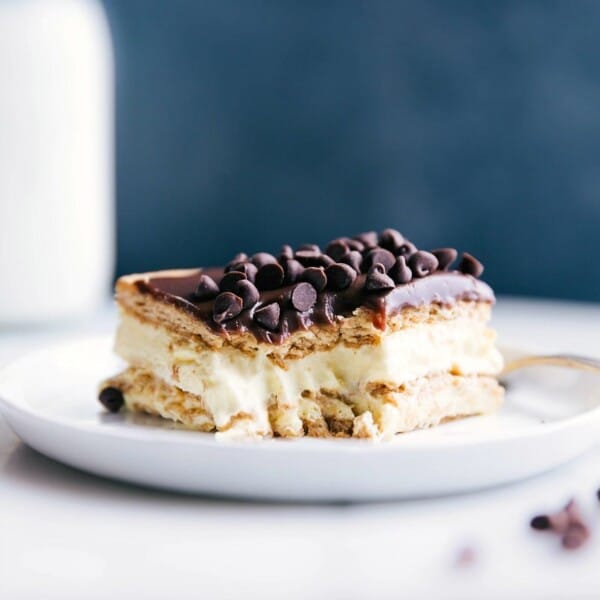
Eclair Cake Recipe
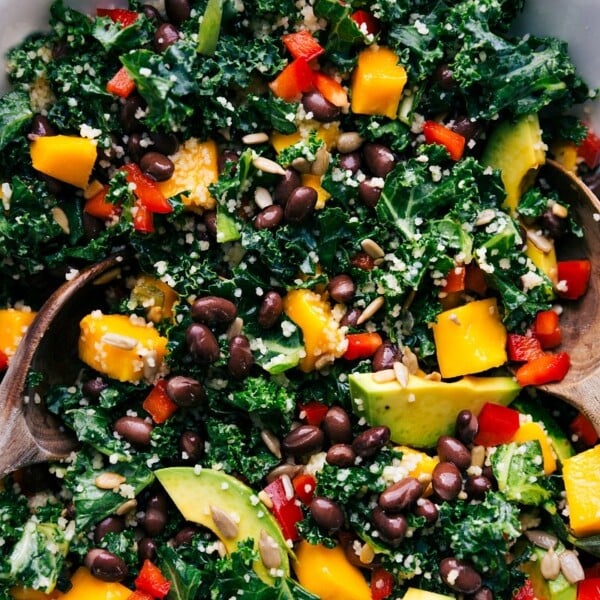
Salads
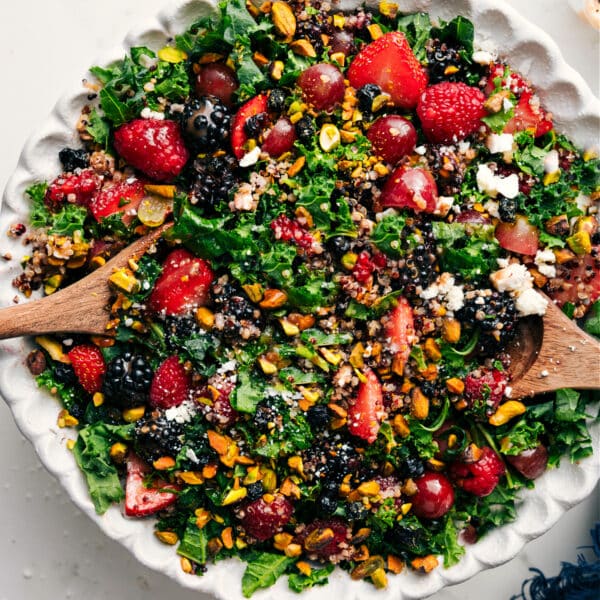
Kale and Quinoa Salad
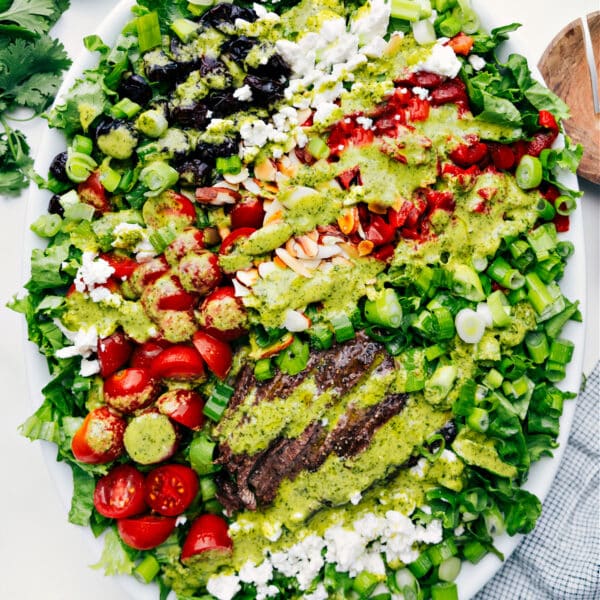
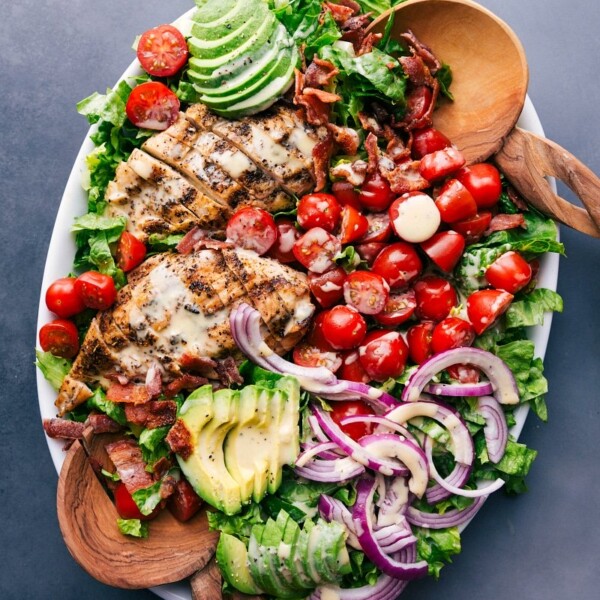
Salads
Steak Salad Recipe
Breakfast
Peanut Butter Banana Muffins
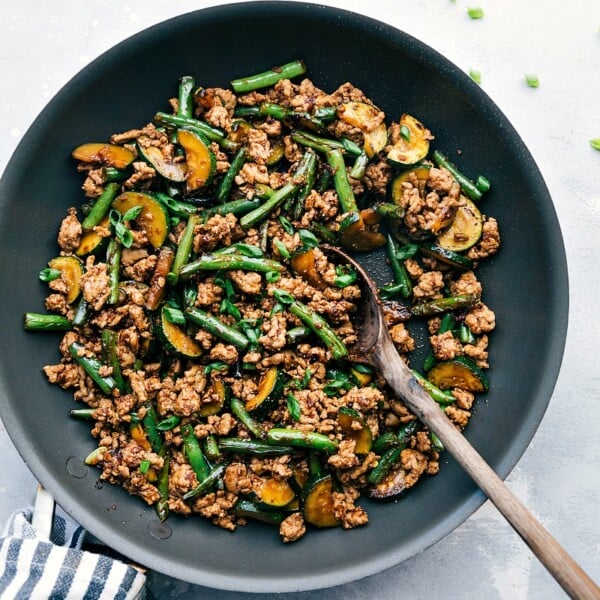
Dinner
Ground Pork Stir Fry
Dressings
Honey Mustard Salad Dressing Recipe
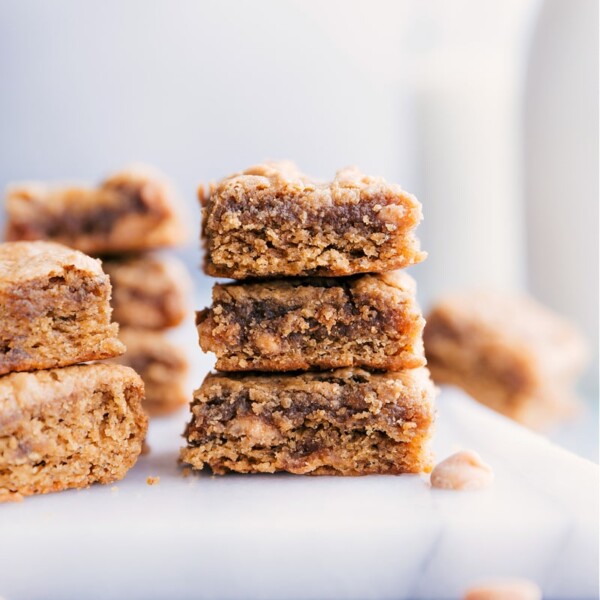
Desserts
Peanut Butter Banana Bars
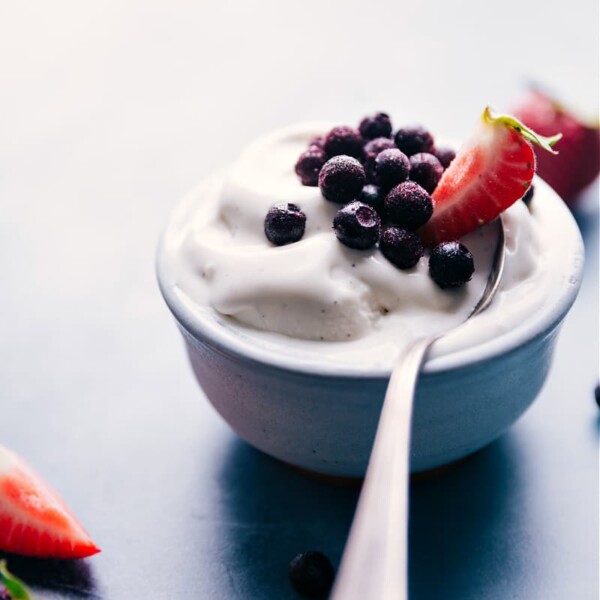
Desserts
Vanilla Frozen Yogurt
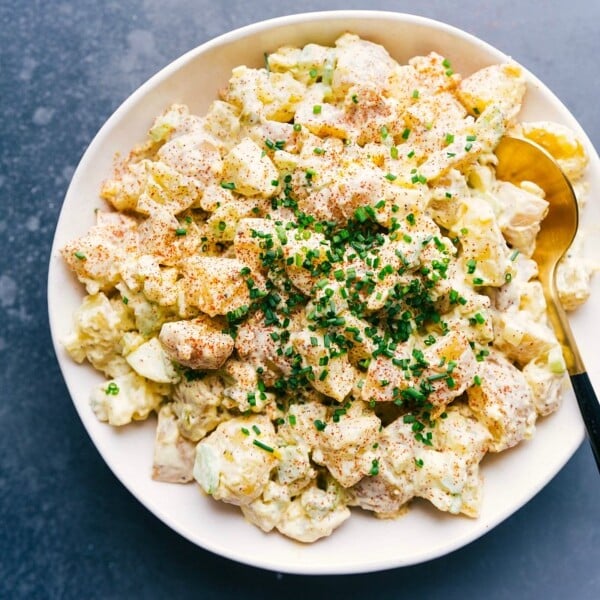
Salads
Potato Salad Recipe
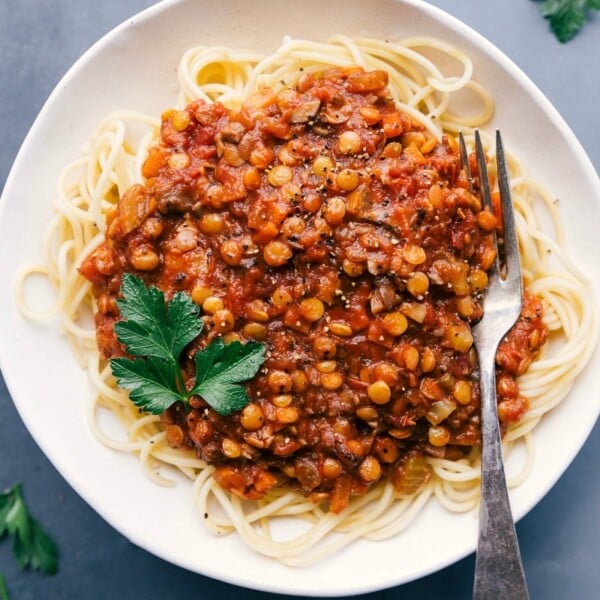
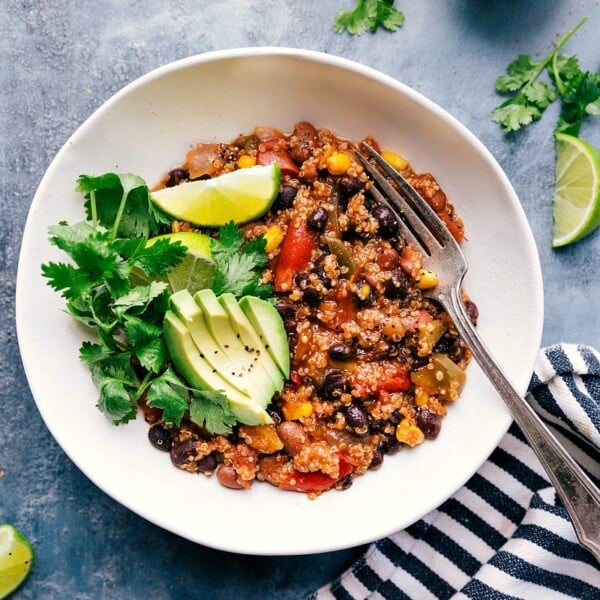
Dinner
Lentil Bolognese Recipe
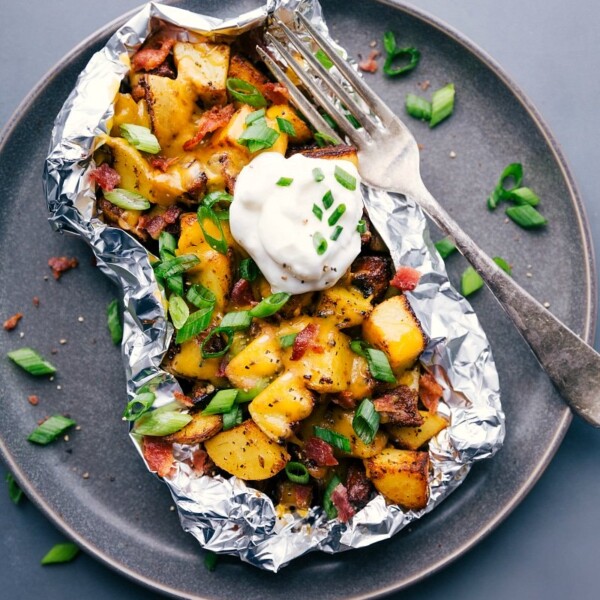
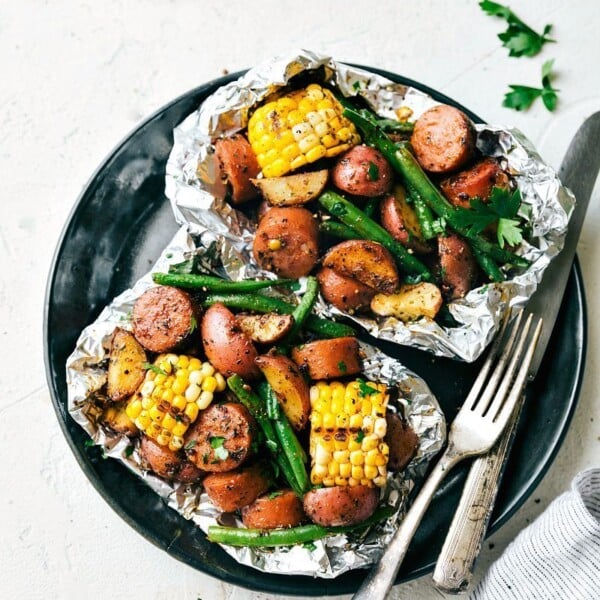
Dinner
Baked Potato Foil Packs
Salads
Kale Couscous Salad
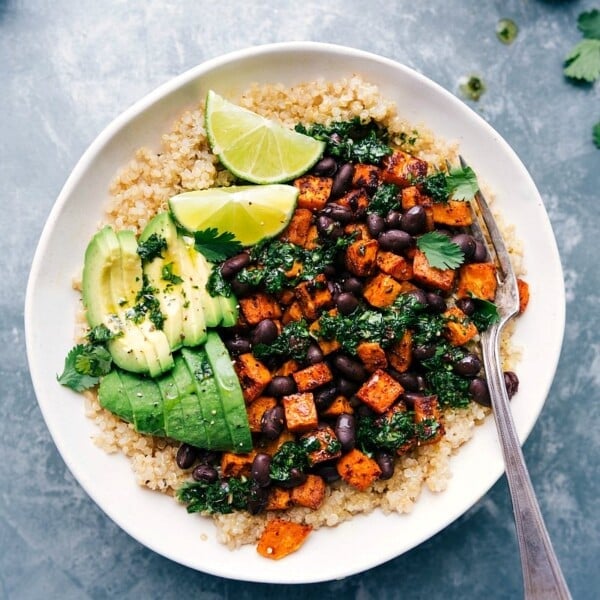
Dinner
Sweet Potato Buddha Bowl
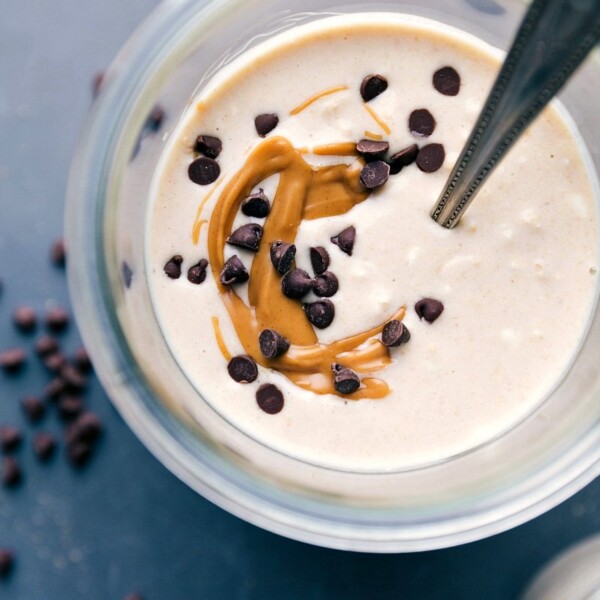
Breakfast
Cheesecake Overnight Oats
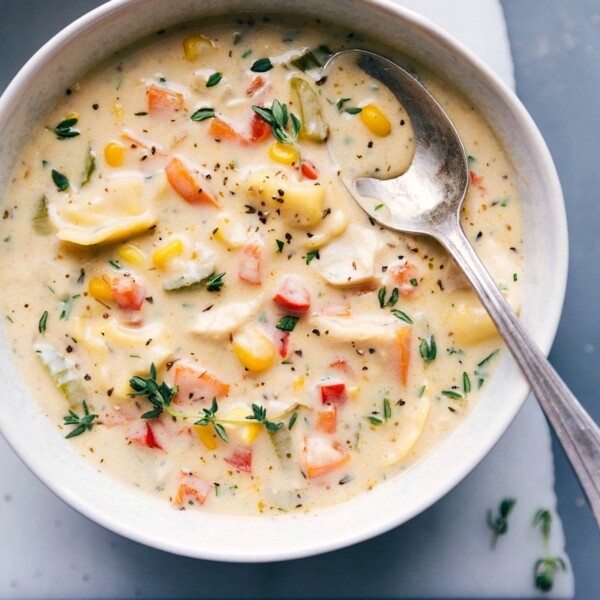
Soups And Stews
Creamy Chicken Tortellini Soup
Desserts


