Beverages
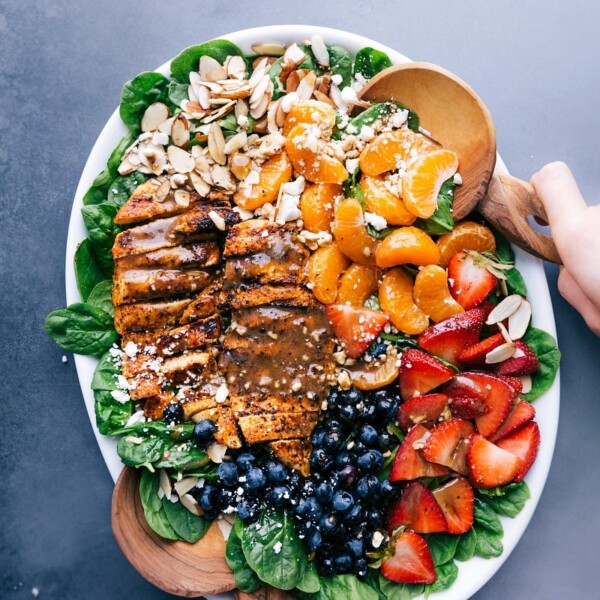
Salads
Chicken Spinach Salad
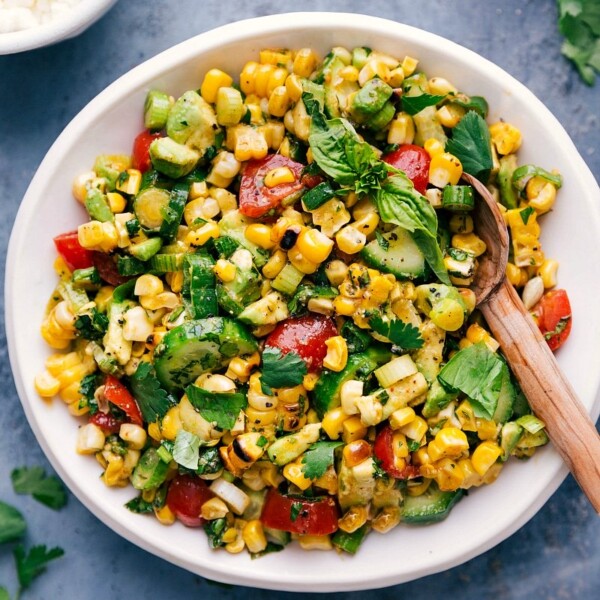
Salads
Corn Salad Recipe
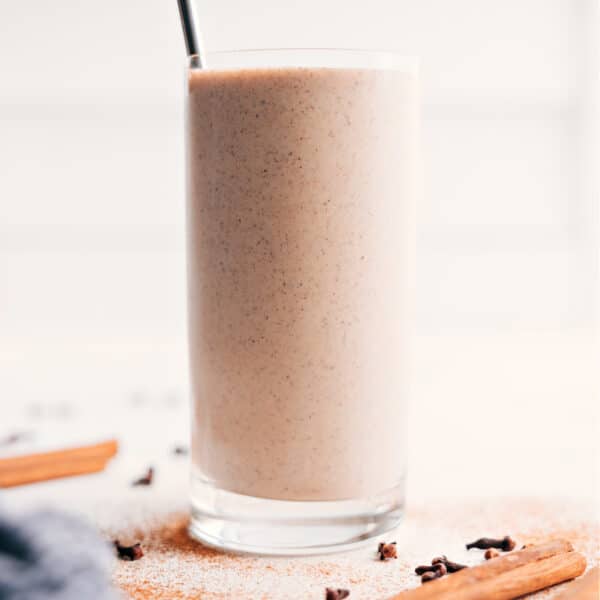
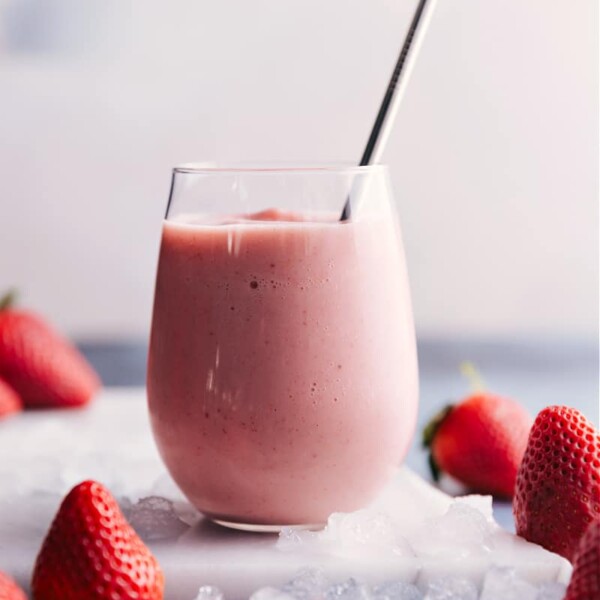
Shakes And Smoothies
Chai Smoothie
Salads With Meat
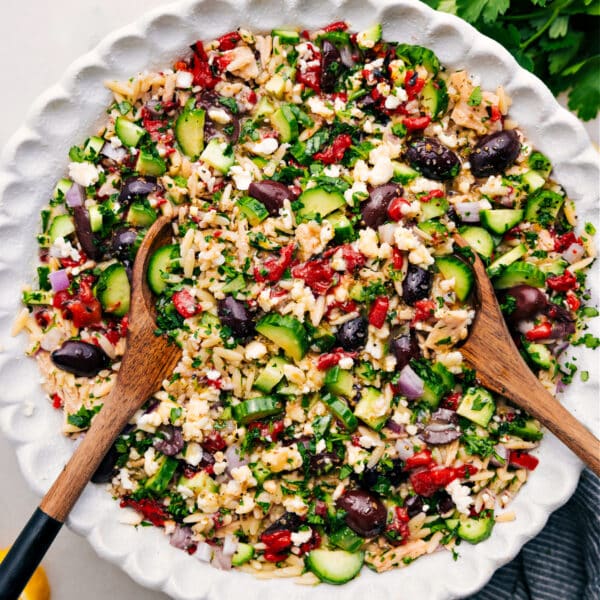
Mediterranean Tuna Salad
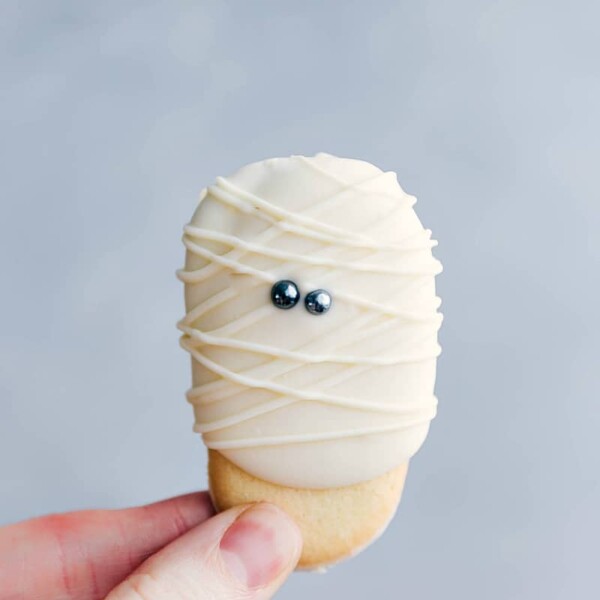
Quick And Easy
Mummy Cookies
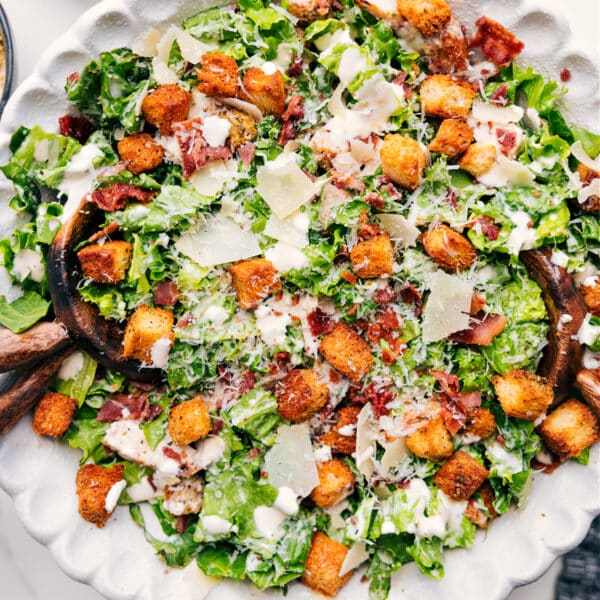
Salads
Caesar Salad Recipe
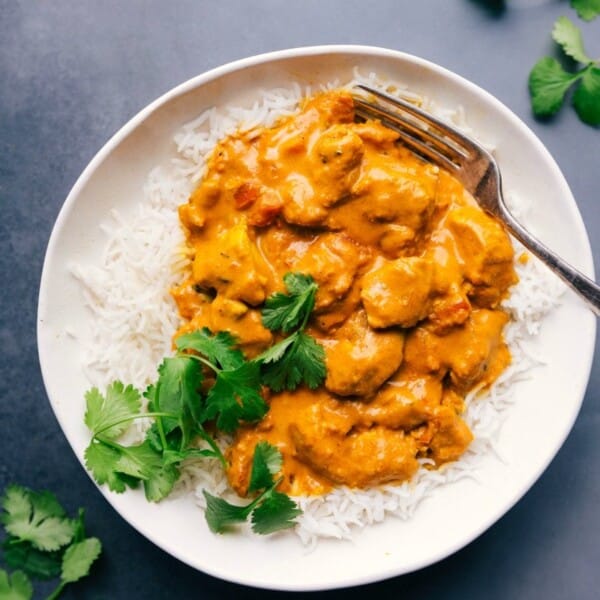
Dinner
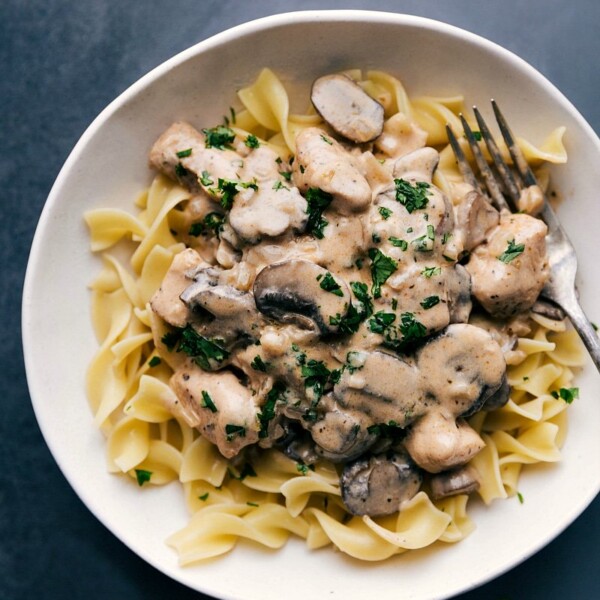
Butter Chicken Recipe
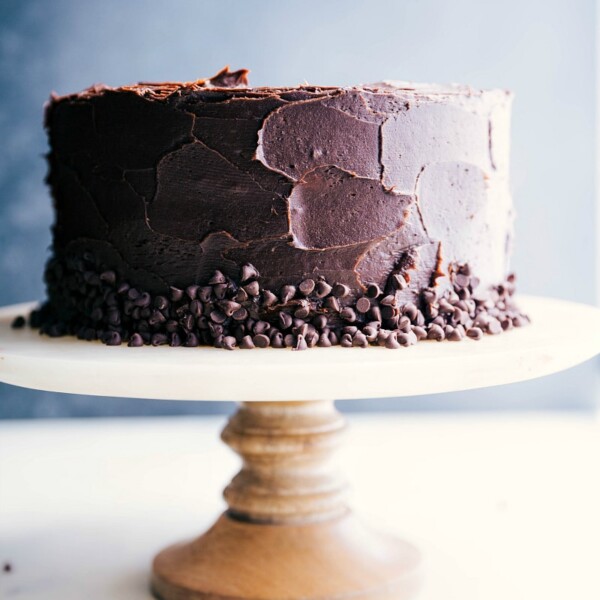
Desserts
Banana Chocolate Chip Cake
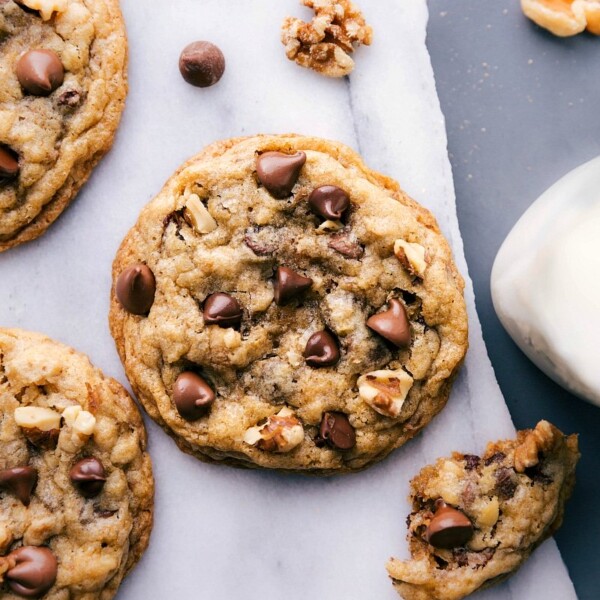
Cookies
DoubleTree Cookie Recipe
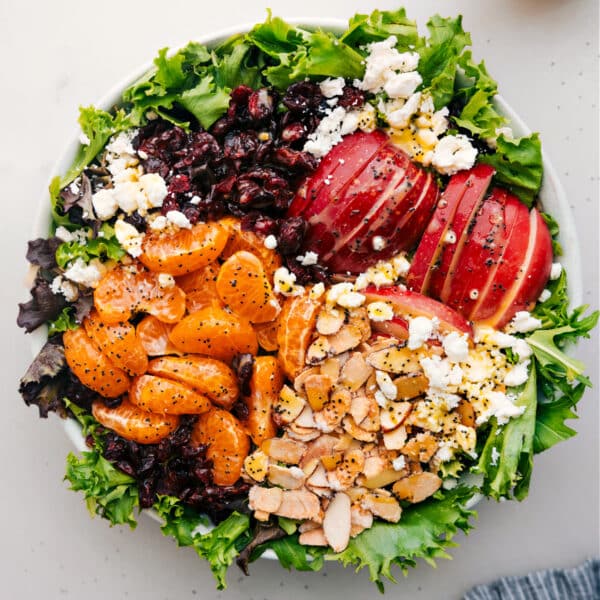
Salads
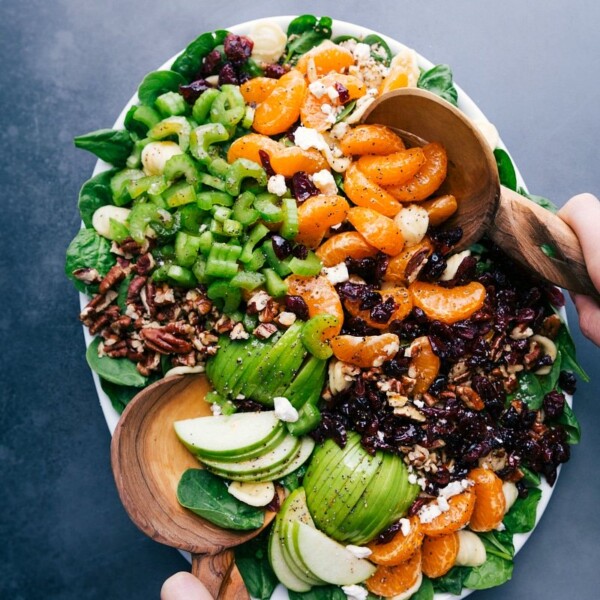
Mandarin Orange Salad
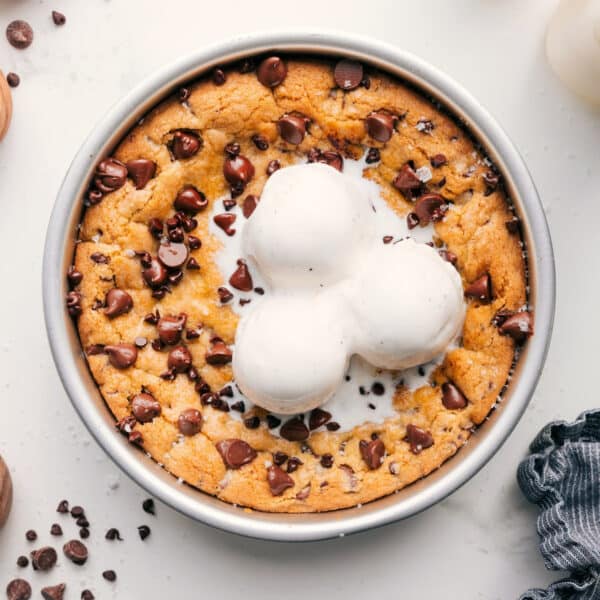
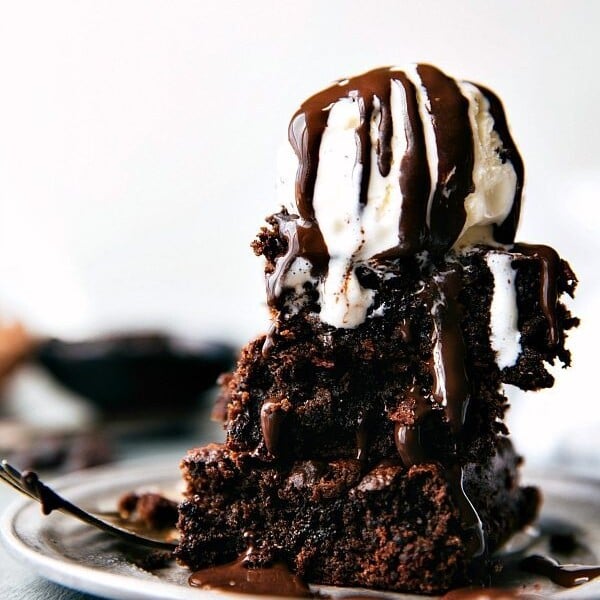
Desserts
Pizookie Recipe

Salads
Mexican Pasta Salad
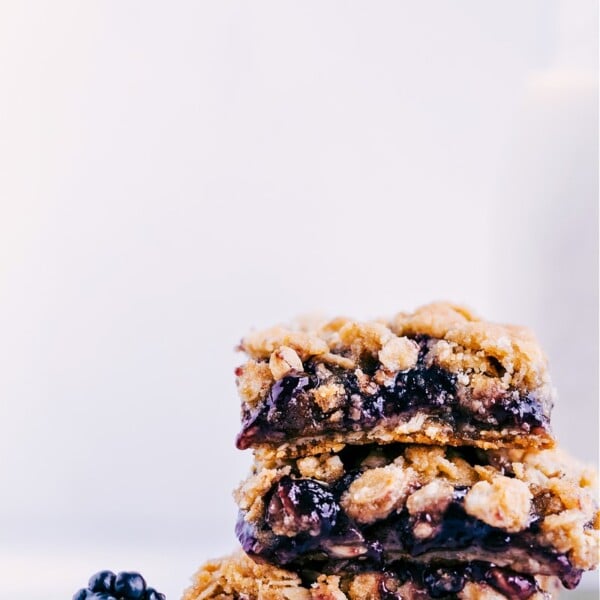
Desserts
Easy Oatmeal Jam Bars

Breakfast
Peach Cobbler Overnight Oats
Desserts


