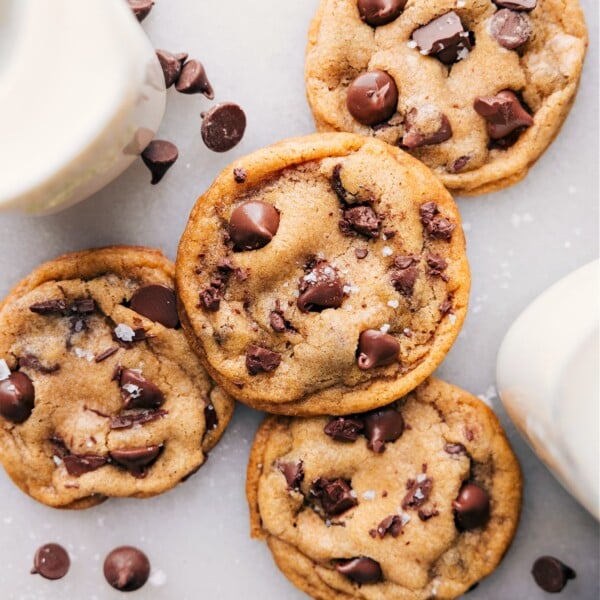
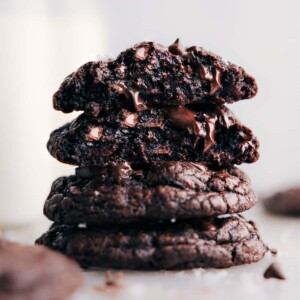
This Chocolate Cookies Recipe is rich, fudgy, and chewy with two kinds of chocolate and a sprinkle of sea salt on top.


author’s note
My Forever Chocolate Cookie Recipe — Years in the Making!
There’s something about a warm chocolate cookie that feels like pure comfort. Crisp edges, a soft, gooey center, and deep chocolate flavor. This Chocolate Cookies recipe has all that and more, with chewy centers and a sprinkle of flaky sea salt on top.
I’ve worked on this recipe for years. Every time I baked a batch, I’d tweak something. Too dry. Too flat. Or too cakey. I changed cocoa, flour, chilling time, even butter temperature. Every version got closer but never perfect.
I wanted the chocolate cookie, the one that stayed soft for days and made people stop mid-bite and say, “Oh wow.”
And finally, I nailed it.
Fudgy, rich, soft in the center, chewy on the edges, and packed with chocolate. This is the cookie I’ve been chasing all along.


Chocolate Cookies Recipe Ingredients
| Ingredient | Tip or Swap |
|---|---|
| Dutch-process cocoa powder | Use for a rich, deep chocolate flavor. If you only have natural cocoa, it will work but taste lighter and more acidic. |
| Cornstarch | Don’t skip it. A little makes the cookies extra soft and thick. |
| Cake flour | Gives the best texture. If you don’t have any, you can try removing 2 tablespoons of all-purpose flour per cup and replacing with cornstarch (results may vary). |
| Brown sugar (light) | Firmly pack for consistent sweetness and texture. |
| Chocolate chips (mini + regular) | Use both for varied texture. Try mixing milk, dark, or semisweet chocolate for extra depth. |
| Flaky sea salt | A light sprinkle after baking makes the chocolate flavor pop. |

How To Make Chocolate Cookies Recipe
- Cream: Combine butter and sugar until creamy.
- Mix Wet: Add eggs and vanilla, mix.
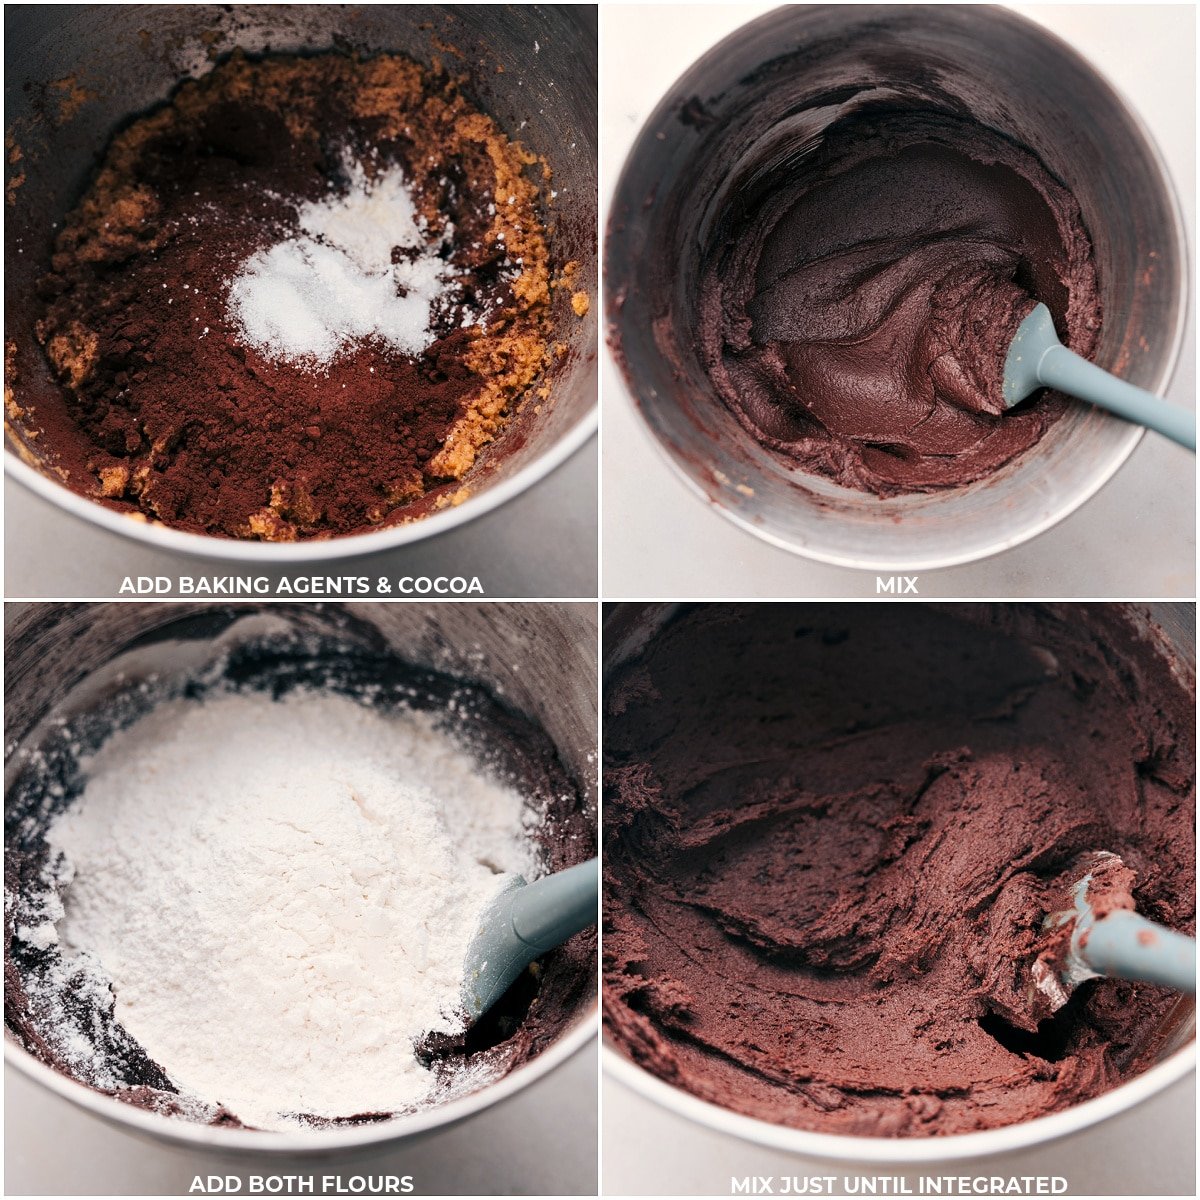
- Combine Dry: Incorporate salt, baking soda, cornstarch, cocoa, and flours.
- Fold in Chips: Add chocolate chips to the dough.
- Chill Dough: Refrigerate for at least 1 hour.
- Form Balls: Make 2 tablespoon-sized dough balls. A food scale is great for accuracy!
- Bake: At 325°F for 8-12 minutes. Enjoy!
Cookie Tips
- Use Cold Butter: Ensures less spreading and a thicker Chocolate Cookies Recipe.
- Accurate Measuring: Especially for flour, to avoid dense or cake-like cookies.
- Don’t Over-mix: Mix until just combined to keep cookies tender.
- Double Chill Dough: Chill after mixing and again after shaping for better flavor and to avoid spreading.
- Don’t Over-bake: Take cookies out when glossy top disappears for a soft, fudgy texture. Over-baking results in hard, less tasty cookies.

Storage
Store at room temperature in an airtight container for 2-3 days before they start losing texture.
How To Freeze Chocolate Cookies Recipe
- Freeze dough instead of baked cookies!
- Place dough balls on a pan, freeze until solid, then transfer to a bag. Freeze up to 3 months.
- Bake frozen dough balls directly, adding extra bake time. No thawing required.
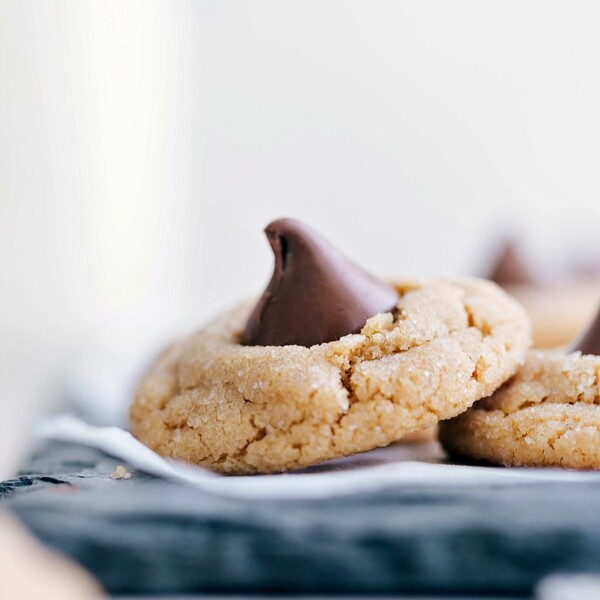
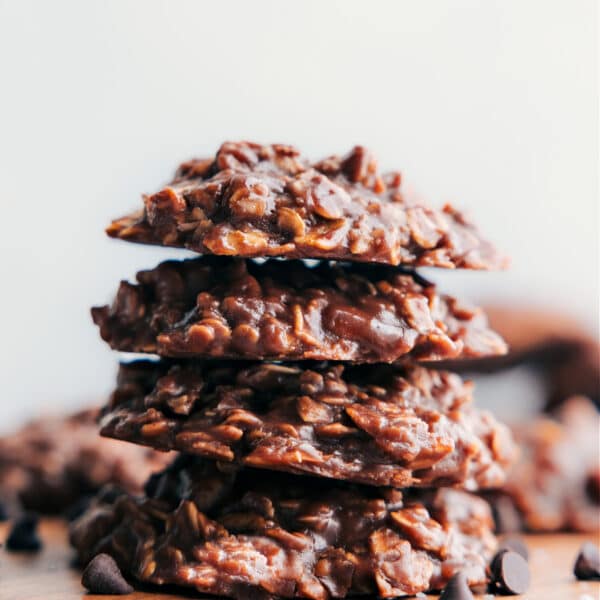
More Delicious Cookie Recipes:
Chocolate Cookies Recipe
Video
Equipment
- Sheet pan (15" x 10") lined
Ingredients
- 16 tablespoons unsalted butter cold, cubed
- 1-1/2 cups light brown sugar packed
- 2 large eggs
- 2 teaspoons vanilla extract
- 1 teaspoon salt
- 1 teaspoon baking soda
- 1 teaspoon cornstarch
- 1/2 cup Dutch process cocoa powder see note 1
- 1 cup cake flour see note 2
- 1-1/2 cups all-purpose flour
- 1 cup mini chocolate chips
- 2 cups chocolate chips see note 3
- Flaky sea salt optional
Instructions
- Cut cold butter into cubes. In a stand mixer with a whisk attachment, or a large bowl with a hand mixer, cream together butter and brown sugar for 3–4 minutes until the consistency is similar to peanut butter.
- Beat in eggs and vanilla. Then add cornstarch, baking soda, salt, and cocoa powder, mixing until just combined. Gradually mix in cake and all-purpose flour until no streaks remain. Avoid overmixing. Fold in chocolate chips. Cover and refrigerate the dough for at least 1 hour or overnight.
- If dough was chilled longer than 1 hour, let it soften slightly at room temperature. Roll dough into 2 tablespoon-sized balls. Chill formed cookie balls in fridge for 10 minutes.
- Preheat oven to 325°F. Space cookies 2 inches apart on a sheet pan lined with parchment paper or a silicone baking mat. Bake for 8–12 minutes. Lean toward underbaking for fudgy cookies (see note 4). Upon removal, immediately press wayward edges inward with a spatula. Optionally, add extra chocolate chips on top and a light sprinkle of sea salt. Let cookies rest on the sheet for 5 minutes before transferring to a cooling rack.
Recipe Notes
Nutrition
Nutrition information is automatically calculated, so should only be used as an approximation.


As your sister, THESE COOKIES ARE SO GOOD! Haha we make them and always finish the whole batch…they’re irresistible
We’re the exact same! So happy to hear this! Thanks Callie! 🙂