
Fruit Salads
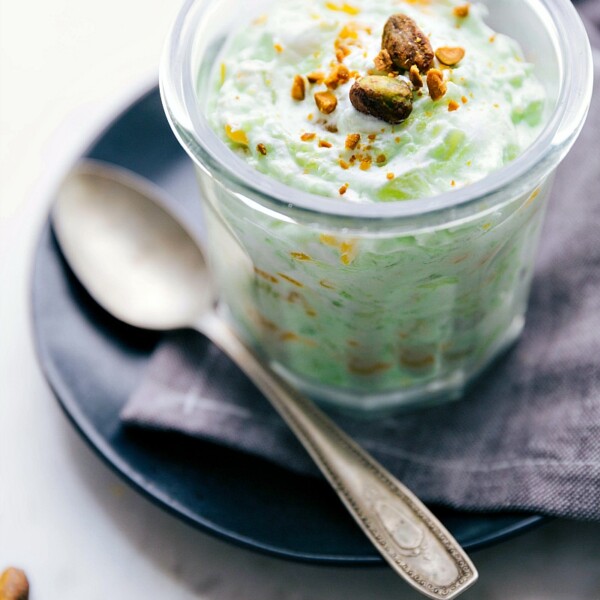
Watergate Salad Recipe

Quick And Easy
Nutter Butter Turkey Cookies
Potatoes
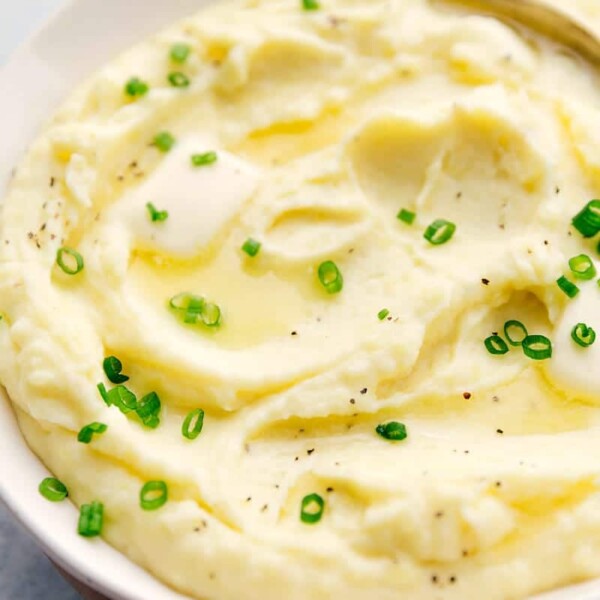
Mashed Potatoes Recipe
Desserts
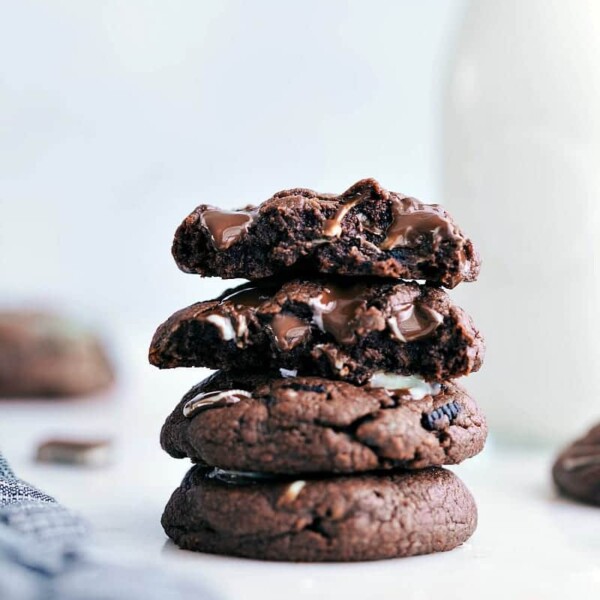
Chocolate Mint Cookies

Desserts
Oatmeal Cookies Recipe

Halloween
Halloween Cupcakes
Soups And Stews
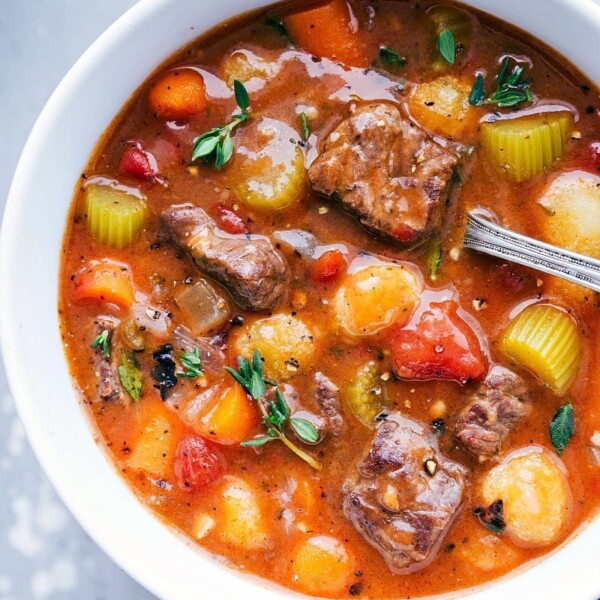
Crockpot Beef Stew

Desserts
Cream Cheese Frosting

Desserts
Chocolate Chip Snowball Cookies

Soups And Stews
Instant Pot Chicken Tortilla Soup

Desserts
Cookie Dough Cups
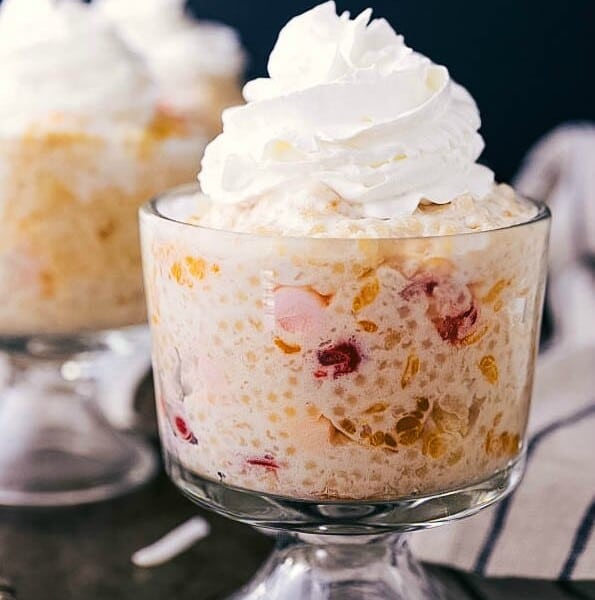
Salads
Frog Eye Salad Recipe

Desserts
4 Easy Halloween Cookies
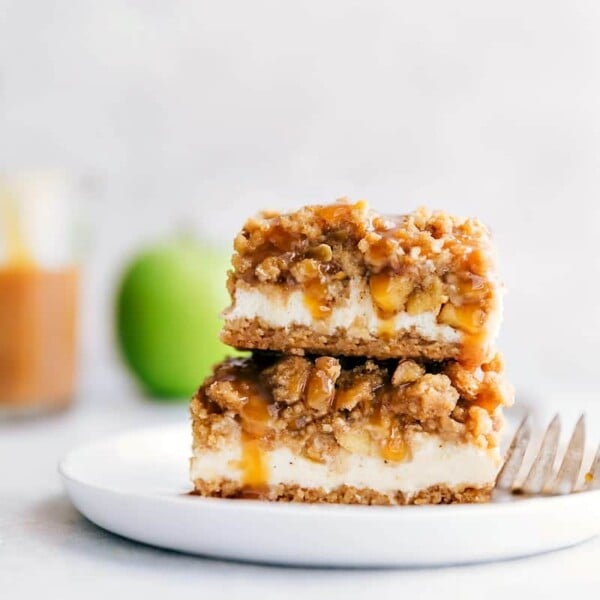
Desserts
Apple Cheesecake Bars
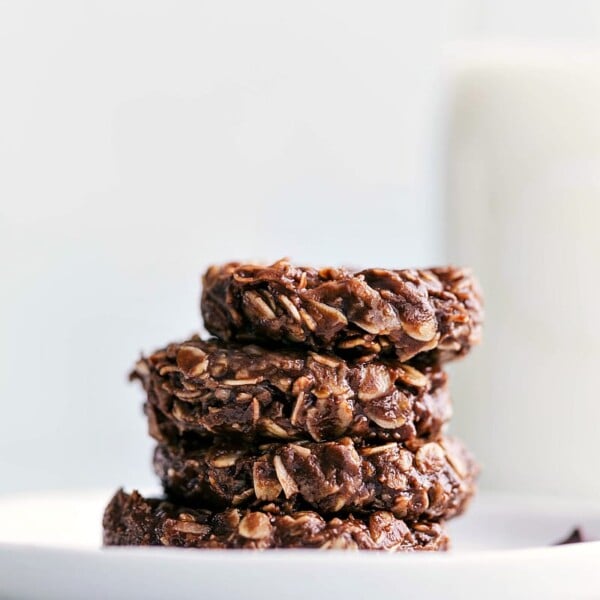
Desserts
Healthy No Bake Cookies

Soups And Stews
Split Pea Soup Recipe

Quick And Easy
Halloween Treat Bags
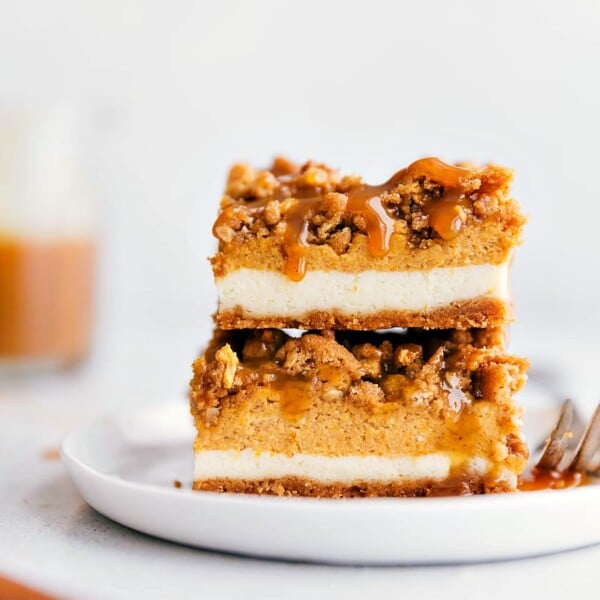
Desserts
Pumpkin Cheesecake Bars

Quick And Easy


