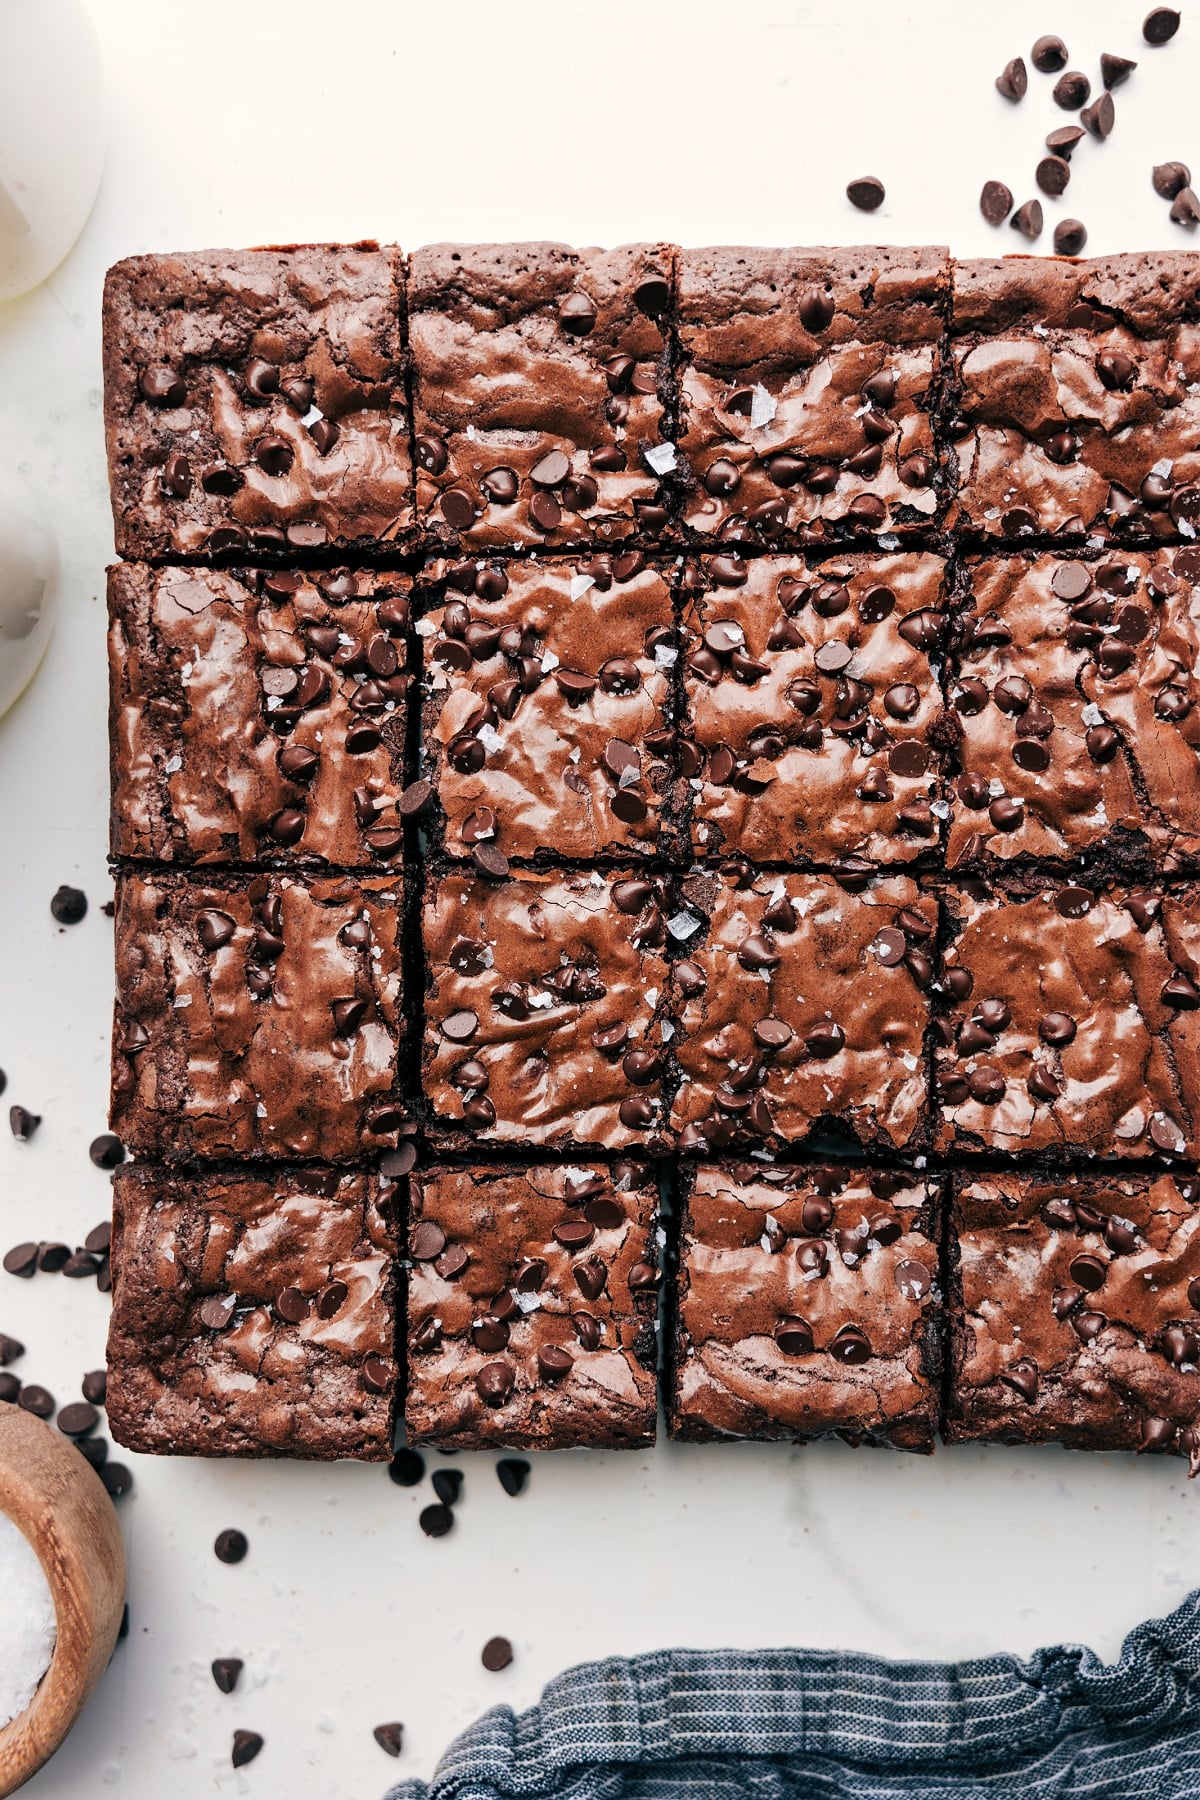
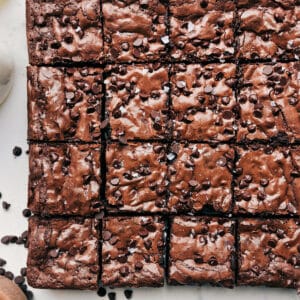
This Gluten-Free Brownies Recipe is so good! The brownies are rich, ultra fudgy, and they practically melt in your mouth.

Author’s Notes
The Brownies No One Knew Were Gluten-Free
A few years ago, I was hosting dinner at my house and had a guest coming who couldn’t eat gluten. I don’t do a ton of gluten-free baking, but I was determined to make a dessert that no one would guess was gluten-free and that tasted every bit as good as a traditional brownie.
I seriously got to work and tested this recipe again and again until I knew I had it right. These brownies are incredibly fudgy, rich, packed with chocolate, and easily the best gluten-free brownies recipe I’ve ever made.
Everyone at the party raved about them without even realizing they were gluten free! And my gluten-free guest said they were one of the best desserts she’d ever had.

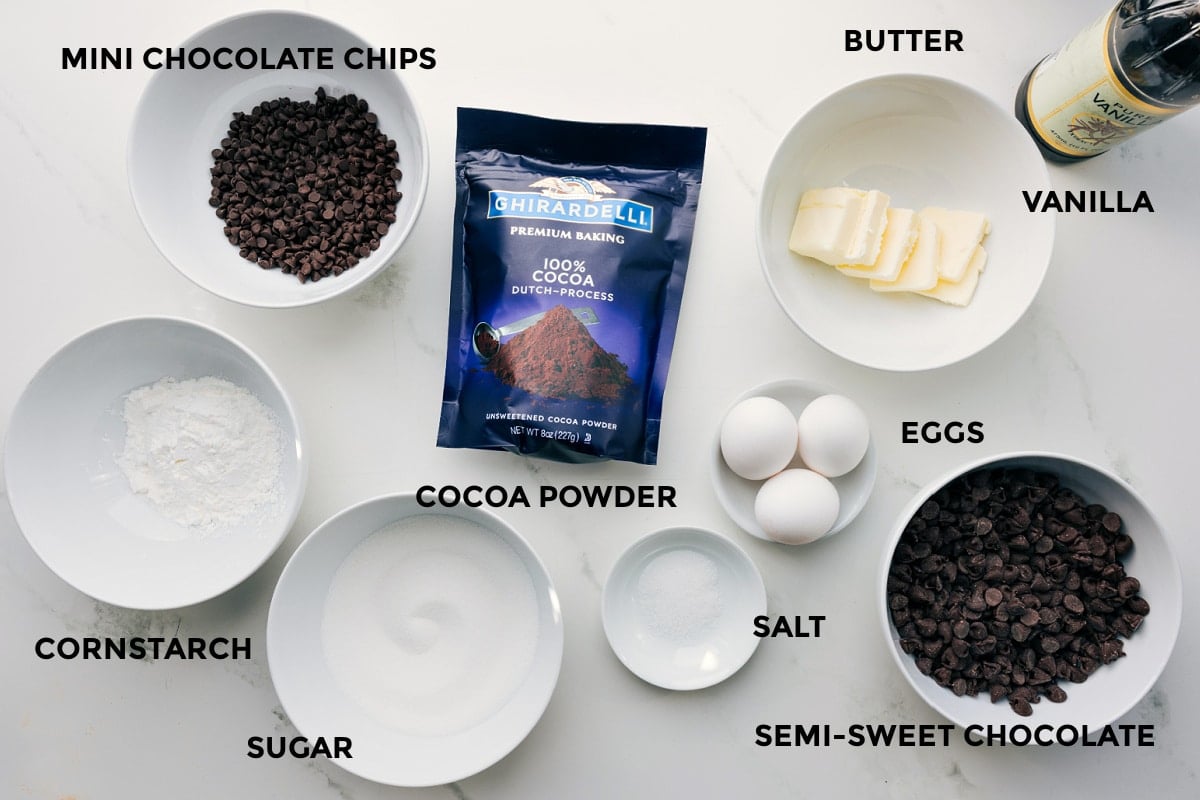
Gluten-Free Brownies Recipe Ingredients
| Ingredient | Let’s Chat About It |
|---|---|
| Semi-Sweet Chocolate Chips | For the best flavor, use high-quality chocolate chips you enjoy eating straight from the bag. |
| Butter, Sugar & Vanilla | A slightly cooled chocolate mixture helps the eggs incorporate without scrambling. |
| Eggs | Room-temperature eggs mix in more smoothly and help create that fudgy texture. |
| Cocoa Powder, Cornstarch & Salt | Dutch-process cocoa powder gives this Gluten-Free Brownies Recipe its deep, rich chocolate flavor. |
| Mini Chocolate Chips | Fold most into the batter and save the rest for sprinkling on top! |
Chelsea’s Tips
My Top Recipe Tips
- Don’t Overbake: Pull them while the center still looks slightly underdone.
- Let Them FULLY Cool: Brownies get firmer and fudgier as they set.
- The Pan: This gluten-free brownies recipe bakes more evenly in a metal pan than a glass one.
- Cut Them Cold: Chilled brownies slice much more cleanly.
- Add Flaky Salt: A little on top makes the chocolate pop.
Storage
Store cooled brownies in an airtight container at room temperature for up to 3 days or in the refrigerator for up to 1 week. For longer storage, wrap individual brownies and freeze for up to 3 months. Thaw at room temperature or microwave for a few seconds before serving.
More Gluten-Free Recipes You’ll Love:
Desserts
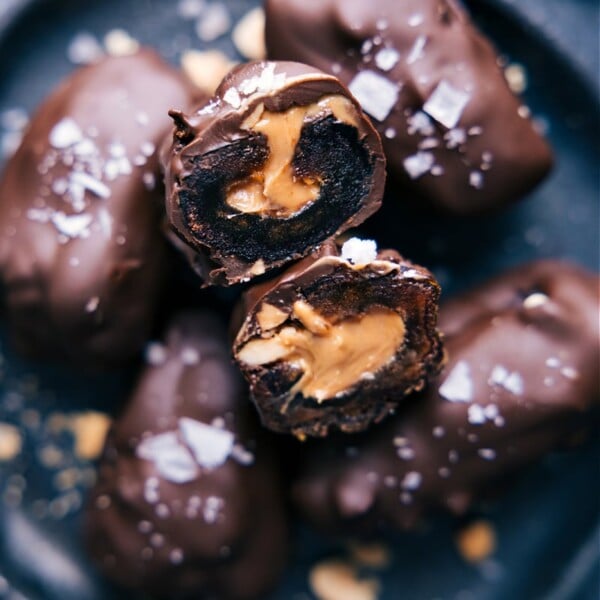
Chocolate Covered Dates
Desserts
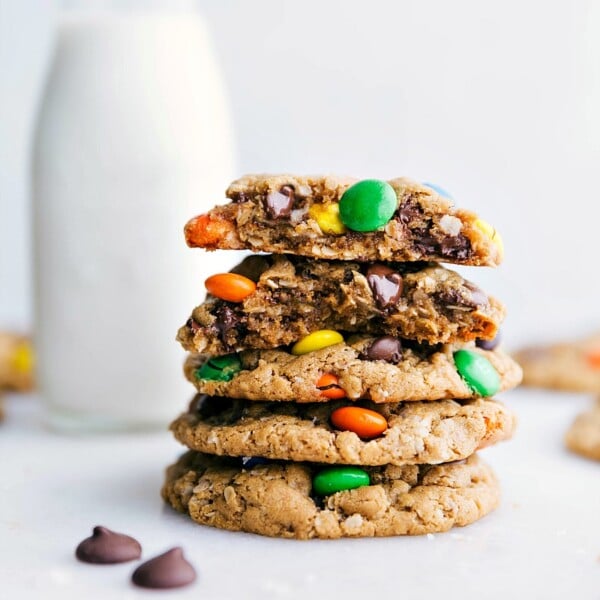
Gluten Free Monster Cookies
Desserts
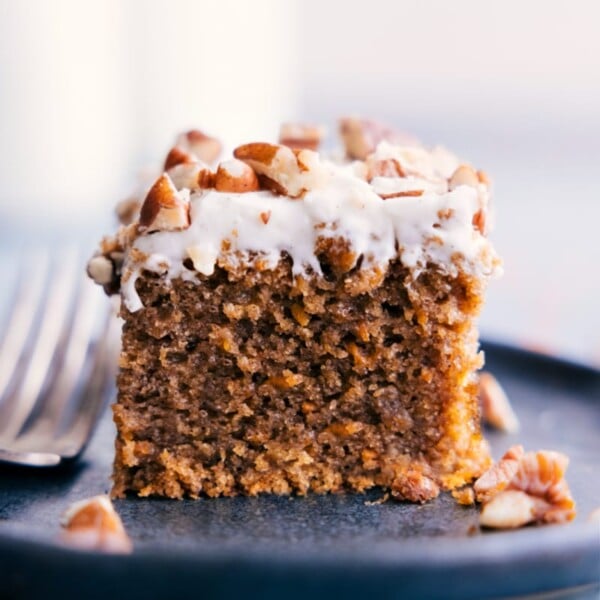
Gluten-Free Carrot Cake Recipe
Breakfast
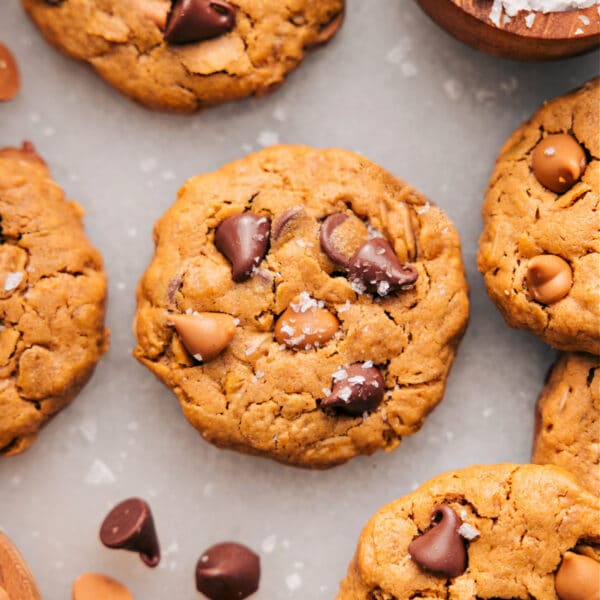
Breakfast Cookies
Gluten Free Brownies Recipe
Equipment
- 8 x 8-inch baking pan plus parchment paper
- Large bowl plus whisk and wooden spoon
Ingredients
- 2 cups semi-sweet chocolate chips divided (this is slightly more than a 12-ounce bag, so you’ll need 2 bags)
- 6 tablespoons unsalted butter cut into tablespoon-sized pieces
- 2/3 cup white sugar
- 2 teaspoons vanilla extract
- 3 large eggs at room temp
- 1/4 cup Dutch process cocoa powder see note 1
- 1/3 cup cornstarch
- 1/2 teaspoon fine sea salt
- 3/4 cup mini chocolate chips divided
- Flaky sea salt optional, for topping
Instructions
- Preheat the oven to 350°F. Lightly grease an 8 x 8-inch baking pan with cooking spray. Line the pan with parchment paper, leaving an overhang on two sides for easy removal. Set aside.
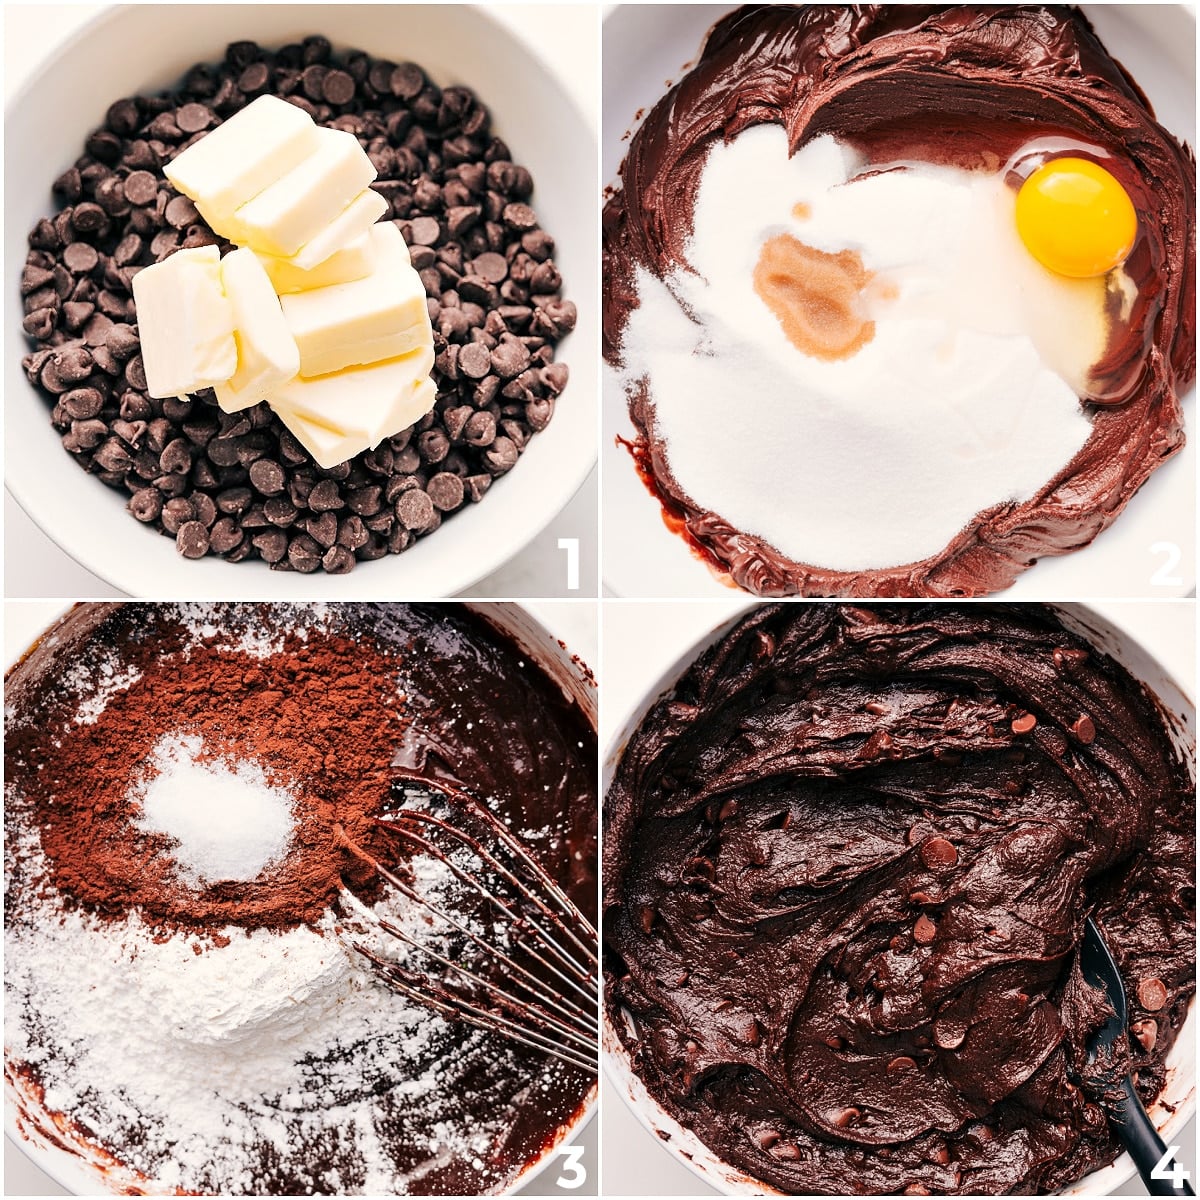
- Add 1-1/2 cups semi-sweet chocolate chips and the butter to a large microwave-safe bowl. Microwave on high in 20-second increments, stirring well after each one, until completely melted and smooth. This should take about 1 minute total. Do not overheat the chocolate.
- With a wooden spoon, stir in the granulated sugar and vanilla extract until fully combined.
- Swap to a whisk. Add the eggs one at a time, whisking briskly after each addition until fully incorporated.
- In a separate bowl, whisk together the cocoa powder, cornstarch, and salt.
- Add the dry ingredients to the chocolate mixture. Swapping back to a wooden spoon, stir vigorously for 1–2 minutes, or until the batter is smooth, glossy, and begins to pull away from the sides of the bowl.
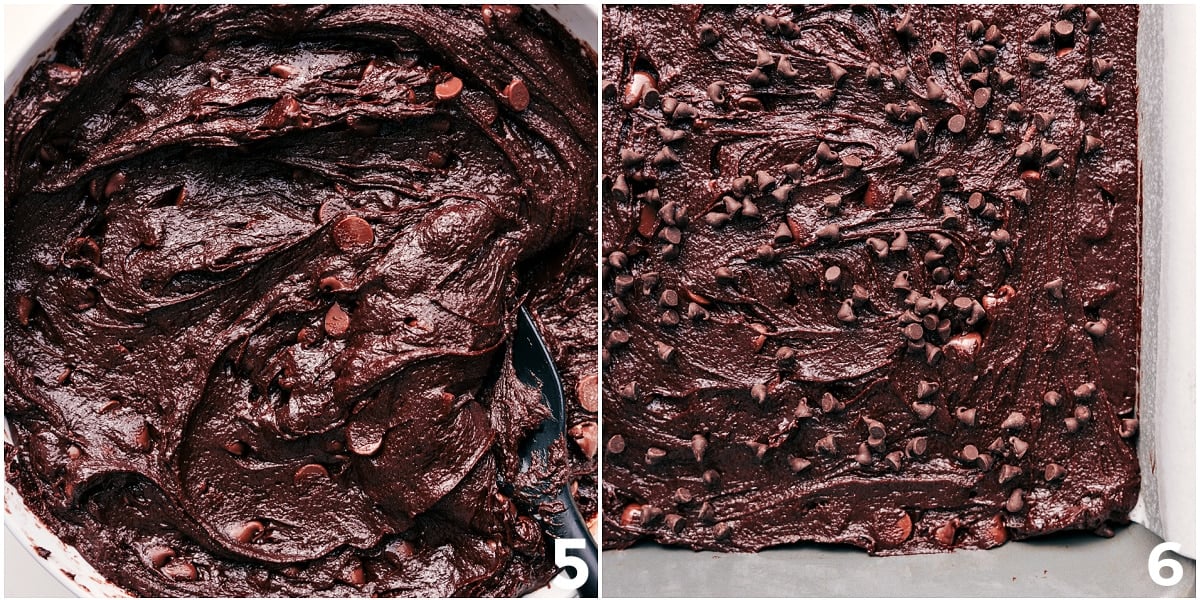
- Stir in the remaining 1/2 cup semi-sweet chocolate chips and 1/2 cup mini chocolate chips.
- Spread the batter evenly in the prepared pan and smooth the top. Sprinkle the remaining 1/4 cup mini chocolate chips over the top.
- Bake for 33–37 minutes, or until a toothpick inserted into the center comes out with a few moist crumbs or melted chocolate, but no raw batter. Avoid overbaking.
- Place the pan on a wire cooling rack and let the brownies cool completely before removing them. The brownies will be gooey straight from the oven and need time to fully set.
- Use the parchment paper overhang to lift the brownies from the pan. For clean cuts, run a sharp knife under hot water, dry it completely, make one cut, and repeat between each slice. If desired, finish with a sprinkle of flaky sea salt.
Recipe Notes
Nutrition
Nutrition information is automatically calculated, so should only be used as an approximation.