Desserts
Breakfast
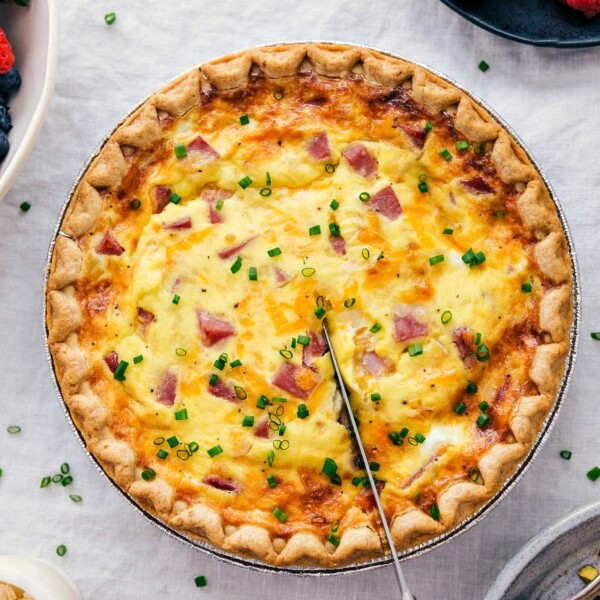
Ham and Cheese Quiche
Desserts
Vanilla Sauce
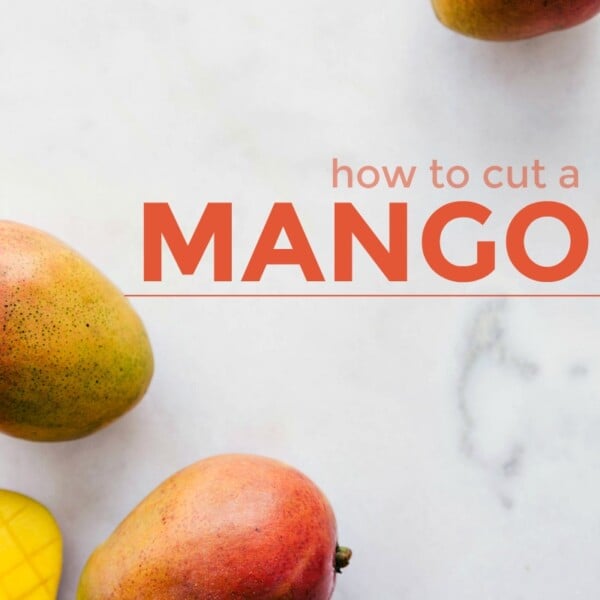
Cooking Guides
How to Cut a Mango
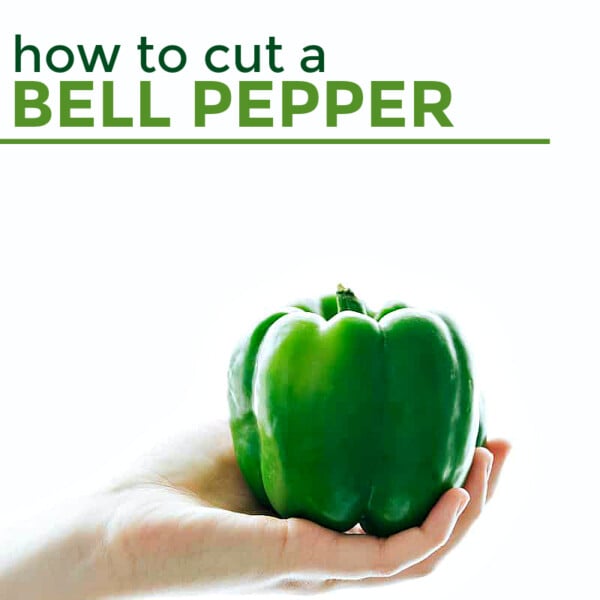
Cooking Guides
How to Cut a Bell Pepper
Appetizers
Pigs in a Blanket Recipe
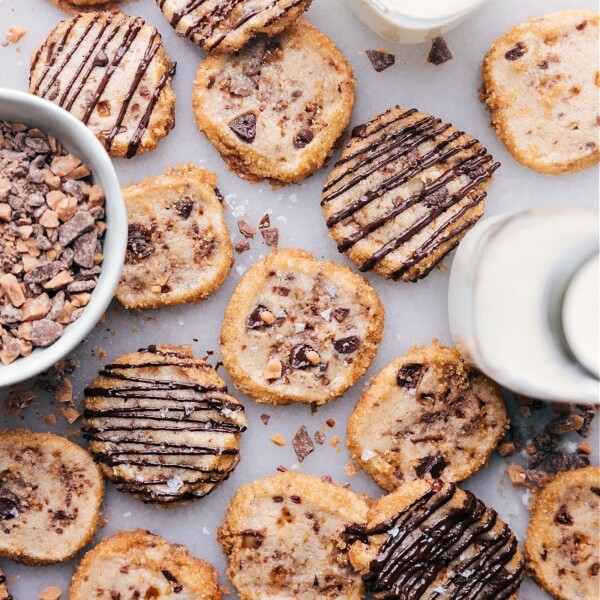
Desserts
Toffee Shortbread Cookies
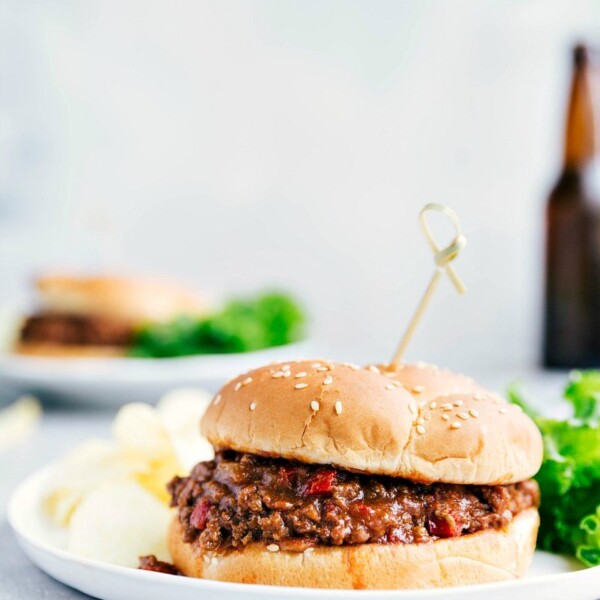
Dinner
Crockpot Sloppy Joes
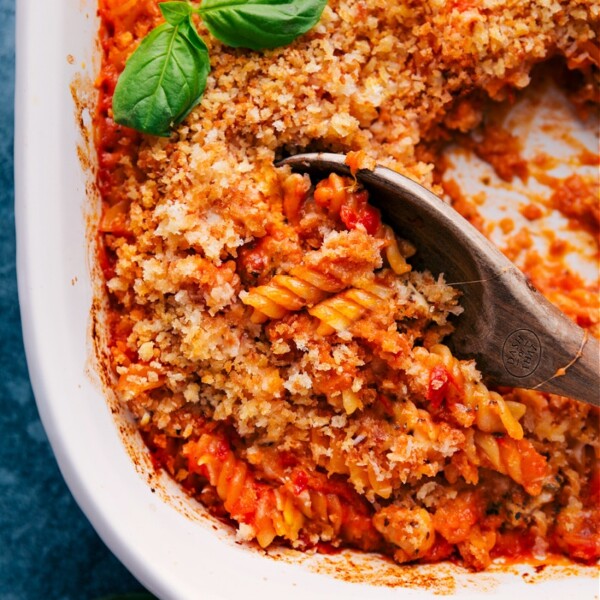
Pasta And Pizza
Chicken Parmesan Pasta
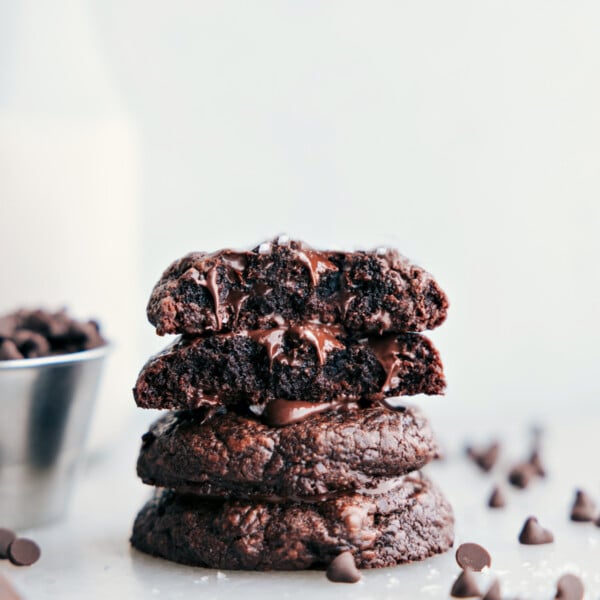
Desserts
Brownie Cookies
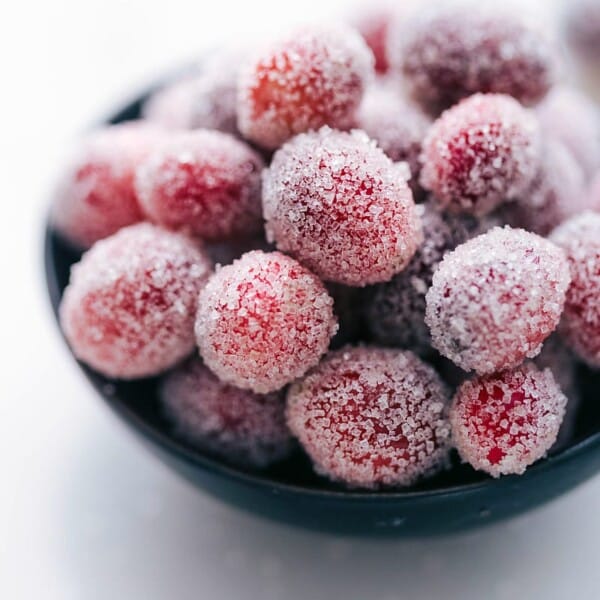
Desserts
Sugared Cranberries Recipe
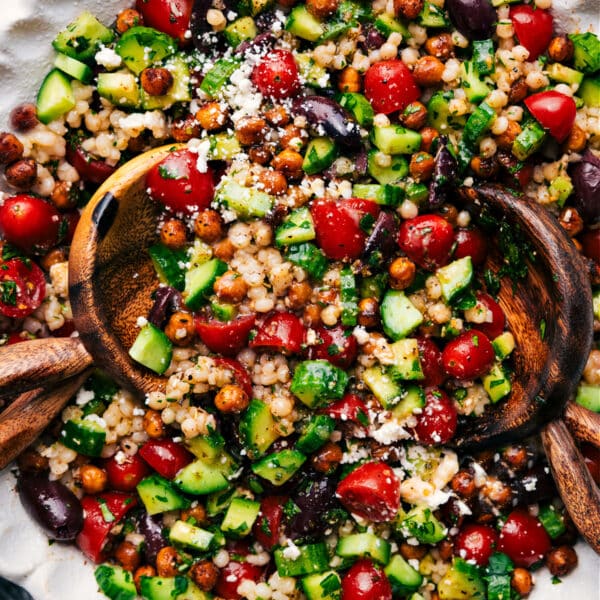
Healthy
Chickpea Salad Recipe
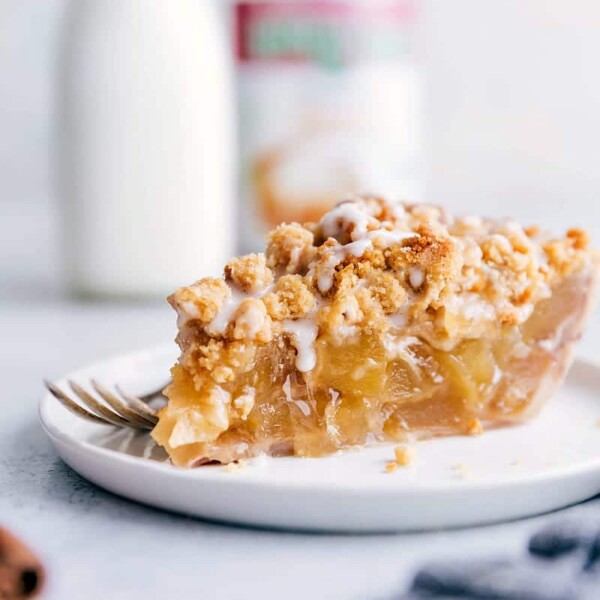
Desserts
Cinnamon Roll Apple Pie
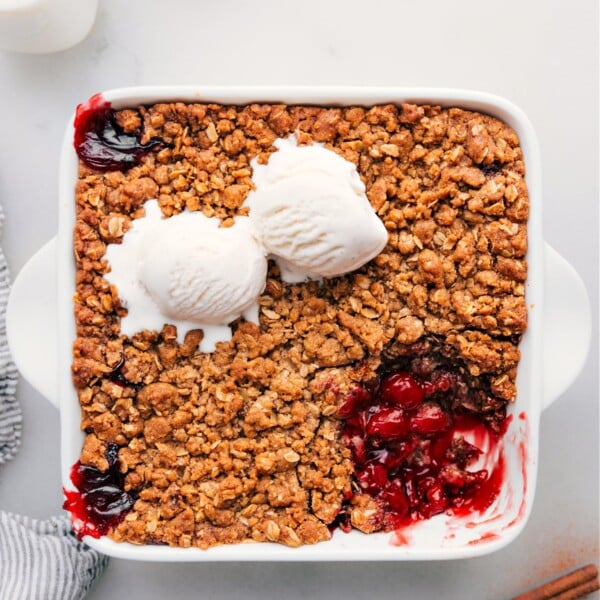
Desserts
Cherry Crisp Recipe
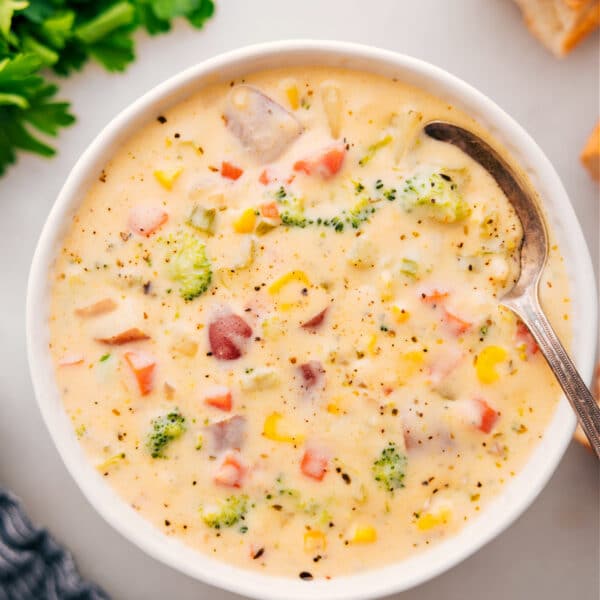
Soups And Stews
Creamy Vegetable Soup
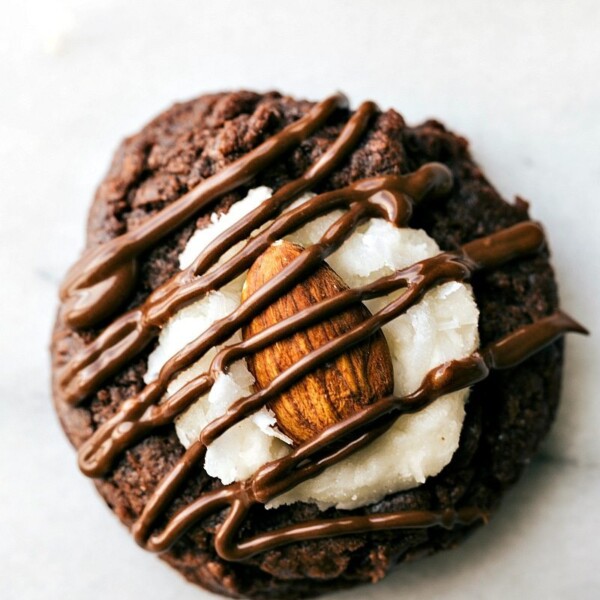
Desserts
Almond Joy Cookies Recipe
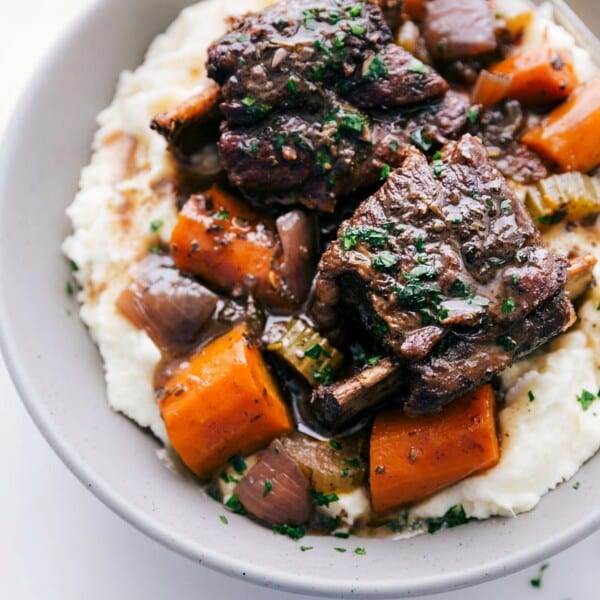
Dinner
Short Ribs Recipe
Dressings