Dinner
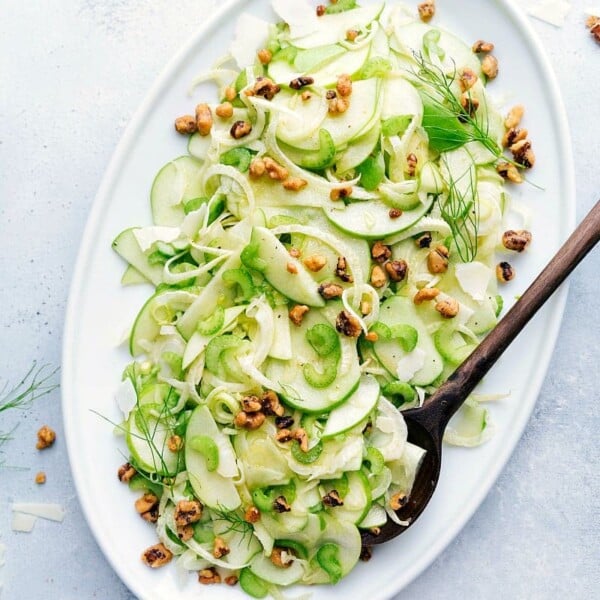
Healthy
Apple Fennel Salad
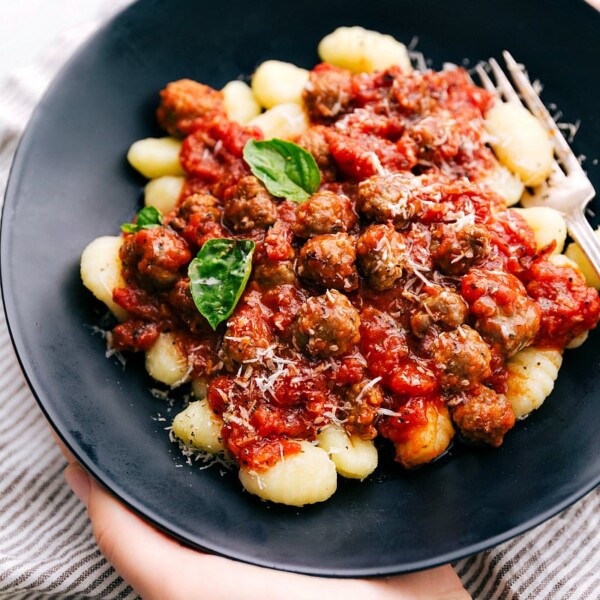
Dinner
Sausage Gnocchi
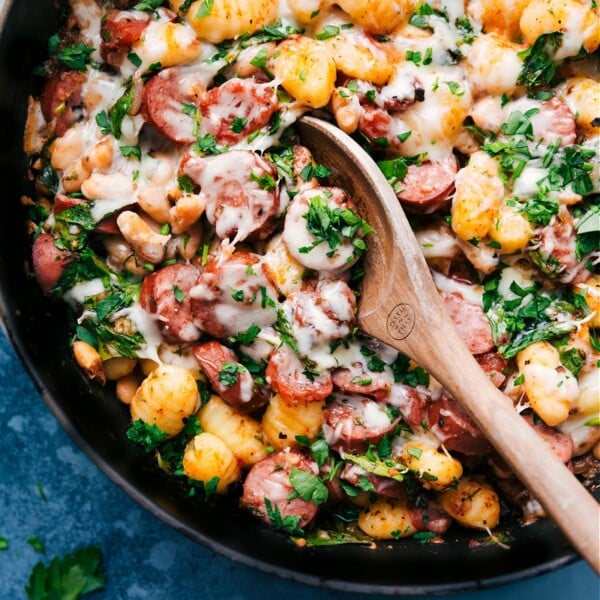
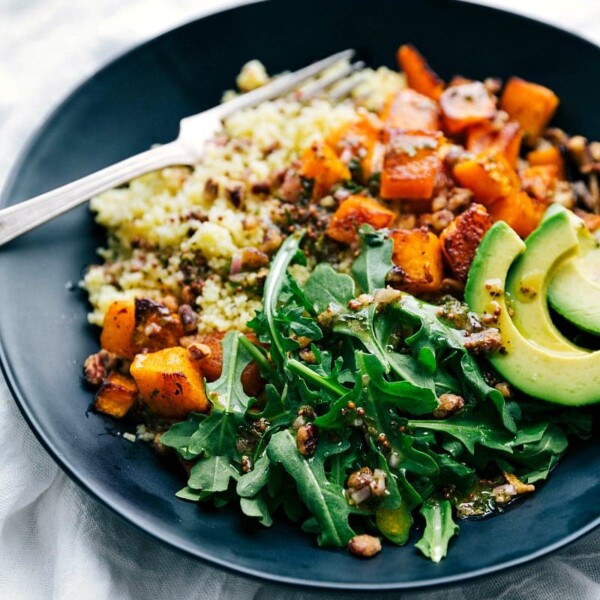
Dinner
Butternut Squash Bowls
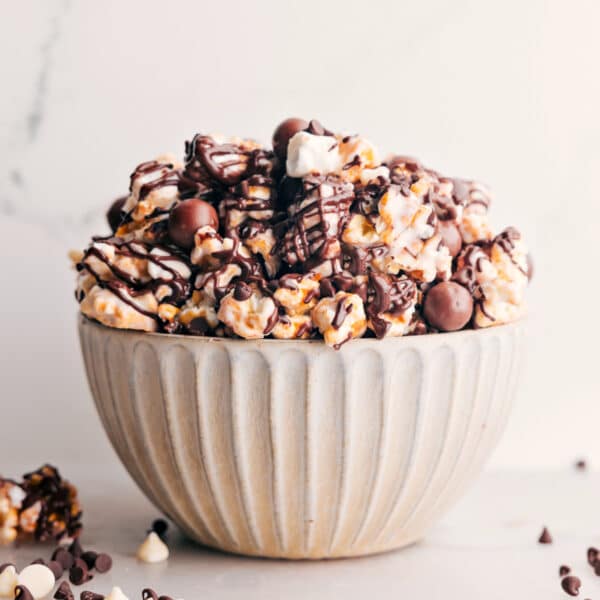
Desserts
Chocolate Popcorn Recipe
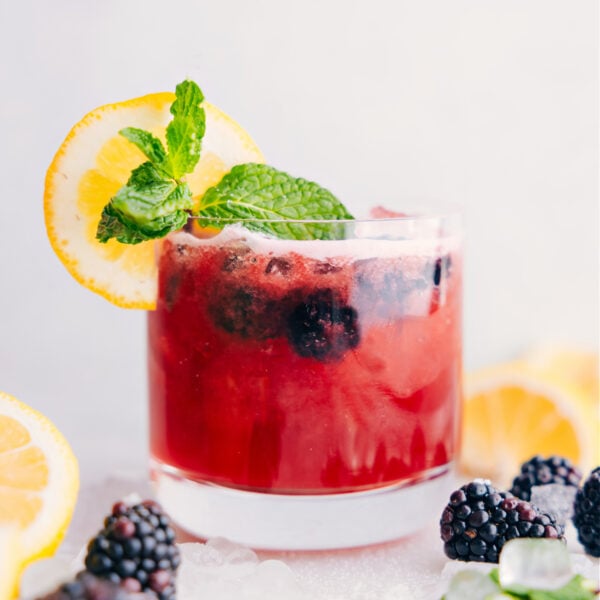
Beverages
Blackberry Lemonade
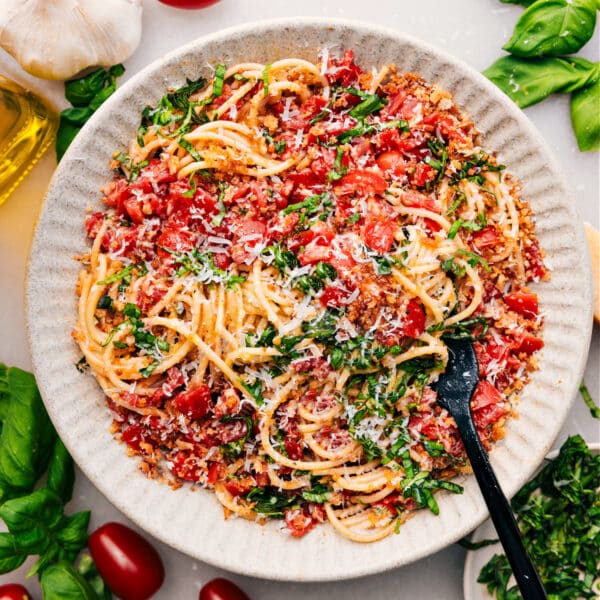
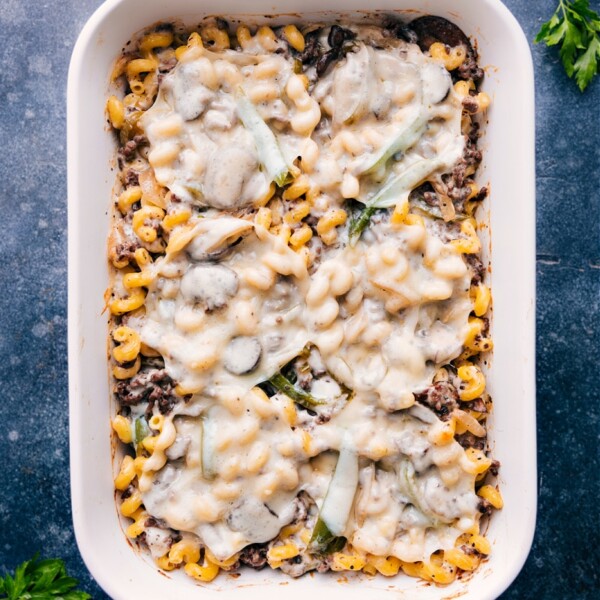
Dinner
Bruschetta Pasta
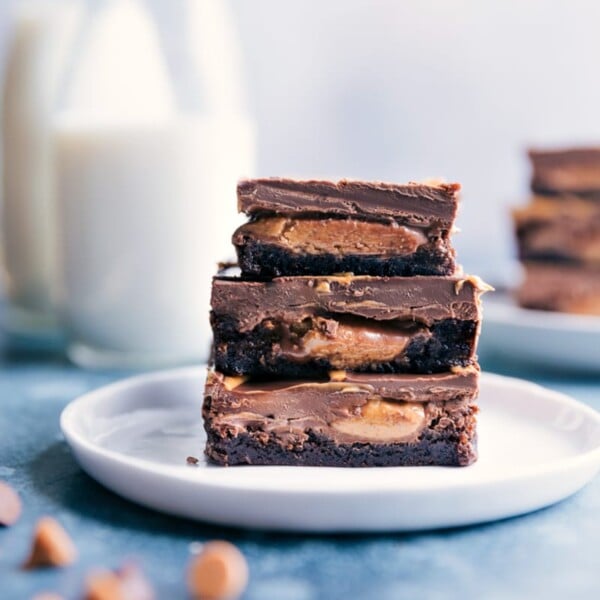
Desserts
Peanut Butter Cup Brownies

Dinner
Chicken Fajita Marinade
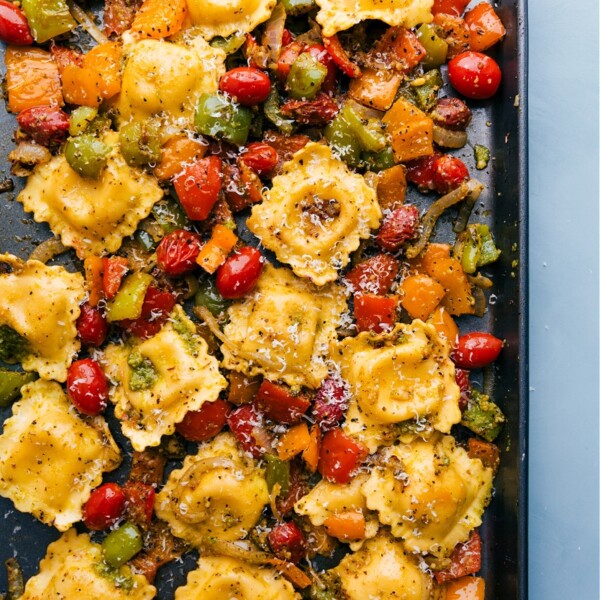
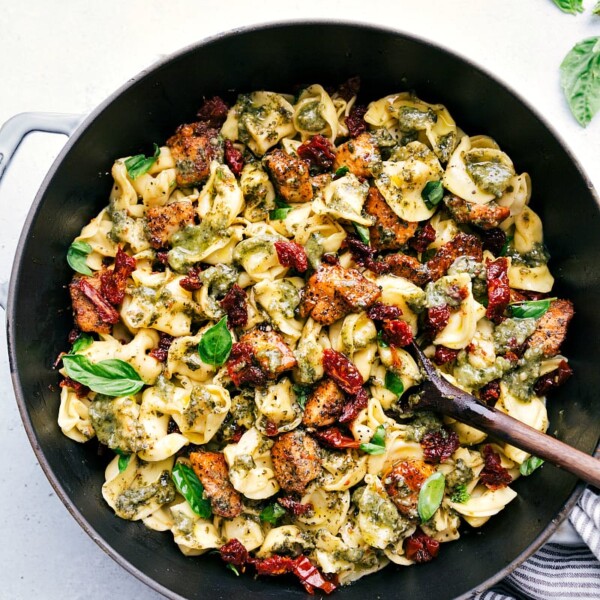
Dinner
Pesto Ravioli
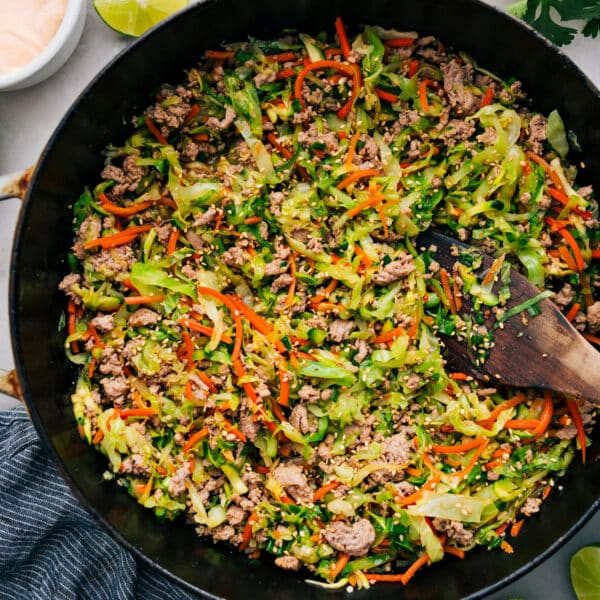
Dinner
Ground Turkey Stir Fry
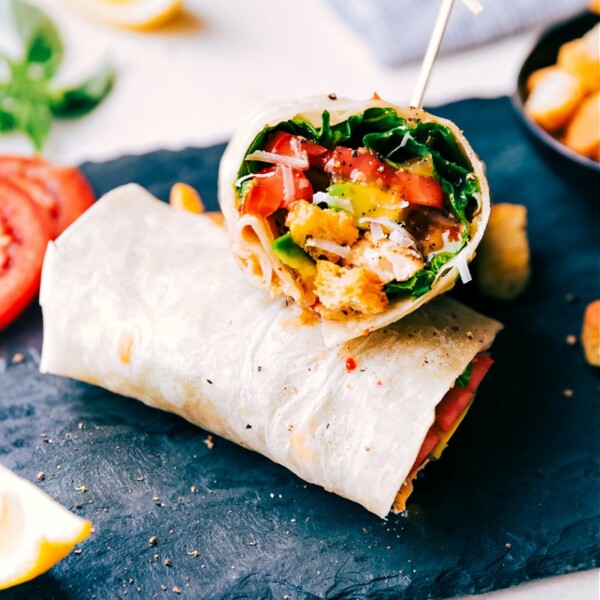
Lunch
Italian Wraps
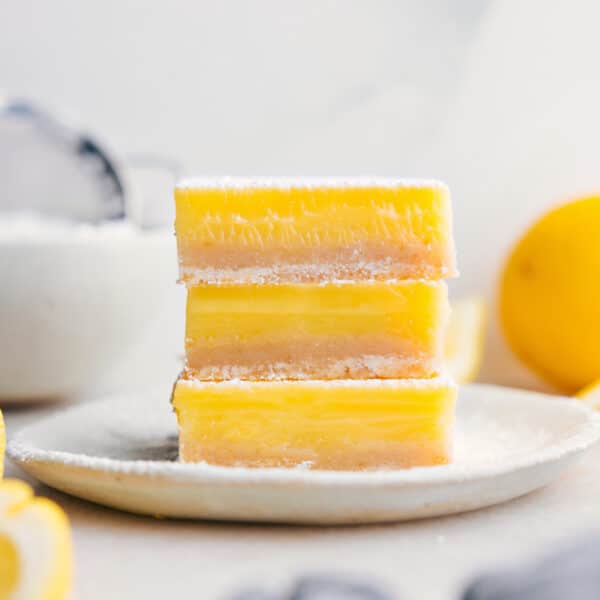
Desserts
The BEST Lemon Bars Recipe
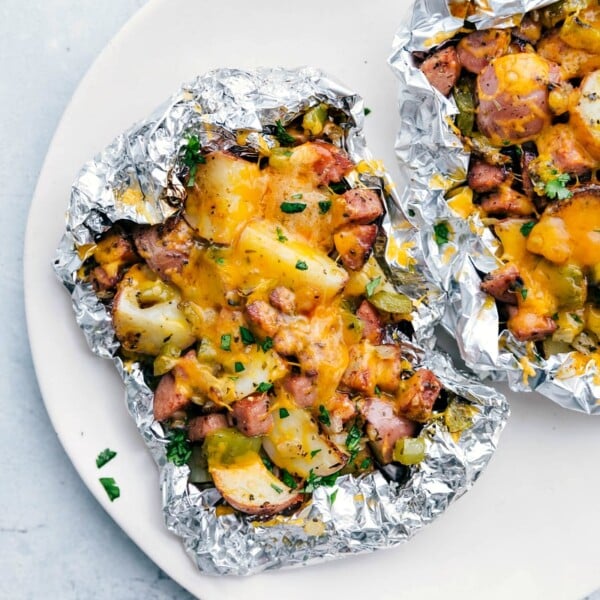
Seafood
Shrimp Foil Packets
Desserts


