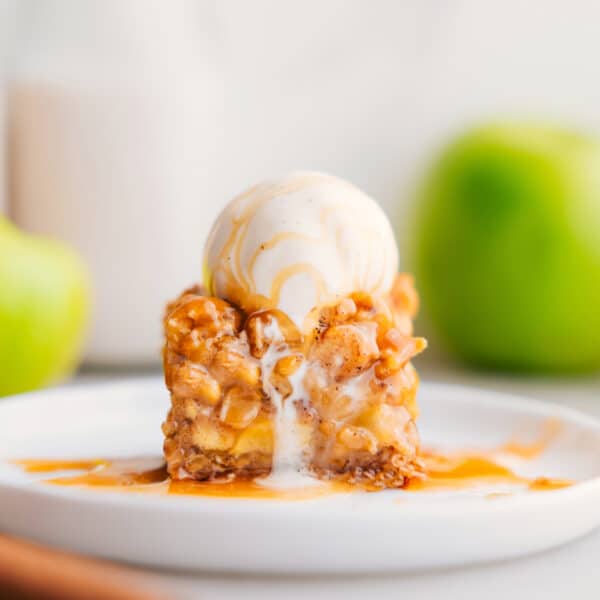
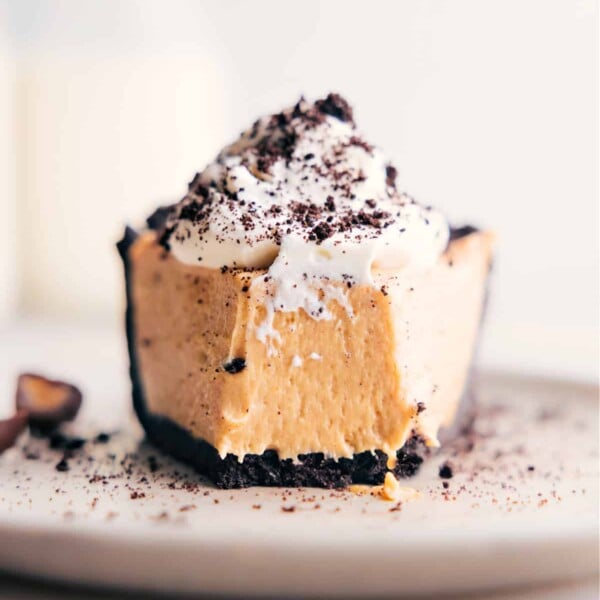
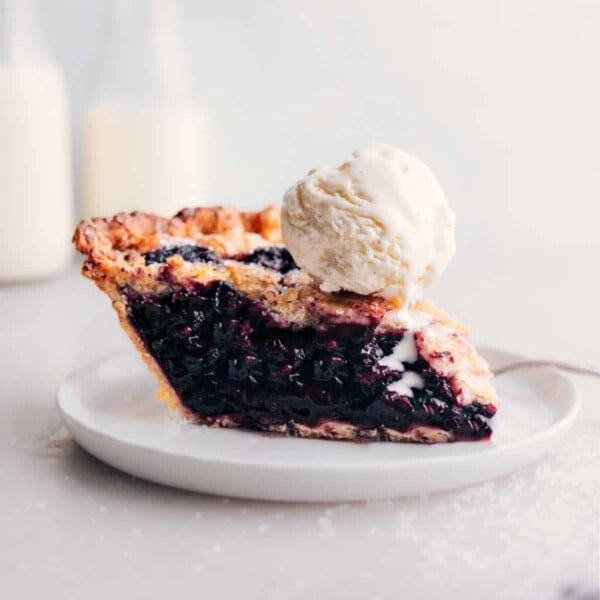
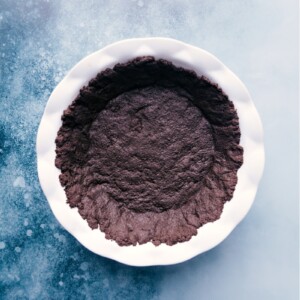
Oreo Pie Crust: You only need three ingredients to make this delicious. It’s sweet, buttery, and the perfect starting point for so many tasty desserts!
Love cookie crumb crusts? You’ll be obsessed with this Graham Cracker Crust too!
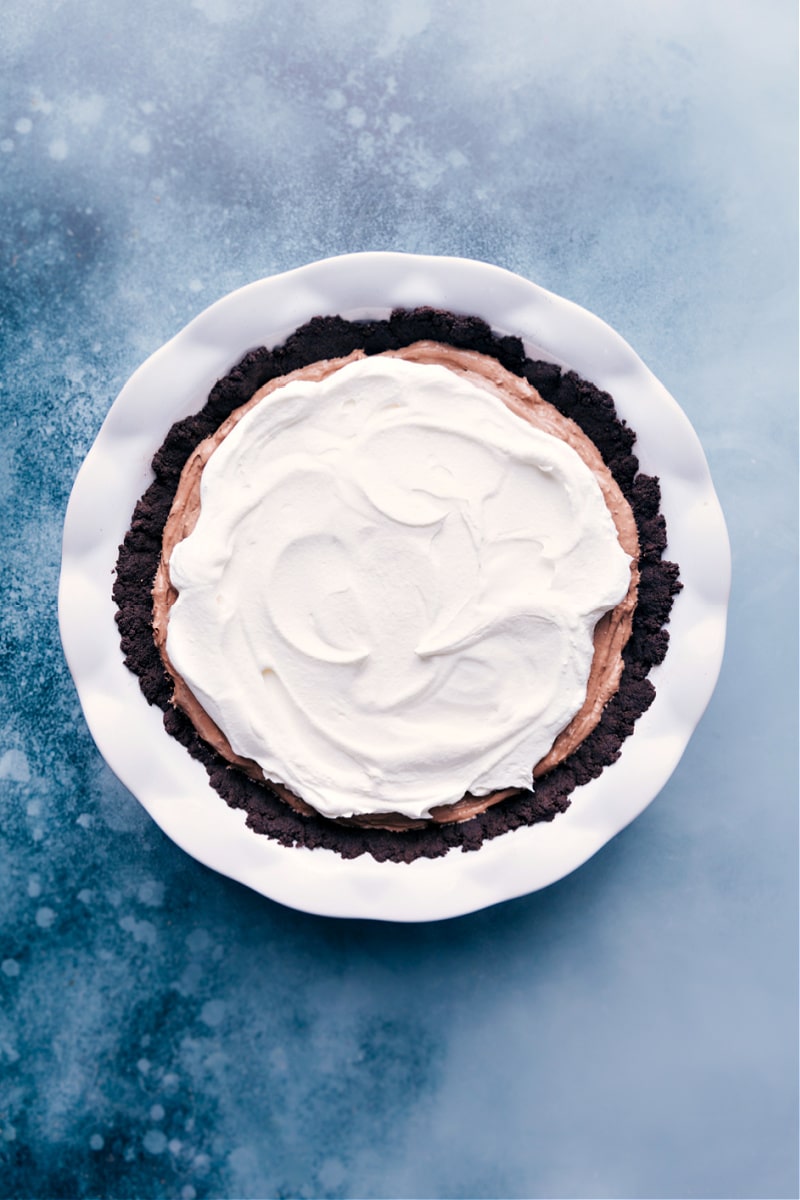
A Simple Oreo Pie Crust Recipe
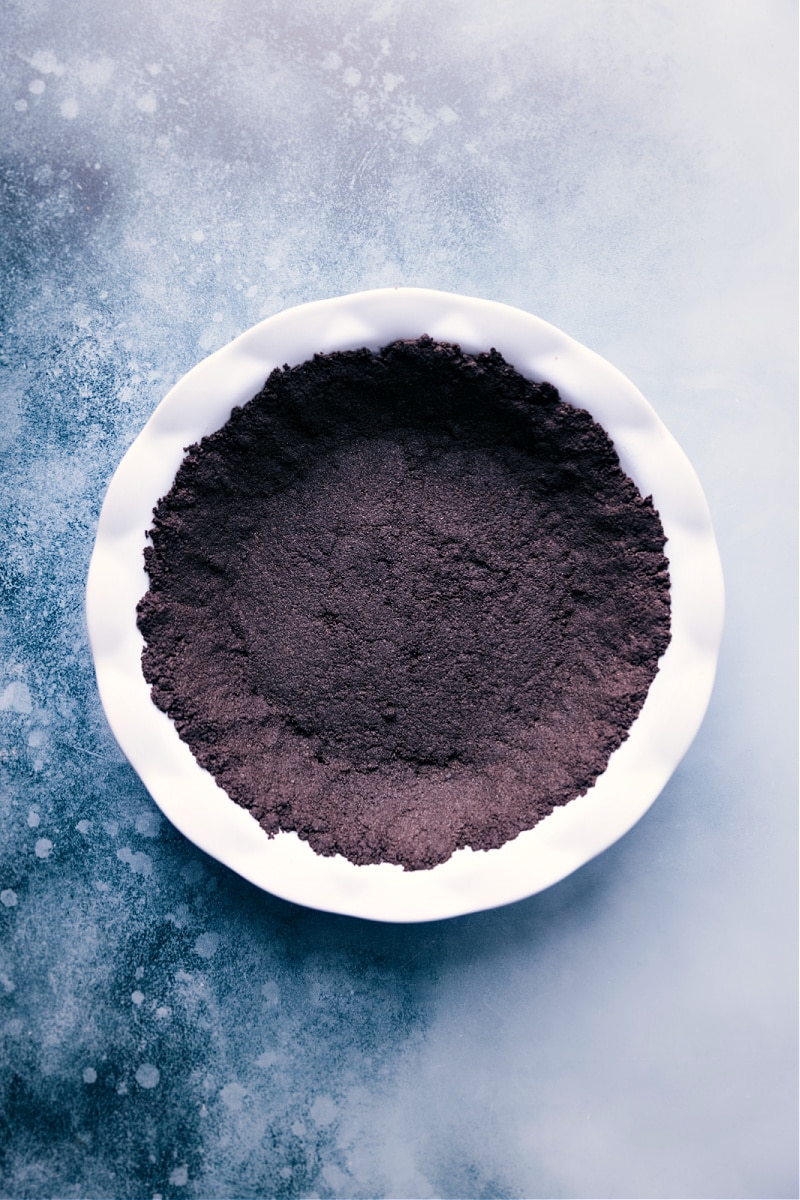
A good Oreo® pie crust is a must-have for so many desserts—think cheesecakes, pies, mini treats, and both baked and no-bake goodies. Sure, you can grab a pre-made Oreo crust from the store, but homemade is always better!
You can whip up this Oreo cookie pie crust in just a few minutes, and it’s ready to be filled with your favorite fillings. Check out some of my favorite ways to use this crust below!
Oreo is a trademarked brand name for a chocolate sandwich cookie made by Mondelez International. For the purposes of this recipe, any chocolate sandwich cookie will work. Quick Tip
What To Make With Oreo Pie Crust
I use this crust in so many recipes! Here are some of my favorite Oreo Pie Crust Desserts:
- Chocolate Peanut Butter Pie with an Oreo crust, filled with a creamy peanut butter center, and topped with chocolate sauce.
- Chocolate Cheesecake with an Oreo crust, the creamiest and richest chocolate filling, and a rich chocolate ganache.
- Oreo Ice Cream Cake: a layered dessert with an Oreo cake crust, cookies & cream ice cream filling, a thick hot fudge layer, and whipped cream topping.
- Grasshopper Pie: an Oreo crust layered with mint chip ice cream and hot fudge, and topped with whipped cream.
- Ice Cream Pie: This pie starts with a cookie crust and layers in two types of ice cream. (Swap out the graham cracker crust for an Oreo cookie crust)
- Nutella Pie starts with an Oreo crust, filled with a creamy hazelnut-chocolate filling, and topped with whipped cream.
- Chocolate Pudding Pie: an Oreo cookie crust, filled with pudding, and topped with whipped cream.
- Mini Oreo Cheesecakes: These individual cheesecakes start with mini Oreo pie crusts and are topped with a creamy cookies & cream cheesecake.
How To Make Oreo Pie Crust
These tips below will help to give you a perfect cookie crust every single time!
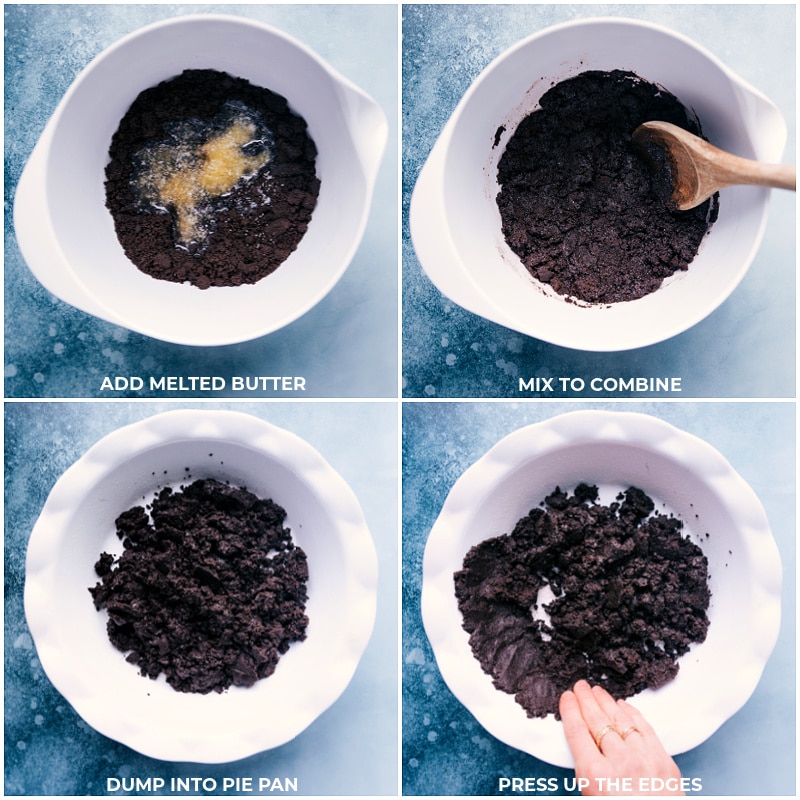
- Let the melted butter cool to room temperature; hot butter will make the crust greasy.
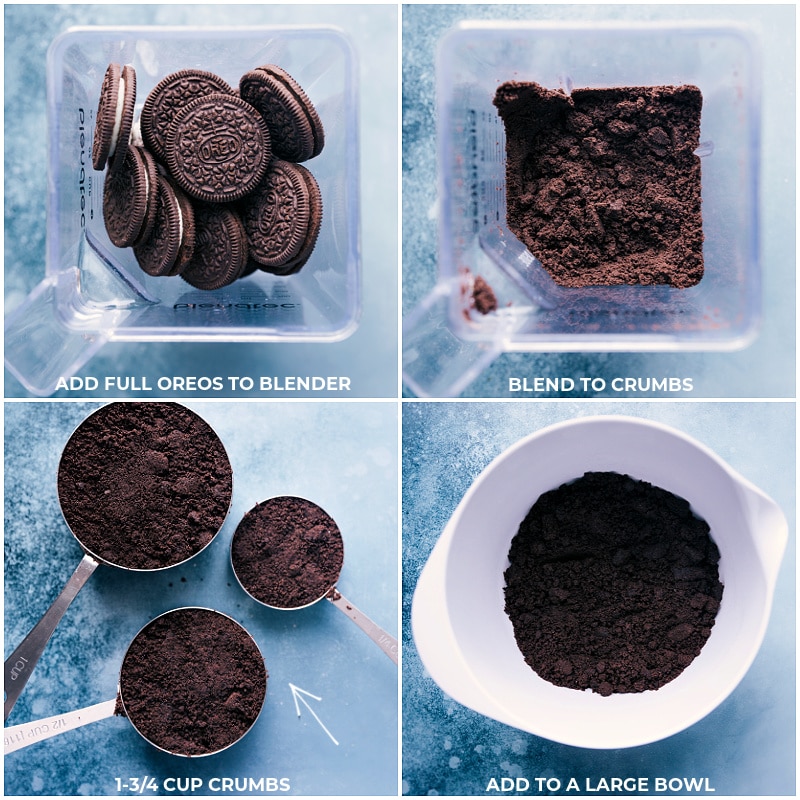
- Measure the crumbs for accuracy instead of guessing. Keep the cookies whole and blend them thoroughly to avoid large chunks.
- Press the crumbs into the bottom of the pan first, then work them up the sides, ensuring an even layer to prevent crumbling.
Quick Tip
Use leftover cookies in our Oreo Popcorn, Oreo Fudge, Oreo Fluff, or to make a few Chocolate Covered Oreos!
Oreo Pie Crust Variation Ideas
- Mint Oreo Crust: Use mint or other flavors like hazelnut or peanut butter instead of regular Oreos to match your filling.
- Muffin Tin Crust: Grease or line a mini muffin tin. Press 1 tablespoon of crust mixture into each cup, chill for 15-20 minutes, bake at 350°F for 10 minutes, then cool and remove. Great for mini Oreo cheesecakes!
- No-Bake Oreo Pie Crust: Freeze for 10 minutes or refrigerate for 20 minutes before filling to set it.
How Do You Keep The Oreo Crust From Crumbling?
Keep the cream in the Oreos for better structure and sweetness. Press the crust mixture firmly into the pan and use all the melted butter. If the crust is too crumbly, add an extra tablespoon of melted butter until it’s moist.
Storage
Storage
Use the Oreo pie crust the same day it’s made for best results. If needed, bake it a day ahead and store it, covered, at room temperature. Don’t leave an unbaked crust uncovered for more than a few hours—it will dry out and become crumbly.
More Chocolate Desserts
- Chocolate Covered Strawberries with a white chocolate drizzle
- Bakery Style Chocolate Cookies massive cookies!
- Chocolate Chia Seed Pudding ultra-creamy and secretly good for you pudding
- Peanut Butter Chocolate Chip Cookies with thick and chewy centers
- Chocolate Buttercream Frosting our favorite frosting recipe!
Oreo Pie Crust
Equipment
- Pie pan 7 to 9-inch
Ingredients
- 4 tablespoons unsalted butter melted
- 1-3/4 cups Oreo cookie crumbs 24 cookies
- 1/8 teaspoon salt optional
Instructions
- Start by melting butter in a microwave-safe bowl. Once melted, set aside to cool for 5 minutes. (Hot butter will cause a greasy crust.) If you will be baking the crust, preheat oven to 350°F (175°C).
- In a blender or food processor, process the full cookies (with cream) until they are all fine crumbs (reblend any large chunks). Measure to get a level 1 and 3/4 cups of crumbs (see note 2) and add to a large bowl.
- Add in salt. Use a spatula to scrape every bit of the melted and cooled butter into the bowl. Gently stir with a wooden spoon until well combined. Spread the mixture into the prepared pan.
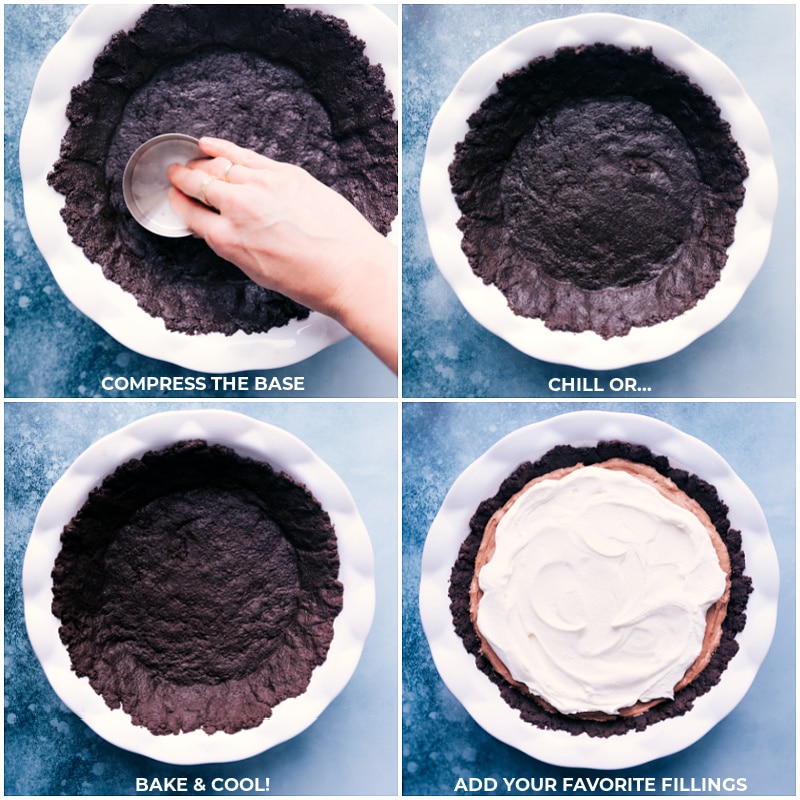
- Using your fingers, press the crumbs into the bottom of the pan and up the sides. Use the bottom of a flat, 1-cup measuring cup to thoroughly compress the Oreo crumbs into a firm crust.
- To bake: Place in preheated oven for 10 minutes and set aside to cool or chill the crust. (If baking, allow the crust to fully cool before adding the filling.) To chill: Cover the formed crust tightly and freeze for 10 minutes or refrigerate for 20 minutes before filling to allow time for the crust to firm up and butter to re-solidify.
Video
Recipe Notes
Nutrition
Nutrition information is automatically calculated, so should only be used as an approximation.
