I tested and perfected this Gelato Recipe in Italy, and now I’m sharing my two favorite versions: rich chocolate and classic stracciatella.


author’s note
Gelato Straight From Italy!
Last summer in Italy, I signed up for a few cooking classes as I traveled through different cities. One of them focused entirely on making Sicilian-style gelato, and from the very first bite, I was obsessed. As soon as I got home, I couldn’t stop making it (and this ragu). It quickly became our go-to treat all summer long.
Now, almost a year later, I’m finally sharing the recipe I’ve been perfecting ever since, along with all the tips and tricks I picked up in that class.


How To Make This Gelato Recipe
- Base: Heat milk and cream, then whisk into the cornstarch mixture. Cook until thick. I recommend a candy thermometer to make sure the mixture reaches the right temp.
- Cool and chill: Let the mixture cool to room temp, then chill in the fridge.
- Churn: Add the chilled base to an ice cream or gelato maker and churn until thick.
- Stracciatella only: Drizzle in melted chocolate and stir in chopped chocolate as it churns.
- Serve or store: Enjoy right away for the best texture, or freeze in an airtight container.

Gelato Recipe FAQs
Gelato can turn icy and hard in the freezer due to its lower fat content. Unlike high-fat ice creams, it doesn’t stay soft and scoopable. I love gelato fresh from the machine, but once frozen, it loses flavor and texture. To avoid that, only churn what you’ll eat the same day.
Gelato has less fat than ice cream, is churned slower for a dense, silky texture, and is served warmer so its flavor shines.
Cool the mixture, pour into a freezer-safe pan, and freeze for 30 minutes. Every 30–45 minutes, whisk to break up ice crystals. Repeat about 6 times until it’s like frozen yogurt, then freeze until ready to eat (about 4 hours total).

Storage
Store this gelato recipe in a shallow, airtight container with plastic wrap pressed on top.
Freeze for up to 2–3 days. Let sit at room temp for 5–10 minutes before scooping. Best enjoyed fresh for ideal texture.
More Frozen Desserts:
Desserts
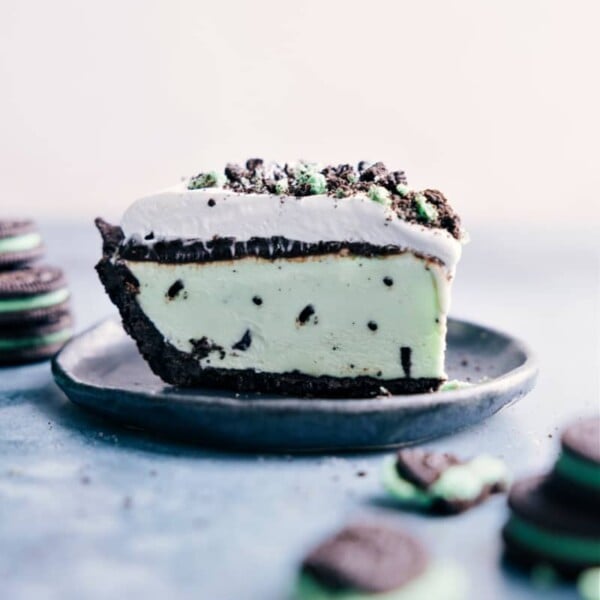
Grasshopper Pie Recipe
Desserts
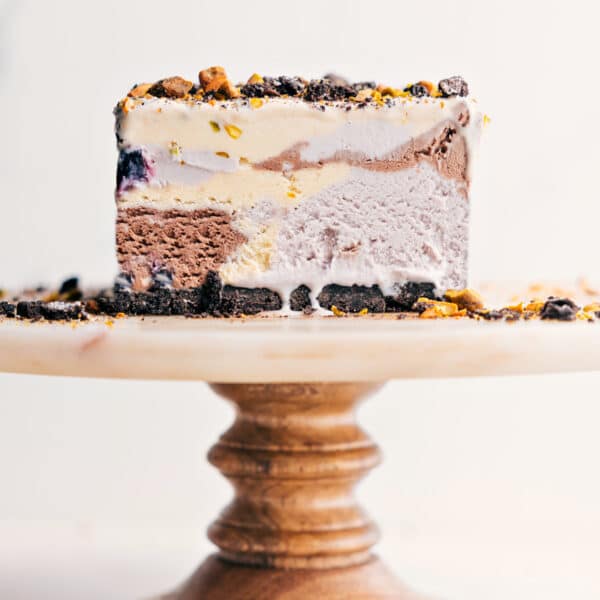
Spumoni Ice Cream Recipe
Desserts
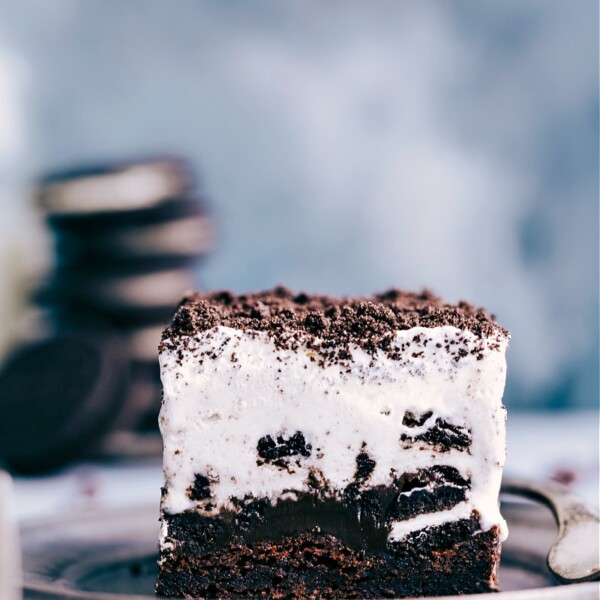
Brownie Oreo Ice Cream Bars
Desserts
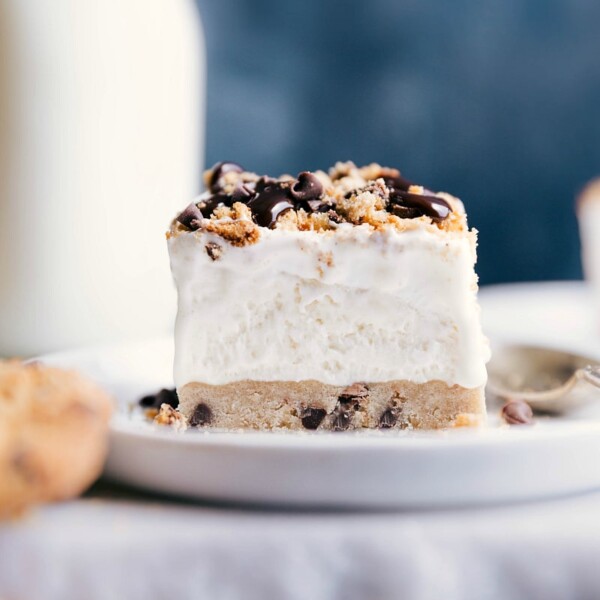
Cookie Dough Ice Cream Bars

Homemade Gelato Recipe
Video
Equipment
- Ice cream maker or gelato maker
Ingredients
- 4 cups whole milk I would not recommend a lower-fat milk or dairy-less alternatives
- 1/2 cup heavy cream
- 3 ounces chopped semi-sweet chocolate I do not recommend milk chocolate in this recipe
- 2 tablespoons Dutch process cocoa powder Hershey’s sells this
- 3 tablespoons cornstarch
- 1/16 teaspoon salt to balance/intensify flavors; less than 1/8 teaspoon
- 1 cup granulated sugar
- 1 teaspoon vanilla extract
- 4 cups whole milk
- 3/4 cup + 2 tablespoons heavy cream
- 3 tablespoons cornstarch
- 1/16 teaspoon salt to balance/intensify flavors; less than 1/8 teaspoon
- 1 cup granulated sugar
- 1-1/2 teaspoons vanilla bean paste or 1/2 of 1 (3-inch) vanilla bean or 2 teaspoons vanilla extract, reduce if sensitive to vanilla
- 3-1/2 ounces chocolate bittersweet, dark, semi-sweet, or milk—whatever you prefer; in Italy we used dark, divided
- 1 teaspoon coconut oil
Instructions
Chocolate Gelato
- In a large pot, bring the milk and cream to a low simmer (mixture above 140°F, but below 175°F).
- Chop the chocolate bar and add to the cream mixture, stirring constantly and using a rubber spatula to scrape the bottom, making sure the chocolate doesn’t settle and burn on the bottom.
- In a large bowl, add together cocoa powder, cornstarch, salt, and granulated sugar. Whisk until ingredients are well combined.
- Using a ladle, start adding the hot milk/cream mixture with the sugar mixture. Whisk constantly to combine, and once combined, add everything back into the pot.
- Warm through, stirring constantly until thickened. A candy thermometer should reach 170°F.
- Once the mixture has reached the temperature and thickened, remove from heat. Set out at room temperature until the mixture cools to room temperature. Stir in the vanilla extract. Cover with plastic wrap, touching the top of the mixture (keeps ingredients from separating). Place the covered bowl in the fridge until it becomes cold, at least 2–3 hours. (Best case: 6 hours)
- Once the mixture is thoroughly chilled, add to an ice cream or gelato maker and follow appliance directions to create gelato. Serve immediately.
- Spoon leftover gelato into an airtight container and place in the freezer. Best eaten within 2–3 days. (I like it fresh out of the machine, otherwise it tends to get icy/too hard in the freezer and consistency and flavor does change the longer it’s in the freezer).
Stracciatella Gelato
- In a large pot, bring the milk and cream to a low simmer (mixture above 140°F, but below 175°F).
- In a large bowl, combine the cornstarch, salt, and granulated sugar. Whisk until ingredients are well combined.
- Using a ladle, start adding the hot milk/cream mixture with the sugar mixture. Whisk constantly to combine, and once combined, add everything back into the pot.
- Warm through, stirring constantly until thickened. A candy thermometer should reach 170°F.
- Once the mixture has reached the temperature and thickened, remove from heat. Set out at room temperature until the mixture cools to room temperature. Stir in the vanilla paste, seeds from bean, or vanilla extract. Cover with plastic wrap, touching the top of the mixture (keeps ingredients from separating). Place covered bowl in the fridge until it becomes cold, at least 2–3 hours. (Best case: 6 hours)
- Once the mixture is thoroughly chilled, add to an ice cream or gelato maker and follow appliance directions to create gelato.
- When the gelato is near finished, combine 2 ounces of chocolate (finely chopped) and coconut oil in a small, microwave-safe bowl. Microwave in bursts of 15 seconds, stirring between each burst for 15 seconds until smooth and melted. Transfer melted chocolate to a plastic bag, seal, and snip off the tip with scissors. Pipe the melted chocolate into the churning gelato to create chocolate ribbons. Finely chop the remaining 1.5 ounces of chocolate to get small chunks. Stir in while the gelato is still churning. Serve immediately.
- Spoon leftover gelato into an airtight container and place in the freezer. Best eaten within 2–3 days. (I like it fresh out of the machine; otherwise it tends to get icy/too hard in the freezer and consistency and flavor does change the longer it’s in the freezer).
Recipe Notes
Nutrition
Nutrition information is automatically calculated, so should only be used as an approximation.


OMG this looks so good! I had no idea you could make your own gelato ? ! Definitely going to try this out?.
Thanks Amy! 🙂
So a cool and refreshing delicious treat.
It really is! Thanks! 🙂
this gelato was so easy and delicious – yum!
I have never heard of Sicilian style gelato. Now I have got to try it because is sounds amazing! I am pinning to try soon.
Yay!! You’ll love it! Thanks! 🙂
I love gelato so much and these recipes remind me of the gelato I ate every day while in Florence!
Ahhh me too!! It’s the absolute best!! Thanks! 🙂
Thanks for sharing! Could you advise how to replace the chocolate for a fruit (mango etc) gelato?
Honestly, I had no idea you could make gelato at home. Definitely trying this over ice cream this summer, I’m super excited!
Loved getting to try gelato all over Italy and this is the perfect homemade version!
Thanks Erin! 🙂