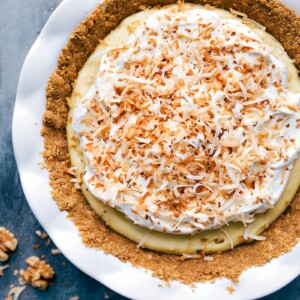
This Coconut Cream Pie Recipe is a family favorite! It has a sweet graham cracker crust, creamy coconut filling, fluffy whipped cream, and toasted coconut flakes on top.


author note
In-Law Approved Pie Recipe!
A few weeks ago, my sister called in a total panic. She had just found out she was in charge of pie for her first Thanksgiving with her in-laws. She told me her husband and new father-in-law were obsessed with Coconut Cream Pie, but it had to be perfect. So of course, I made it my mission to create the ultimate version that would knock their socks off.
After a few tests (and plenty of coconut cream taste-testing), this was the winner, and honestly, it might be my favorite pie I’ve ever made. I’m not kidding when I say this one will blow your mind. It’s creamy, rich, and layered with so much coconut flavor that it’s impossible not to fall in love. It became an instant Thanksgiving tradition in her house and in mine too.


Ingredients
| Ingredient | Swaps or tips |
|---|---|
| Graham cracker crumbs | Vanilla wafer crumbs work great. Press very firm for clean slices. |
| Unsalted butter | Salted butter works too—just skip added salt in the crust. |
| Granulated sugar | Light brown sugar adds a hint of caramel flavor in the crust. |
| Cornstarch | Arrowroot powder can work but gives a slightly looser texture. |
| Egg yolks | Use large yolks. Save whites for meringue cookies if you’d like. |
| Full-fat canned coconut milk | Don’t use lite or carton coconut milk—it won’t set up properly. |
| Heavy cream | Half-and-half will be thinner. I don’t recommend regular milk. |
| Vanilla bean paste & Coconut extract | Vanilla extract works well too. Start small and taste as you go. |
| Shredded coconut | Toast before topping for crunch and color, or fold some into the custard for texture. |

How To Make Coconut Cream Pie Recipe
- Crust: Blend graham crackers, mix with sugar and butter, press into a pie pan, bake.
- Custard: Off heat, whisk sugar, salt, cornstarch, yolks, coconut milk, and cream.
- Cook: Heat over medium, whisking constantly until thick and bubbling.
- Finish: Remove from heat, whisk in butter, vanilla, and coconut extract until smooth.
- Fill and chill: Spread into the crust, cover with plastic wrap, and chill until firm.
- Top and serve: Whip cream with sugar and vanilla, spread on top, add toasted coconut, slice, and enjoy.

Pro Tips For Perfect Texture
- Use full-fat canned coconut milk. Lite milk will not set as firm.
- Watch for the bubbles. Once the custard bubbles in the center, whisk for a full minute to activate the cornstarch.
- Plastic wrap on the surface. Stops a skin from forming and keeps layers from separating.
- Cool crust fully. Warm crust plus warm custard can get soggy.
- Add extract last. Flavor blooms as it rests, so start small and taste.

Coconut Cream Pie Recipe Make-Ahead Plan
- Day 1: Bake crust. Cook custard. Fill pie. Chill overnight.
- Day 2: Whip cream, toast coconut, top, and serve.
- Store: Keep covered in the fridge. Best within 2 to 3 days for peak texture.

Storage
- Fridge: Cover this coconut cream pie recipe tightly and refrigerate 5 to 7 days. The crust softens a little more each day.
- Freezer: I do not recommend freezing. The custard can weep and the crust turns soft.

Quick Tip
Give yourself plenty of time for this Coconut Cream Pie. It needs at least 8 hours in the fridge to fully set before serving.
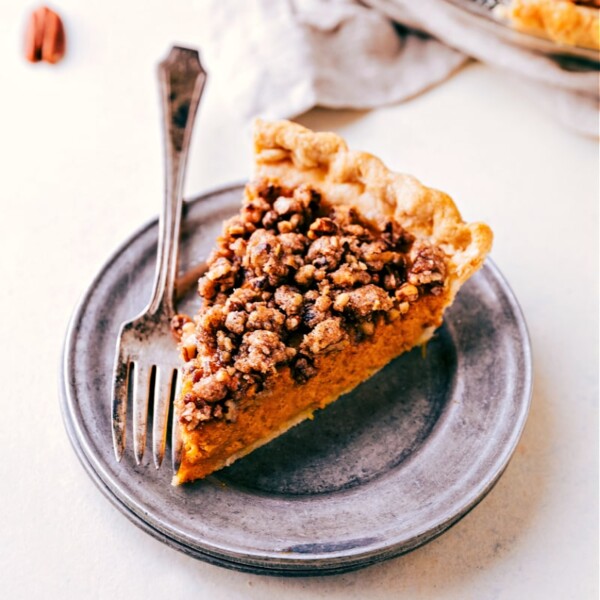
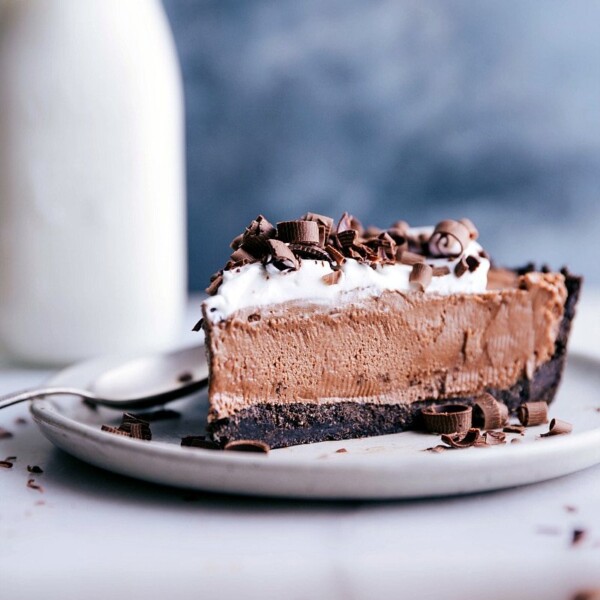
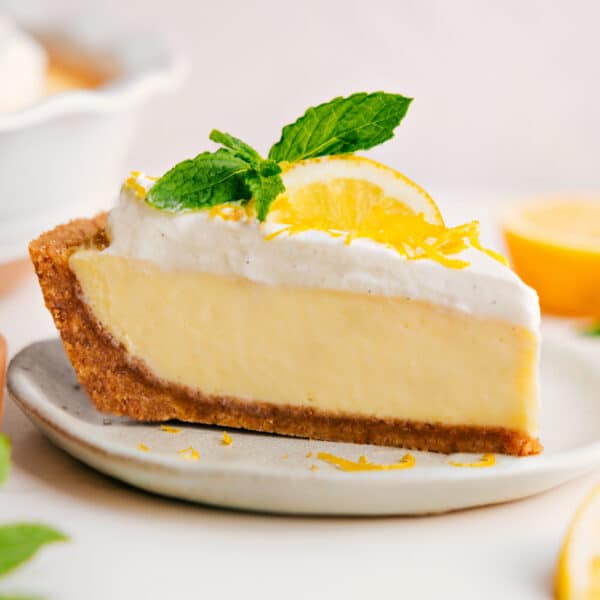
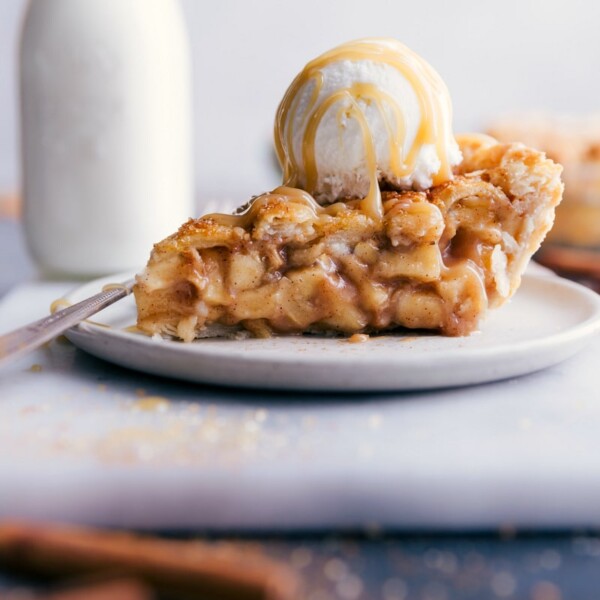
More Delicious Pie Recipes:
Coconut Cream Pie
Video
Equipment
- Pie pan 9-inch
- Blender or food processor
- Stand mixer for whipped topping
- Large skillet for toasting coconut
Ingredients
- 1-3/4 cups graham cracker crumbs 12–13 full sheets
- 6 tablespoons unsalted butter melted
- 1/4 cup granulated sugar or light brown sugar
- 1/8 teaspoon salt
- 3/4 cup granulated sugar
- 1/2 teaspoon salt
- 1/4 cup cornstarch
- 4 large egg yolks discard the whites or save for a different recipe
- 1 (13.5-ounce) can coconut milk full-fat
- 1 cup heavy cream
- 2 tablespoons unsalted butter
- 1 teaspoon vanilla bean paste or vanilla extract
- 1/4 to 1 full teaspoon coconut extract see note 1
- 1 cup heavy cream
- 2 to 4 tablespoons powdered sugar
- 1/2 teaspoon vanilla bean paste or vanilla extract
- 1 cup sweetened shredded coconut optional
Instructions
Crust
- Preheat oven to 350°F (175°C). Lightly grease a 9-inch pie pan with cooking spray. Melt the butter in a microwave-safe bowl. Once melted, set it aside to cool for 5 minutes to prevent a greasy crust.
- In a blender or food processor, process graham crackers into fine crumbs, reblending any large chunks. Measure the crumbs and transfer to a large bowl. Add the sugar and salt. Pour in the melted butter and mix until well combined.
- Pour crumb mixture into prepared pan. Press crumbs firmly along the sides and bottom of the pan using your fingers. To create a solid crust, use the bottom of a flat 1-cup measuring cup to thoroughly compress the crumbs. Bake for 10 minutes, then remove from oven and allow to cool completely. You can prepare and bake the crust up to 24 hours in advance. Cover with plastic wrap and store at room temperature.
Filling
- In a medium pot, off heat, combine the sugar, salt, and cornstarch. Whisk together until well mixed. Add egg yolks and whisk until combined. While whisking constantly, pour in coconut milk followed by heavy cream. Continue whisking until all ingredients are fully integrated. Place pot on stove over just below medium heat. Whisk occasionally as the mixture heats up, alternating between whisking and using a rubber spatula to scrape the sides and bottom of the pot to prevent cornstarch from sticking.
- As soon as the mixture begins to thicken, start whisking constantly. When you see large bubbles forming in the center, set a timer for 1 minute and continue whisking constantly. If bubbling becomes too intense, reduce heat slightly. The mixture should thicken significantly, reaching a pudding-like consistency. After 1 minute, remove pot from heat (see note 2).
- Whisk off the heat for another full minute. Add the butter and whisk until fully melted. Then, add vanilla and coconut extract to taste (I add 1 tsp vanilla and 1/2 up to 1 tsp coconut extract). Whisk until the mixture is completely smooth.
- Use a spatula to transfer mixture from the pot into the cooled crust, smoothing the top with the spatula. Gently place a piece of plastic wrap directly on the surface of the filling, pressing lightly to create a seal. This will prevent a skin from forming on the pudding. Refrigerate for at least 8 hours or until the filling is fully set.
Topping
- Pour the heavy cream, powdered sugar (start with 2 tbsp and add up to 2 more if you prefer a sweeter taste), and vanilla into a bowl attached to a stand mixer. Whisk on low speed to combine the ingredients, then gradually increase to high speed. Whisk until medium-to-stiff peaks form, about 2–4 minutes. Be careful not to overbeat. Smooth the whipped cream over the pie.
- Toast the unsweetened coconut in a large skillet over low-to-medium heat, stirring frequently, until mostly golden brown, about 3–6 minutes. Remove from heat and transfer to a plate to cool completely. Once cooled, sprinkle evenly over the pie.
Recipe Notes
- When mixing the custard, look for large bubbles forming in the center of the pot. Once you see these bubbles, whisk briskly and constantly. The mixture should be very thick at this point, resembling the consistency of a thick pudding snack cup.
- Remember, the custard will thicken slightly as it cools, but it should already be very thick before adding it to the crust.
Nutrition
Nutrition information is automatically calculated, so should only be used as an approximation.
Coconut Cream Pie Recipe FAQs
Use full-fat canned coconut milk for the best set and balanced flavor. Coconut cream is thicker and can make the custard overly rich and stiff. Cream of coconut is sweetened and will throw off the texture and sweetness.
Common causes are lite or carton coconut milk, not cooking past the first thickening, or measuring cornstarch light. Cook to big bubbles and whisk for 1 full minute.
Yes. Chill the filled pie overnight. Add whipped cream and toasted coconut right before serving.


This pie is absolutely delicious! I can’t wait to make it again!
Need this recipe
This turned out SO good!! We’re making this again! Delicious!!
Yay!! I’m soo happy you enjoyed this! Thanks for your comment! 🙂
This coconut cream pie is the BEST dessert recipe! The whole family will love this!
Hi! I’m thinking of making this for Thanksgiving! If I’m making it before, should I keep the whipped topping separate until just before serving? Or can I completely assemble the pie the day before?
I’d keep the whipped topping separate and add right before serving 🙂 Enjoy!!
I know what I will be making for dessert tonight! This is the perfect cure for my sweet tooth!
This is now everyone’s favorite dessert!!