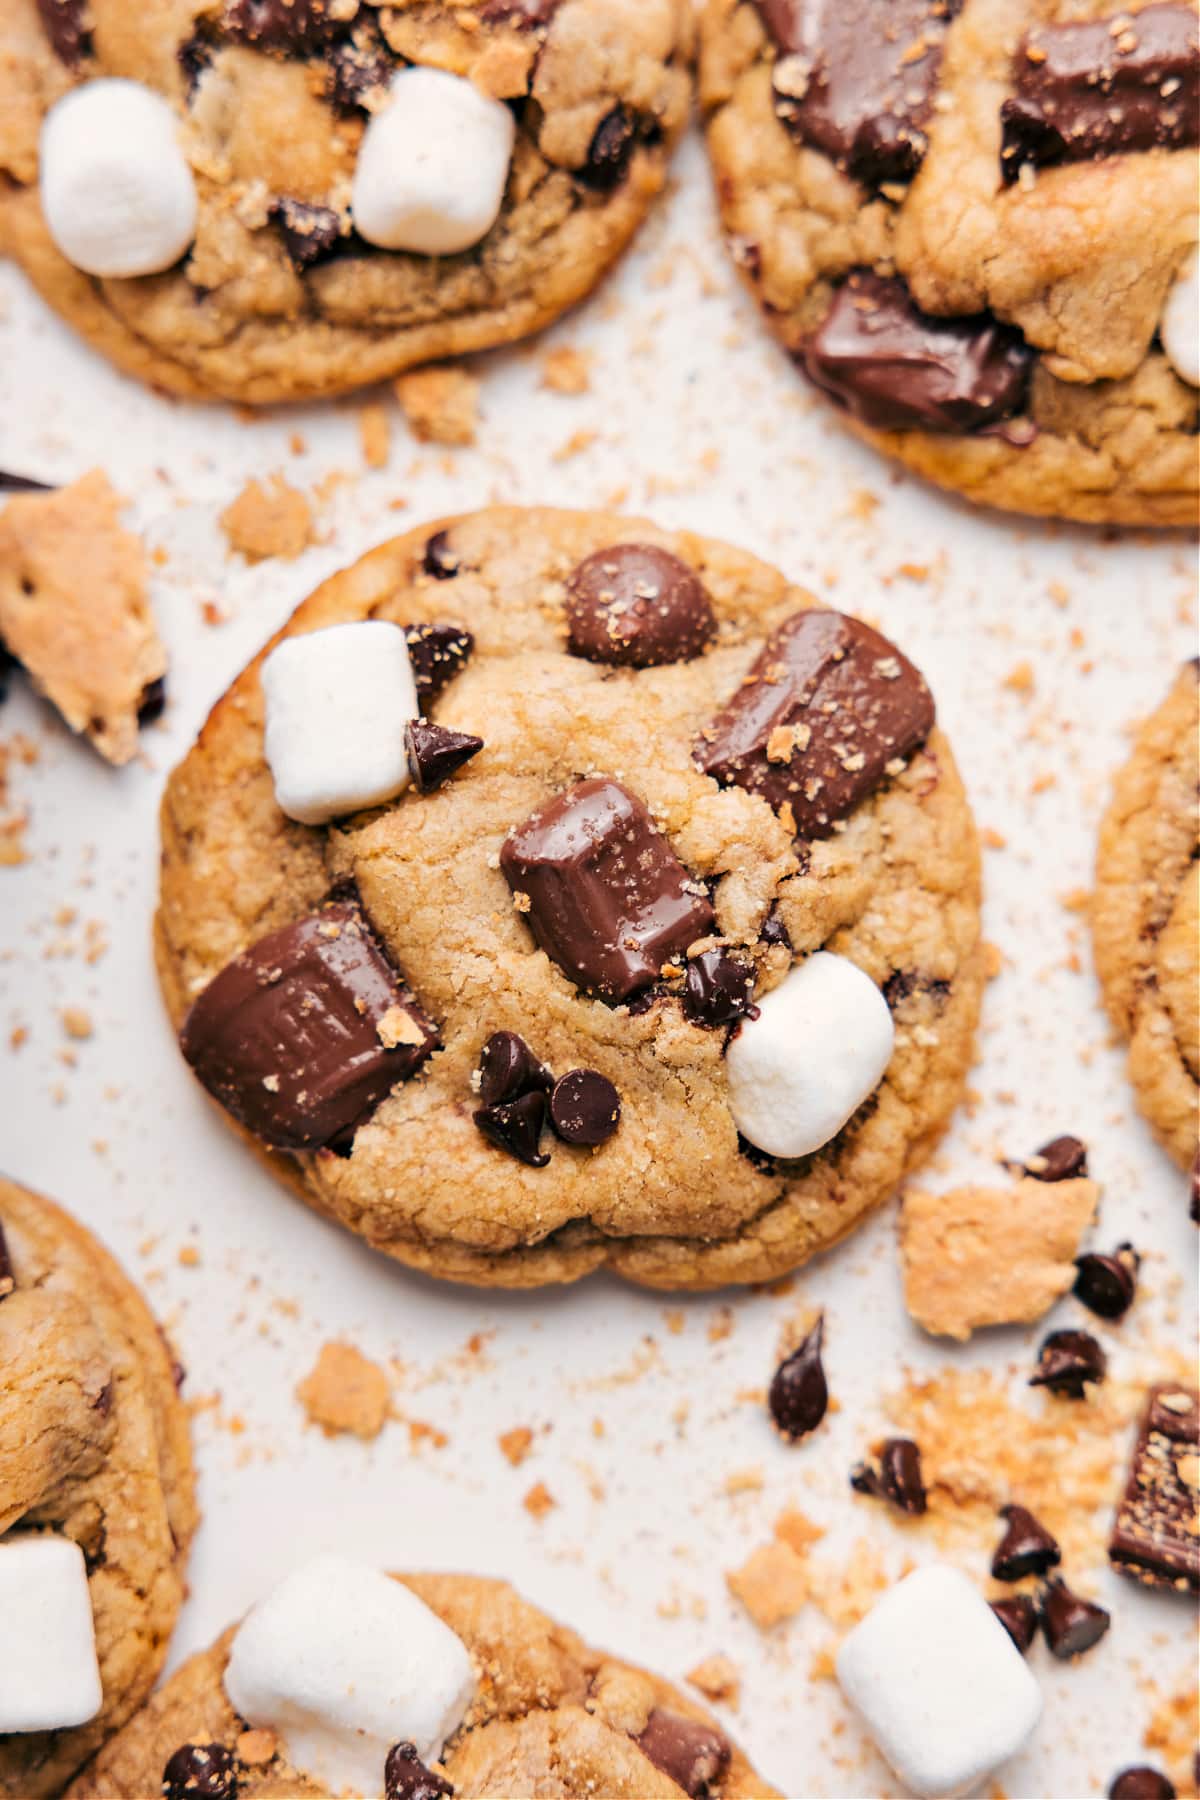
Bakery-style, soft & chewy, S’mores Cookies are loaded with all the S’mores must-haves: graham crackers, marshmallows, and loads of chocolate! We replace some of the flour with crushed up graham crackers which gives these cookies an irresistible sweetness and a unique flavor!

S’mores Cookies

These cookies have all the typical components of good S’mores: graham crackers, chocolate, and marshmallows. But, these are not just any s’mores cookie. These are ultra chewy, thick, soft, and loaded with flavor. They’re rich and sweet with pools of melted chocolate and bites of gooey sweet marshmallows.

S’mores Cookies have slightly crisp edges with thick and ever-so-slightly underbaked centers that result in the softest & chewiest centers — yum!

Quick Tip

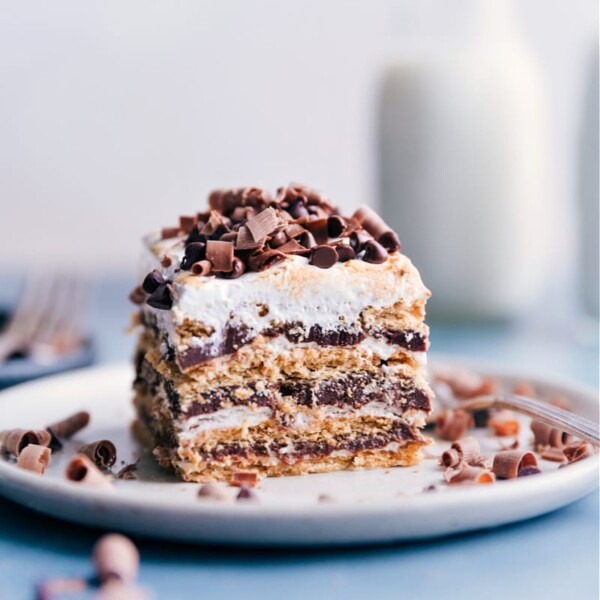
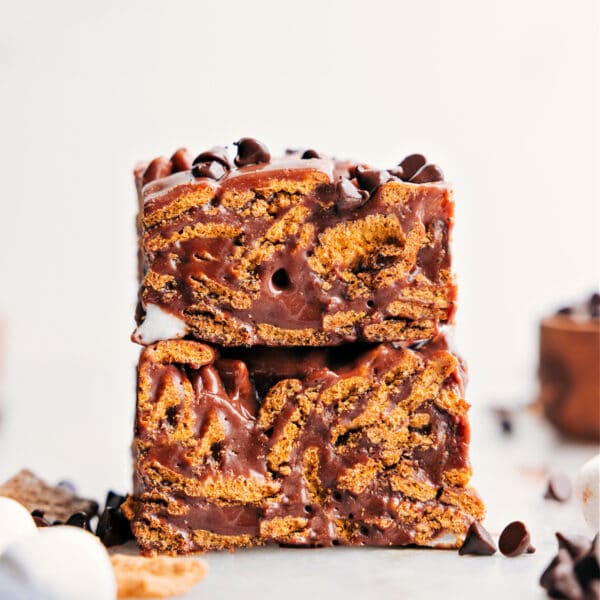
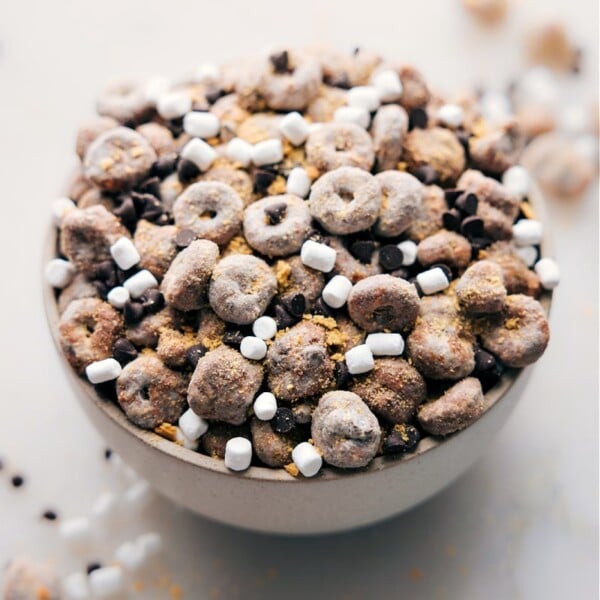
Love S’mores treats? Us too! Try some other favorites next: S’mores BarsS’mores Energy BitesS’mores Cookie BarsS’mores PizookieS’mores Fudge.

Graham Crackers

For the cookie base, there are actual graham crackers mixed into the dough. This creates a strong graham presence and flavor and contributes to the softness and sweetness of the cookies.

A couple of tips:

  • Thoroughly crush the graham crackers. While you can crush the graham crackers in a bag with a rolling pin, I highly recommend a high-powered blender or food processor. It’s important to have fine crumbs throughout the entire cup of graham crackers. If you have larger un-crushed chunks it will mess up the texture of the cookies.
  • Measuring. Once the crackers are thoroughly crushed, we can get the exact measurement. Spoon the crushed crumbs into a measuring cup making sure to fill the cup to the very top and level off the top with the back of a table knife. While the crumbs don’t necessarily need to be packed into the measuring cup, be sure to completely fill the cup to get the right measurement.

S’mores Cookies Add-Ins

Beyond the graham cracker addition in the form of graham cracker crumbs, we also need to get chocolate & marshmallows in these cookies, and this recipe delivers! We add not one, not two, but THREE types of chocolate to these cookies and miniature marshmallows!

  • Regular chocolate chips. Our favorite chips to add in S’mores cookies are milk chocolate chips made by Ghirardelli® or Guittard® (not sponsored). If you’re worried about sweetness or simply prefer a different type of chocolate chip, any will work here (dark, semi-sweet, even white).
  • Miniature chocolate chips. To speckle these cookies with even more chocolate as well as a slightly different chocolate flavor and texture (smaller chips), we like to use semi-sweet miniature chocolate chips. 
  • Hershey’s chocolate bar. Finally, to truly tie together the “S’mores” part of cookies, there has to be some Hershey’s chocolate in it! We coarsely chop the chocolate bars and press pieces of the chocolate on top of the cookies after partially baking the cookies. This adds yet another variation in chocolate flavor and a slightly different texture since these chocolate bars aren’t baked in the cookies for as long.
  • Miniature marshmallows. The marshmallows are added near the end of the baking time so they aren’t baked for long. This keeps them soft and ultra chewy. It’s important to get the softest and freshest possible marshmallows for best S’mores Cookie texture. The softer the marshmallows the better they soften and partially melt and the better these cookies taste!

S’mores Cookies Tips

  • Correctly measure the flour. If you press a measuring cup into a bag of flour and scoop, you will pack in way too much flour which affects the texture of these cookies. To properly measure your flour, spoon the flour into the measuring cup until its overfilled. Then use the back of a butter knife to level the measuring cup at the top. (Video visual here)
  • Use fresh ingredients. For the softest and best possible cookies, use fresh and soft brown sugar and fresh baking agents.

S’mores Cookies Tips Continued

  • Use a Silpat® liner. The cookies end up with much softer bases when baked on a lined sheet pan.
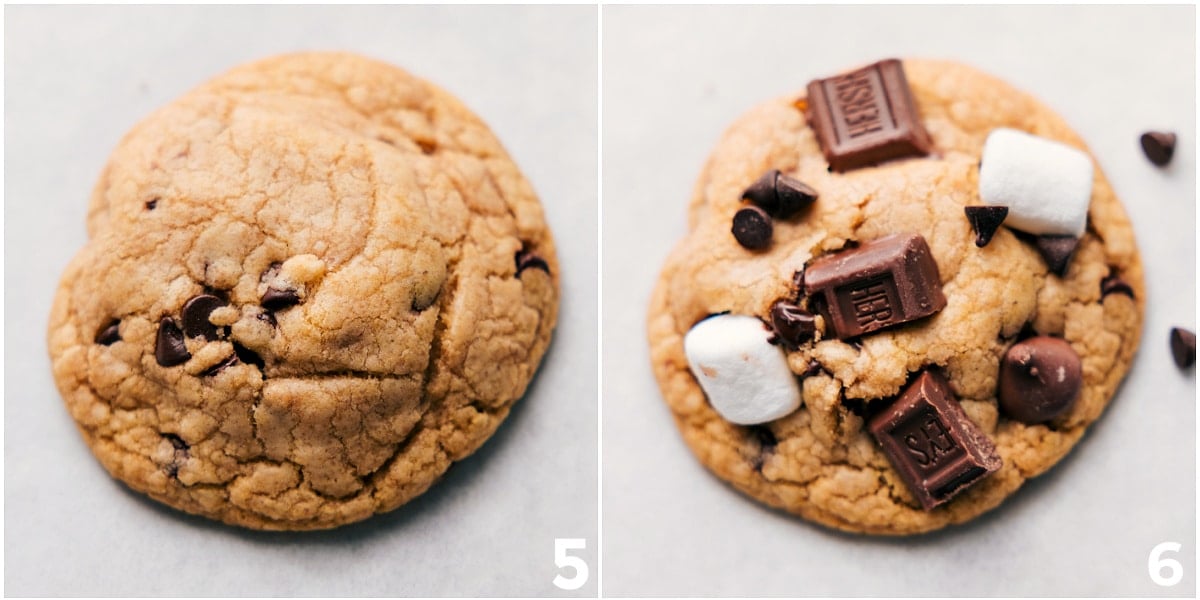
  • Press the edges of the cookies in. Working quickly, right out of the oven, use the back of a large spoon to press the edges of the cookies into the center. (See the picture below for a visual!). This creates really great crispy edges and ensures the cookie has a nice chewy center. You’ll need to work quickly as the cookies set up quickly and resist being pressed inwards after sitting out for more than a minute or two.

  • Store S’mores Cookies in an airtight container at room temperature. They’re best enjoyed the first day they are made because of the marshmallows in them. They’ll last longer than that but the marshmallows do harden and lose their softness and chewiness. We recommend freezing the cookie dough balls as opposed to baked cookies (see next bullet point).
  • Instead of freezing already-baked cookies, freeze the dough! Drop the cookie dough balls on a large sheet pan and freeze until solid. Once solid, transfer the frozen cookie dough balls to an airtight container or bag and freeze for up to three months. To bake: You can bake these S’mores Cookies straight from the freezer. There is no need to thaw, but you may need to add a few extra minutes to the baking time before pulling them out to add marshmallows and chocolate on top.

Quick Tip

These cookies call for one large egg and one egg yolk. The additional egg yolk contributes to richer flavor and softer texture. You can save the egg white and add it to breakfast the next morning (we love this egg skillet) or use it in our favorite egg wrap.

No ratings yet

S'mores Cookies

These bakery-style S'mores Cookies are soft, chewy, and packed with all the essentials: gooey marshmallows, melted chocolate, and crushed graham crackers.
Prep Time: 25 minutes
Cook Time: 11 minutes
Chilling Time: 1 hour
Total Time: 1 hour 36 minutes
Servings: 23 cookies

Equipment

  • Blender or food processor
  • Parchment paper
  • Sheet pan
  • Cooling Rack

Ingredients 
 

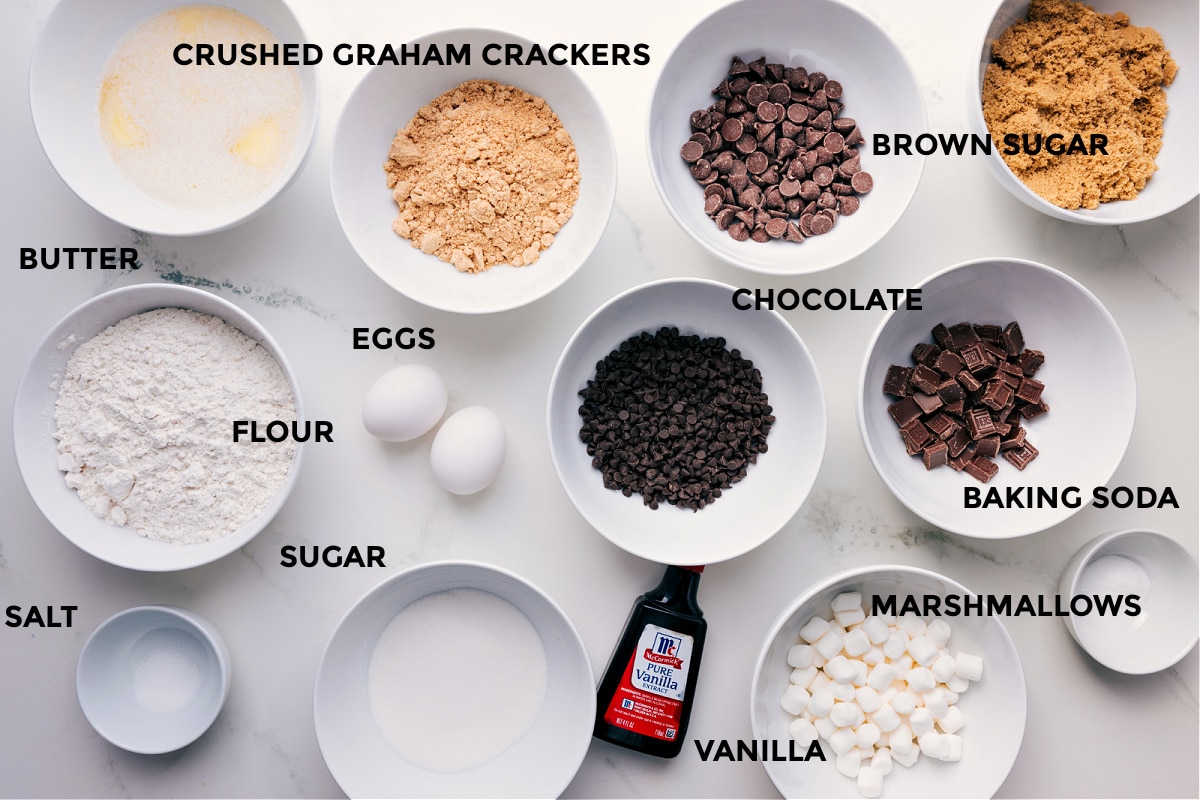
  • 12 tablespoons unsalted butter 3/4 cup
  • 1/2 cup granulated sugar
  • 3/4 cup light brown sugar lightly packed
  • 1 large egg
  • 1 large egg yolk
  • 1/2 tablespoon vanilla extract
  • 1-3/4 cups all-purpose flour see note 1
  • 1 teaspoon baking soda
  • 1/2 teaspoon salt
  • 3/4 cup graham cracker crumbs 8 to 9 sheets, see note 2
  • 1/2 cup milk chocolate chips
  • 1/2 cup miniature chocolate chips
  • 2 full Hershey’s Chocolate Bars regular-sized
  • 1/2 cup miniature marshmallows

Instructions 

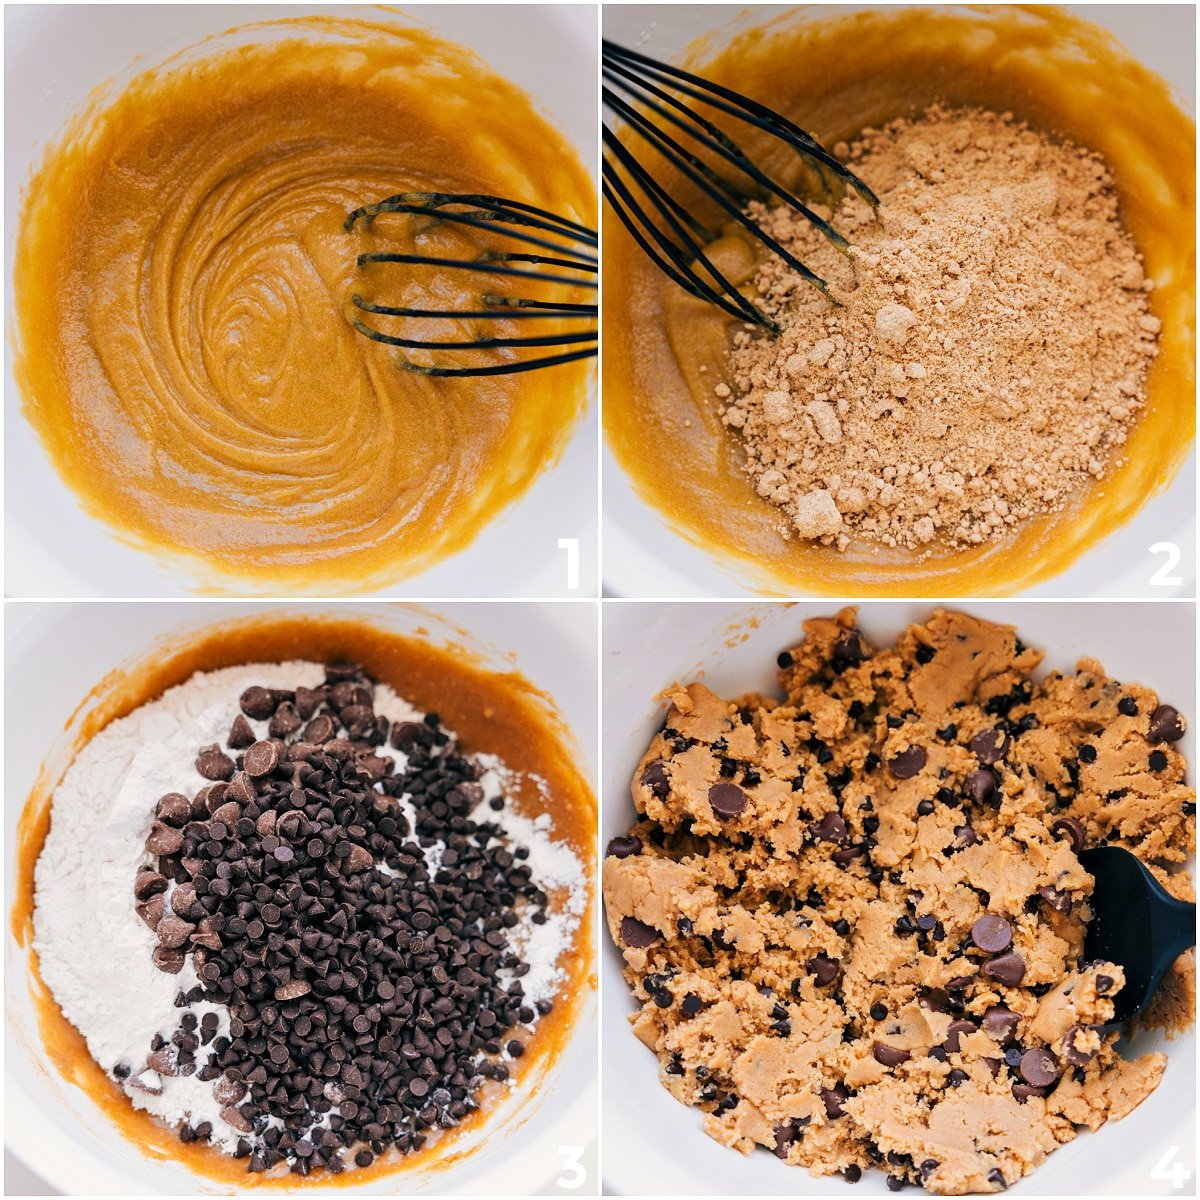
  • Melt the butter in a very large, microwave-safe bowl. Once melted, set aside 5–10 minutes to cool to room temperature. It’s important the butter isn’t hot when you add the sugars or it will melt the sugar and make the cookies greasy.
  • Once butter is completely cooled to room temperature, stir in brown sugar and granulated sugar. Whisk until smooth, about 1–2 minutes (the butter and sugars should fully incorporate). Take your time; it may seem like the two won’t come together, but keep mixing until completely integrated. Add full egg and mix to fully integrate. Add the egg yolk (only the yolk, discard or save whites for another recipe) and vanilla extract. Mix until completely combined.
  • In another bowl, toss together correctly measured flour (see note 1), baking soda, and salt. Add graham crackers to a blender or food processor and crush until you have 3/4 cup very fine crumbs (spoon those crumbs into a measuring cup until the measuring cup is over-filled, then level off the top with the back of a butter knife). Add graham cracker crumbs and stir dry ingredients until combined.
  • Combine wet and dry ingredients and mix until just combined (don’t overmix). Add milk chocolate chips and mini chocolate chips. Stir until chips are integrated into dough. Cover the bowl tightly. Place in the fridge and chill for 30 minutes up to 2 hours.
  • Measure out dough balls (2 tablespoons each (41g)). Roll into tall, cylindrical balls. Place rolled dough balls on a parchment paper-lined plate and place in the fridge for another 30 minutes. Roll out all the dough; you should get around 23–24 cookies.
  • Preheat oven to 350°F (176°C). Line a sheet pan with parchment paper or use a nonstick liner. Grab 6 cookie dough balls at a time from the fridge and place, very spaced apart, on the sheet pan.
  • Right before baking, set out mini marshmallows and coarsely chop the Hershey’s bars. Bake cookies 8–9 minutes, remove from oven and, working quickly, immediately press any edges that have strayed out a bit inward with the back of a metal spatula. Press 3–4 mini marshmallows into the tops of the cookies and 3–4 pieces of chopped Hershey’s chocolate. Return cookies to oven and bake another 2–3 minutes or until very slightly browned at the edges and no longer wet looking on top (erring on the side of under baking to keep them soft and chewy.)
  • Let cookies cool on the pan 5 minutes before transferring to a cooling rack. Repeat with remaining dough until all the cookies are baked—or freeze some dough if you prefer (see storage below).

Video

Recipe Notes

Note 1: If you press a measuring cup into a bag of flour and scoop, you will pack in way too much flour, which results in dry/dense cookies. Instead, spoon the flour into the measuring cup until it’s overfilled. Then use the back of a butter knife to level the measuring cup at the top. (Video visual here)
Note 2: While you can crush the graham crackers in a bag with a rolling pin, I highly recommend a high-powered blender or food processor. It’s important to have fine crumbs throughout the entire cup of graham crackers. Larger un-crushed chunks will mess up the texture of the cookies.
Storage: Store cookies in an airtight container at room temp and enjoy the same day (marshmallows harden over time). For freezing, freeze dough balls on a sheet pan until solid, then transfer to an airtight container or bag for up to 3 months.

Nutrition

Serving: 1serving | Calories: 183kcal | Carbohydrates: 28.7g | Protein: 2.2g | Fat: 6.9g | Cholesterol: 27.2mg | Sodium: 132.2mg | Fiber: 0.9g | Sugar: 18.3g

Nutrition information is automatically calculated, so should only be used as an approximation.
 

Meet Chelsea


Hello, and welcome to Chelsea’s Messy Apron! I’m Chelsea, the recipe developer, food photographer, and writer behind the site. I’m passionate about creating simple, reliable, and delicious recipes that anyone can make.

Thanks for stopping by—I hope you find something delicious to make!

More Recipes You'll Love

Leave a comment

Your email address will not be published. Required fields are marked *

Recipe Rating


6 Comments

  1. Minela says:

    The photography for these is brilliant. I could just reach through the screen and eat one!

  2. Stephanie says:

    Chelsea, You are so talented and creative. I love your recipes. I can’t wait to try these cookies.

  3. Karly says:

    I love s’mores everything and these cookies look fabulous!

  4. Jess says:

    These look delicious! Never tried s’mores before- I think I’m missing out on something very tasty! ):

  5. Happy Valley Chow says:

    You definitely have a knack for baking! You’ve been posting some amazing looking treats, great job again 🙂

    1. chelseamessyapron says:

      Thank you Eric!