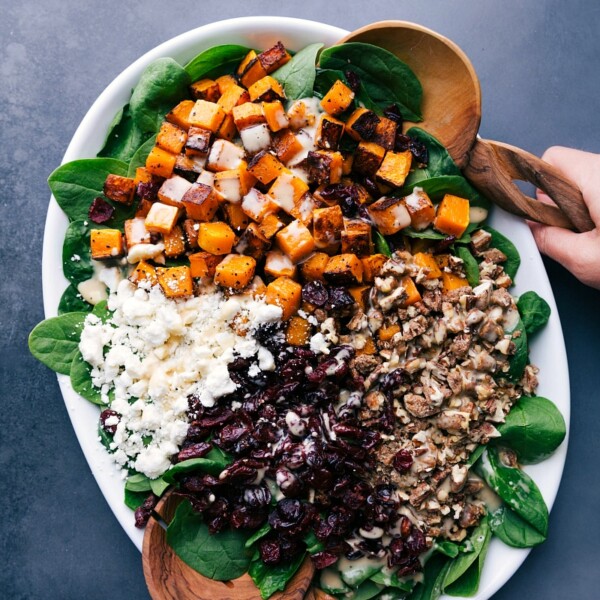
Salads
Salads
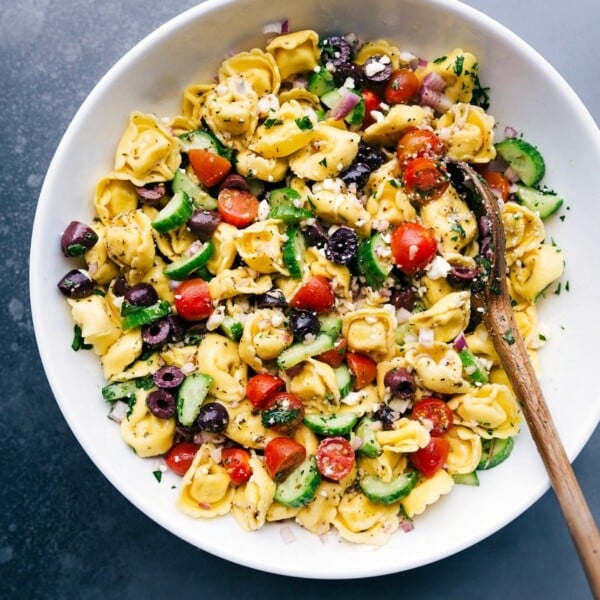
Greek Tortellini Salad
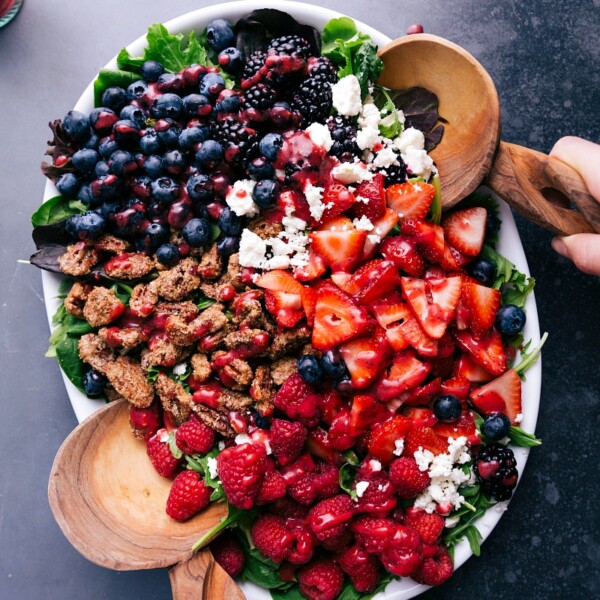
Salads
Raspberry Salad
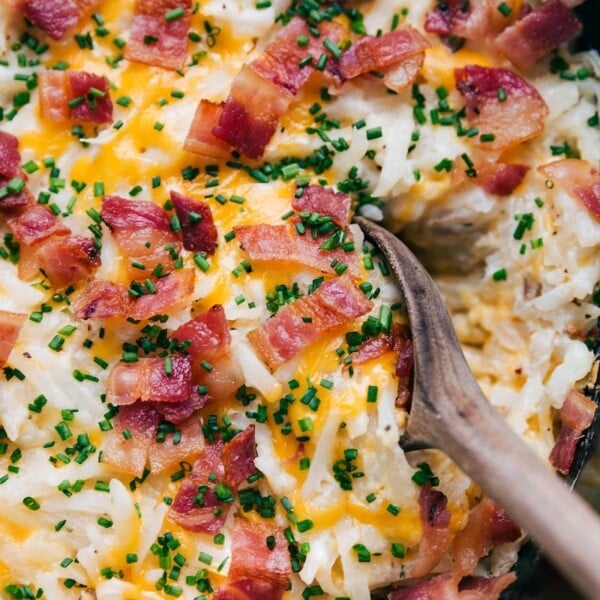
Breakfast
Crockpot Hash Brown Casserole

Halloween
Ghost Cookies
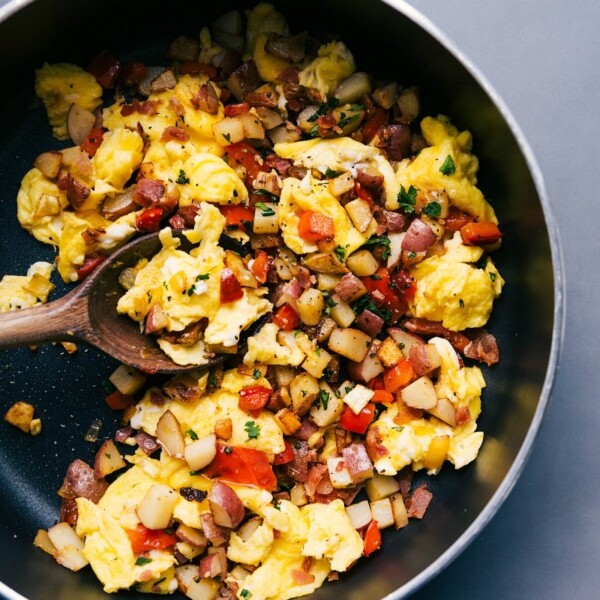
Breakfast
Egg Skillet
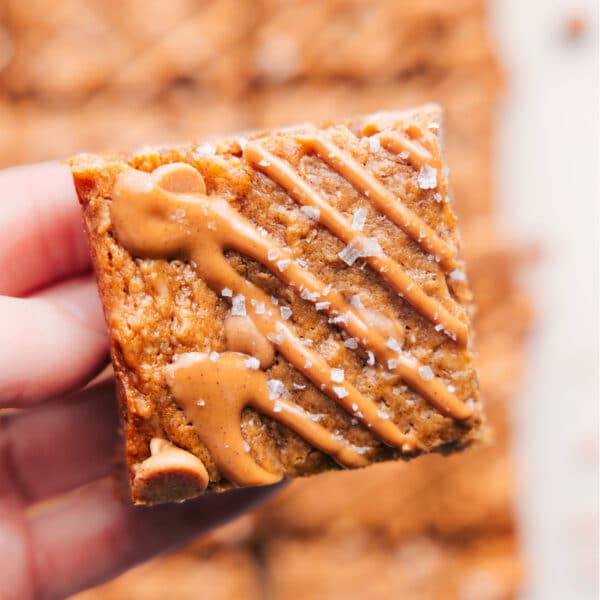
Breakfast
Oatmeal Bars Recipe
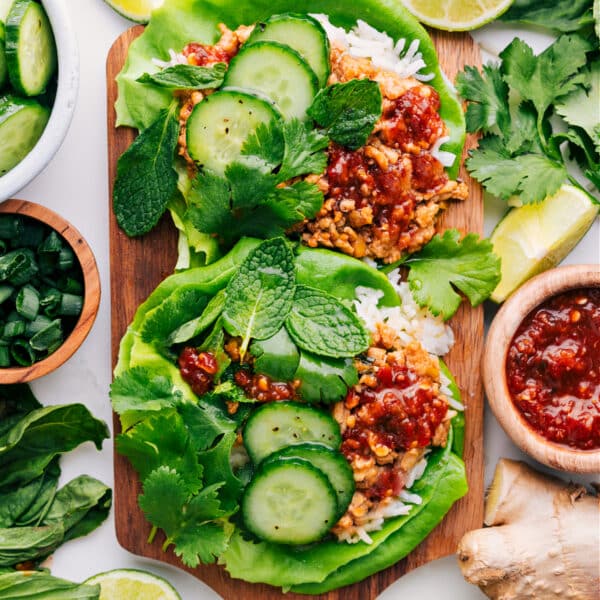
Dinner
Chicken Larb Recipe
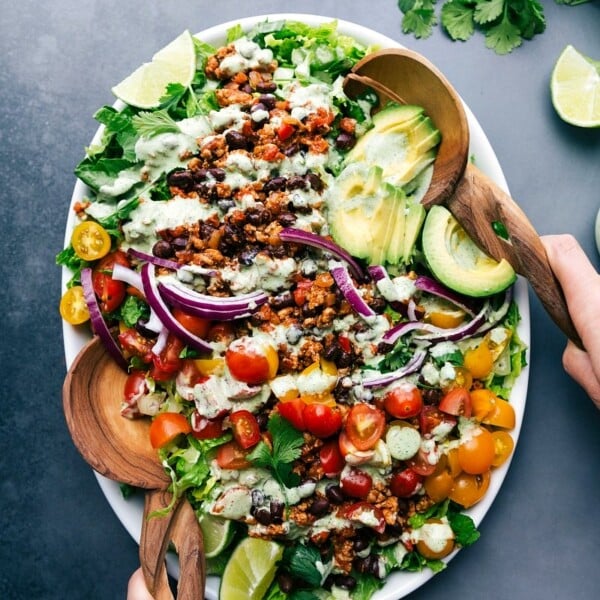
Salads
Turkey Taco Salad
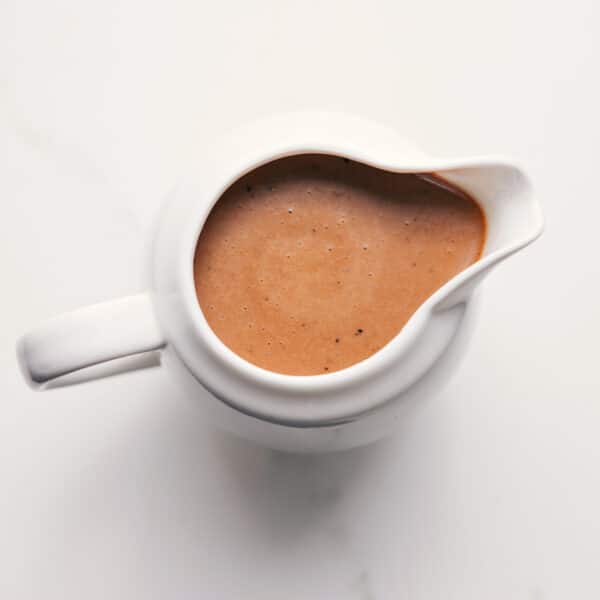
Dressings
Creamy Balsamic Dressing Recipe
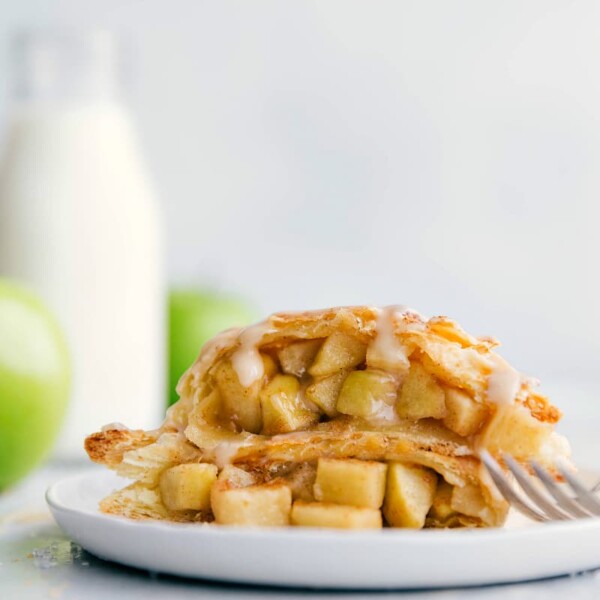
Desserts
Apple Turnover Recipe
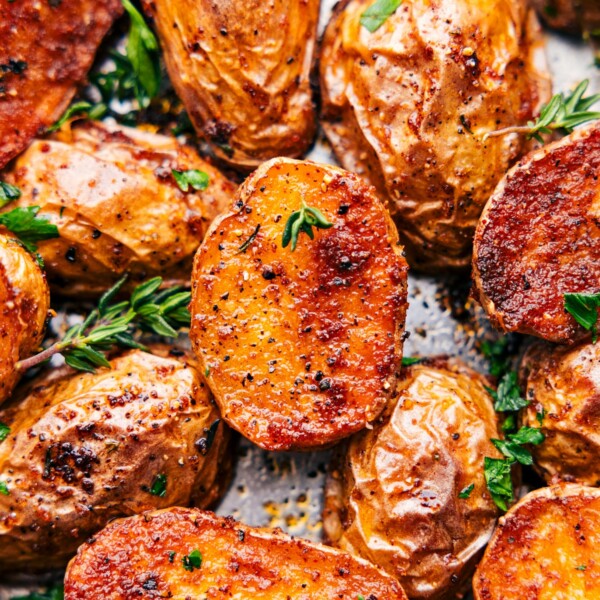
Side Dishes
Crispy Roasted Potatoes Recipe
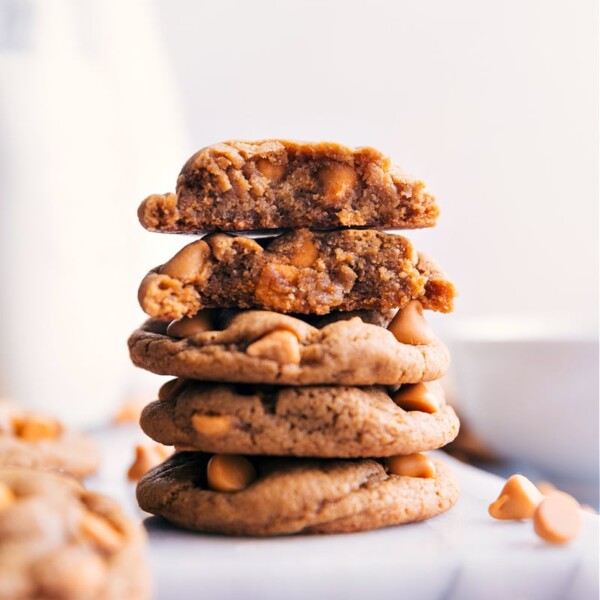
Desserts
Butterscotch Cookies
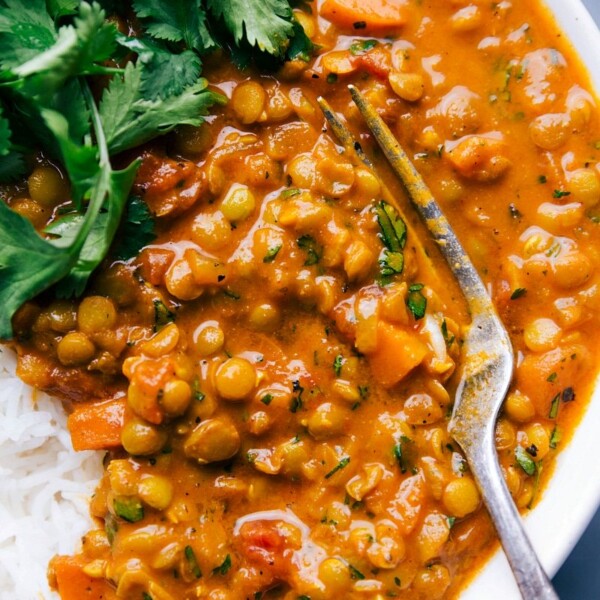
Dinner
Lentil Curry Recipe
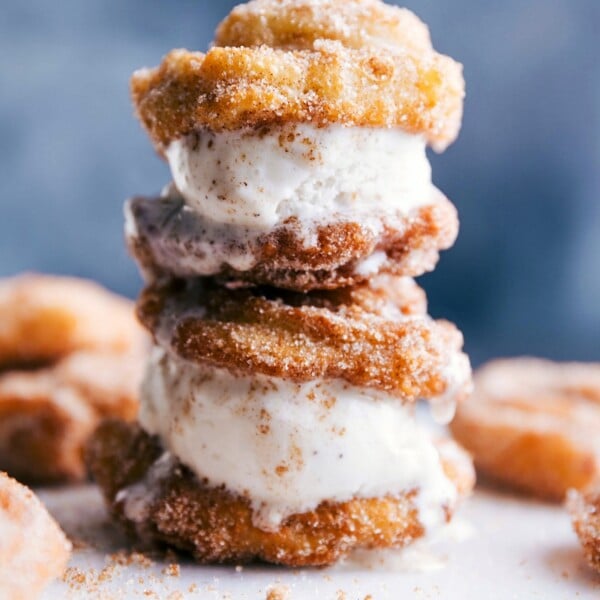
Desserts
Churro Ice Cream Sandwiches
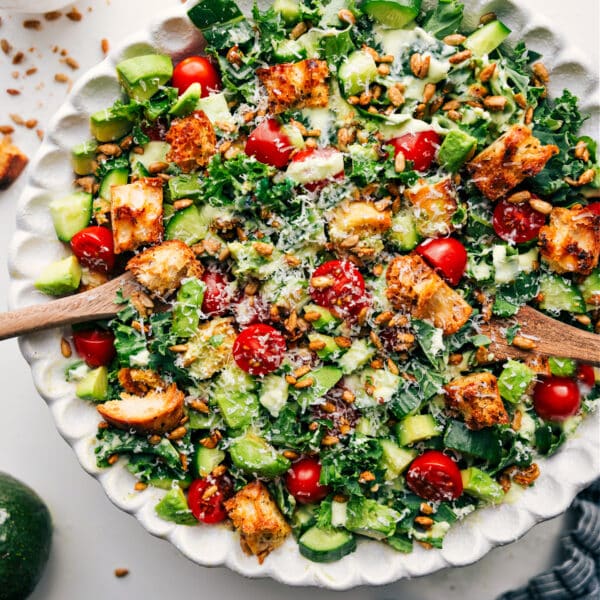
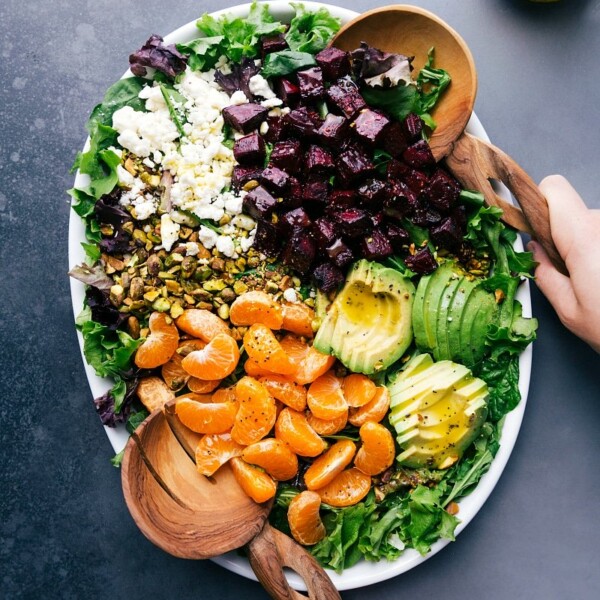
Salads
Kale And Avocado Salad
Desserts
Healthy Pumpkin Cookies
Dinner


