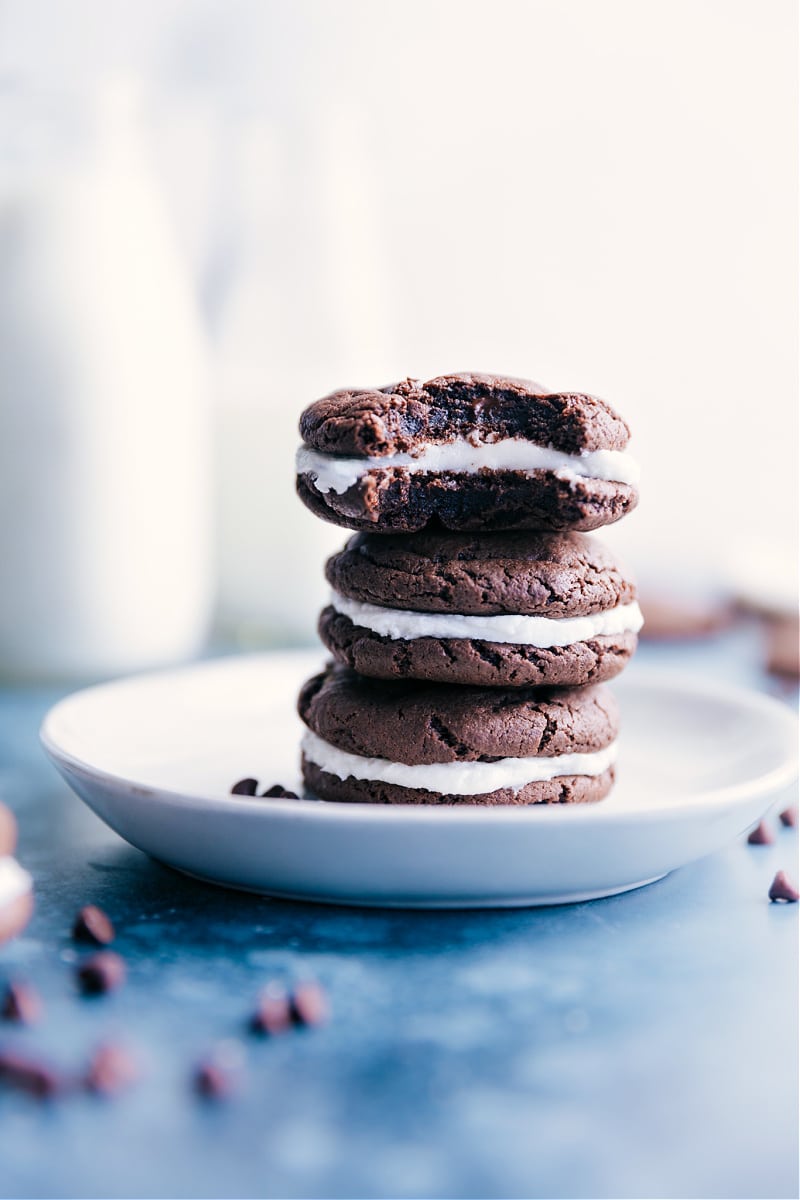
Homemade Oreos are chewy, rich, and easy to make with a shortcut base and a frosting you’ll want to eat with a spoon.
Be sure to try these Cookie Dough Oreos next!

author’s note
Melt-in-Your-Mouth Homemade Oreos!
Oreos have always been one of my favorite treats, so of course it was time I make my own version.
These Homemade Oreos aren’t crispy like the original—they’re soft, chewy, and packed with rich chocolate flavor. The filling tastes just like the classic creme, but the cookie part is more like an Oreo Whoopie pie.
Slightly underbaked, the cookies stay fudgy and a little gooey. Frost them while they’re still warm, and they practically melt in your mouth.
If you’re all about soft and chewy cookies like I am, you might just like these more than the real thing!
Ingredients
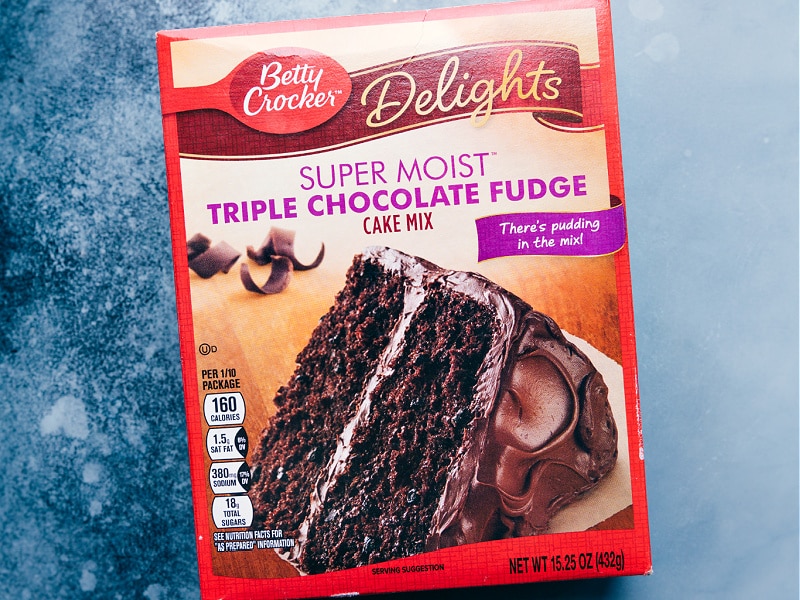
- Triple Chocolate Fudge Cake Mix: I tested others and Betty Crocker’s Super Moist was hands down the best.
- Instant Chocolate Pudding Mix: Use instant only, not cook-and-serve, and add it dry.
- Eggs: Be sure to use large eggs in these homemade Oreos.
- Unsalted Butter: Let butter sit out for an hour so it’s soft, not melted.
- Vanilla Extract: Use real vanilla for best flavor—skip the imitation stuff.
Homemade Oreos Frosting
I swear this frosting tastes just like the center of an Oreo!
- Shortening gives the closest flavor to the real thing. If you don’t like using shortening, butter works too—it just tastes more like regular frosting.
- The texture is very thick, more like a filling than a regular frosting. Add a little hot water or milk to make it easier to spread.
- Use right after mixing. If it sits too long, it gets harder to spread.
Variations
Switch Things Up
- Use a different filling: Try cream cheese, cookie dough, or peanut butter frosting.
- Make Golden Homemade Oreos: Swap the cake and pudding mix for vanilla. Use the same filling.
- Add color: Dye the frosting for holidays and roll edges in sprinkles.
Homemade Oreo Tips
- Bake on parchment or a Silpat® liner.This helps cookies bake evenly and prevents over-browning. Plus, cleanup is easy.
- Slightly underbake. Pull cookies out just before they’re fully done. Residual heat finishes the job. This keeps them soft, chewy, and rich.
Storage
- Keep cookies in an airtight container at room temp and enjoy within 2–3 days.
- Freeze cookie dough: Place dough balls on a sheet pan and freeze until solid, then transfer to an airtight container or bag. Freeze for up to 3 months. Bake straight from frozen adding a few extra minutes.
More Delicious Cookies:
Desserts
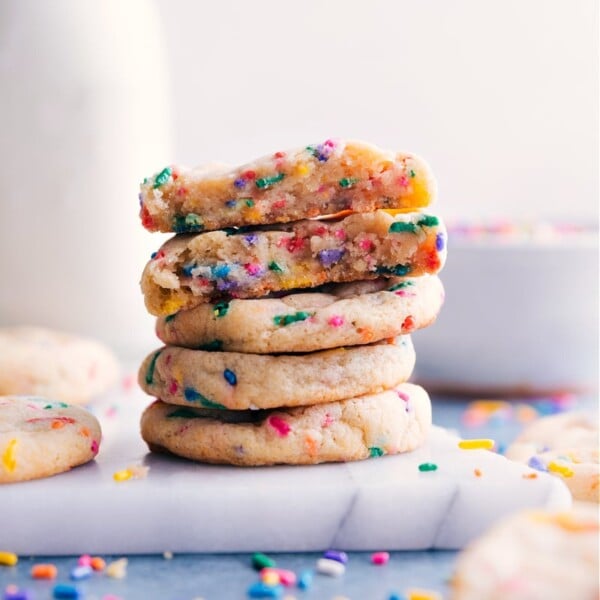
Funfetti Cookies
Desserts
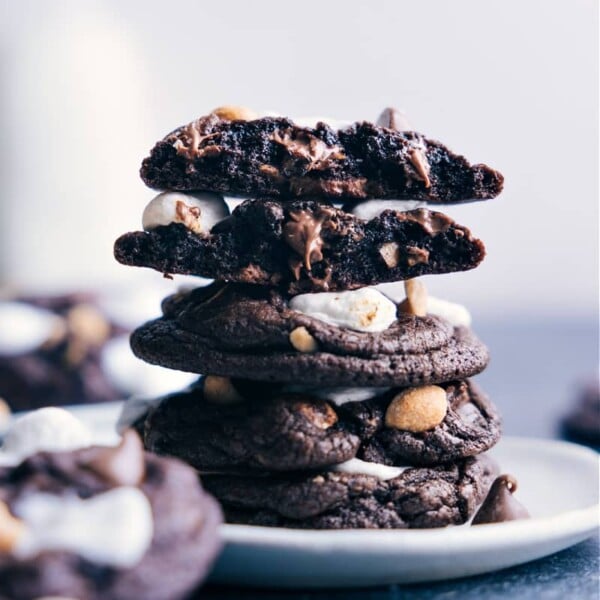
Rocky Road Cookies
Desserts
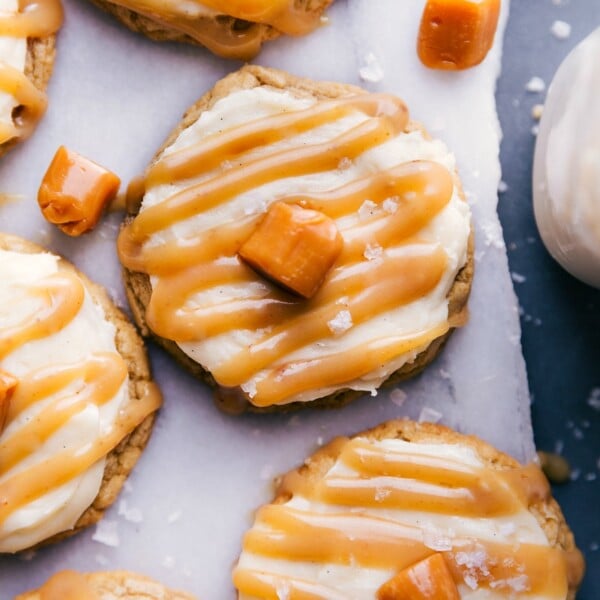
Salted Caramel Cookies
Desserts
Avalanche Cookies (No Baking!)

Homemade Oreos
Equipment
- Large sheet pan (15" x 21")
- Parchment paper or silicone baking mat
Ingredients
- 1 (13.25-ounce) package Super Moist Triple Chocolate Fudge Cake Mix Betty Crocker brand; don't prepare according to package directions
- 1 (3.9-ounce) package instant chocolate pudding mix dry, do not prepare; 4-serving size package
- 2 large eggs
- 8 tablespoons unsalted butter 1/2 cup
- 1 teaspoon vanilla extract
- 2 cups powdered sugar
- 2 teaspoons granulated sugar
- 1/4 cup shortening plain
- 1/8 teaspoon salt
- 1 teaspoon vanilla extract
- 1-1/2 to 2 tablespoons hot water
Instructions
Cookies
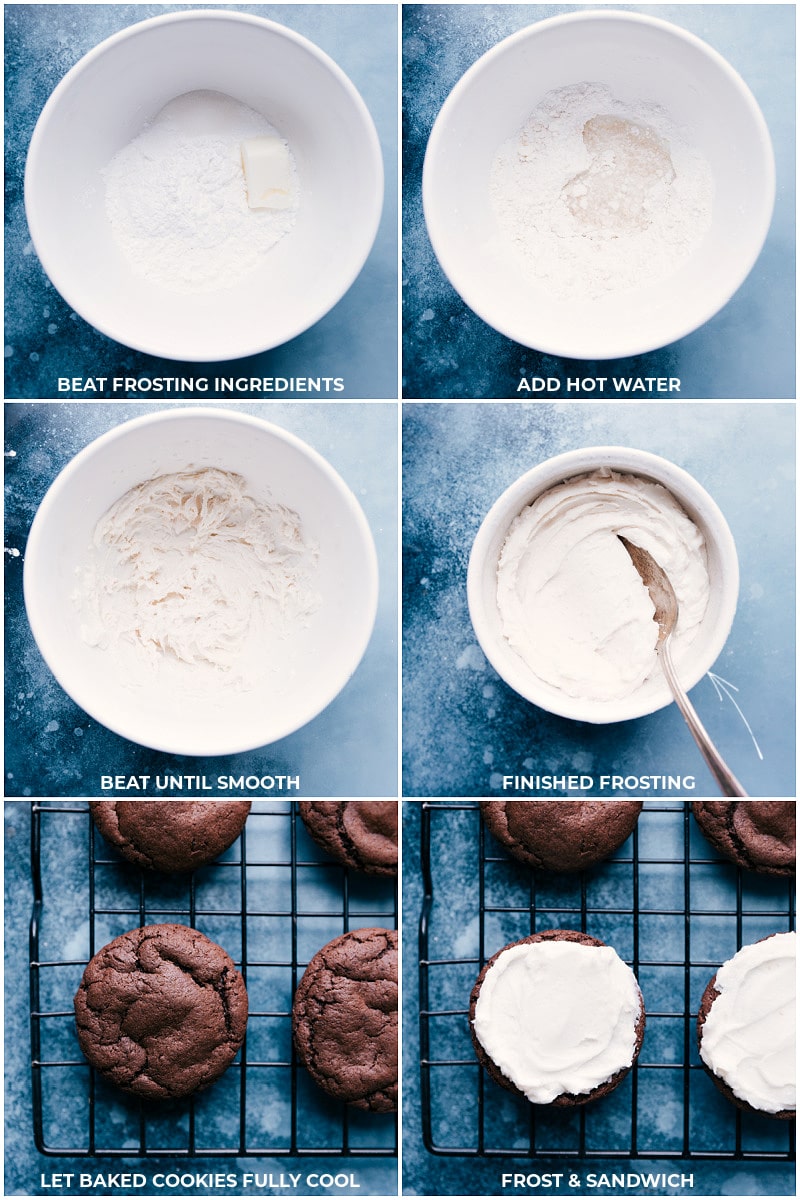
- About an hour before starting, pull out the butter to get to room temperature (see note 1). Preheat oven to 350°F. Line a large sheet pan with parchment paper or a nonstick baking liner and set aside.
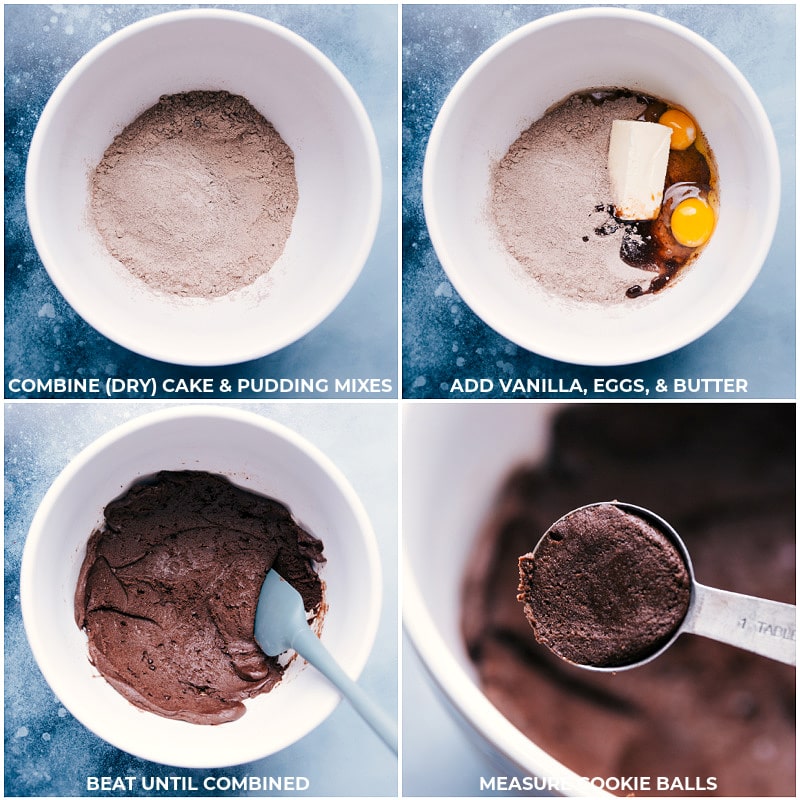
- In a very large bowl, add the cake mix, pudding mix, room-temperature butter, eggs, and vanilla. Using a hand mixer, beat until just combined. It may seem crumbly at first, but it will come together. Use a spatula to scrape the sides and bottom of bowl as needed. Stop mixing as soon as a thick dough forms.
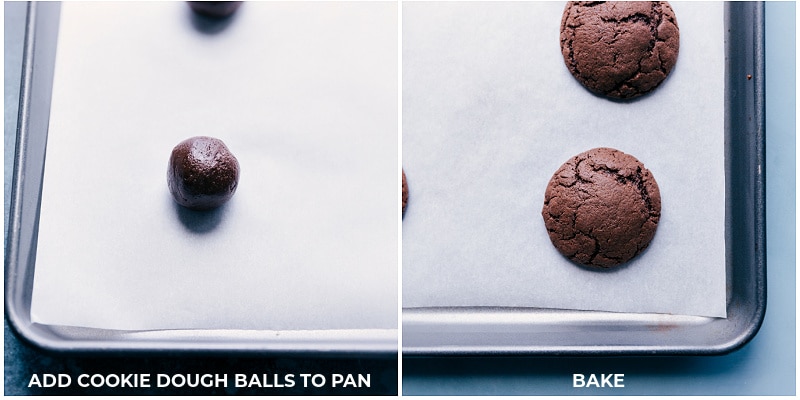
- Using a tablespoon measuring spoon, measure out 1 full tablespoon (20 grams) dough balls. (You’ll get around 34–36 cookies.) If the dough balls are at all soft, pop them in the freezer to chill for about 15 minutes so they stay nice and thick while baking. Place the cookie dough balls 2 inches apart on the lined sheet pan and bake for 7–10 minutes (I like them best at 8 minutes). You want to slightly underbake these cookies to keep them soft, fudgy, and flavorful! Remove from the oven and let stand on the cookie sheet for 3 minutes before using a spatula to transfer to a wire cooling rack to finish cooling. Repeat to bake the rest of the cookies.
Frosting
- Combine the powdered sugar, granulated sugar, shortening, salt, and vanilla. Beat until well mixed (it will likely still be crumbly.) Add the hot water, starting with 1-1/2 tablespoons and beat until you have a thick frosting. Add an additional 1/2 tablespoon if needed. (This is supposed to be a very thick, Oreo-like creme filling—almost dough-like). Frost the cookies right after the frosting has been prepared. The longer the frosting sits, the more it thickens and becomes harder to spread on the cookies.
Putting it together
- Once cookies are cooled (it’s okay if they’re ever-so-slightly warm), divide the frosting evenly among the 17–18 cookies. Frost generously, then sandwich with the remaining 17–18 cookies.
Video
Recipe Notes
Nutrition
Nutrition information is automatically calculated, so should only be used as an approximation.




amazing dear
Thank you!!
Wow so delicious
Thank you! 🙂
This is so super cute. I am trying to make dishes like this from your recipes.
Ahh thank you soo much! I hope you enjoy! 🙂
These are the most adorable heart shaped cookies I ever did see!! 🙂 Not to mention they sound delicious!!
Thanks so much Jocelyn 🙂 I hope you had a great weekend!
Love these and I’m sooo obsessed with Oreos!
Thank you Nicole!
Wow, these sound and look delicious! Love oreos so will have to give this recipe a go 🙂
Love how pretty and cute these are! Homemade oreos are awesome and I love that you mega-stuffed them with the frosting! They look gorgeous girl!
Thanks so much Kelly! Mega stuffed frosting is the best!
So creative and cute! I love homemade oreos 🙂
Thanks Katie! 🙂
These are so cute! Homemade oreos are so delish! Love that you overloaded the filling. It is definitely the best part!