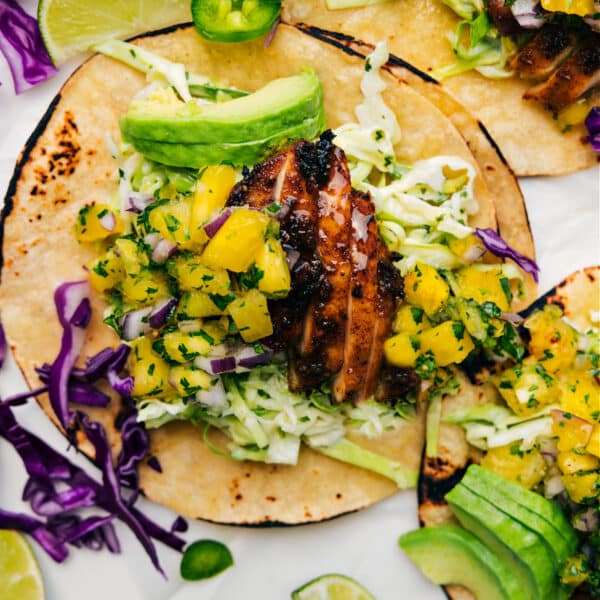
Dinner
Jerk Chicken Tacos
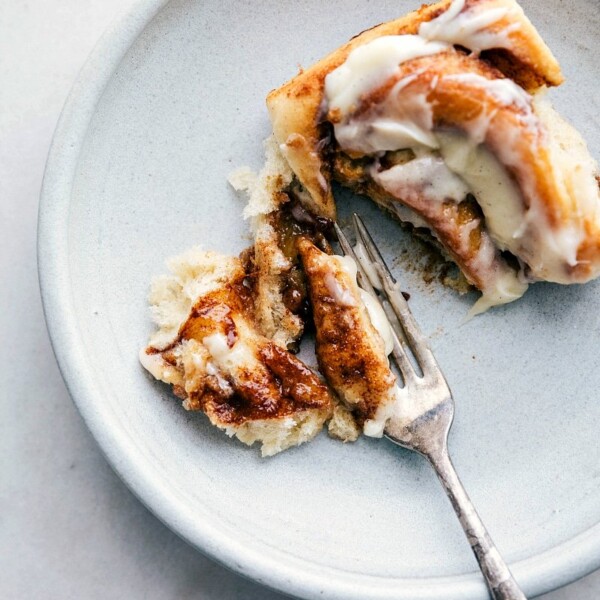
Breakfast
Homemade Cinnamon Rolls

Dinner
Burrito Bowl Sauce
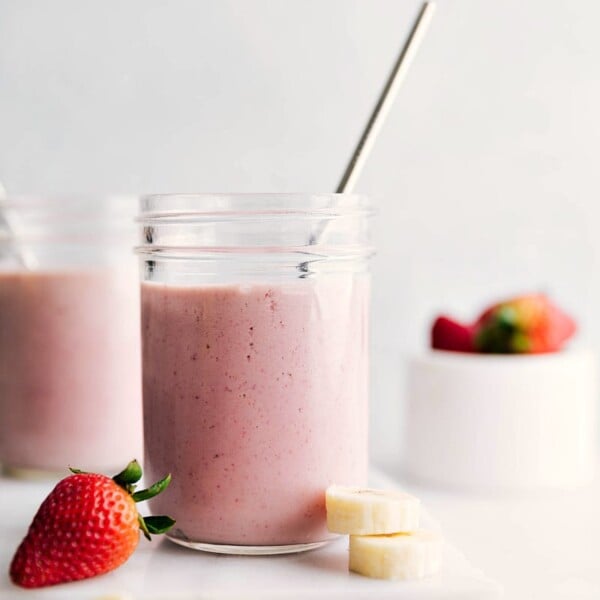
Beverages
Strawberry Banana Smoothie Recipe
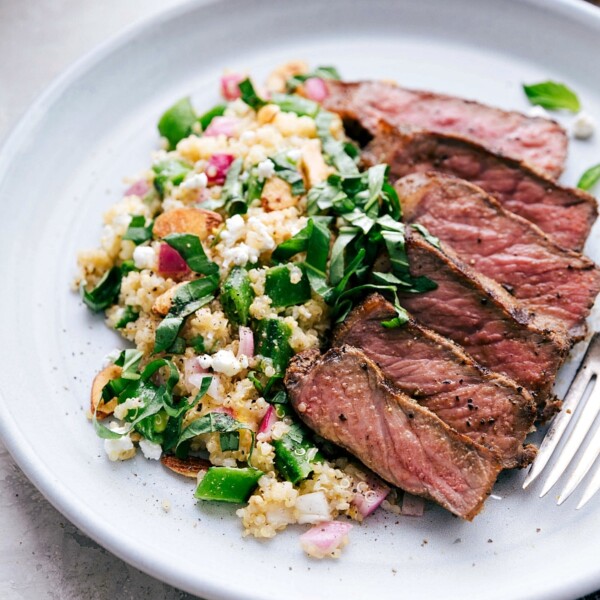
Salads
Spring Quinoa Salad

Side Dishes
Roasted Sweet Potatoes
Dinner
Loaded Sweet Potatoes
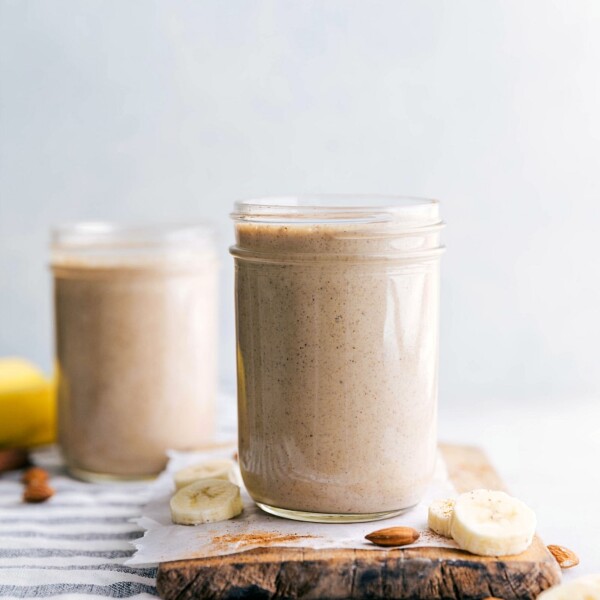
Beverages
Easy Banana Smoothie
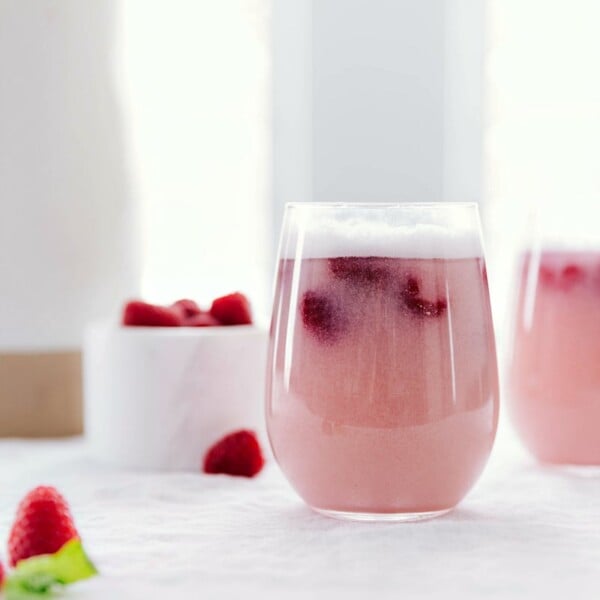
Beverages
Sherbet Punch
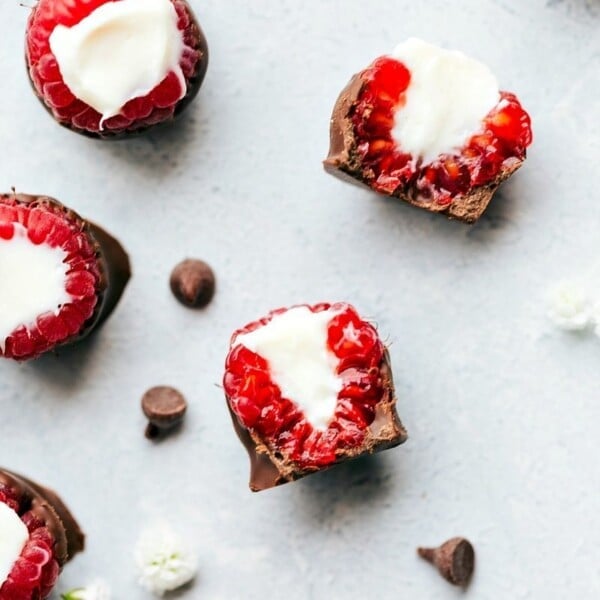
Desserts
Chocolate Covered Raspberries
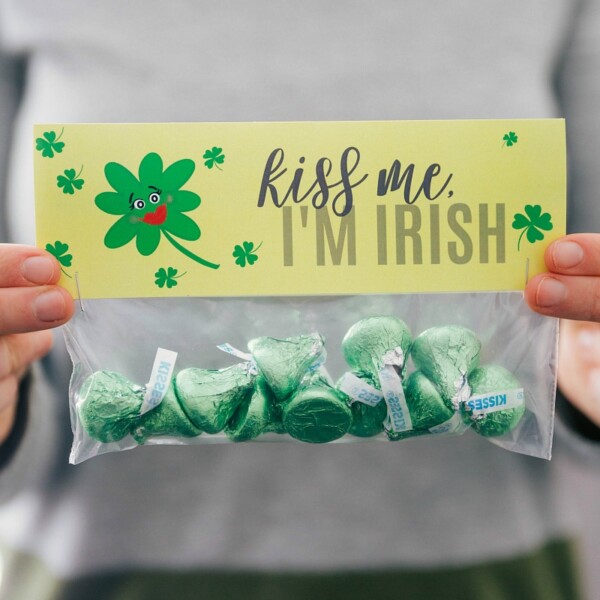
Quick And Easy
St Patrick’s Day Treats {Free Printables}
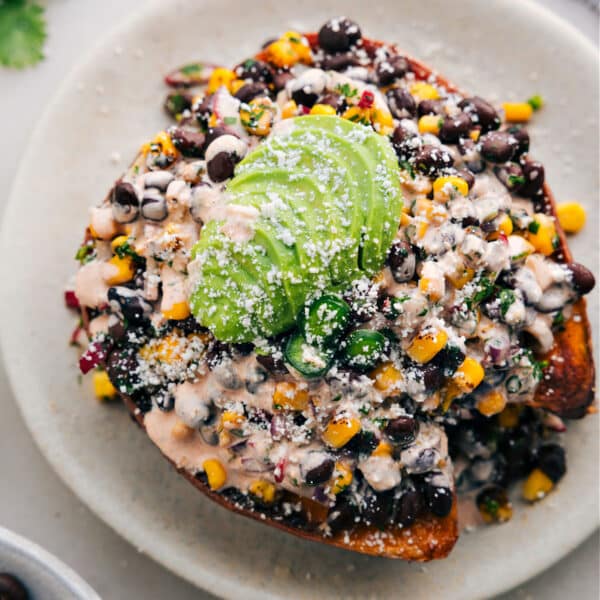
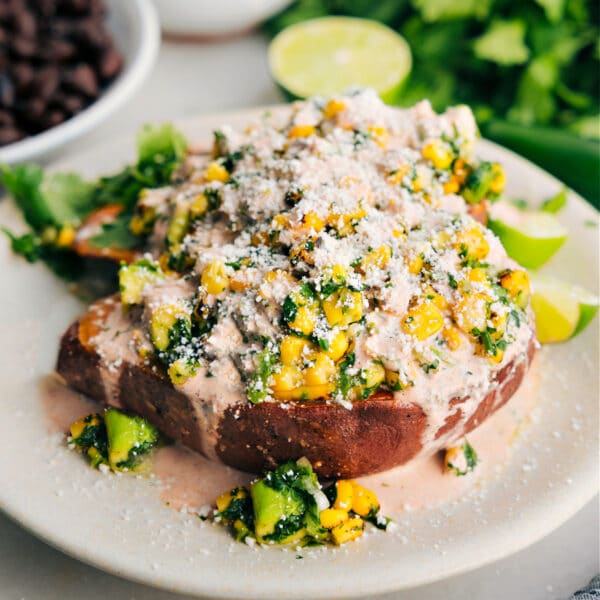
Dinner
Stuffed Sweet Potatoes
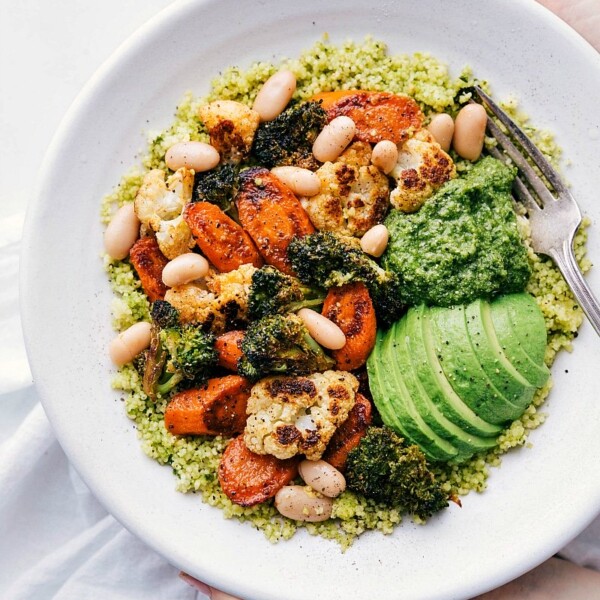
Dinner
Pesto Vegetables
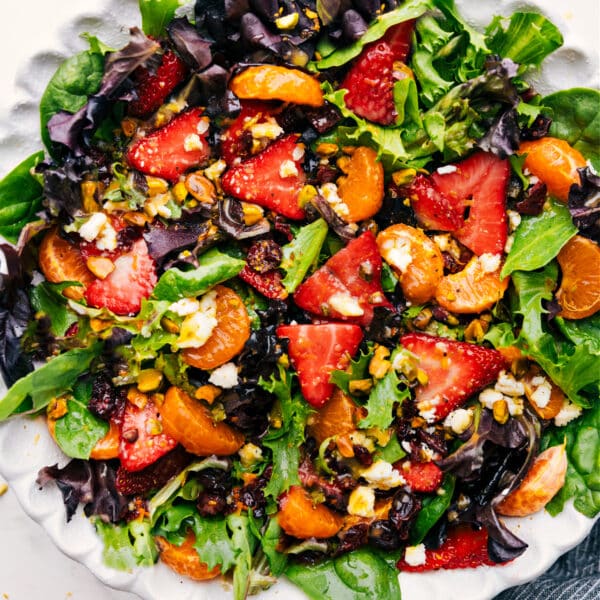
Salads
Strawberry Salad
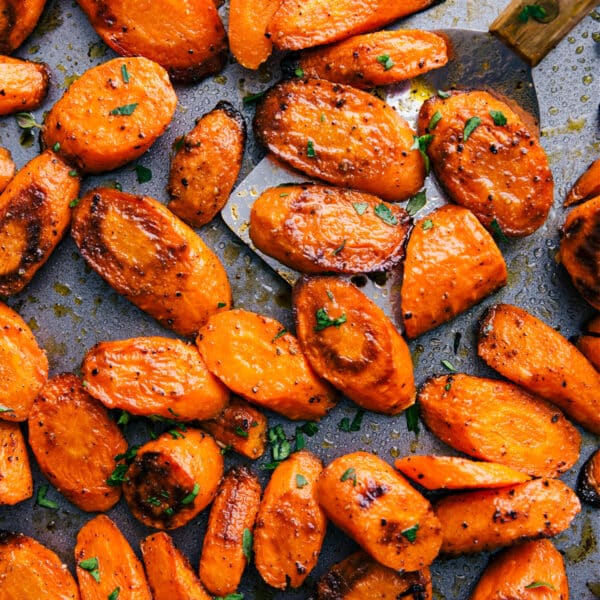
Side Dishes
Roasted Carrots (2 Ways!)
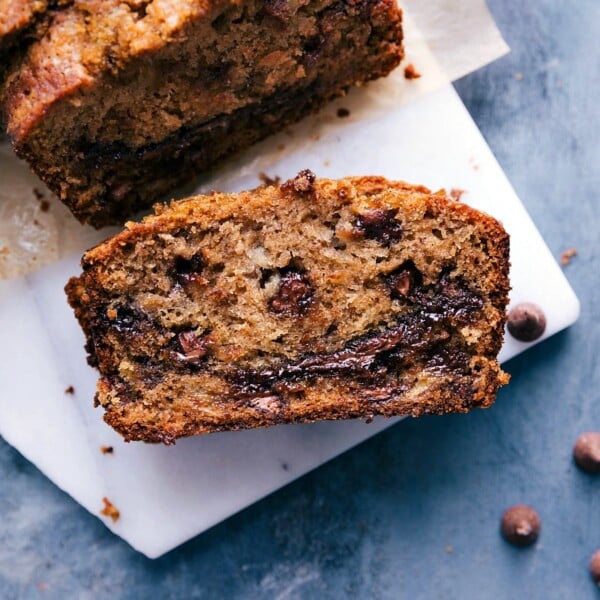
Muffins And Quick Breads
Nutella Banana Bread
Breakfast


