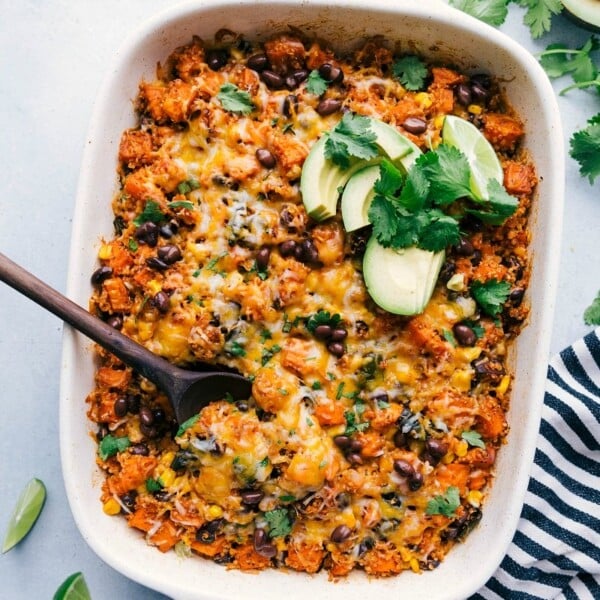
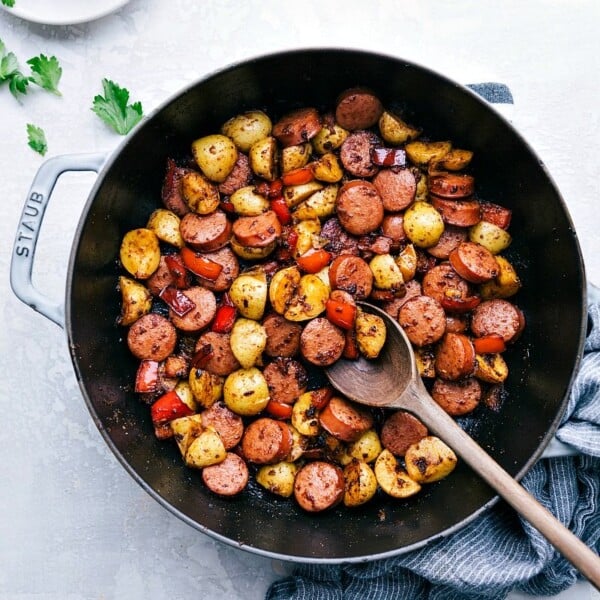
Dinner
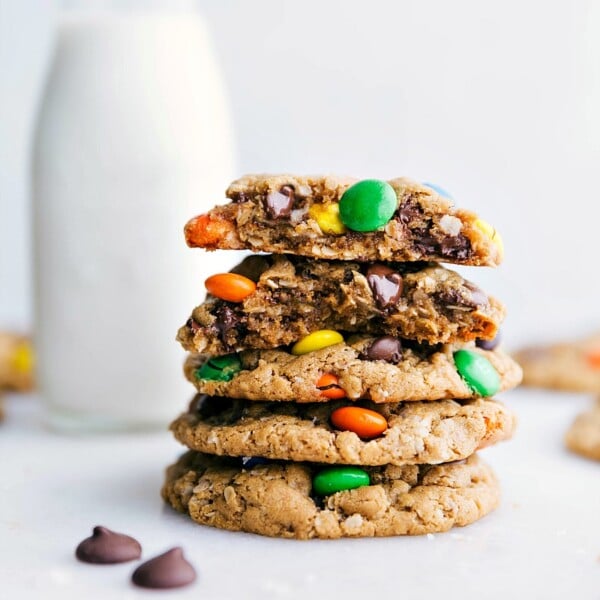
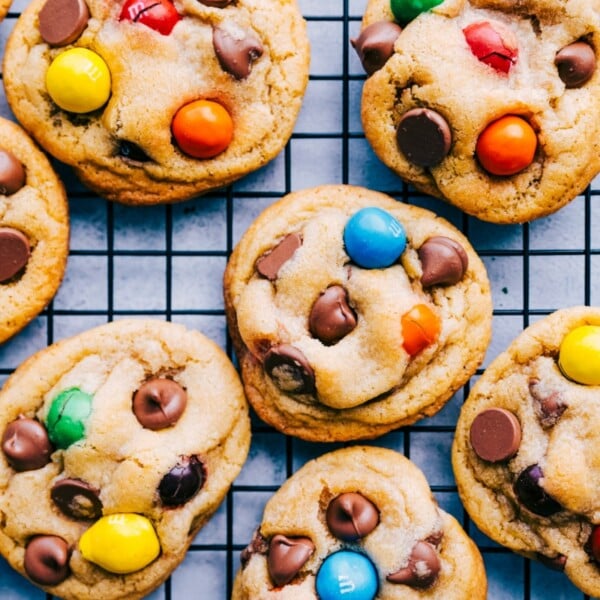
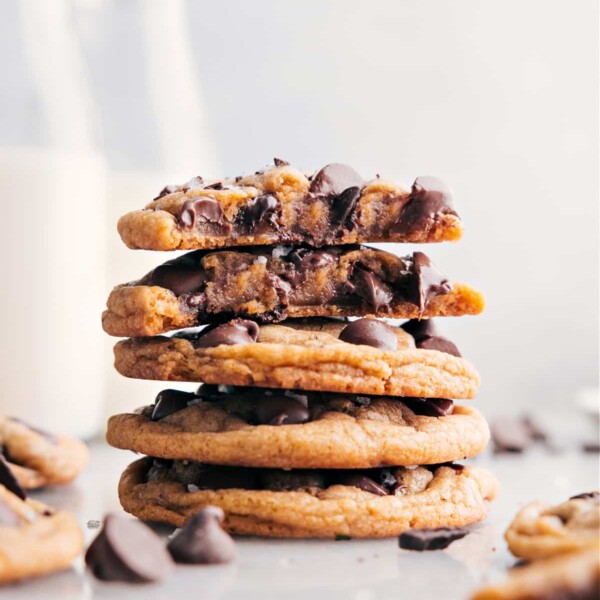
Desserts
Gluten Free Monster Cookies
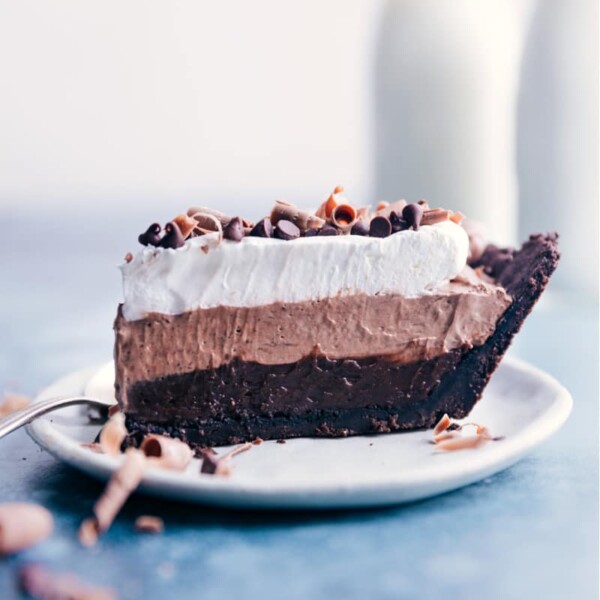
Desserts
Chocolate Pudding Pie
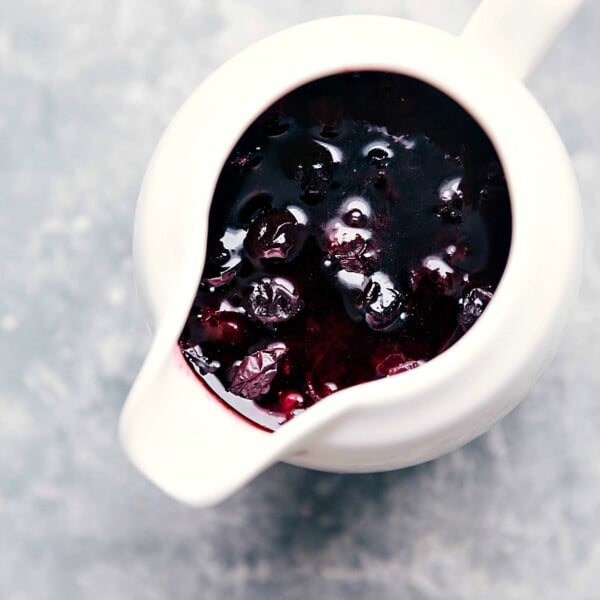
Desserts
Homemade Blueberry Syrup
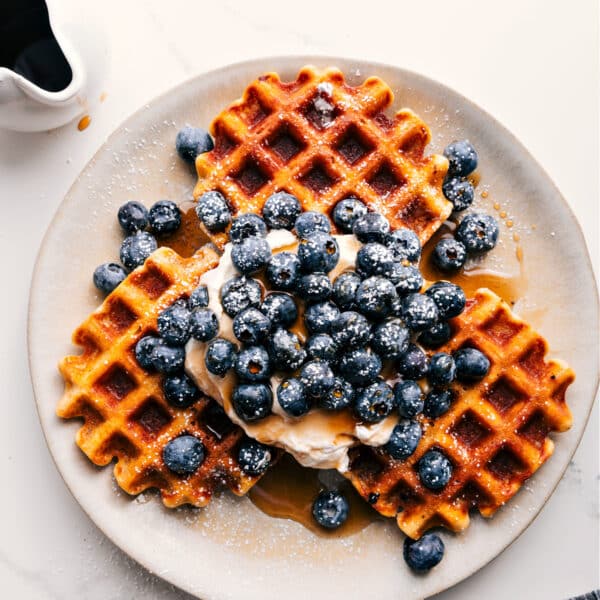
Breakfast
Waffle Recipe
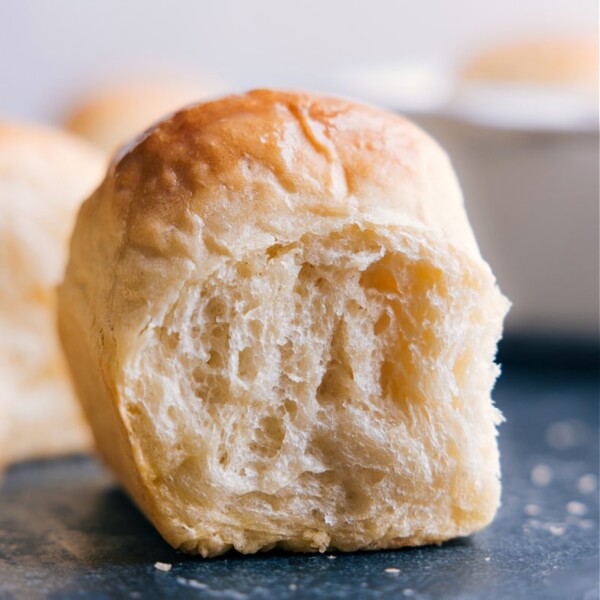
Appetizers
Life-Changing No-Knead Dinner Rolls
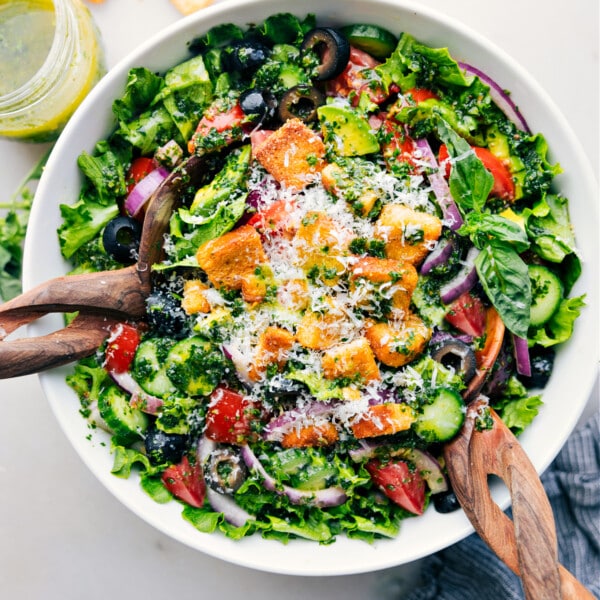
Salads
Italian Salad Recipe
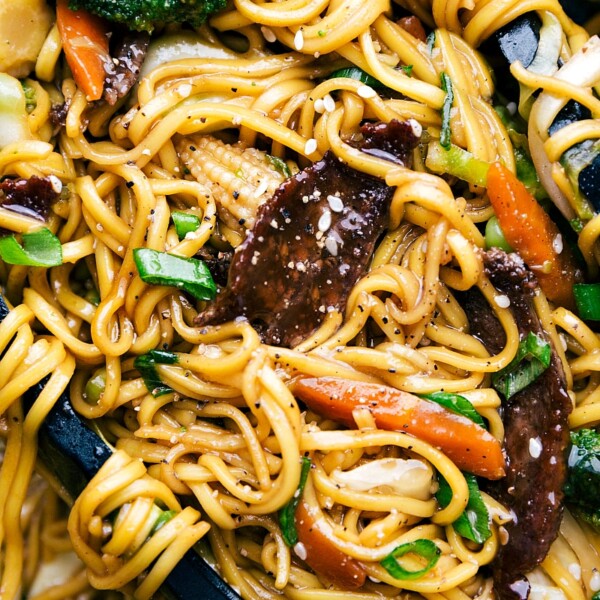
Dinner
Beef Chow Mein Recipe
Desserts
Caramel Stuffed Cookies
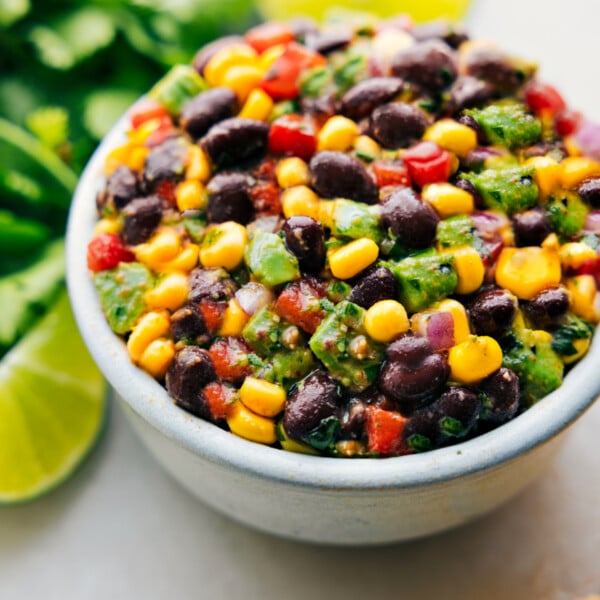
Salads
Black Bean Corn Salad
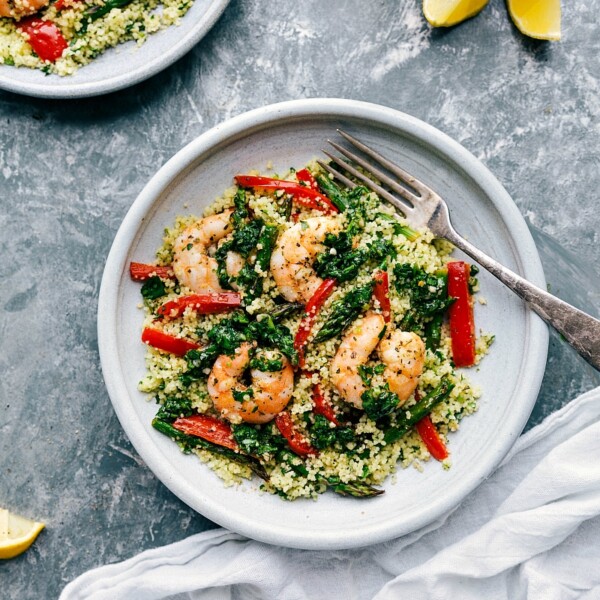
Seafood
Shrimp Couscous
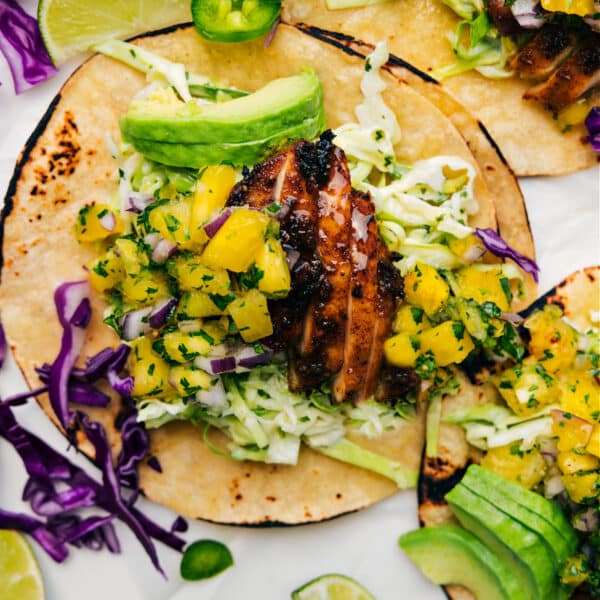
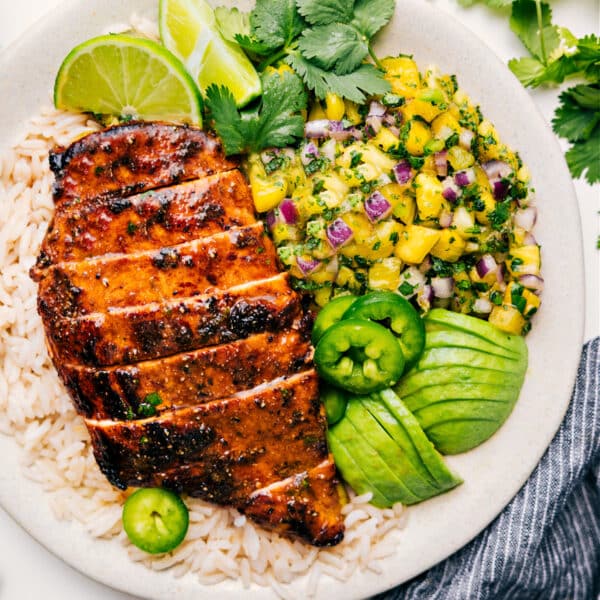
Dinner
Jerk Chicken Tacos
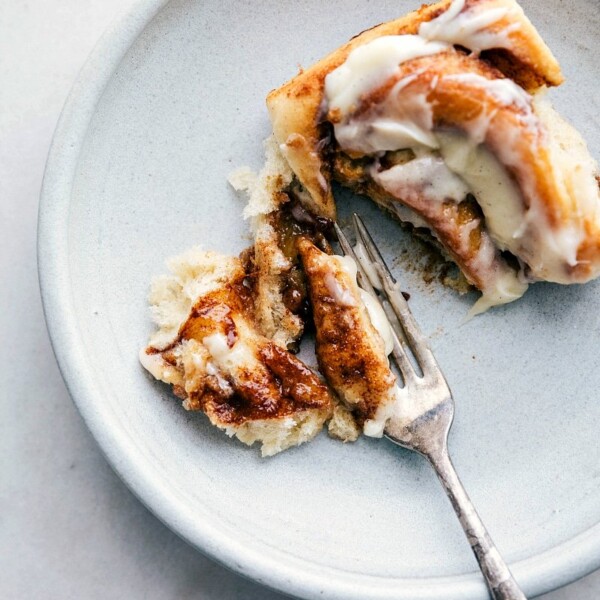
Breakfast
Homemade Cinnamon Rolls

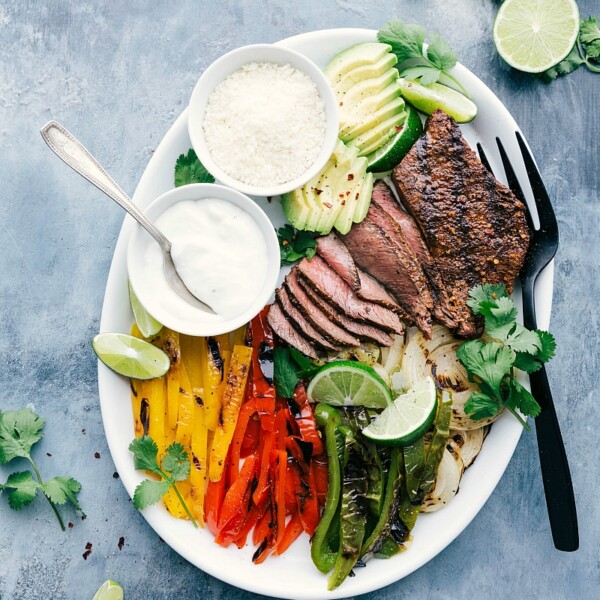
Dinner
Burrito Bowl Sauce
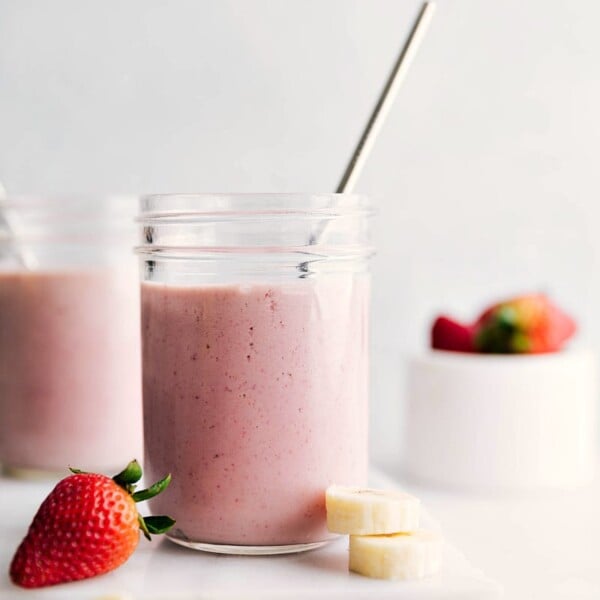
Beverages


