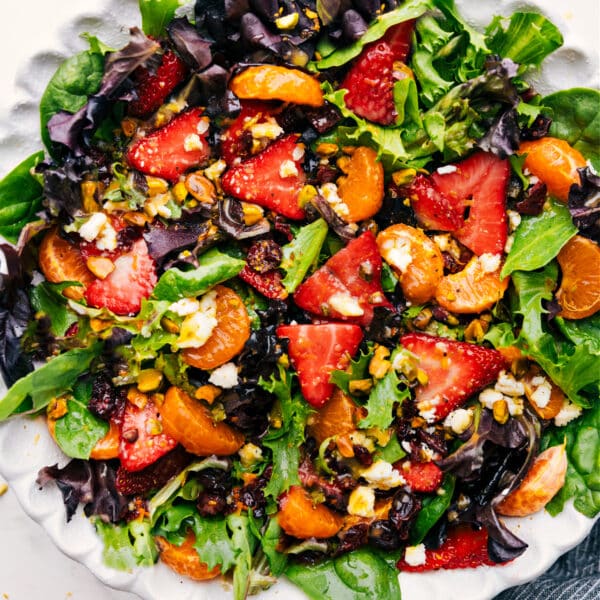
Salads
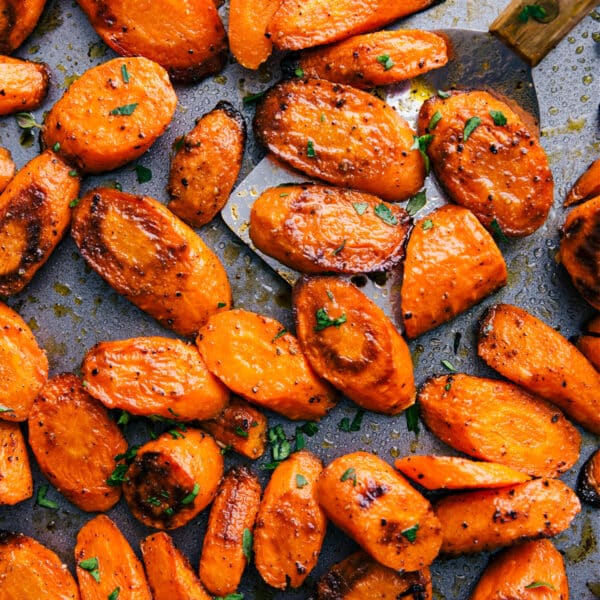
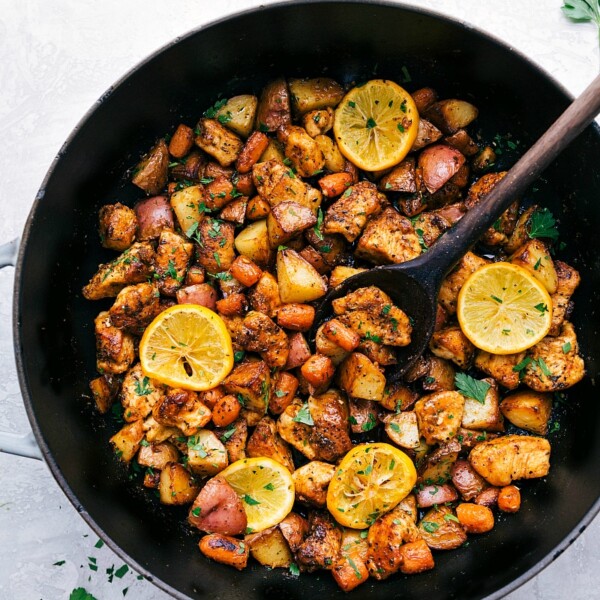
Side Dishes
Roasted Carrots (2 Ways!)
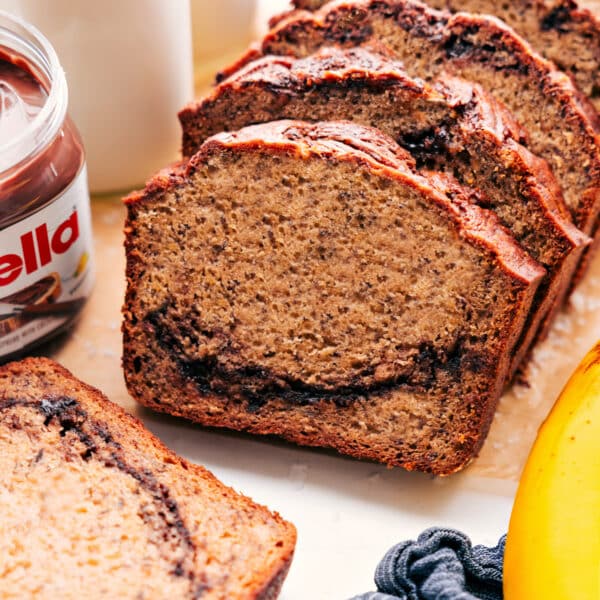
Muffins And Quick Breads
Nutella Banana Bread
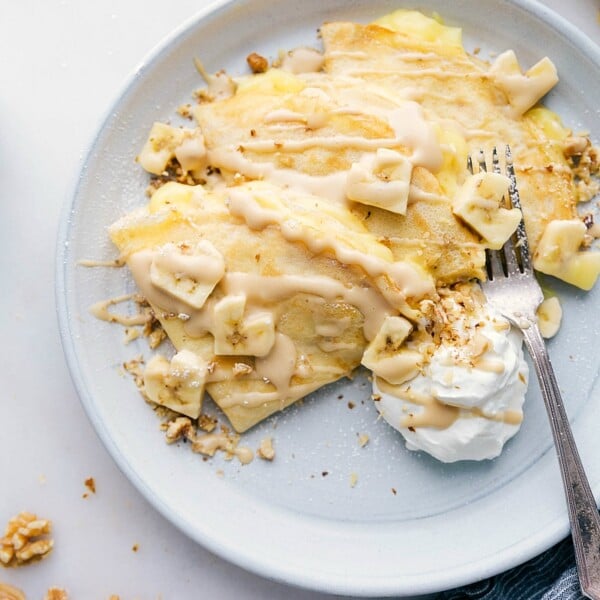
Breakfast
Banana Crepes
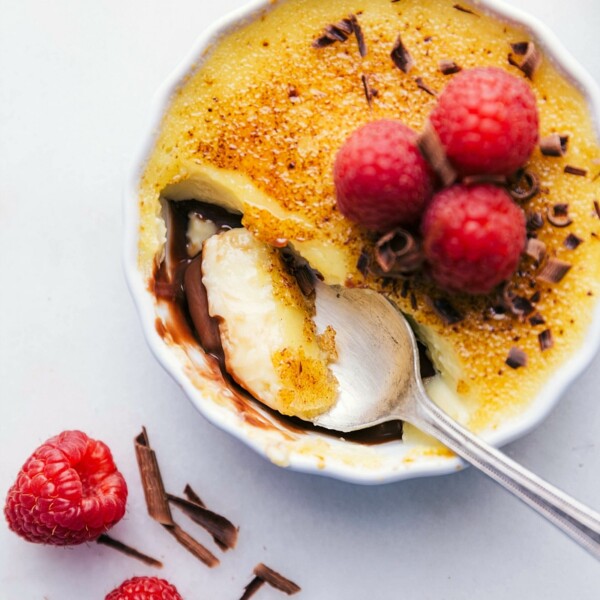
Desserts
Tuxedo Creme Brulee
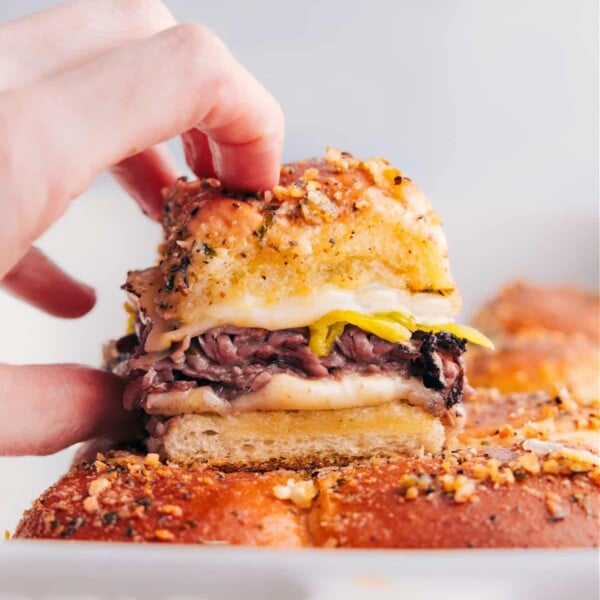
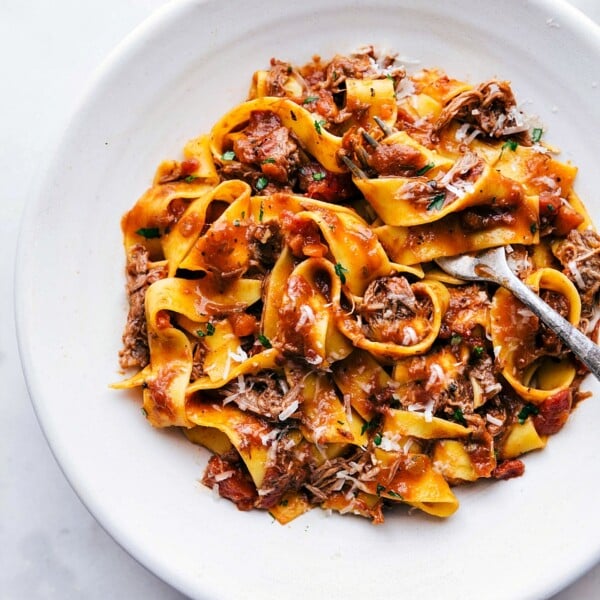
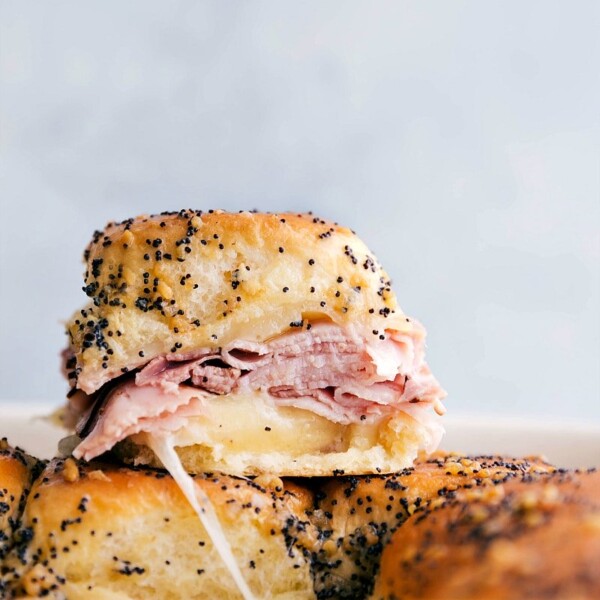
Dinner
Italian Beef Sliders
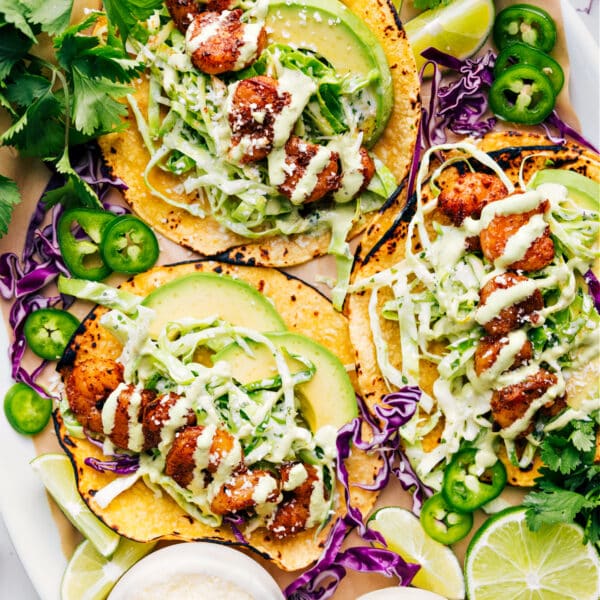
Dinner
Shrimp Tacos
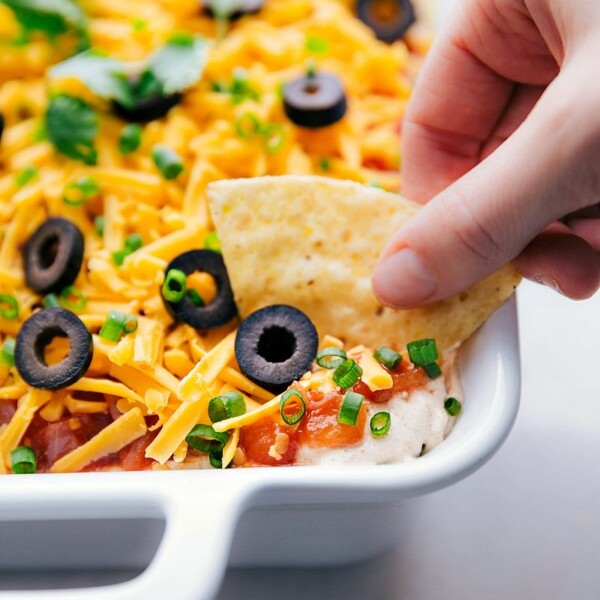
Appetizers
Easy 7 Layer Bean Dip
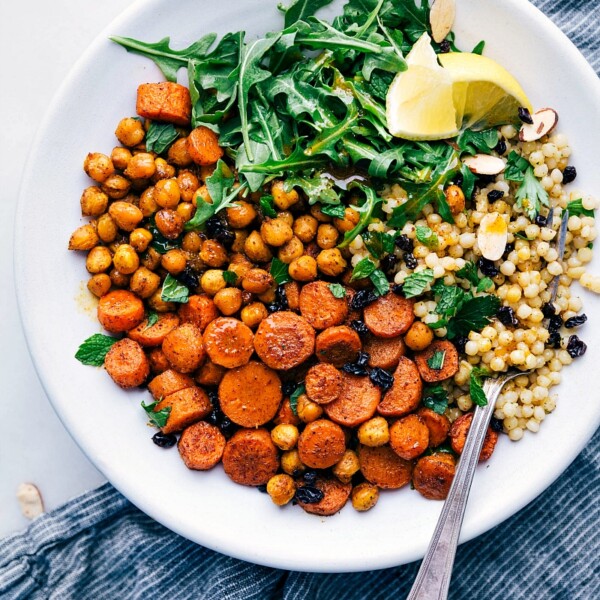
Salads
Moroccan Carrot Salad
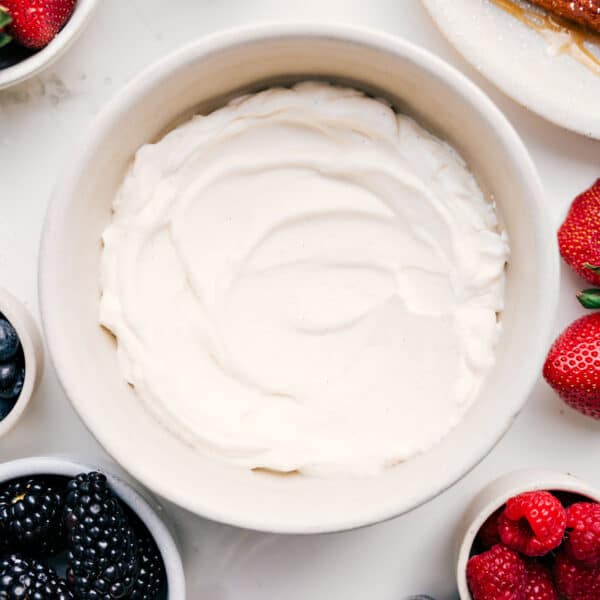
Desserts
Whipped Cream Recipe

Desserts
Chocolate Muffin Recipe
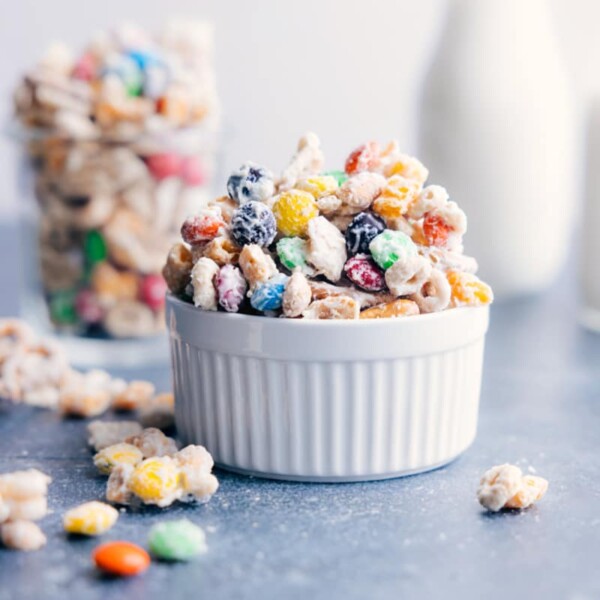
Snacks
White Chocolate Chex Mix
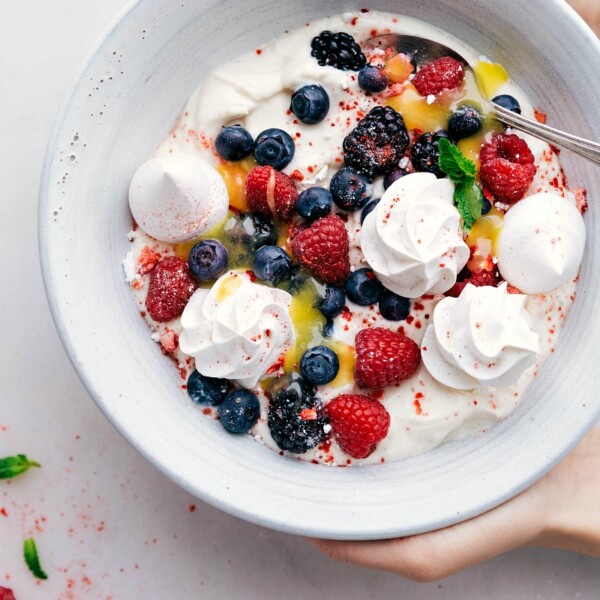
Desserts
Meringue Cookie Recipe
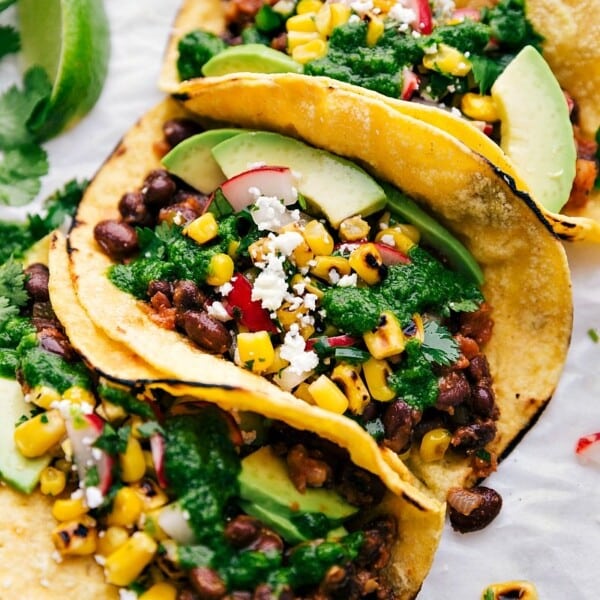
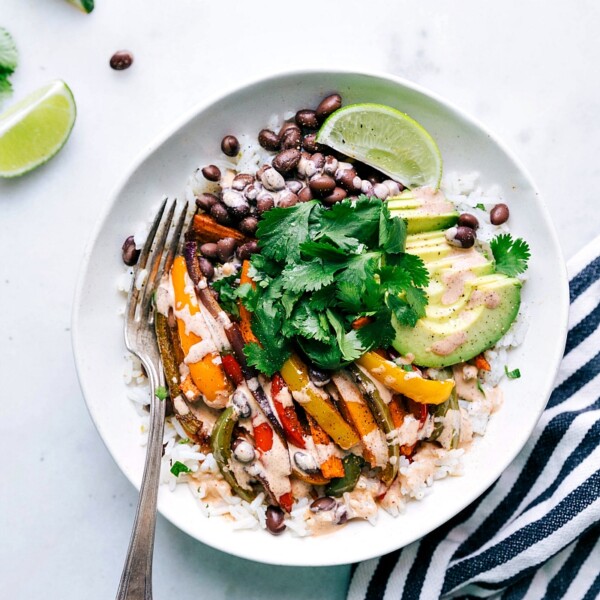
Dinner
Healthy Tacos
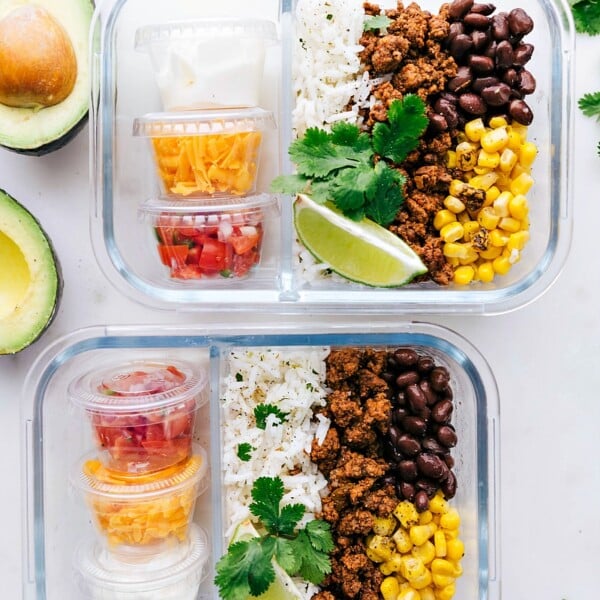
Dinner
Taco Bowl
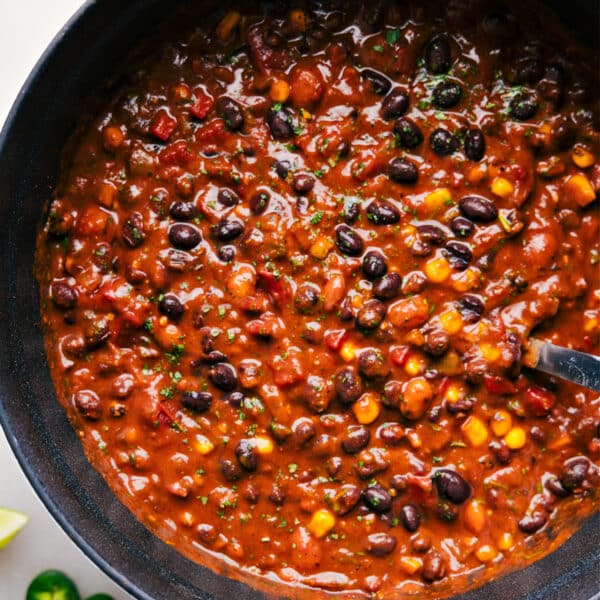
Soups And Stews
Vegetarian Chili Recipe
Dinner


