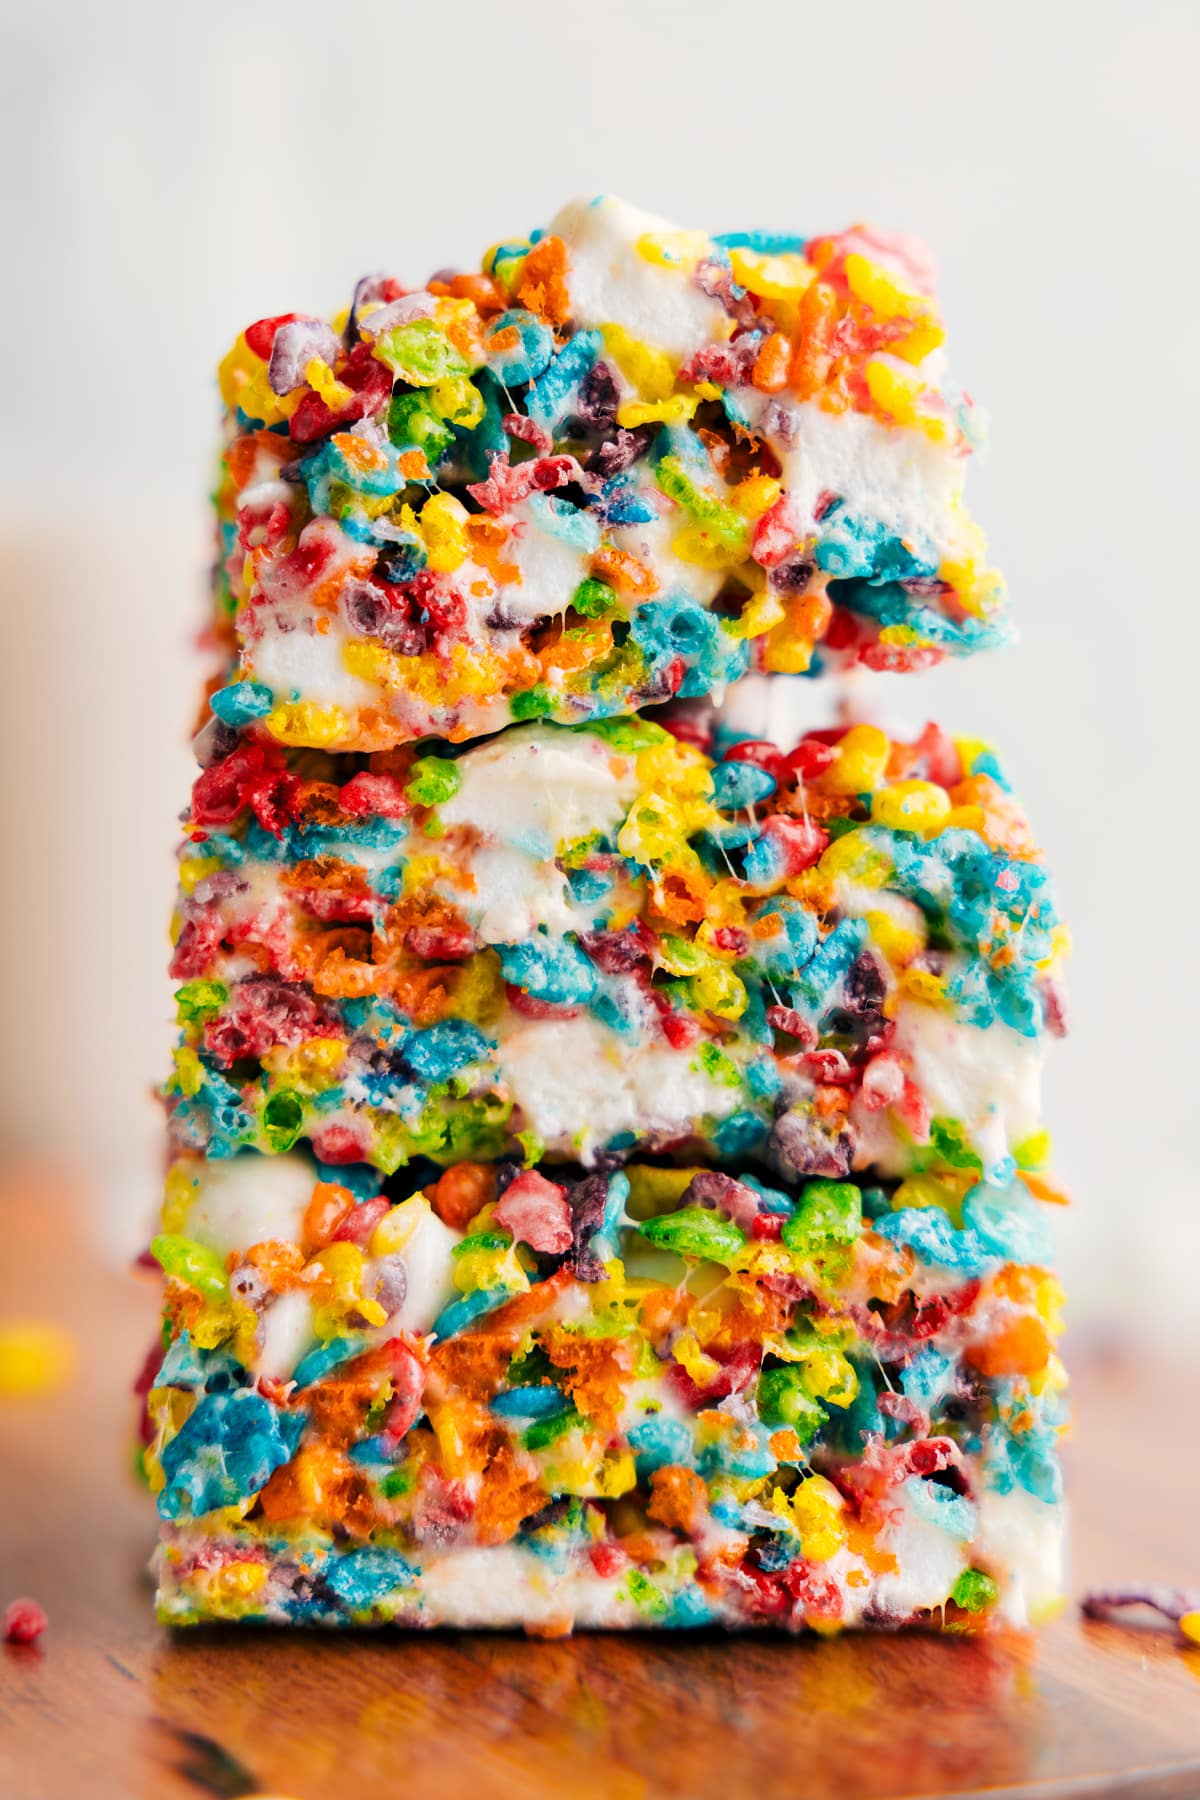
Fruity Pebble Rice Krispies Treats are colorful, sweet, and easy to make. They’re a hit anywhere and only need six ingredients.
Have extra Fruity Pebbles? Try this Fruity Pebble Crunch Candy too!
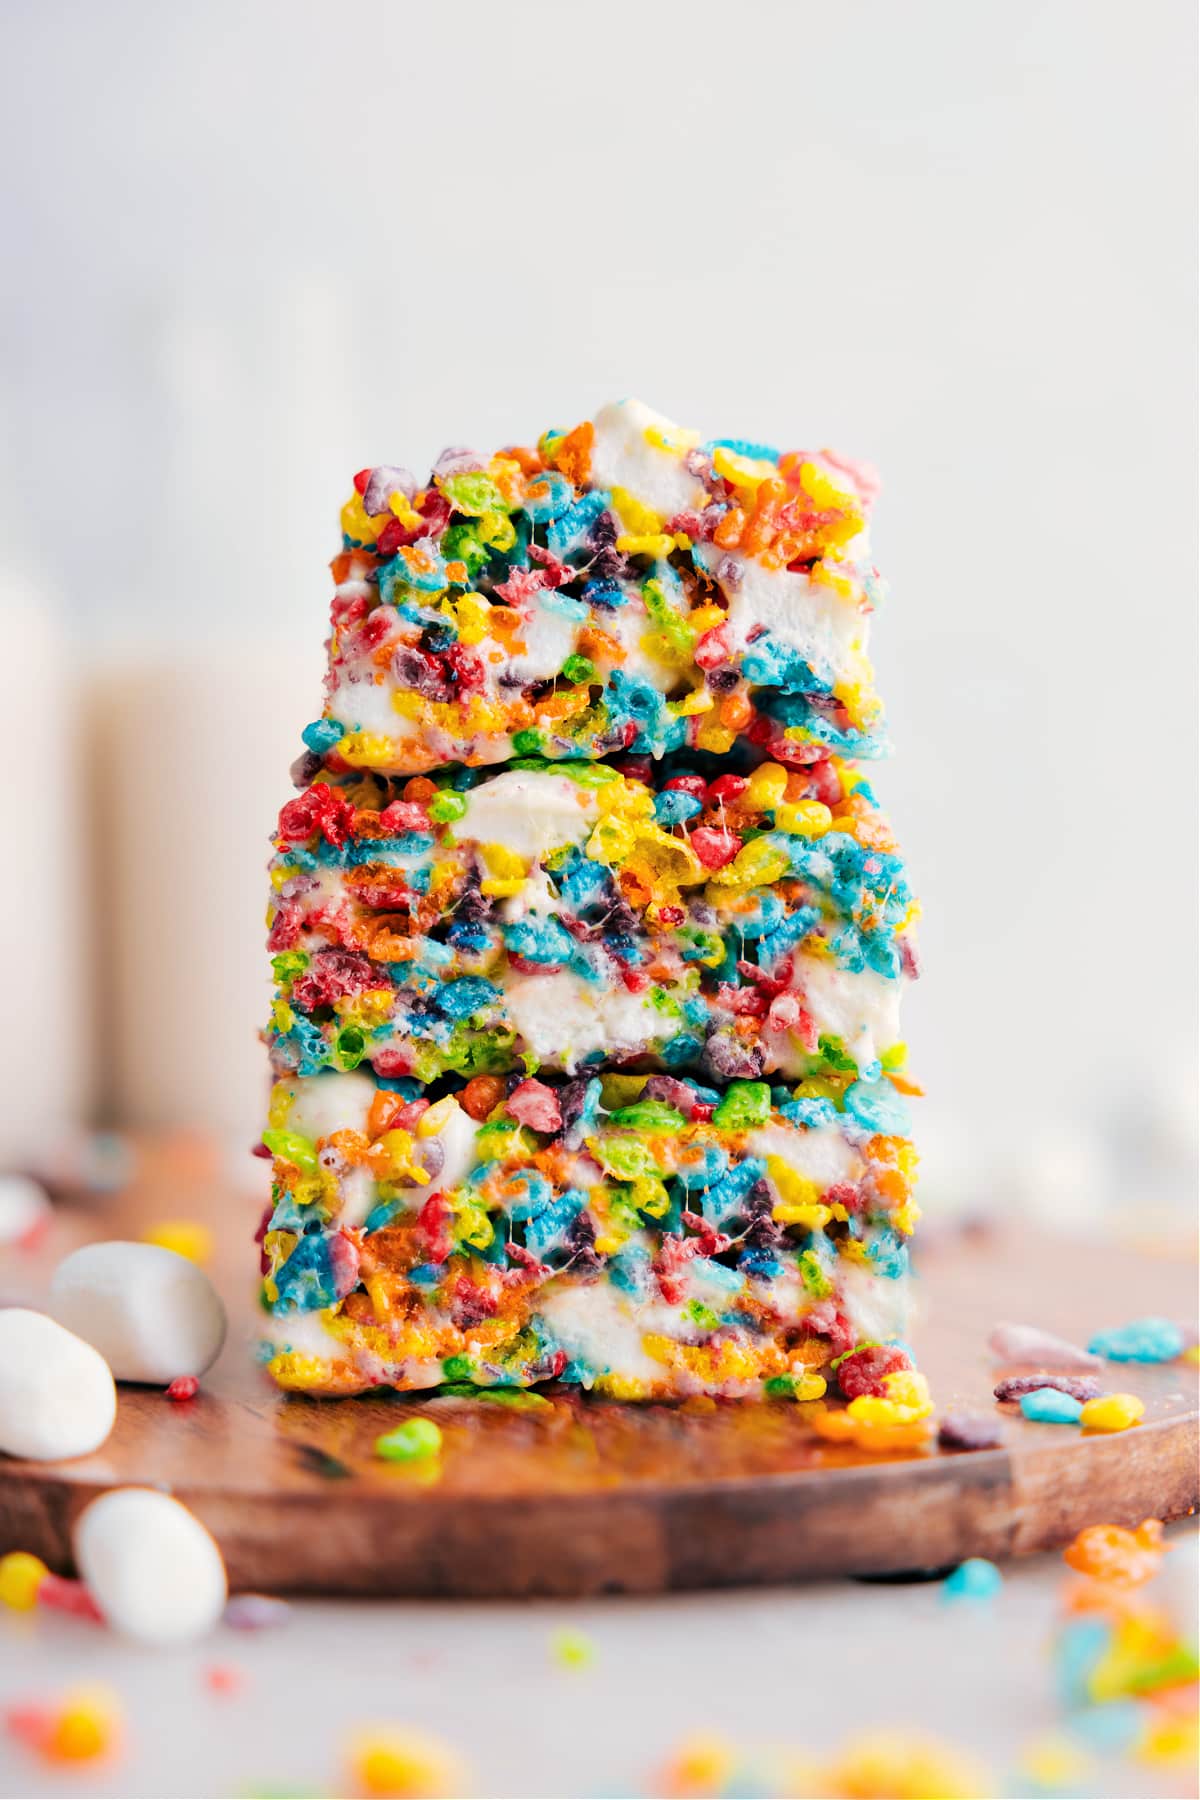
Fruity Pebbles Rice Krispies Treats
My family is obsessed with all kinds of Rice Krispie Treats. They love Chocolate Rice Krispie Treats and Peppermint Rice Krispie Treats. But their favorite? Rice Krispie Treats made with Fruity Pebbles! There’s just something about those bright colors that makes them extra fun.
For this version, I took my original Rice Krispie Treat recipe—the one readers have loved for years—and swapped in Fruity Pebbles.
The result is just as quick and easy to make, taking less than 10 mins and requiring no baking, but with a vibrant, fruity twist that everyone loves!
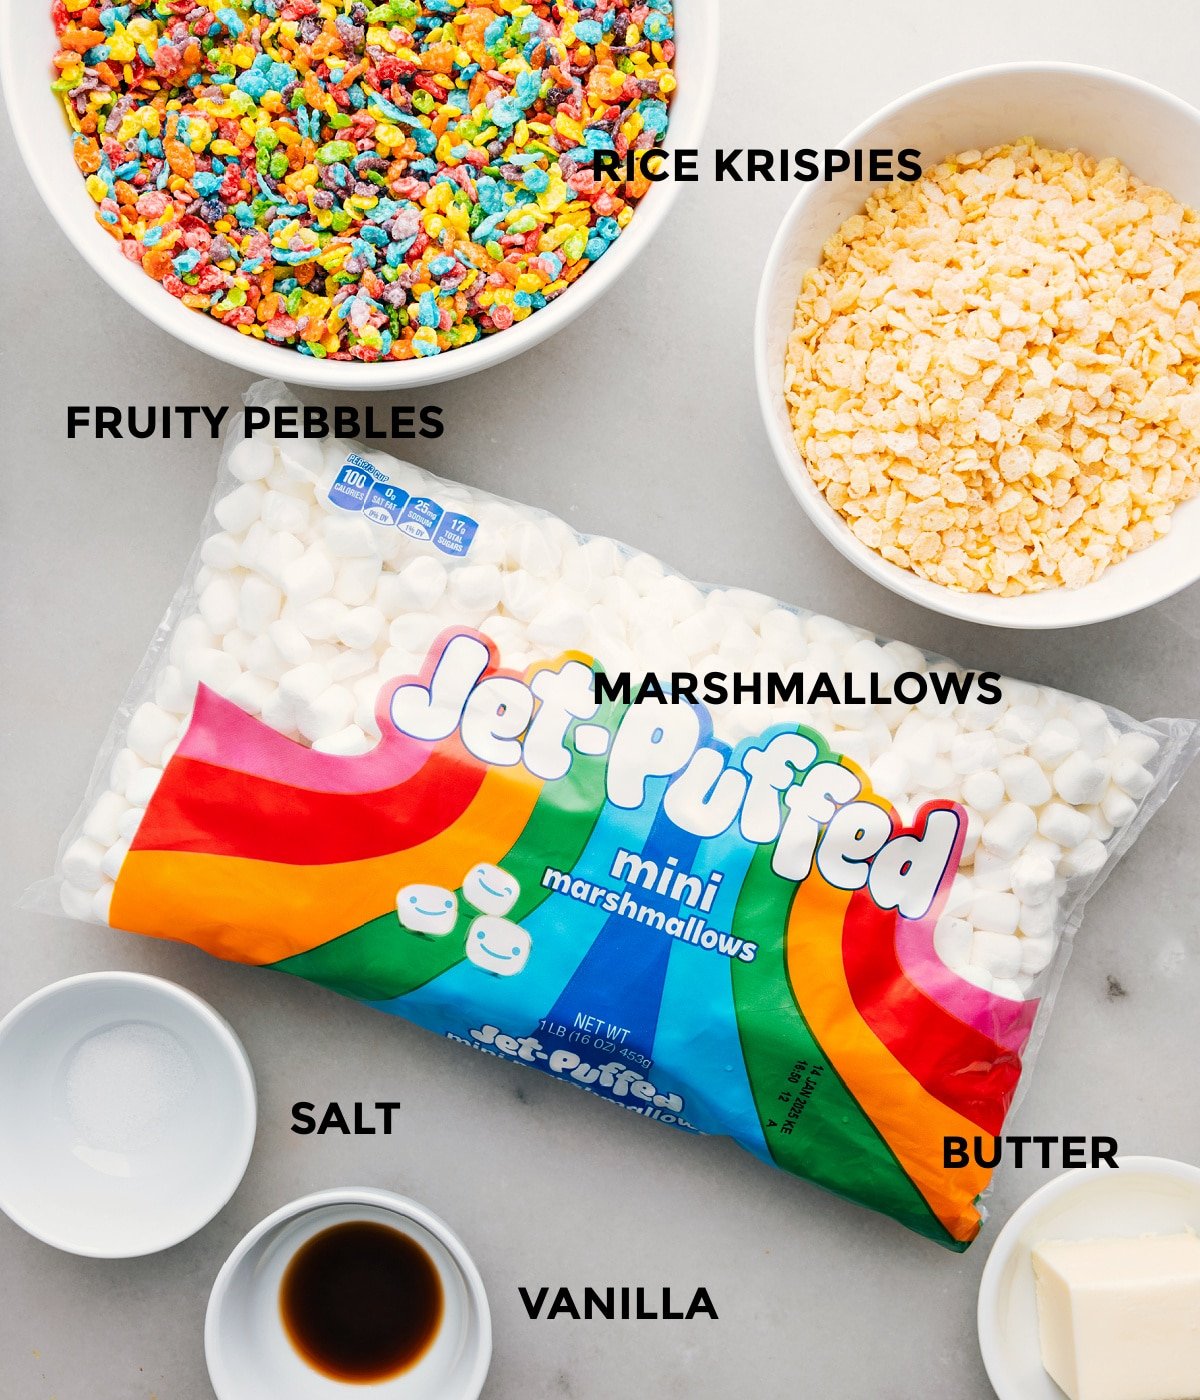
Ingredients
- Butter: Use unsalted butter to control the amount of salt. The better the butter, the better the flavor!
- Mini Marshmallows: Fresh, soft marshmallows melt better and keep these treats soft.
- Salt: Adds flavor; don’t skip.
- Vanilla: Use real vanilla for best flavor.
- Fruity Pebbles: Adds color, crunchy, and sweetness.
- Rice Krispies: I like to add a little plain cereal to help balance the sweetness. You can use all Fruity Pebbles if you like.
Quick Tip
When spreading the treats in the pan, keep everything from getting sticky by spraying your fingers with nonstick baking spray. It really helps! You can also use the butter wrapper to spread the mixture.
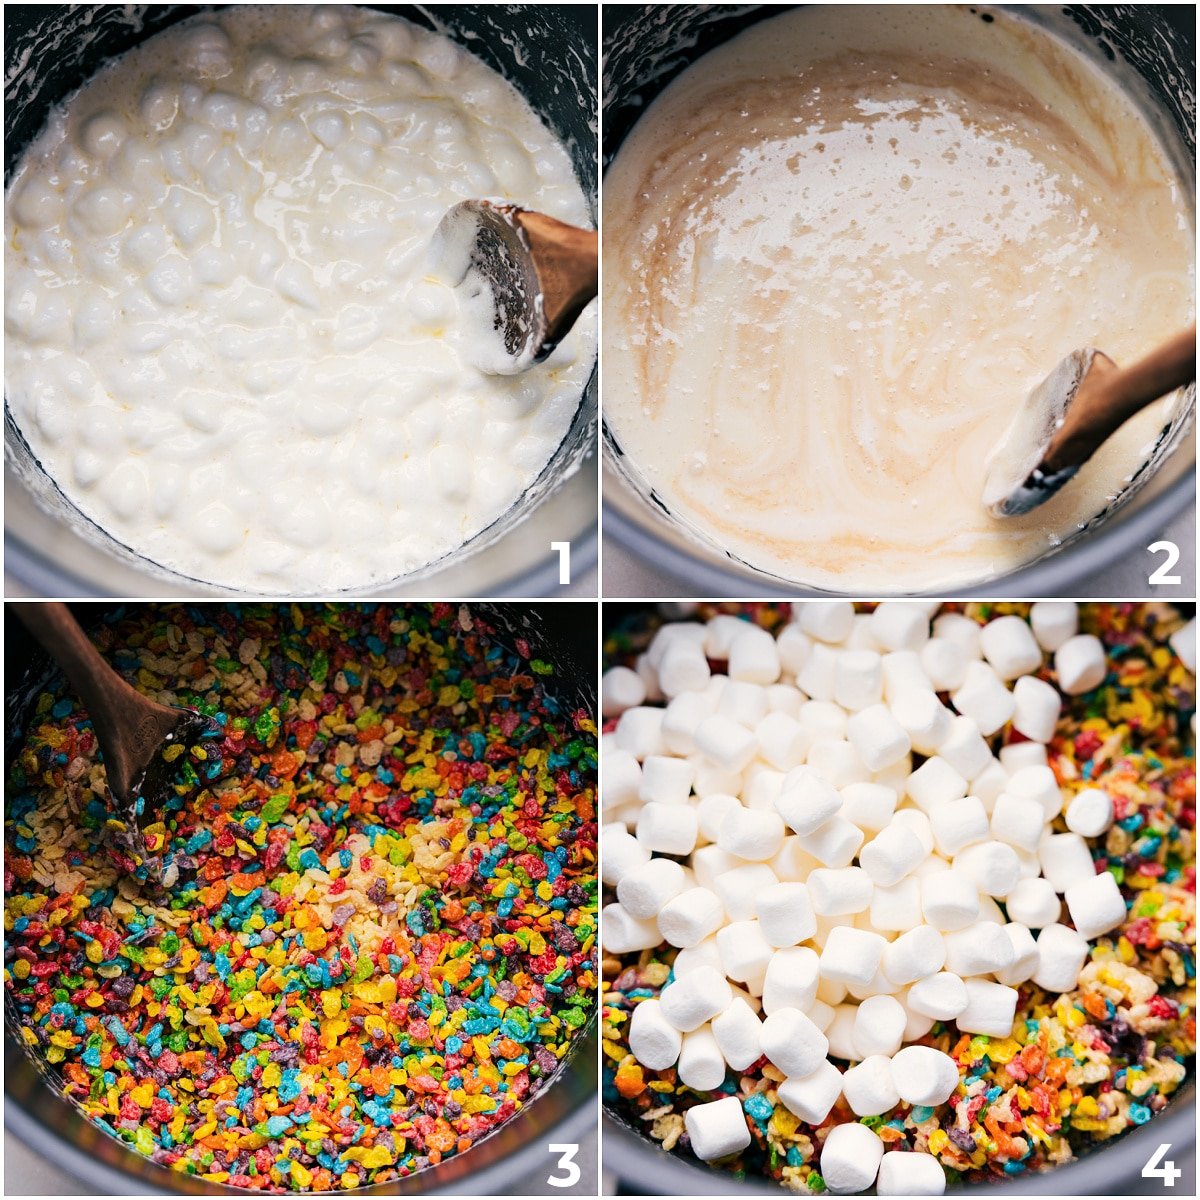
How to Make Fruity Pebbles Rice Krispies Treats
- Prep Pan: Line a pan and spray with cooking spray. I love this 9×9-inch Cake Pan.
- Melt: Melt butter in a big pan over low heat. Add most of the marshmallows and stir until melted.
- Remove from Heat: Stir in salt and vanilla.
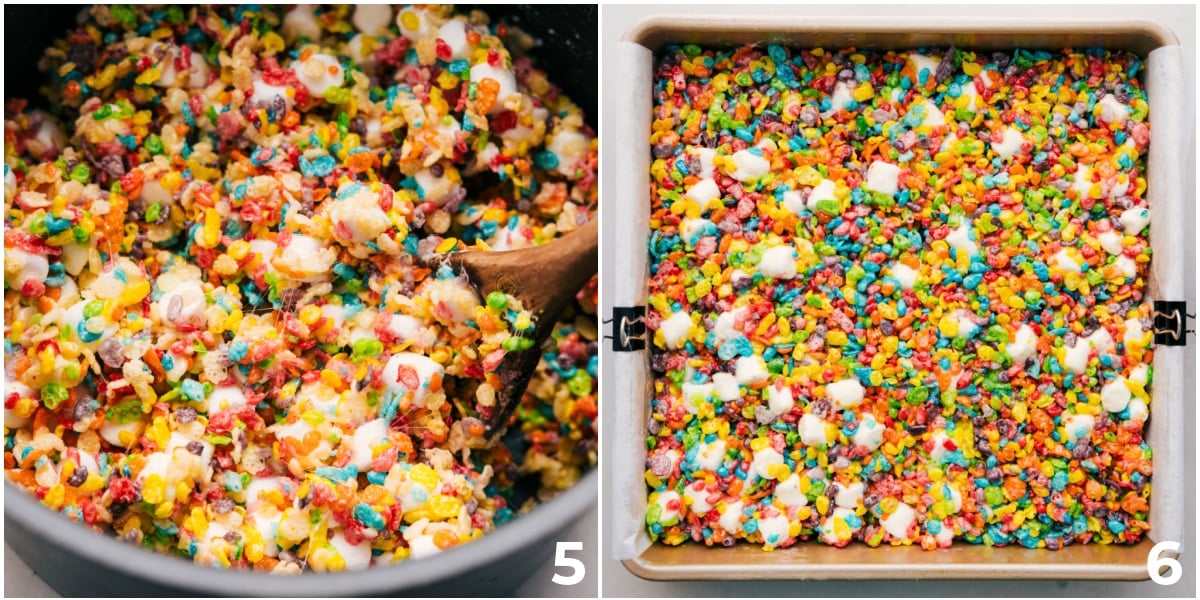
- Mix Cereals: Gently mix in cereals and the rest of the marshmallows.
- Press into Pan: Pour mixture into the pan and lightly press into an even layer.
- Cool: Let set for at least 1 hour.
- Cut and Serve: Lift out using parchment and cut into squares. Enjoy!
Fruity Pebbles Rice Krispies Treat Tips
- Don’t press too hard: After spreading the mixture in the pan, don’t press it down too much.
- Use low heat: Cook marshmallows on low heat so they don’t get hard. Stir them often and take them off the heat as soon as they melt.
- Use fresh marshmallows: Fresh marshmallows make your treats softer and tastier.
- Mix well: Once the marshmallows are melted, mix the cereal into the mixture thoroughly.
- Cool completely: Let the treats cool completely before cutting to get clean, easy-to-handle squares that aren’t too sticky!
Storage
For the best texture, enjoy these Fruity Pebble Rice Krispies Treats the same day they’re made. To store leftovers, keep them in an airtight container at room temperature for up to 2 days.
More Easy Dessert Recipes:
- Carmelitas oatmeal, caramel, chocolate bars
- Lemon Bars with a shortbread crust
- Seven Layer Bars with coconut and chocolate chips
- Vanilla Cheesecake Bars with a graham cracker crust
- Smores Bars with mini marshmallows
Fruity Pebbles Rice Krispies Treats
Equipment
- 9 x 9-inch baking pan with parchment paper
- Large pot nonstick
Ingredients
- 5 tablespoons unsalted butter
- 16 ounces miniature marshmallows see note 1
- 1/4 teaspoon salt
- 1 teaspoon vanilla extract
- 4 cups Fruity Pebbles cereal
- 2 cups Rice Krispies cereal see note 2
Instructions
- Spray a 9 x 9-inch pan with cooking spray, then line with parchment paper, leaving an overhang for easy removal. Separate 2-1/2 cups (120 grams) of marshmallows from the bag.
- In a large nonstick pot, melt the butter over low heat. Once butter is melted, add all but the reserved 2-1/2 cups (120 grams) of the marshmallows. Stir constantly over low heat until the marshmallows are completely melted.
- Remove the pot from the heat and stir in the salt and vanilla extract. Gently fold in the Rice Krispies and Fruity Pebbles cereals. Add the reserved 2-1/2 cups of marshmallows and stir until everything is well combined. Take your time here, and don’t mash the cereal while stirring.
- Pour the mixture into the prepared pan. Lightly spray your hands with cooking spray and gently press the mixture into an even layer. Be careful, pressing too hard can make the bars dense and heavy.
- Allow the bars to cool and set for at least an hour. Use the parchment-paper overhang to lift the bars out of the pan and cut them into squares with a sharp knife.
Video
Recipe Notes
Nutrition
Nutrition information is automatically calculated, so should only be used as an approximation.




These are great! I mixed in a bag of fruity marshmallows instead and they were quite delicious. I used plain mallows in the base though.
In case you’re wondering: You can also put this whole recipe in a 9×13 pan and still get decently thick bars.
Delish! I love that idea! So glad you enjoyed! Thanks Molly!
Can I just use salted butter, instead of using the unsalted butter and salt as seperate ingredients?
Sure! I personally like being able to control the salt better since salted butter can vary, but if you already have salted butter you can for sure use it.
Made these twice. First time made a half batch *Halved the recipe* second time made the whole batch. Used brown butter so I added 77g of butter instead of 71g. I felt both times that the cereal didn’t have enough marshmallow coverage and parts were quite dry which is strange because the photos looks great. It could have been because I used large marshmallows but I did use metric conversions and weighed everything from the cereal to marshmallow. I loved the addition if bits of marshmallow that was fun I cut up giant ones so I’d have bits as well. Felt on My part more brown butter flavor would have been better but that’s not on the author. I don’t know if I’m doing something wrong but overall they are good just felt like it was to much cereal not enough marshmallow.
Hey Jackie! Thanks for your comment! I would definitely recommend using mini marshmallows to see how that helps your texture. It’s difficult to get an exact measurement with marshmallows because they are so light, but mini marshmallows can be measured in cups!
Hi Jackie,
I too use metric and I think the conversion is off in this recipe. 283 grams = 10 ounces.
In the US measurement it’s written 16 ounces, so i think we need to use 454 grams!
Hey, thanks for catching this! I updated the metrics!
Came out perfect! Thank you for the tip to not press them into the pan too hard, made a huge difference.
I’m so thrilled you enjoyed these! Thanks for your comment! 🙂
I have made these several times and have tweaked it to my liking. I have also made these with the Oops All Berries from Captain Crunch and those were a hit also.
Delish! I am so thrilled these have been a hit! Thanks Michelle!
Can you make cutouts with this recipe, trying bunny pops for Easter.
I haven’t tried, but i’d imagine if you pack the mix in well enough and use a sharp metal cookie cuter they would cut out! 🙂
How many does this recipe make?
I’m making for 60 kids !!
It makes 12 bars! 🙂
These r so yummy
So happy to hear you’re enjoying! Thanks Melissa! 🙂
Hi Chelsea! This recipe looks so good and I’m going to make it for a kid’s birthday party soon! Do you think I can double all the ingredients in the recipe to make more? Thanks!
Hey Katie! I’d just make two separate 8×8 or 9×9-inch pans of this recipe!
Going to make these tomorrow! Pardon the dumb question, but is the 2nd half of marshmallows supposed to melt when added in to the mixture?
Not dumb at all! Some melt and some partially melt so it just makes for a nice texture in the treats!