Desserts

Breakfast
Buttermilk Syrup

Quick And Easy
Reindeer Chow

Desserts
Microwave Fudge Recipe
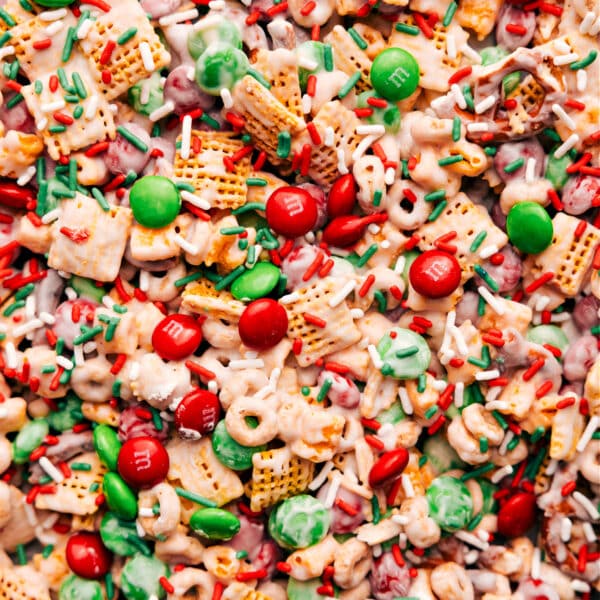
Quick And Easy
Christmas Snack Mix
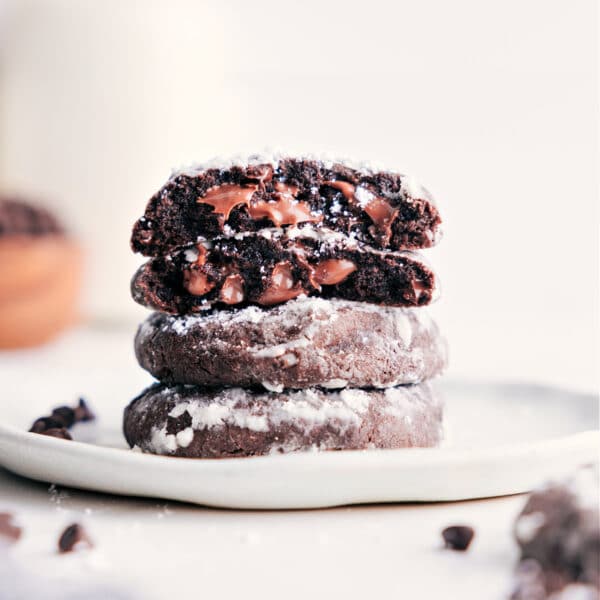
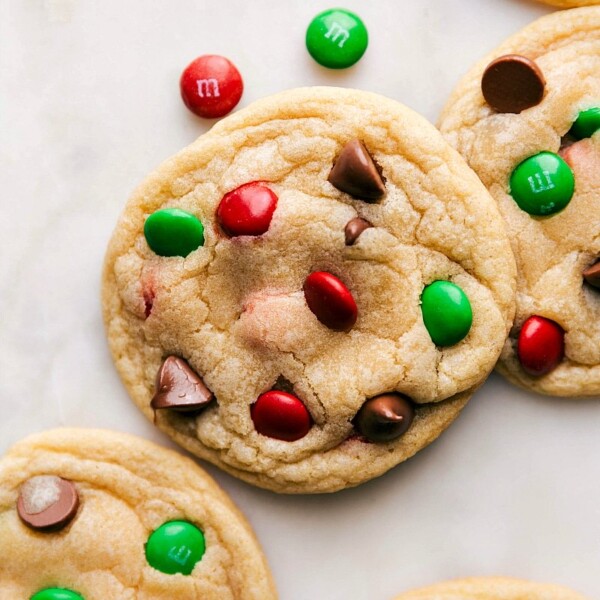
Desserts
Chocolate Crinkle Cookies
Desserts
Homemade Marshmallows Recipe
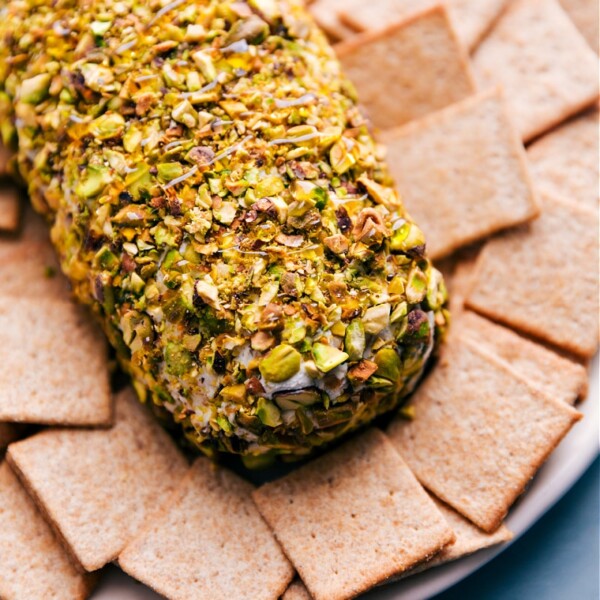
Appetizers
Pistachio Goat Cheese Ball

Dinner
Chicken Curry
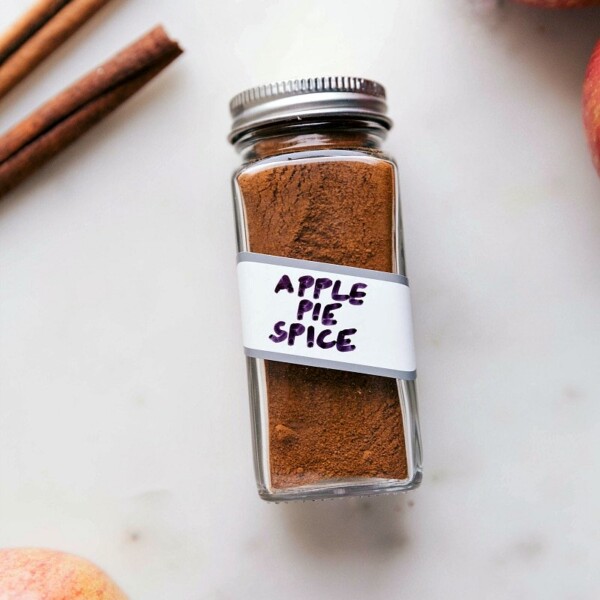
Dressings
Apple Pie Spice Recipe
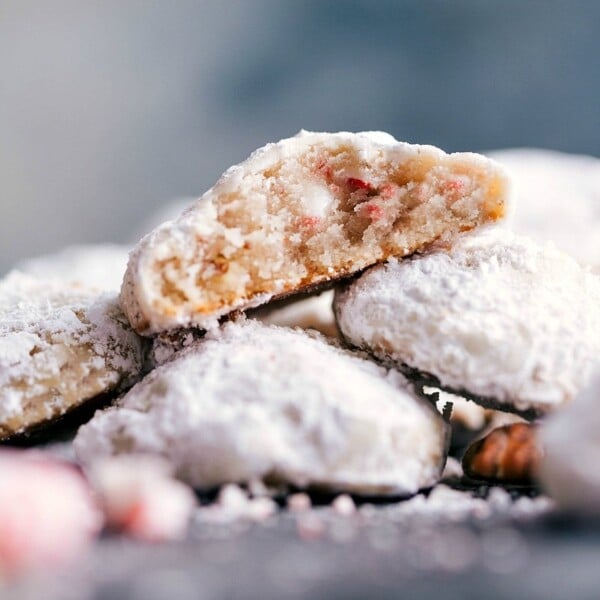
Quick And Easy
Peppermint Snowball Cookies
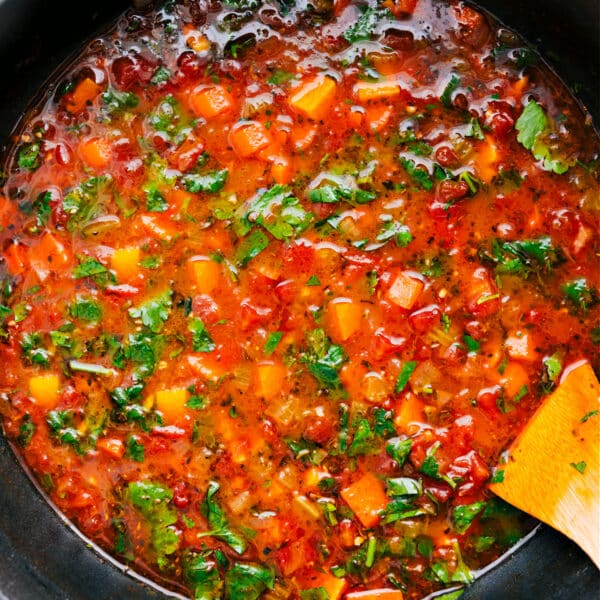
Soups And Stews
Vegetable Soup Recipe
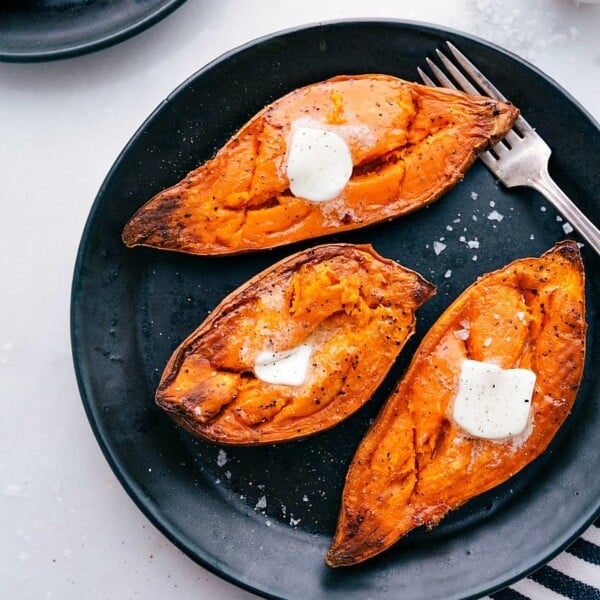
Side Dishes
Baked Sweet Potatoes

Dinner
Rotisserie Chicken Tacos
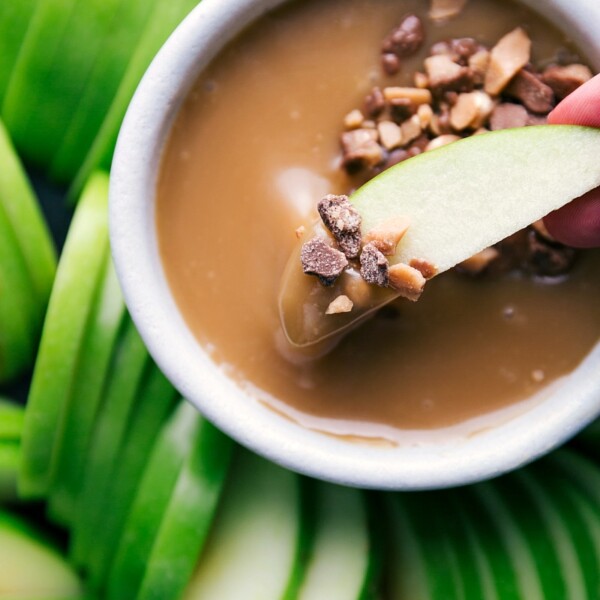
Desserts
Caramel Sauce Recipe
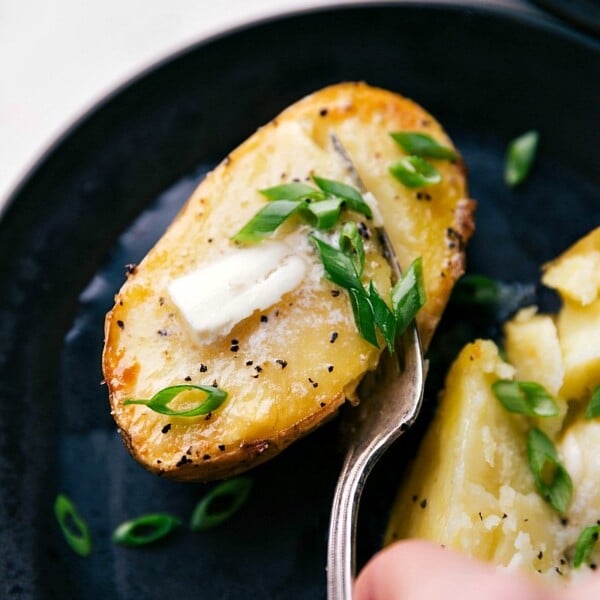
Side Dishes
Baked Potato Recipe

Dinner
Healthy Burrito

Breakfast
Pumpkin Scones Recipe

Dinner
Yellow Chicken Curry
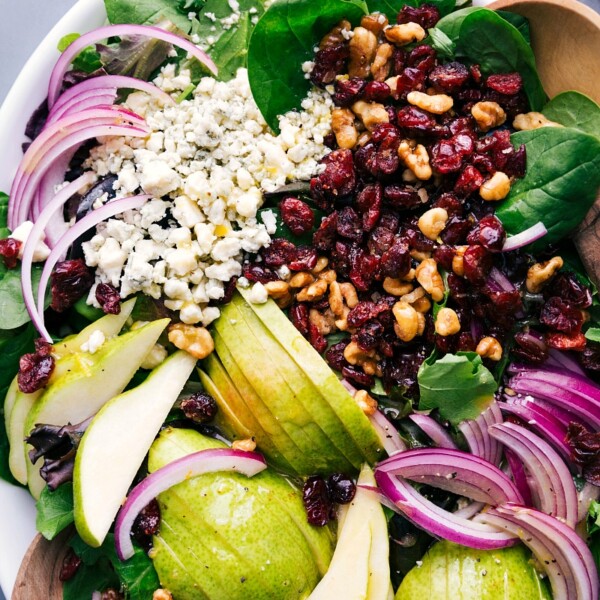
Green Salads


