Dinner

Quinoa
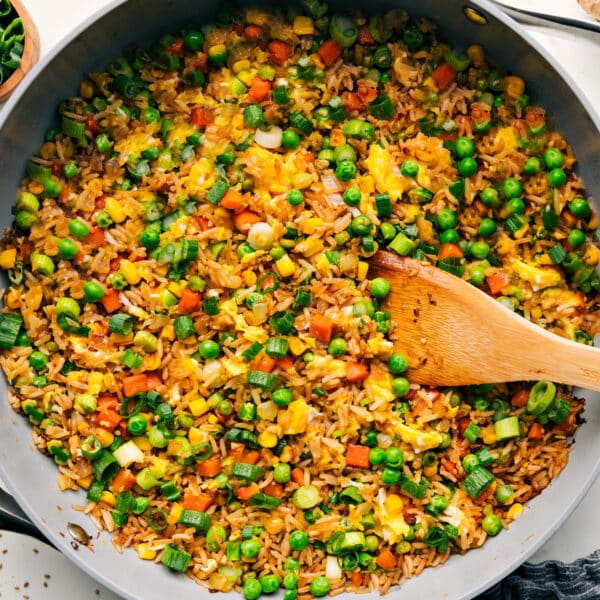
Quinoa Fried Rice
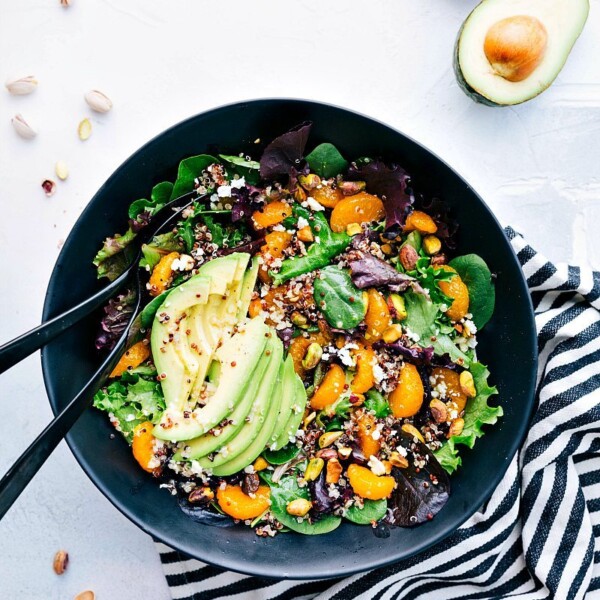
Salads
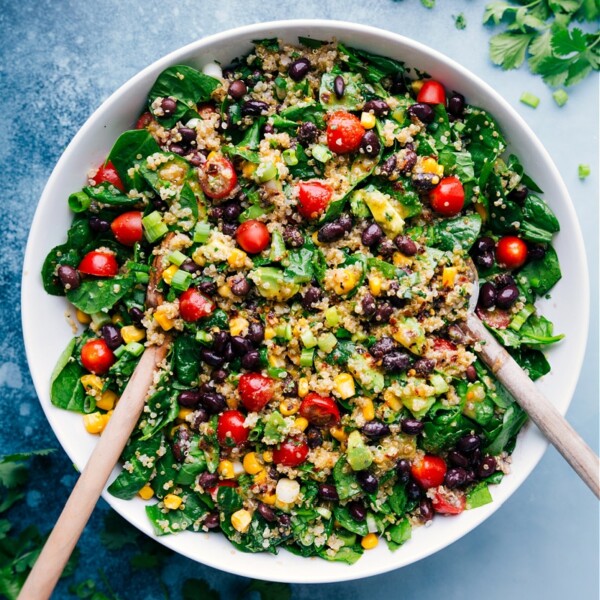
Citrus Quinoa Salad
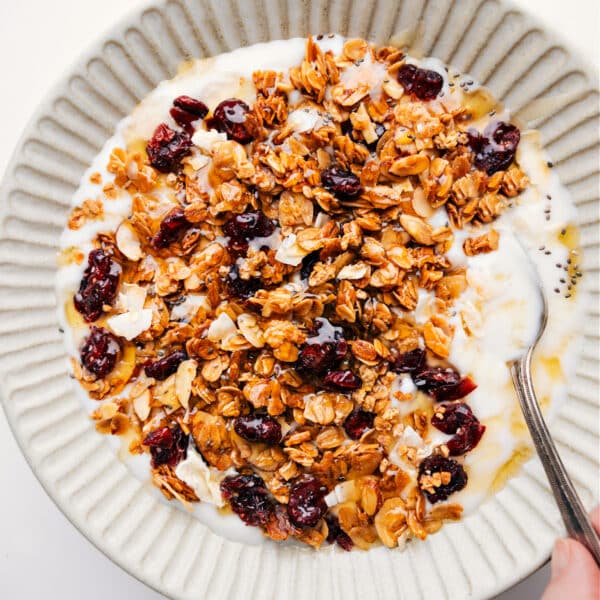
Breakfast
Honey Almond Granola
Dinner
Fried Rice Recipe
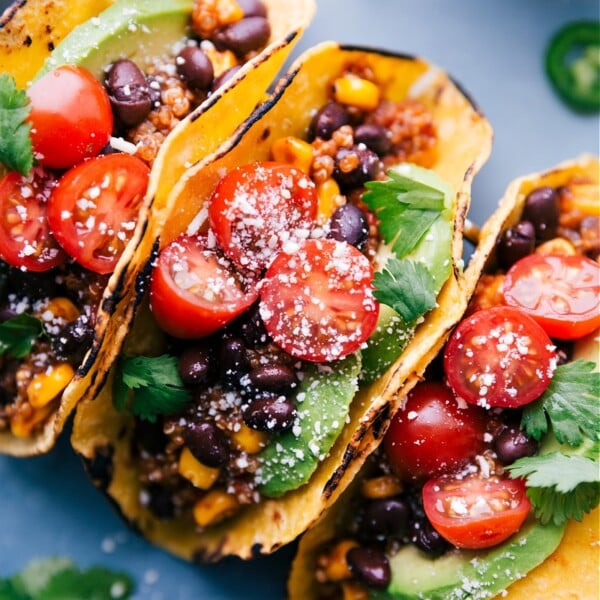
Dinner
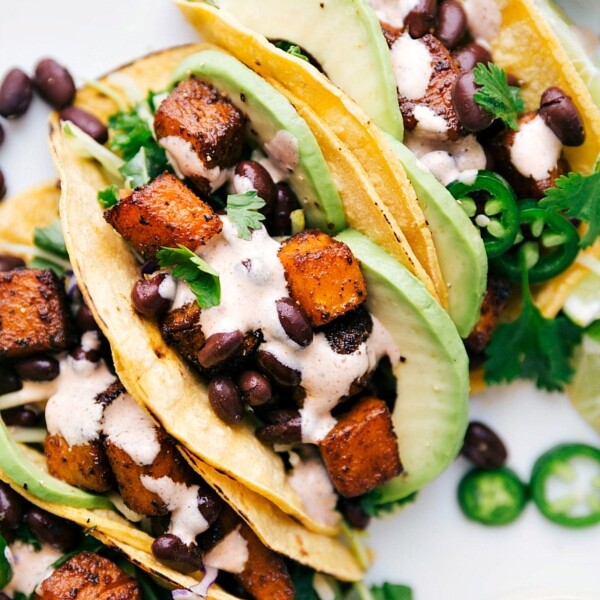
Butternut Squash Tacos

Breakfast
Banana Crumb Muffins
Salads
Healthy Quinoa Recipes
Beverages
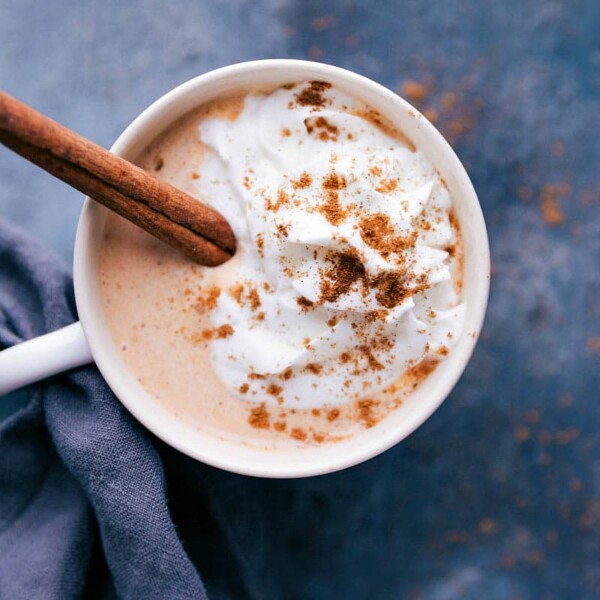
Pumpkin Spice Latte Steamer
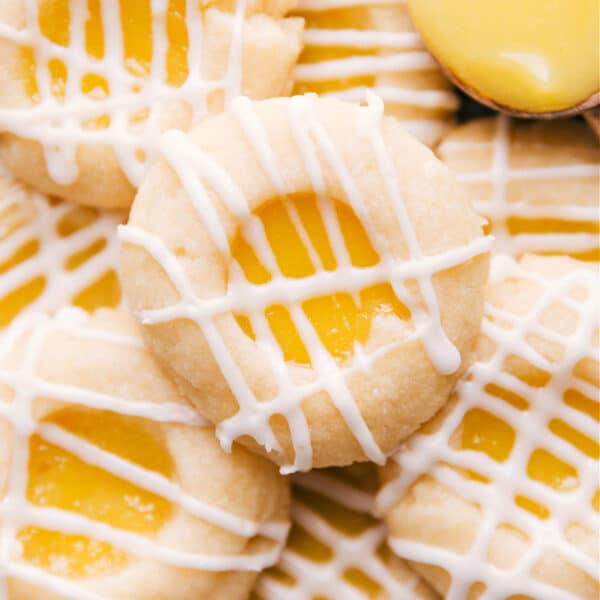
Desserts
Lemon Curd Cookies
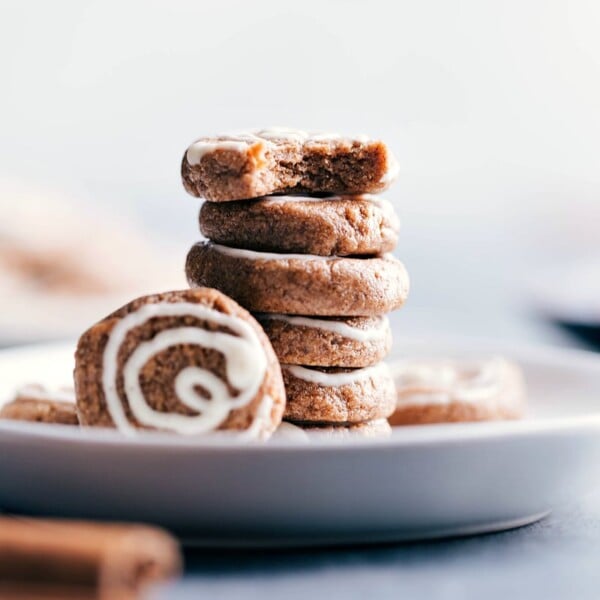
Breakfast
Protein Breakfast Cookies
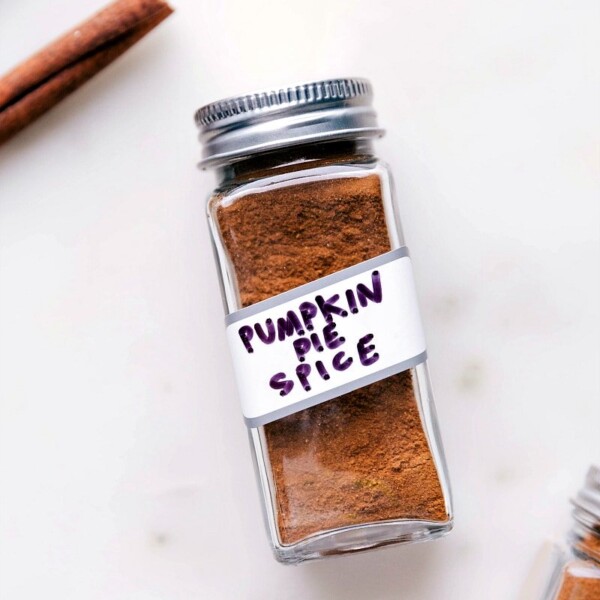
Dressings
Pumpkin Pie Spice Recipe
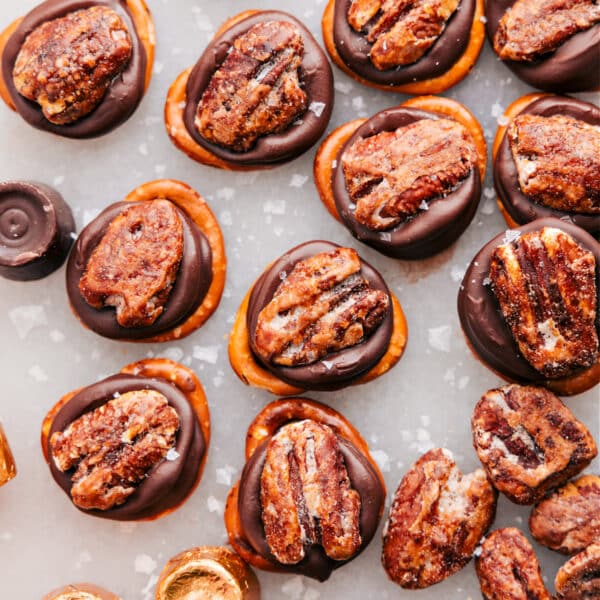
Desserts
Rolo Pretzel Turtles

Desserts
No Bake Peppermint Cheesecake
Desserts
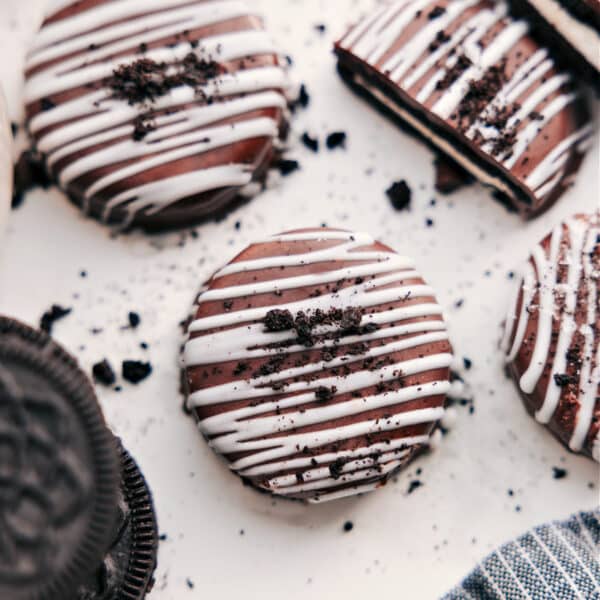
Chocolate Covered Oreos
Desserts
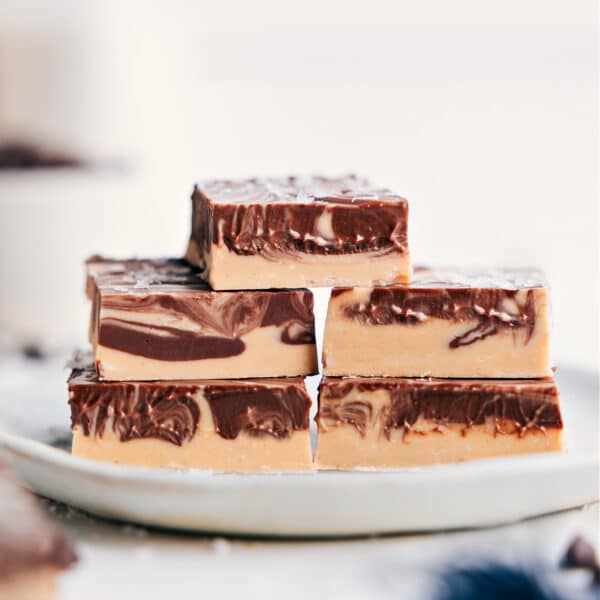
Tiger Butter Fudge
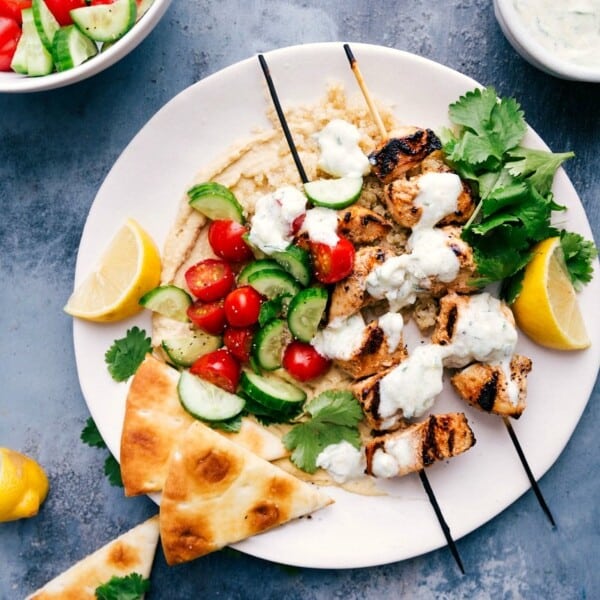
Dinner
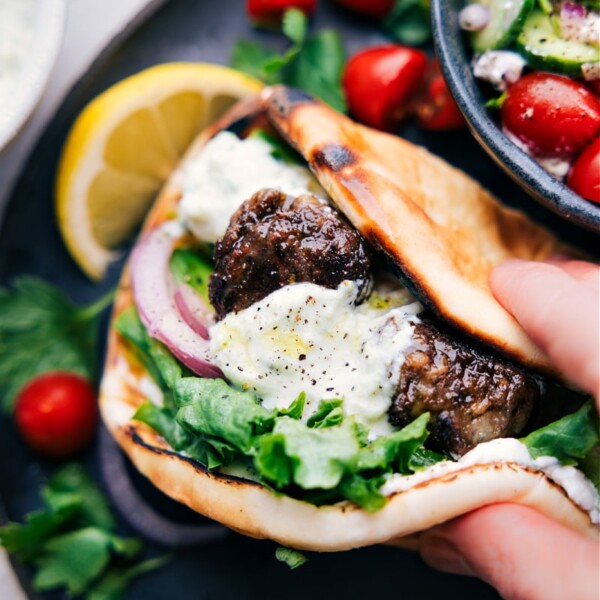
Greek Meatballs Recipe
Salads
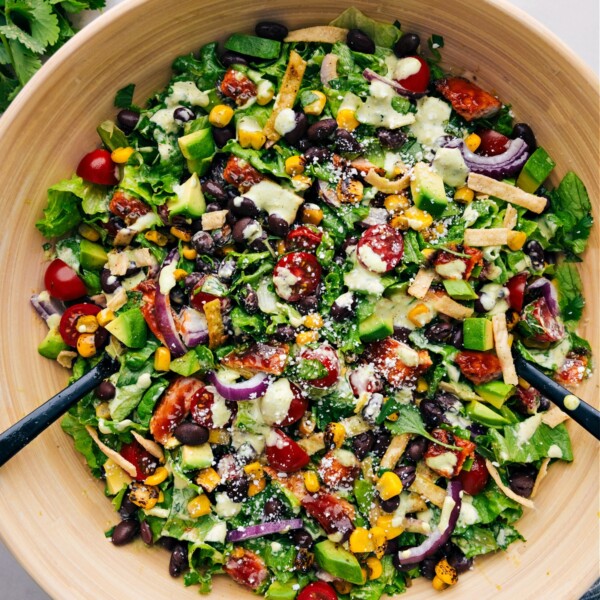
BBQ Chicken Salad
Desserts


