Shakes And Smoothies
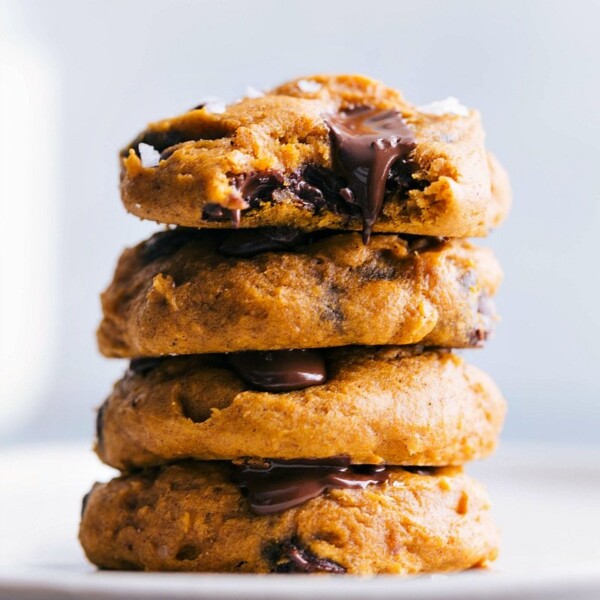
Desserts
Small Batch Pumpkin Cookies
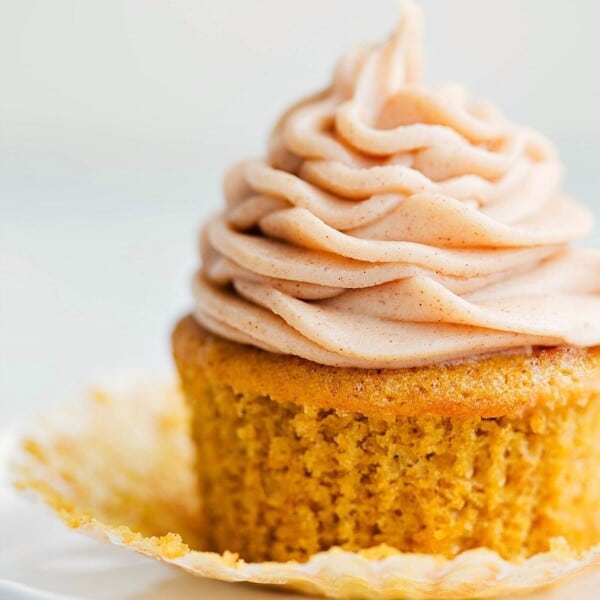
Desserts
Pumpkin Cupcake Recipe

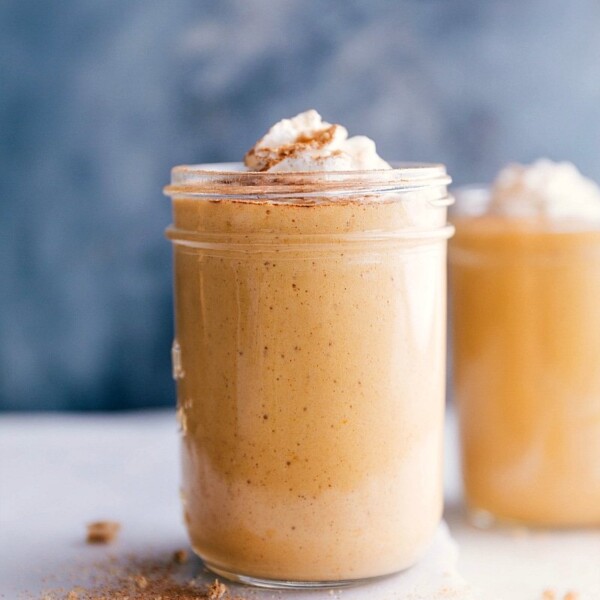
Shakes And Smoothies
Chocolate Protein Shake

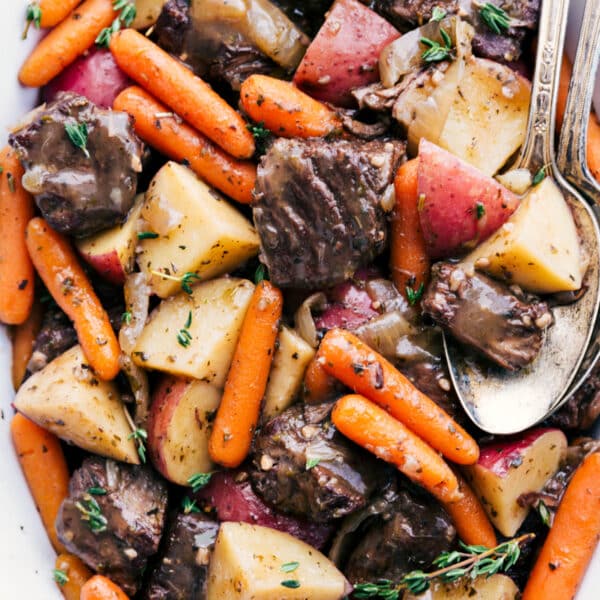
Dinner
Crockpot Roast Recipe
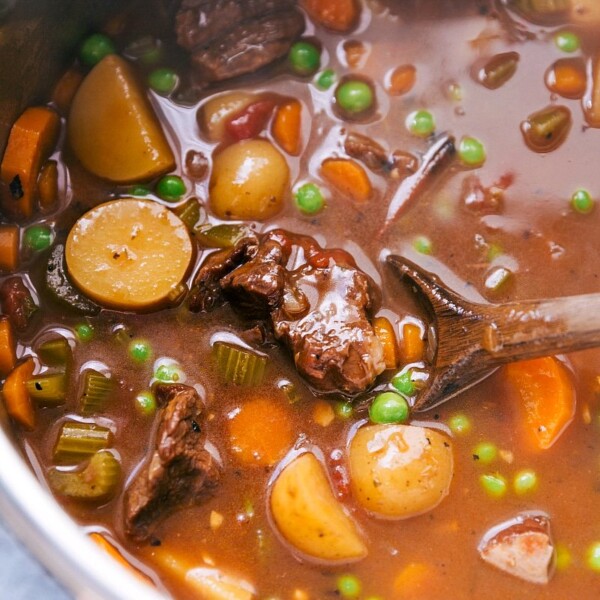
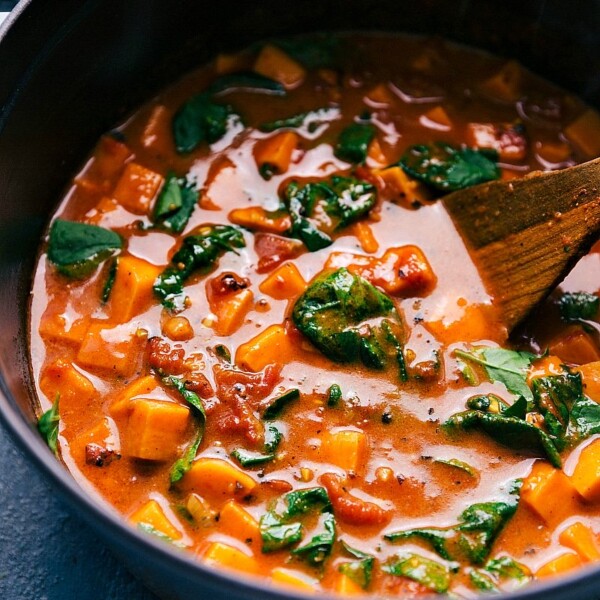
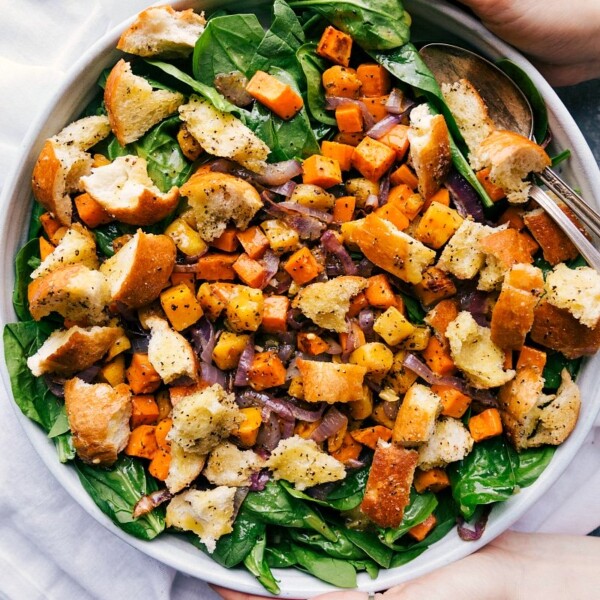
Dinner
Sweet Potato Curry
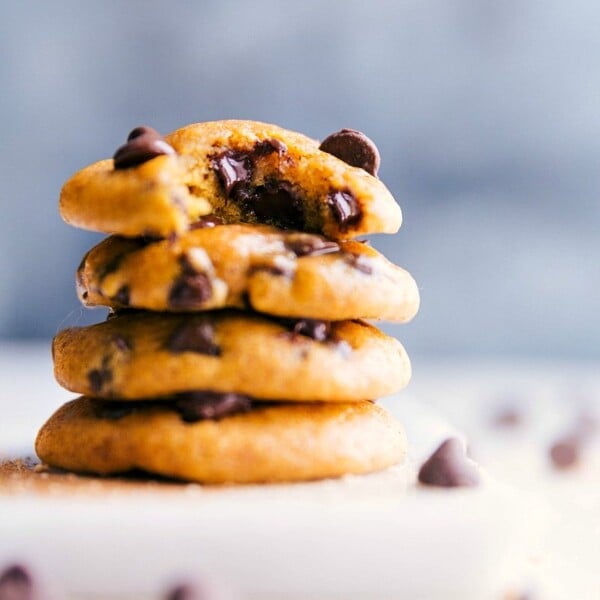
Desserts
Cake Mix Pumpkin Cookies
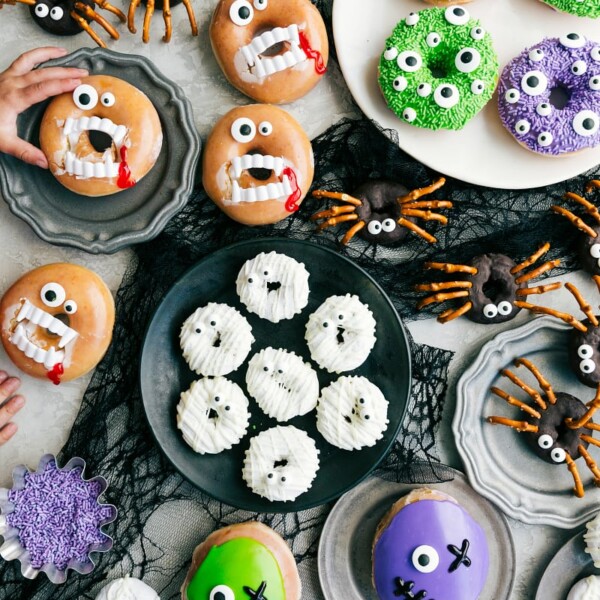
Quick And Easy
Halloween Donuts

Desserts
Pumpkin Coffee Cake Recipe
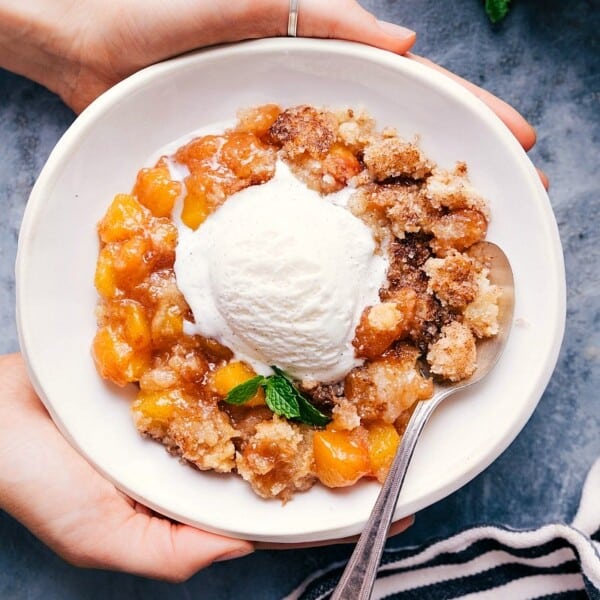
Desserts
Peach Cobbler

Dinner
Chicken Pot Pie Recipe
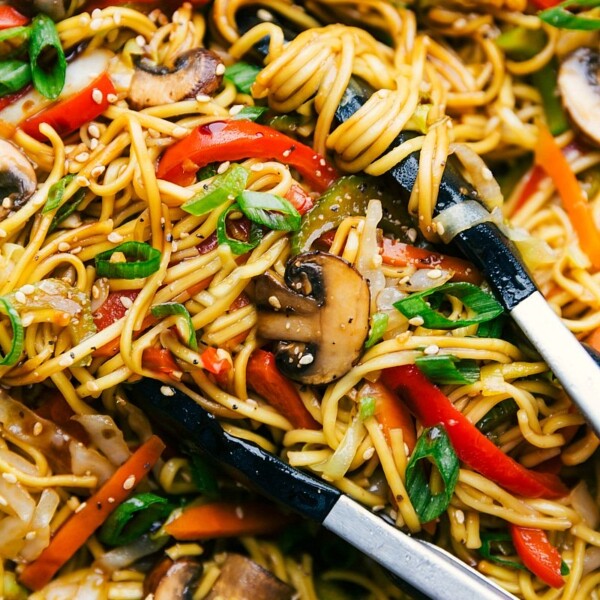
Dinner
Vegetarian Chow Mein
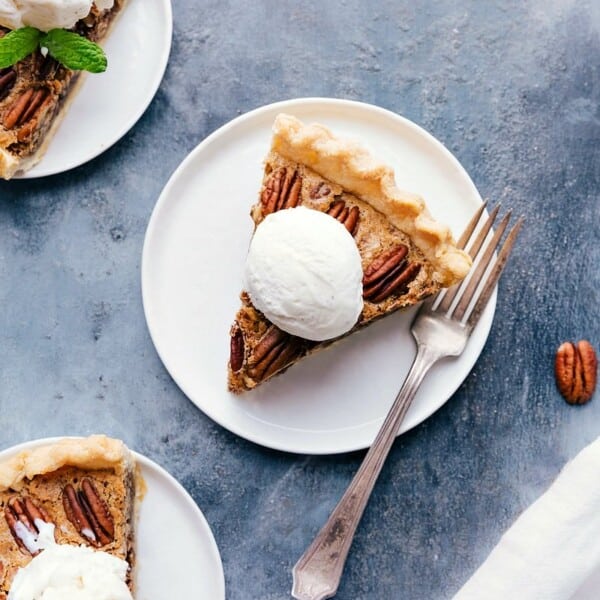
Desserts
Pecan Pie Recipe
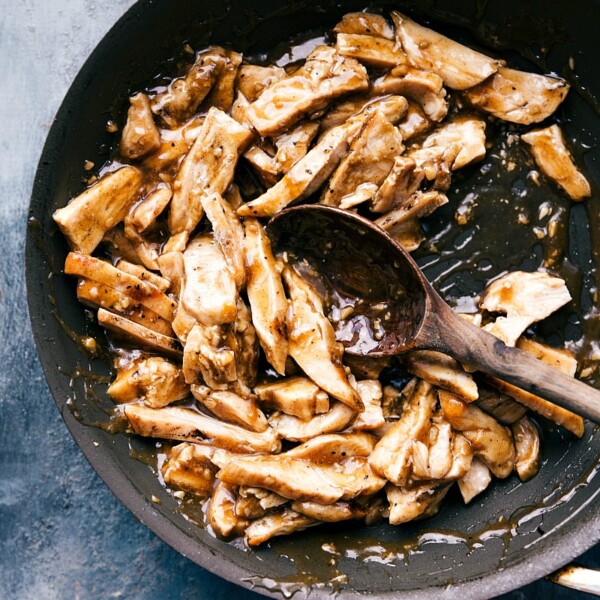
Dinner
Apricot Chicken

Breakfast


