Pork
Snacks
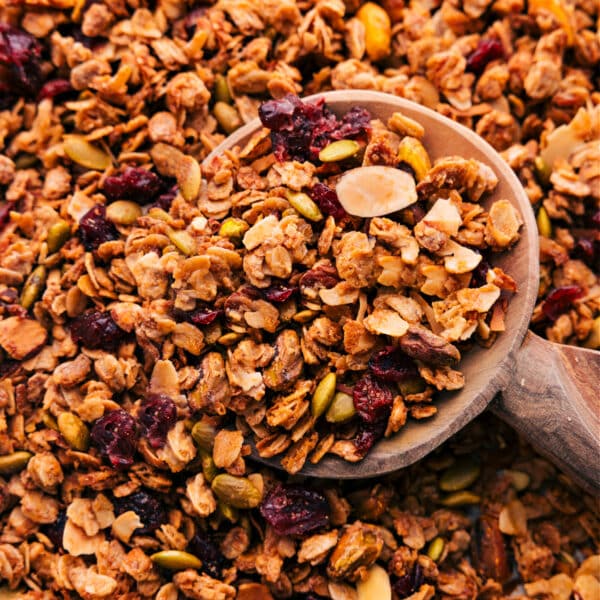
Granola
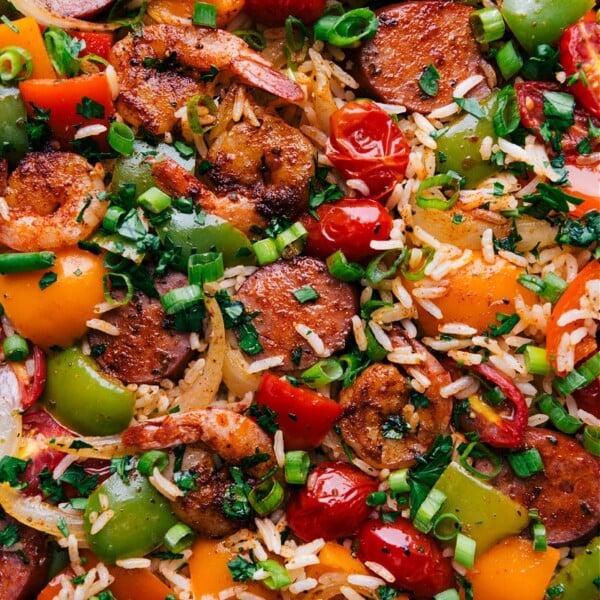
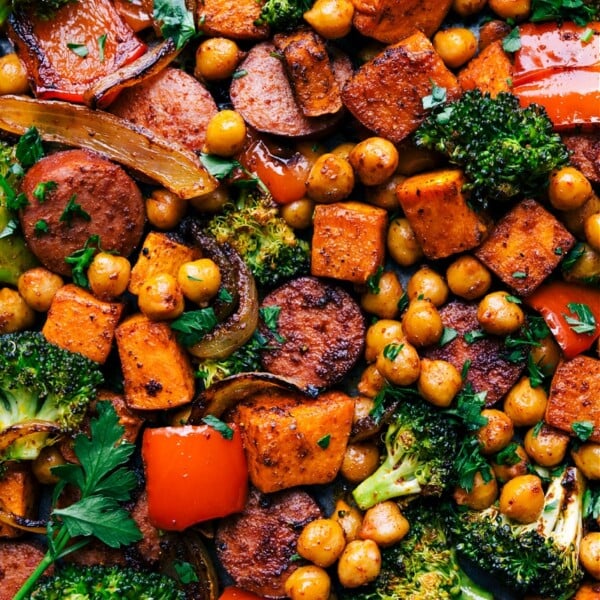
Dinner
One-Pan Jambalaya
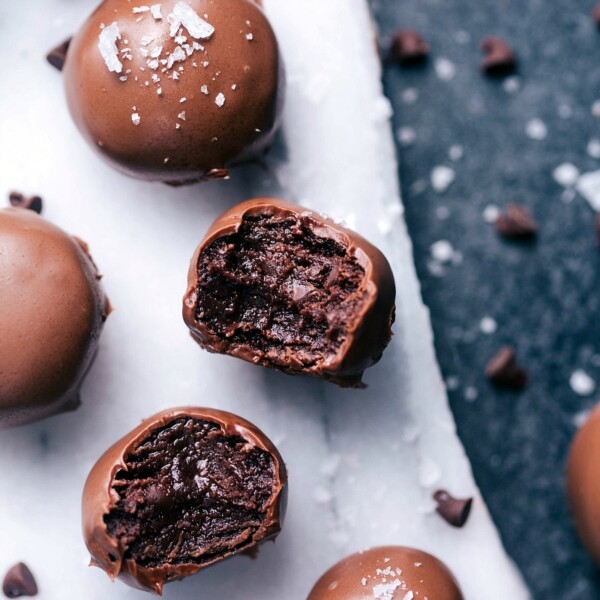
Desserts
No Bake Brownie Bites

Desserts
Cake Mix Cupcakes
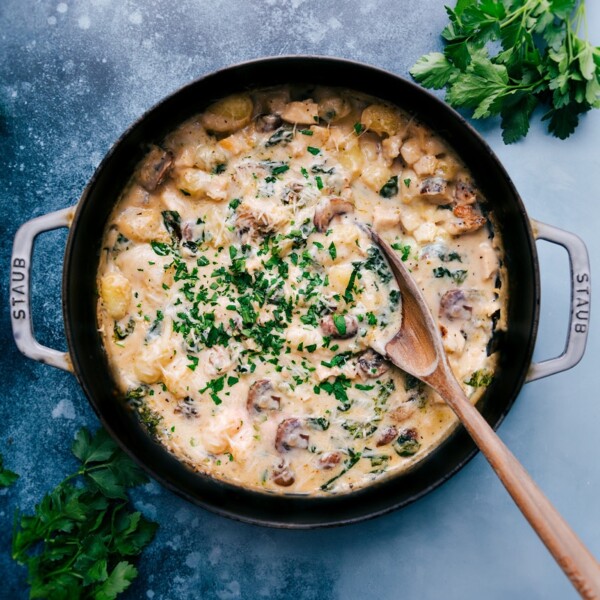
Dinner
Chicken Gnocchi Pasta
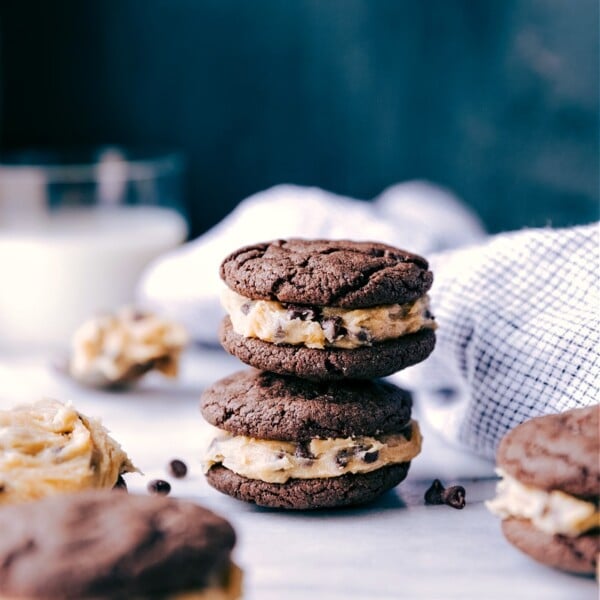
Desserts
Cookie Dough Oreos
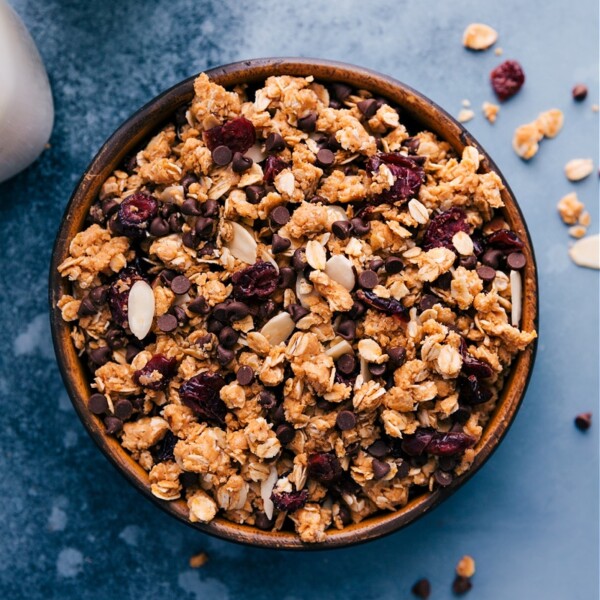
Breakfast
No Bake Granola
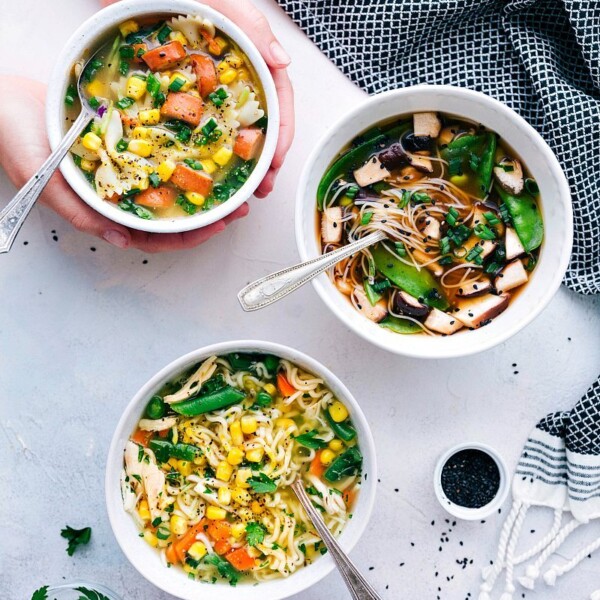
Soups And Stews
Instant Noodles Recipe (3 ways)
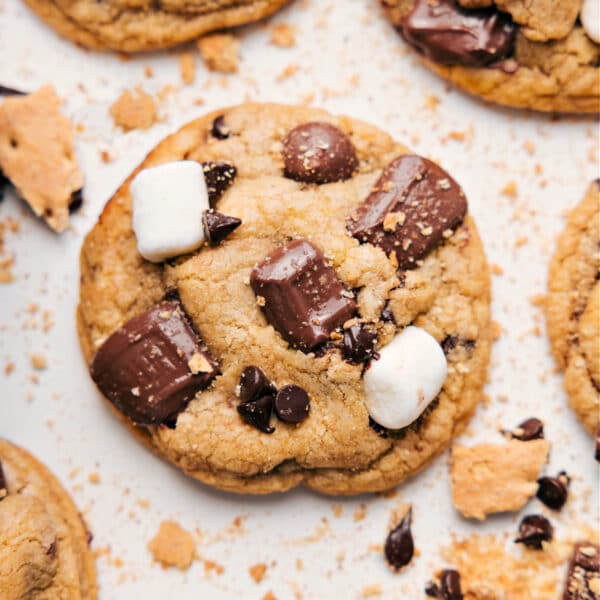
Desserts
S’mores Cookies
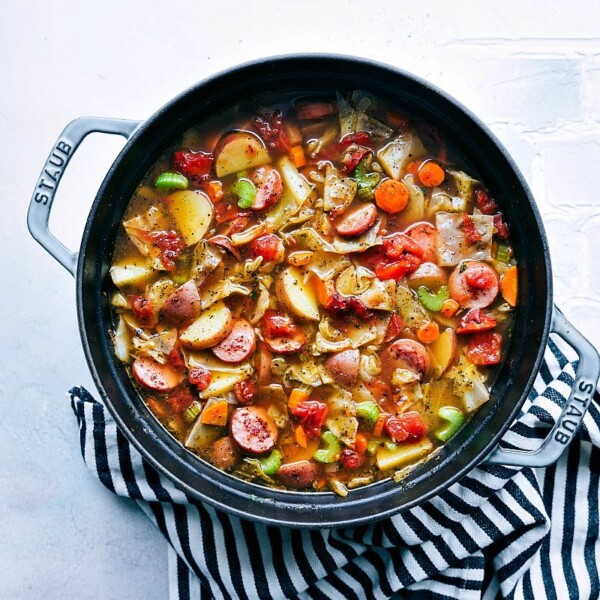
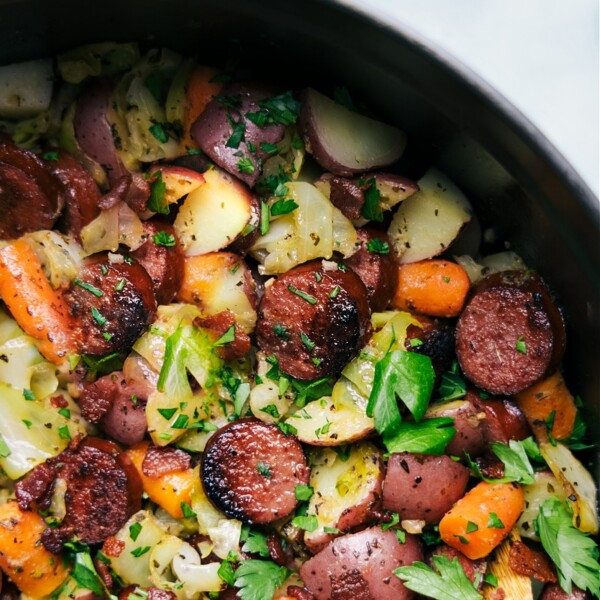
Soups And Stews
Sausage, Potato, and Cabbage Soup
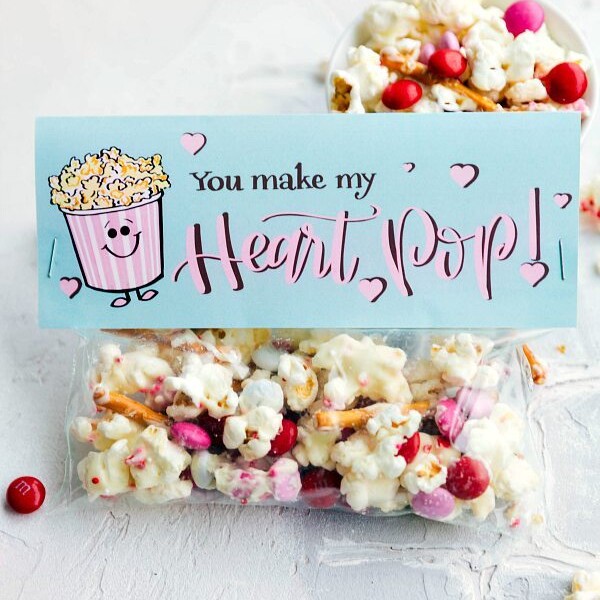
Quick And Easy
Easy Gift Ideas for Valentine’s Day
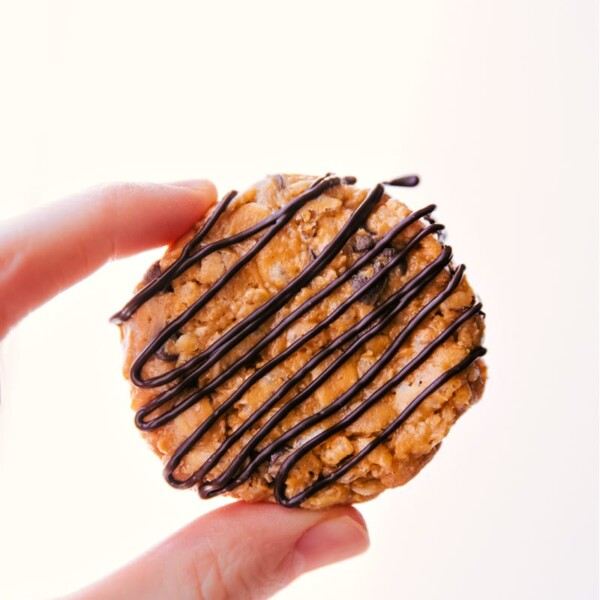
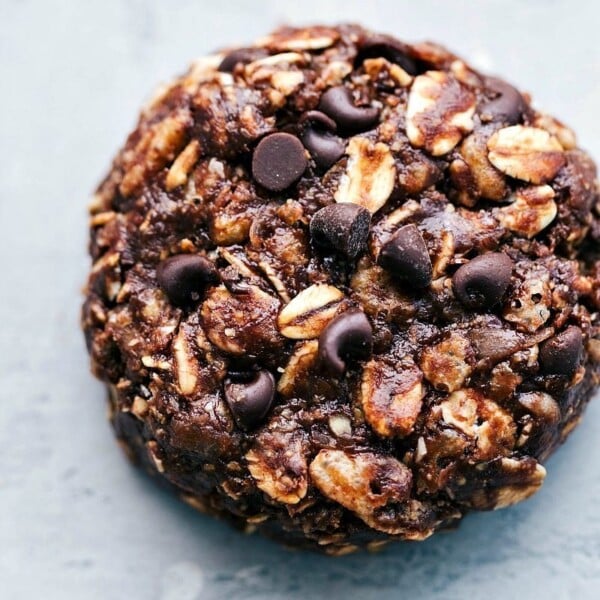
Breakfast
No Bake Healthy Breakfast Cookies
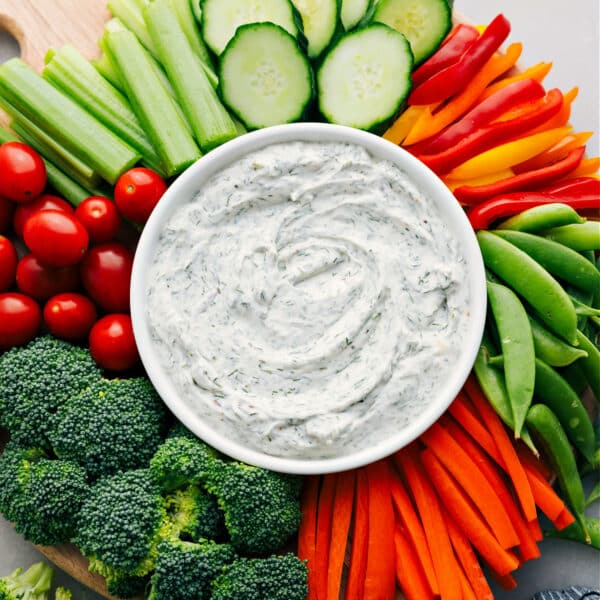
Appetizers


