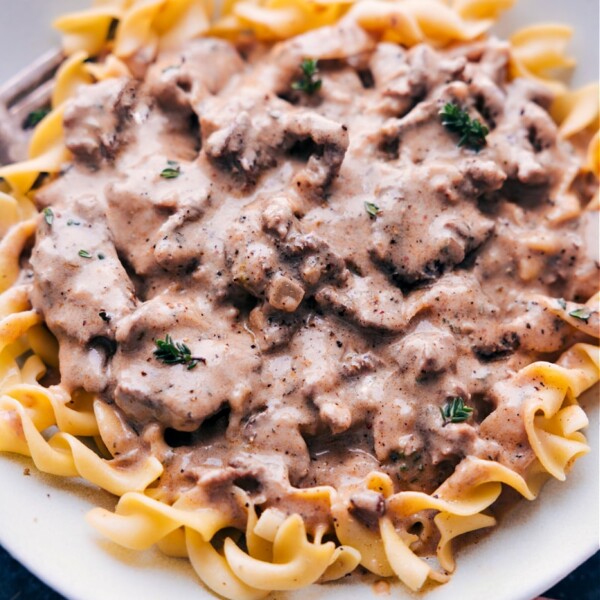
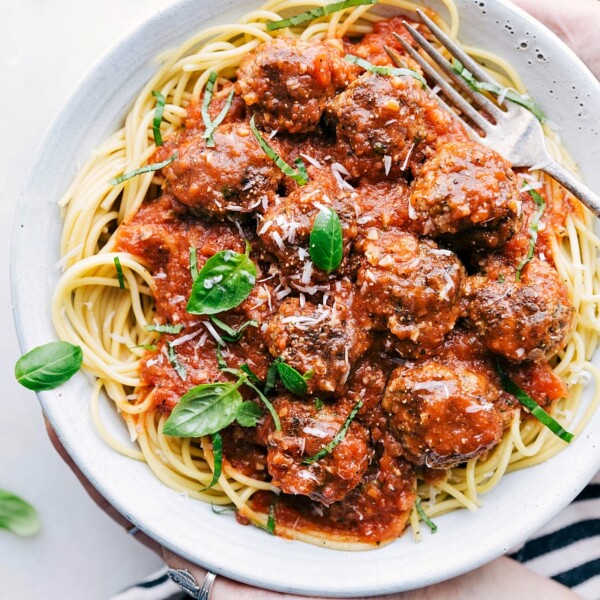
Beef
Quick And Easy
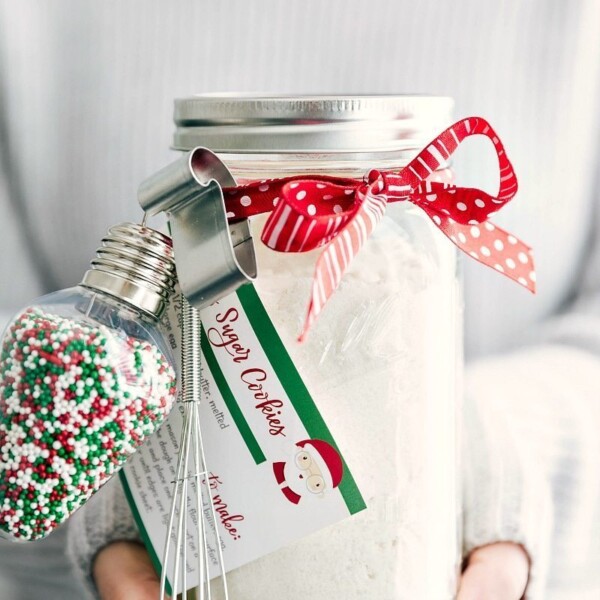
Mason Jar Sugar Cookies
Quick And Easy
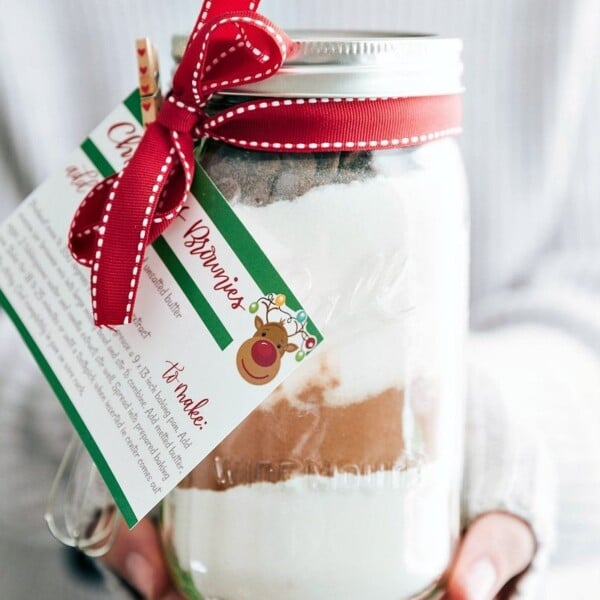
Christmas Brownies
Quick And Easy
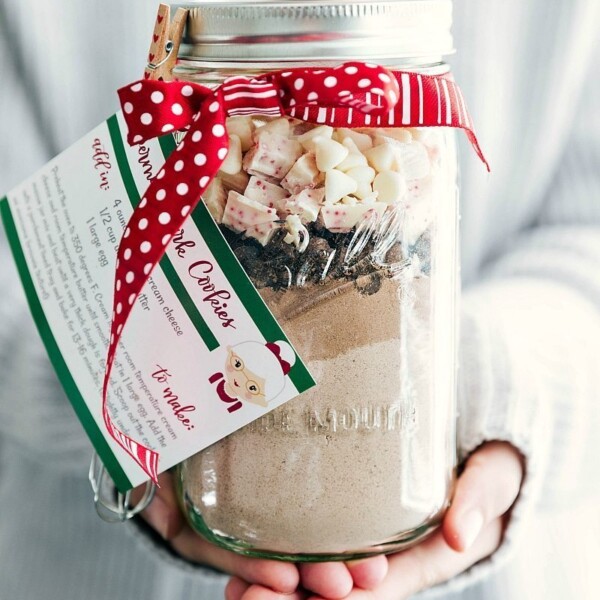
Mason Jar Peppermint Cookies
Quick And Easy
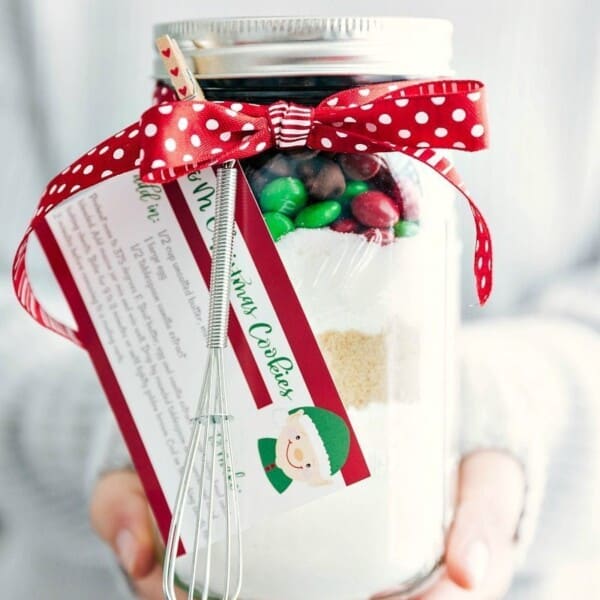
M&M Mason Jar Cookies
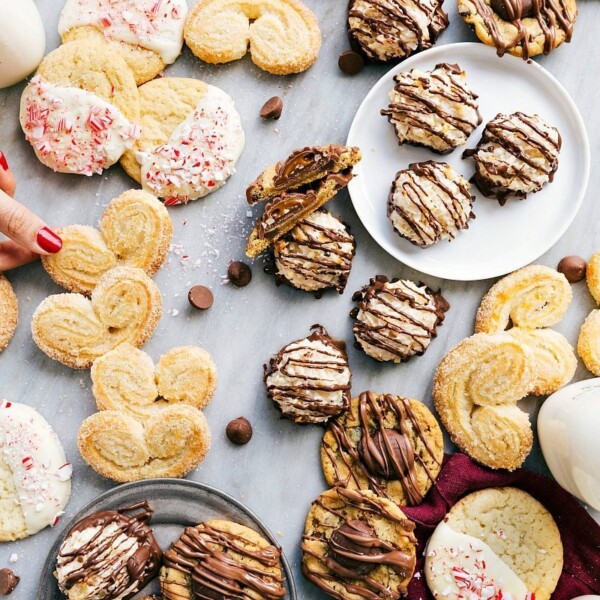
Desserts
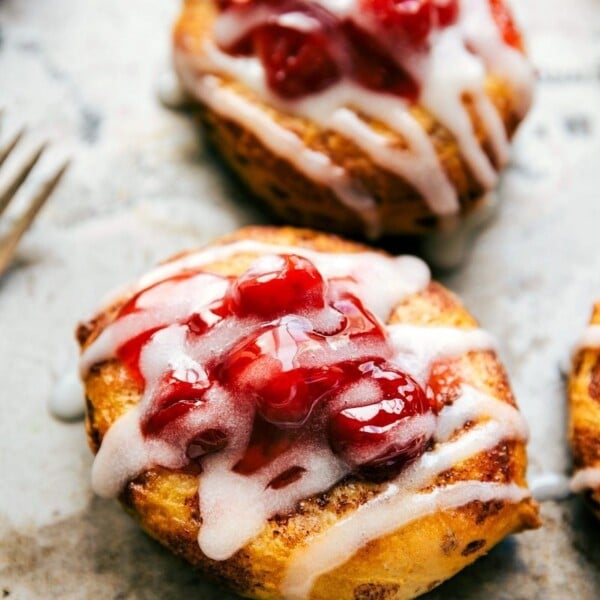
Cinnamon Roll Cherry Danish
Quick And Easy
6 Easy Christmas Gifts (Free Printables)
Dinner
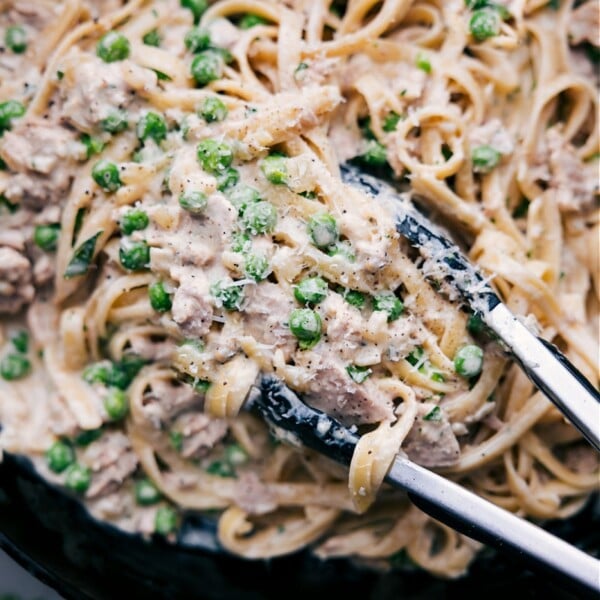
Creamy Tuna Pasta
Dinner
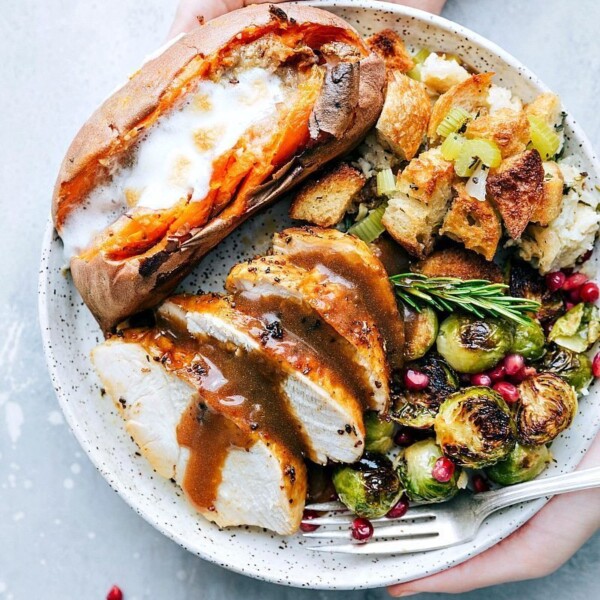
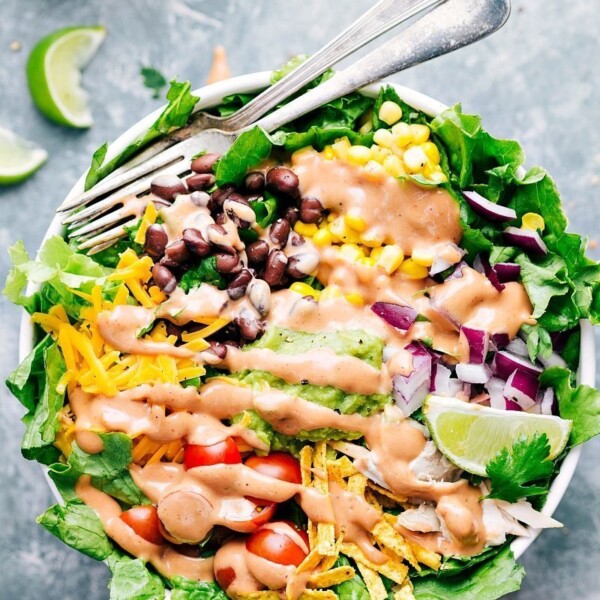
Sweet Potato Bowl
Quick And Easy
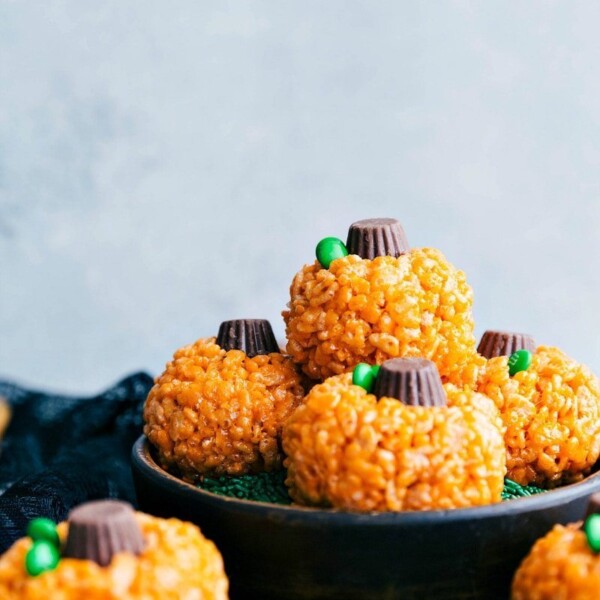
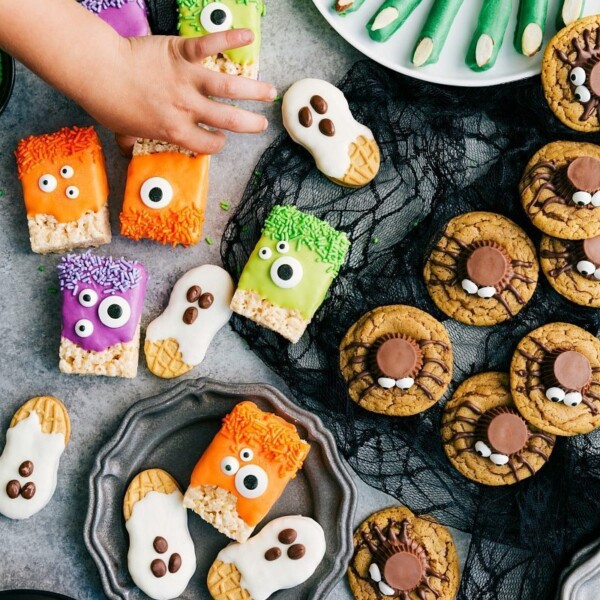
Halloween Treats
Soups And Stews
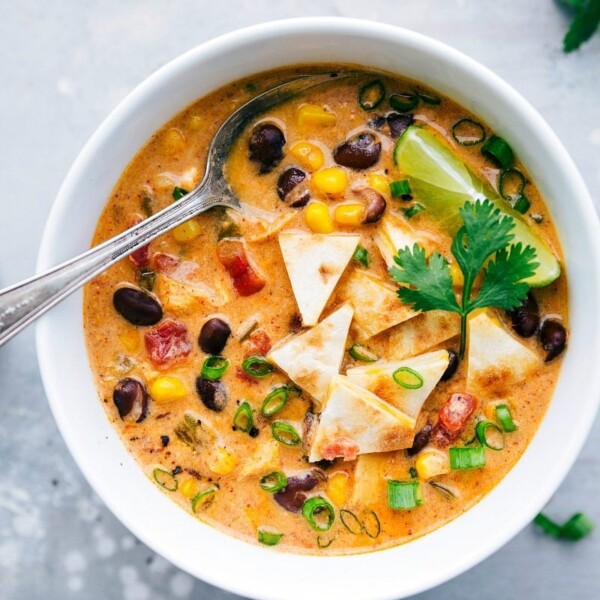
Chicken Quesadilla Soup
Appetizers
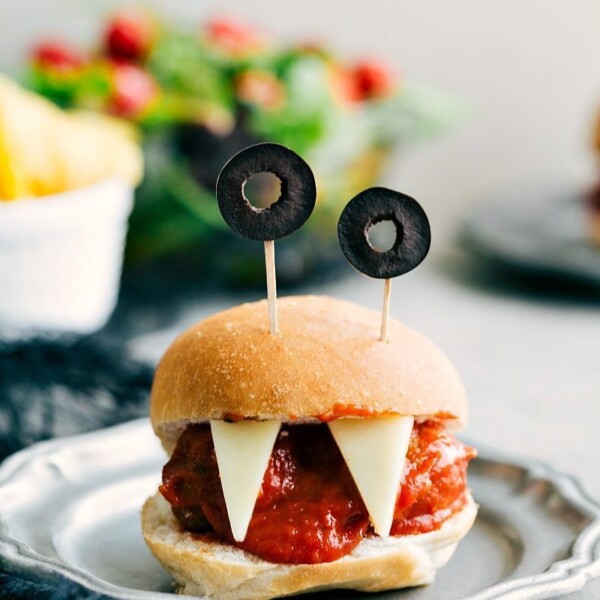
Halloween Appetizers

Quick And Easy
Halloween Oreo Pops #1
Halloween
3-Ingredient Halloween Treat Ideas
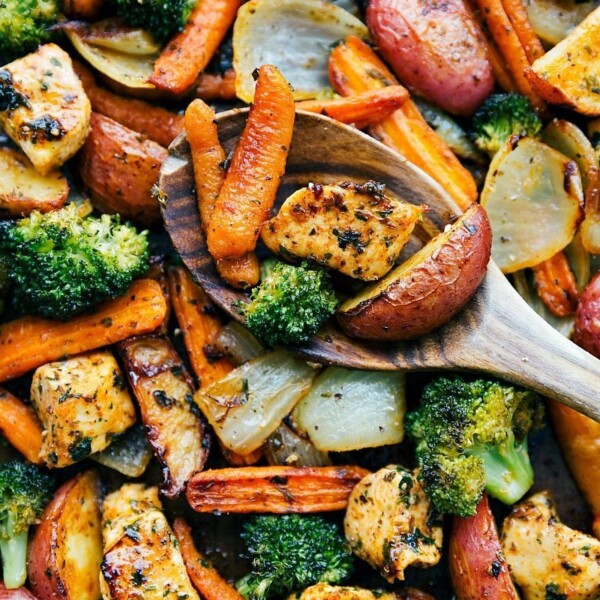
Dinner


