Soups And Stews

Appetizers
Cheesy Bread Recipe
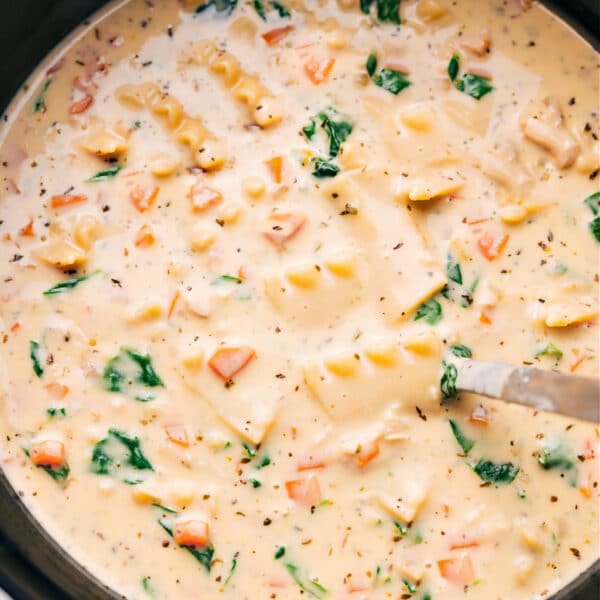
Soups And Stews
White Chicken Lasagna Soup
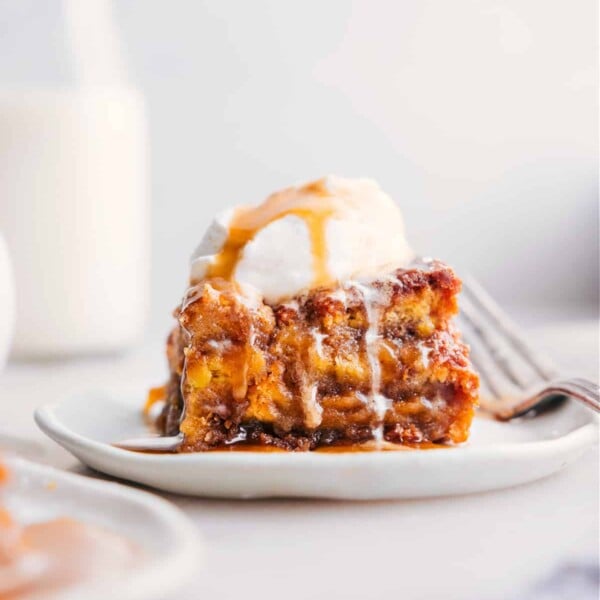
Desserts
Bread Pudding Recipe
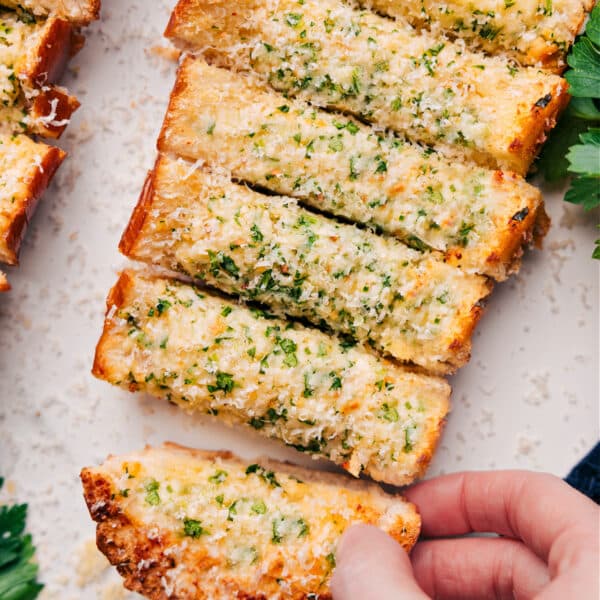
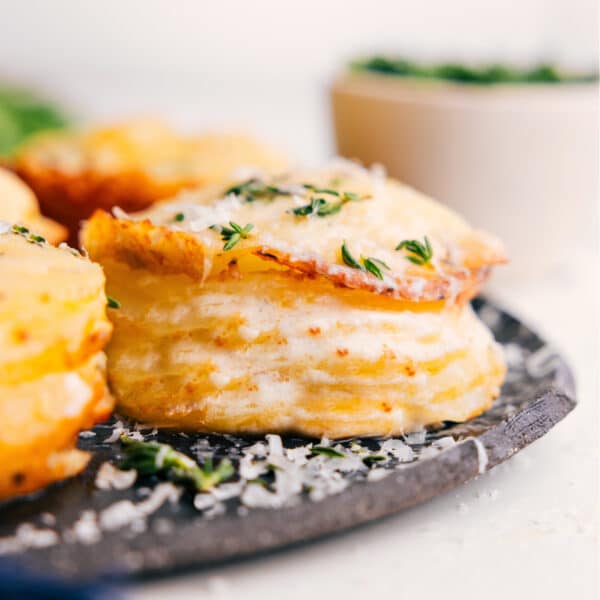
Appetizers
Garlic Bread Recipe
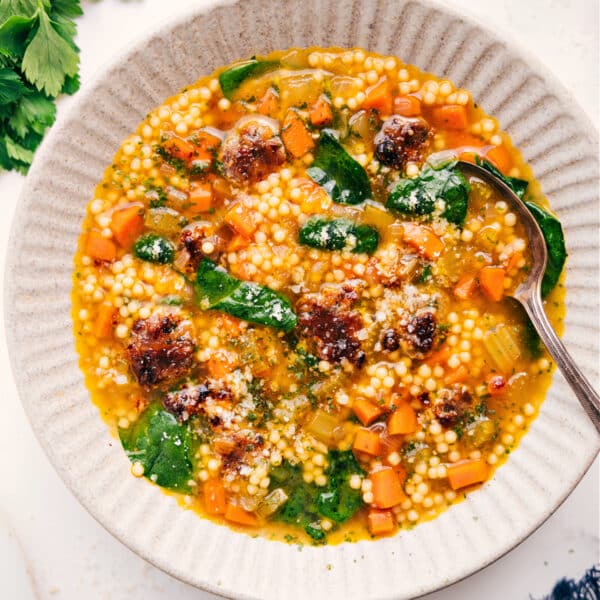
Soups And Stews
Italian Wedding Soup Recipe
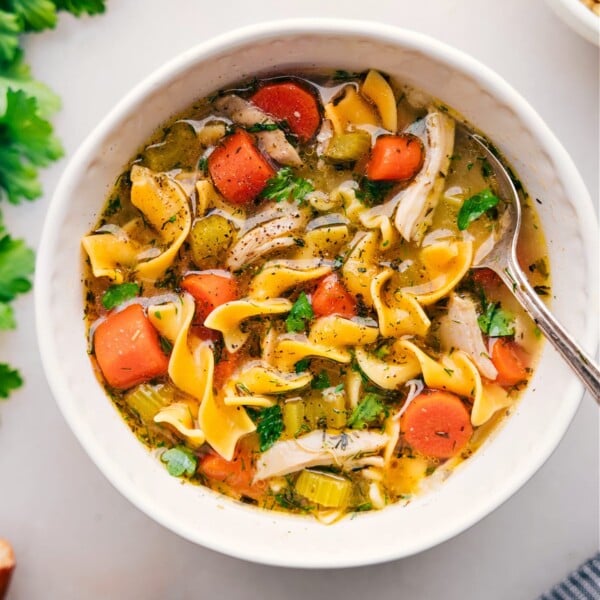
Soups And Stews
Chicken Noodle Soup Recipe

Dinner
Chicken Orzo Bake
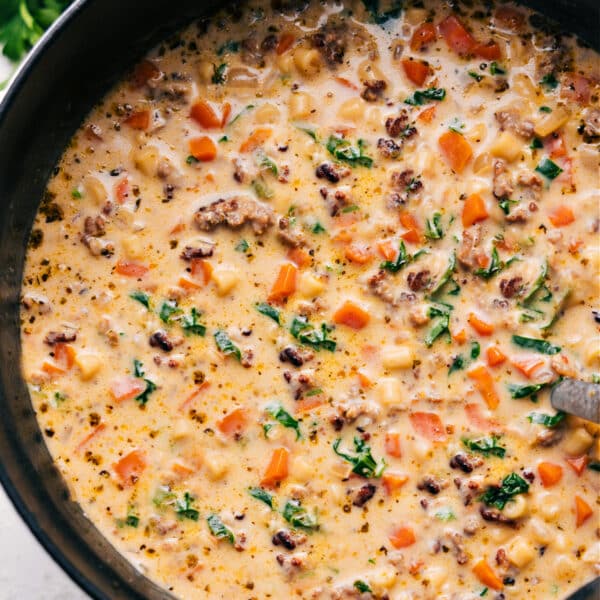
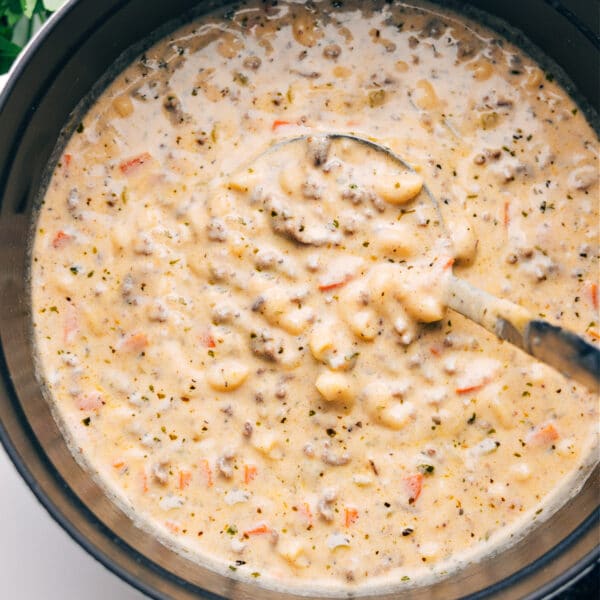
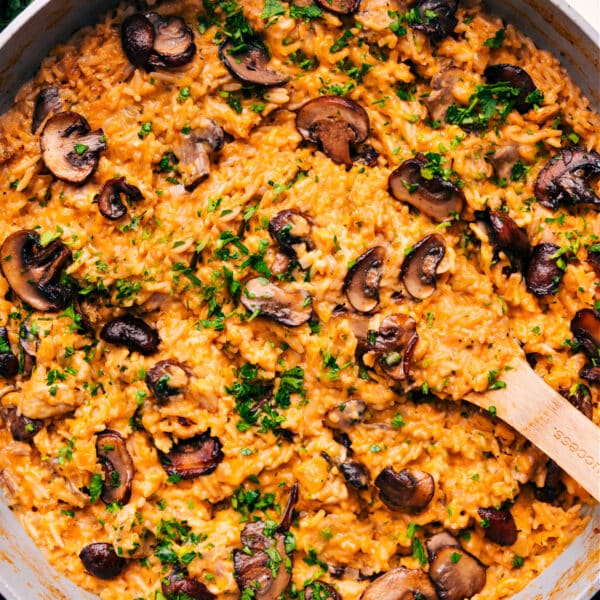
Soups And Stews
Creamy Parmesan Italian Sausage Soup
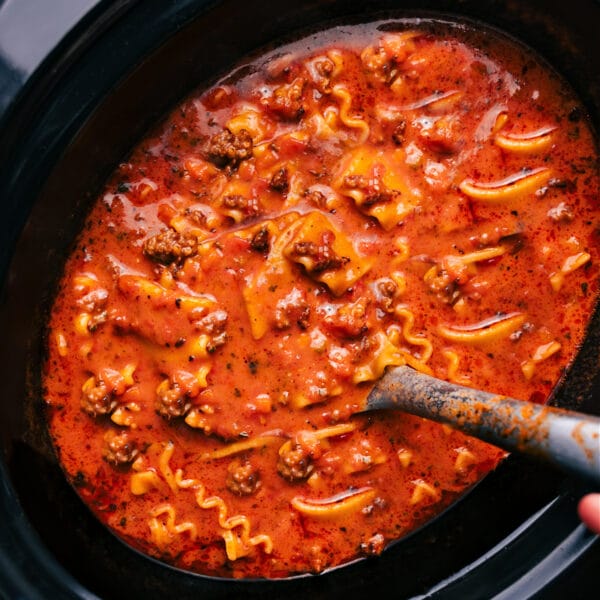
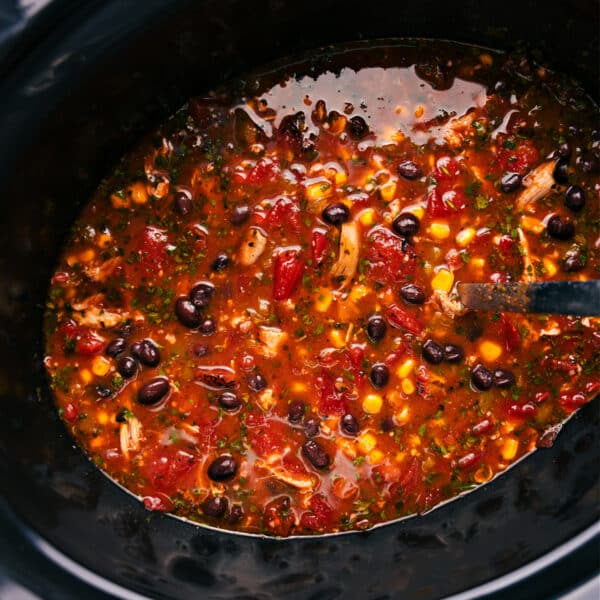
Slow Cooker
Crockpot Lasagna Soup
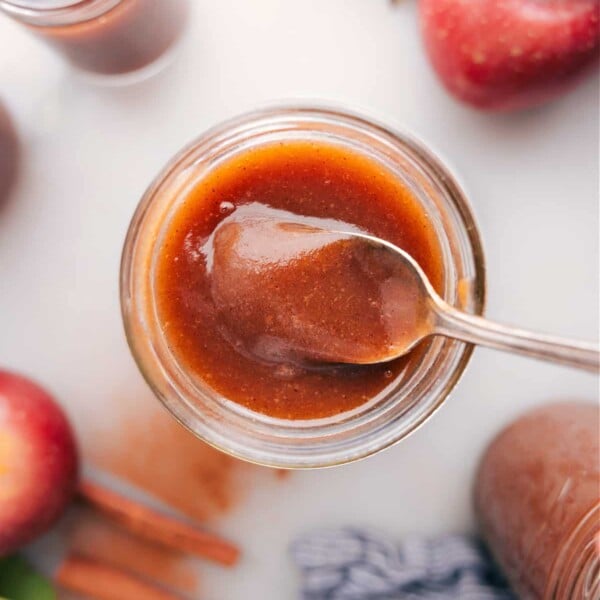
Slow Cooker
Crockpot Apple Butter
Potatoes
Potato Stacks Recipe
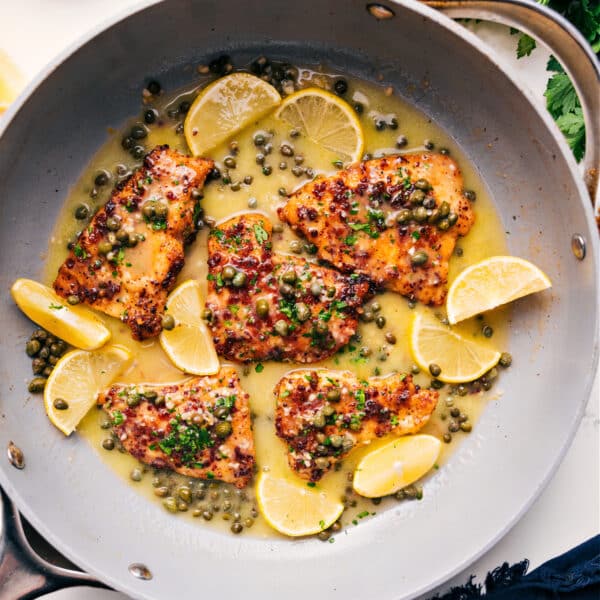
Dinner
Chicken Piccata Recipe
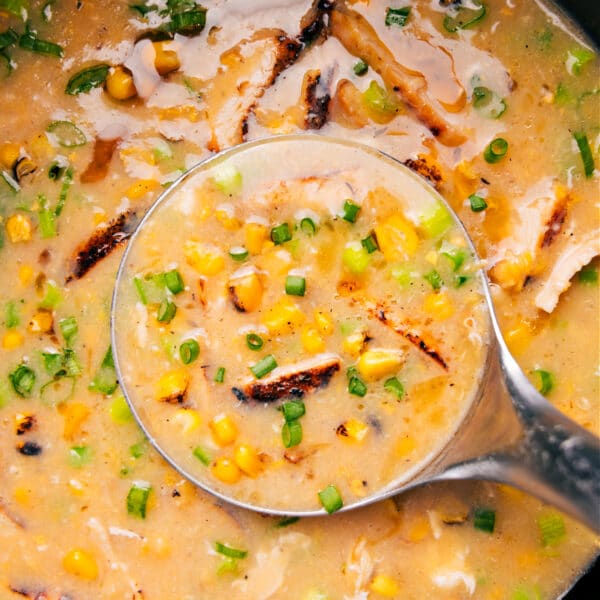
Soups And Stews
Chicken Corn Soup Recipe
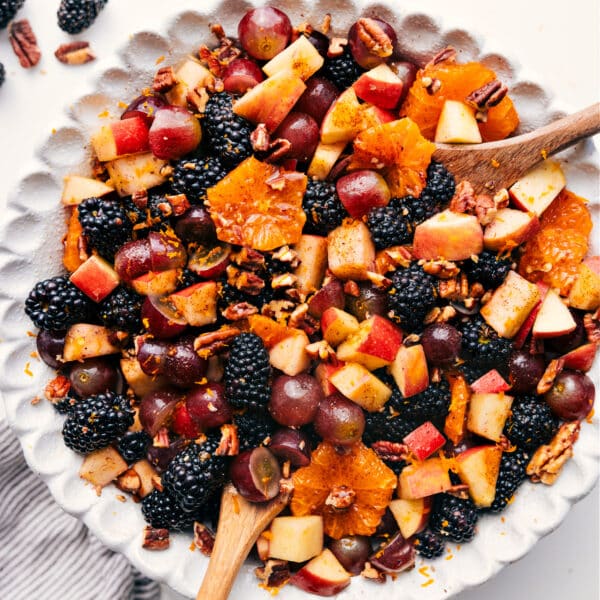
Fruit Salads
Fall Fruit Salad


Soups And Stews
Marry Me Chicken Soup Recipe
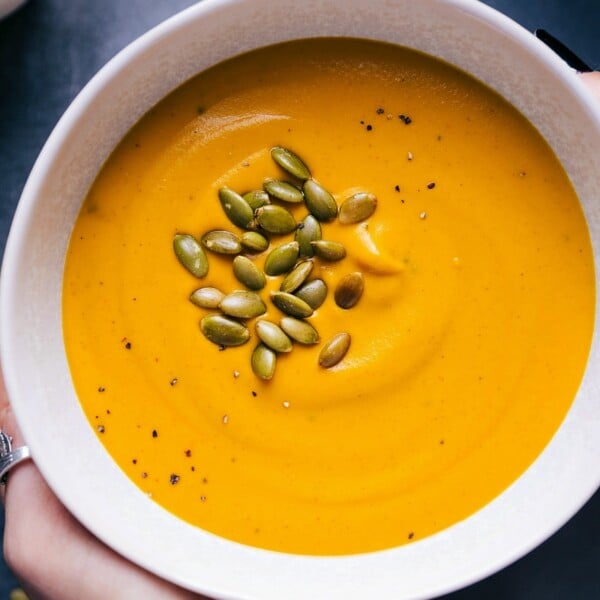
Soups And Stews
Sweet Potato Soup Recipe
Soups And Stews


