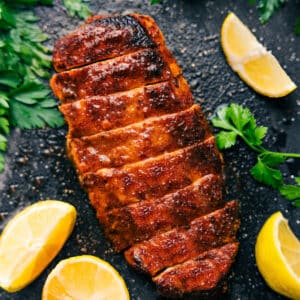
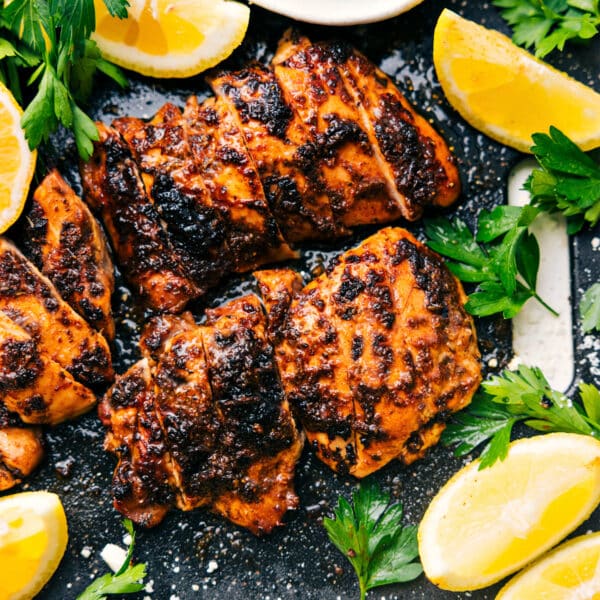
This Baked Chicken Breast Recipe turns boneless, skinless chicken into a juicy, flavorful main: perfect for weeknights or meal prep. Enjoy it as-is or shred, chop, or dice.


author’s note
Say Goodbye To Dry, Underwhelming Chicken!
I used to avoid baked chicken breasts because they always came out dry or boring. I’d follow recipes that sounded good, but the results never matched the promise. After plenty of testing, I realized the problem wasn’t the chicken. It was the method.
Once I started pounding the chicken to an even thickness, seasoning it generously, and giving it a quick sear before baking, everything changed. This recipe became my reliable base for weeknight dinners, meal prep bowls, and any recipe that calls for cooked chicken.
Now, when I need chicken that actually tastes good on its own, this is the recipe I make.


Here’s What You Need:
Here are my top tools for the best Baked Chicken Breast Recipe:
- Food scale: Helps ensure all chicken pieces are a similar size so they cook evenly.
- Meat mallet: Using a meat mallet to pound your chicken breasts is the secret to juicy chicken!
- Cast-iron skillet: Searing in a cast-iron pan adds flavor and locks in moisture, plus it goes straight from stove to oven for easy cleanup.
- Meat thermometer: Ensures chicken is cooked through but still juicy—no guesswork, no dryness, no undercooking.

How To Make Baked Chicken Breast Recipe:
- Pound chicken to an even thickness to be juicier and evenly cooked. Don’t flatten it—just press to an even thickness.
- Sear for 5 minutes to lock in moisture, build flavor, and jump-start the cooking process.
- Bake for about 10 minutes or until internal temperature reaches 160°F.
Storage
Let chicken cool, then store in an airtight container. Slice or shred before storing for easier use.
- Fridge: Store up to 4 days.
- Freezer: Store 2–3 months.
- Reheat on the stovetop or in the oven to avoid drying it out.
Recipes Using Baked Chicken Breasts:
Baked Chicken Breast
Equipment
- Food scale see note 1
- Meat mallet
Ingredients
Instructions
- Preheat oven to 425°F, positioning rack in the center of the oven. In a small bowl, mix all seasonings with 1/2 teaspoon each of salt and pepper.
- Use a meat mallet (or the bottom of a frying pan) to pound chicken at the thickest part to be even with the rest of the piece (filets should be just over 1/2-inch thick throughout). Pat filets dry with a paper towel.
- Drizzle 1-1/2 teaspoons oil on 1 side of the chicken breasts. Gently rub in the oil. Sprinkle 1/2 of the seasoning mix on top and gently press in.
- If you don’t have an oven-safe pan, see note 3. Place an empty, large cast-iron pan on the stove over medium-high heat for 1 minute. Use tongs to place seasoned chicken in the pan, seasoned side down. Immediately add remaining 1-1/2 teaspoon oil and remaining seasoning mix to the other side of the chicken filets. Cook exactly 5 minutes, then flip filets and place pan with chicken in the fully preheated oven for 9–15 minutes or until internal temperature hits 160°F (carryover heat will take it to 165°F).
- Remove from oven and immediately transfer chicken from the pan to a cutting board to avoid overcooking. Let rest for 5 minutes before slicing, shredding, or serving.
Recipe Notes
-
- Food scale: Weighing your chicken ensures that each piece cooks evenly since you can make sure all of the pieces are roughly the same size.
- Meat mallet: Using a meat mallet to pound your chicken breasts is the secret for juicy chicken! Pounding the thicker parts of the chicken can help bring the whole piece to a more even thickness, which means that it will cook more evenly in the oven—preventing dry, overcooked chicken.
- Cast-iron frying pan: Searing chicken in a cast-iron skillet gives you a flavorful crust that locks in moisture and flavor. Since it’s oven-safe, you can use the same pan from stovetop to oven.
- Meat thermometer: A meat thermometer is an essential tool for ensuring that your chicken is cooked to the proper temperature.
Nutrition
Nutrition information is automatically calculated, so should only be used as an approximation.
Variations
- Lemon and herb chicken: Add lemon zest and dried herbs to the seasoning mix. Serve with lemon wedges and fresh herbs.
- Cajun-style chicken: Mix in Cajun seasoning and a pinch of cayenne. Serve with rice and beans.
- Honey mustard chicken: Brush baked chicken with this Honey Mustard Dressing right out of the oven.
- Pesto chicken: Roast cherry tomatoes with the chicken, top with mozzarella, broil for 30 seconds, and serve with pesto.
- Switch up the seasonings: Try Taco or Fajita Seasoning to change the flavor based on how you’re serving it.


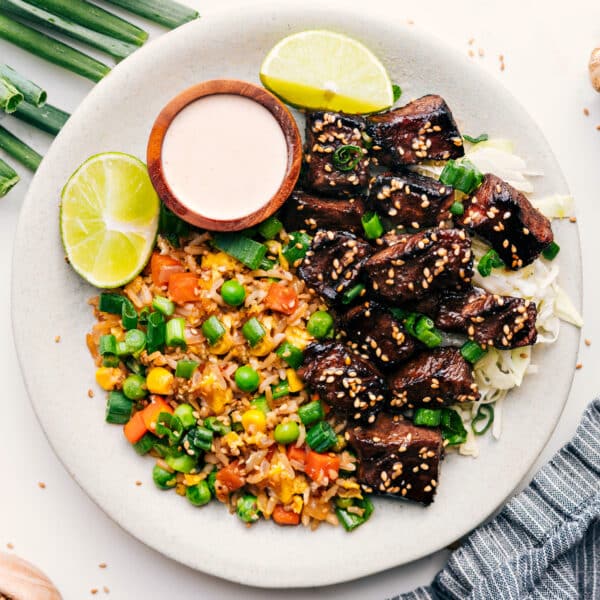


Love this method of cooking chicken breasts! Why have I not learned it sooner?! With two teenage boys, I double this recipe and then use it as the chicken on your Chicken and Rice Bowls. Everyone in our family of five loves it. Thank you!
Thank you so much! I’m so thrilled this method has been such a hit with your family, especially with two teenage boys! Doubling it for the Chicken and Rice Bowls is such a smart idea. So happy everyone loved it!
You featured a baked chicken recipe today that included boneless skinless chicken breast with Italian breadcrumbs, smoked paprika onion, garlic powders and favorite barbecued sauce. I purchased the ingredients but now I can’t find the recipe
Hey Genia, you must have seen that elsewhere! I don’t have a recipe like that; I’m so sorry!
This chicken was great! Thank you!
Yay! I’m so thrilled to hear this! Thanks Tricia!
As Chelsea’s brothe rin law I have made this recipe several times and absolutely love it. I use it to meal prep for meals throughout the week!