Dinner
Trader Joe’s Recipes
Desserts
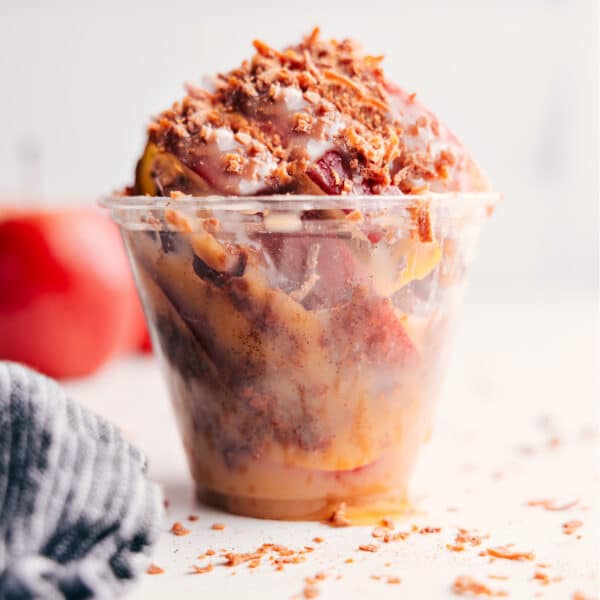
Caramel Apple Dessert Cups
Soups And Stews
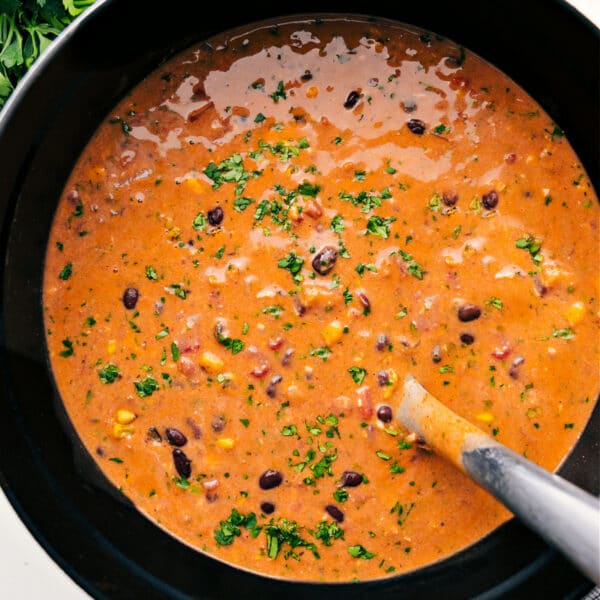
Chicken Tortilla Soup Recipe
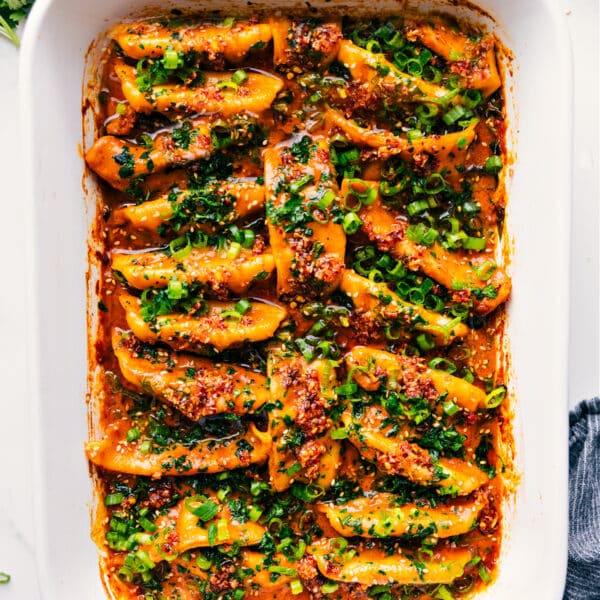
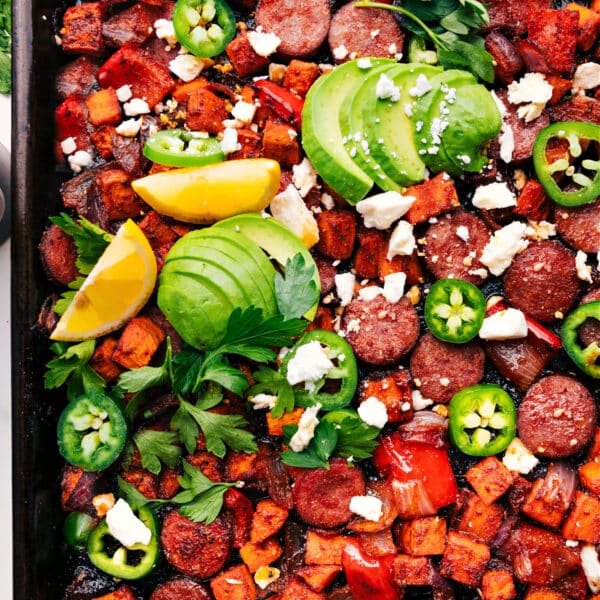
Dinner
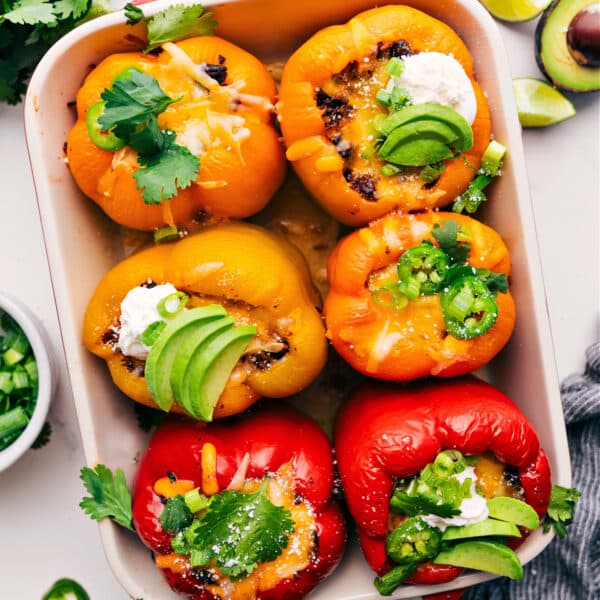
Mexican Stuffed Peppers
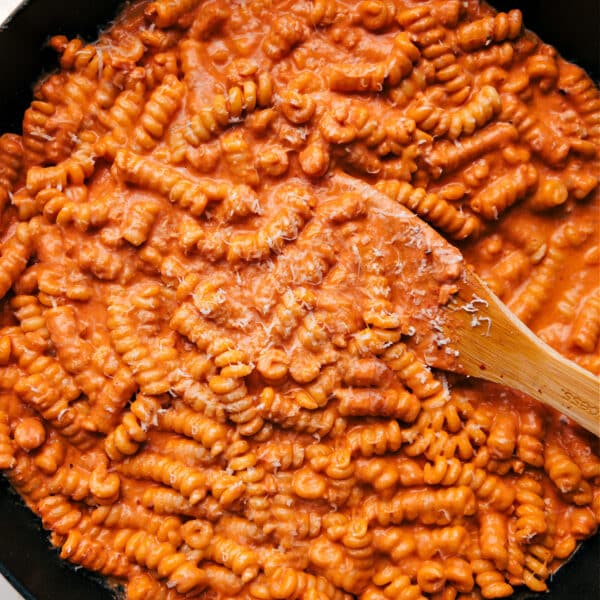
Pasta And Pizza
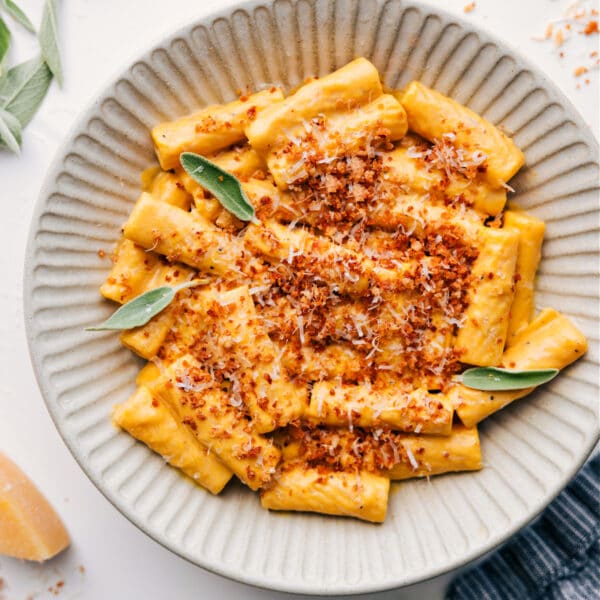
Pumpkin Pasta Recipe

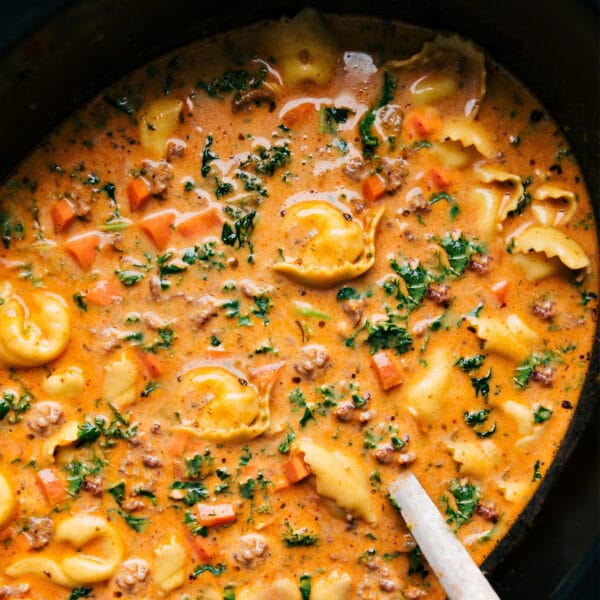
Soups And Stews
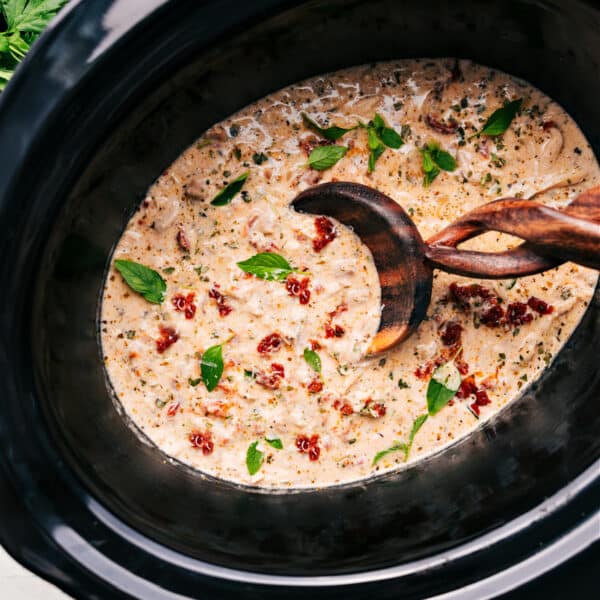
Crockpot Tortellini Soup
Dinner
One Pan Dumpling Dinner
Dinner
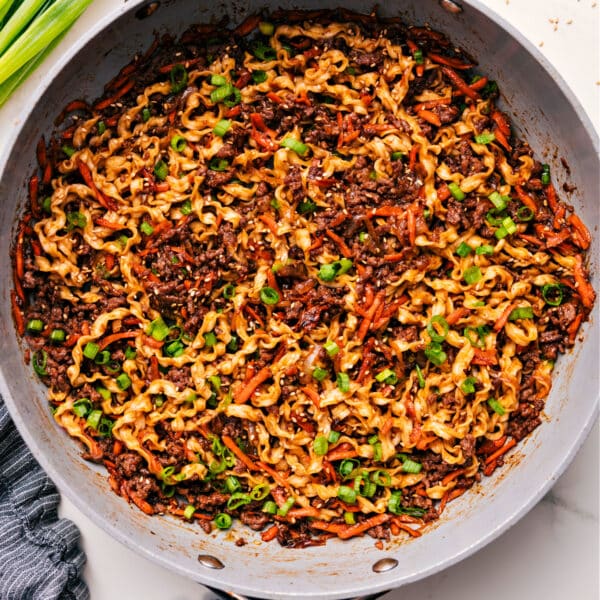
Beef Noodle Bowls
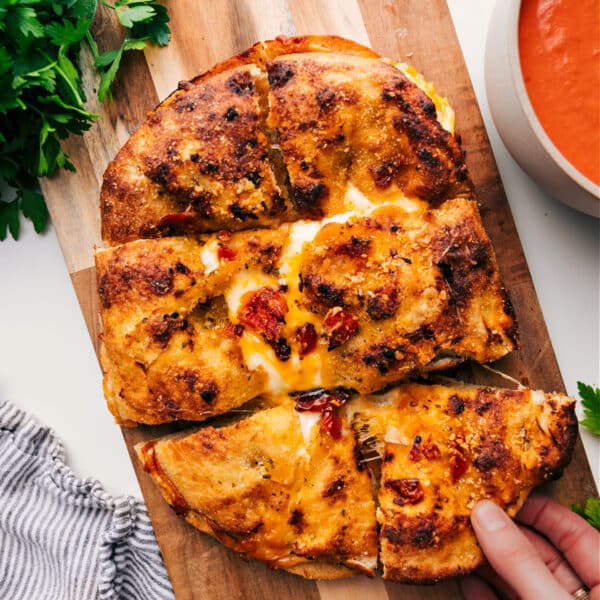
Sandwiches
Focaccia Grilled Cheese
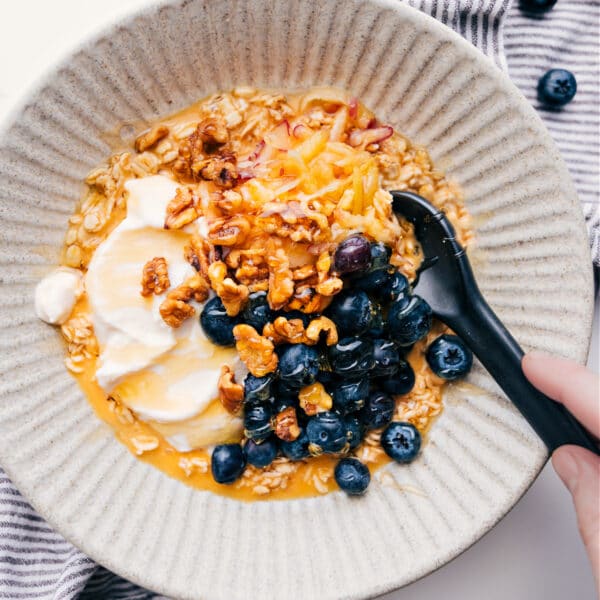
Breakfast
Princess Diana’s Breakfast
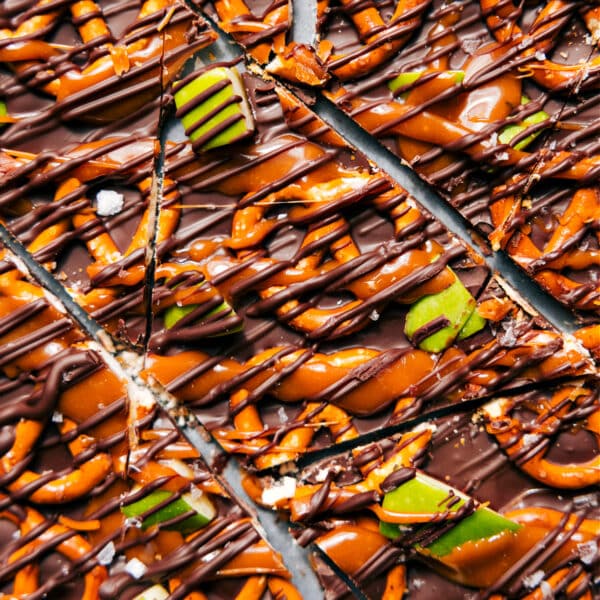
Desserts
Caramel Apple Bark

Desserts
Tiny Chocolate Chip Cookies
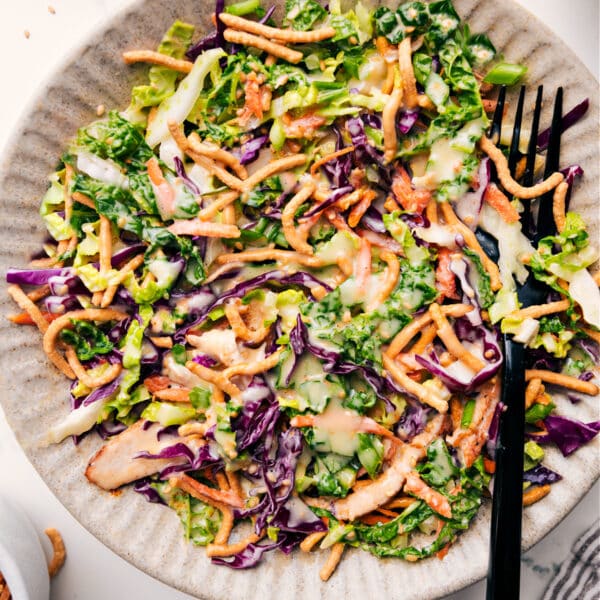
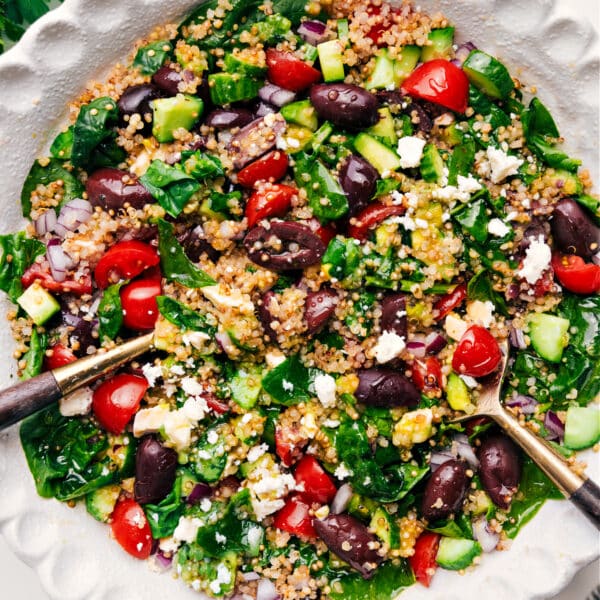
Salads With Meat
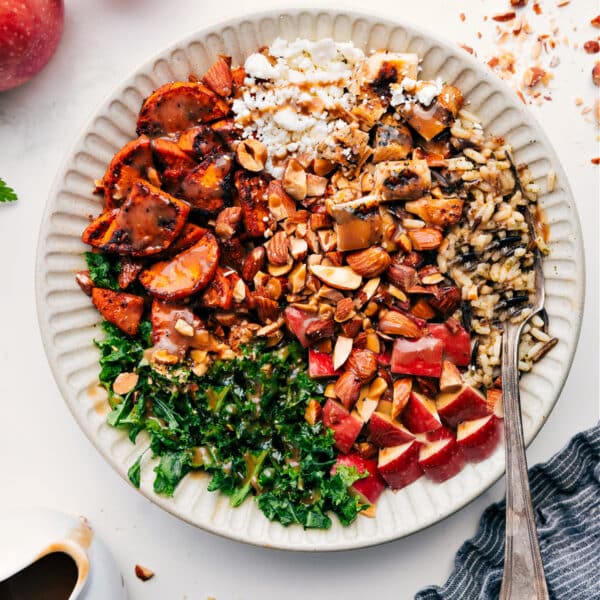
Asian Chicken Salad Recipe
Salads