
Desserts
Dinner
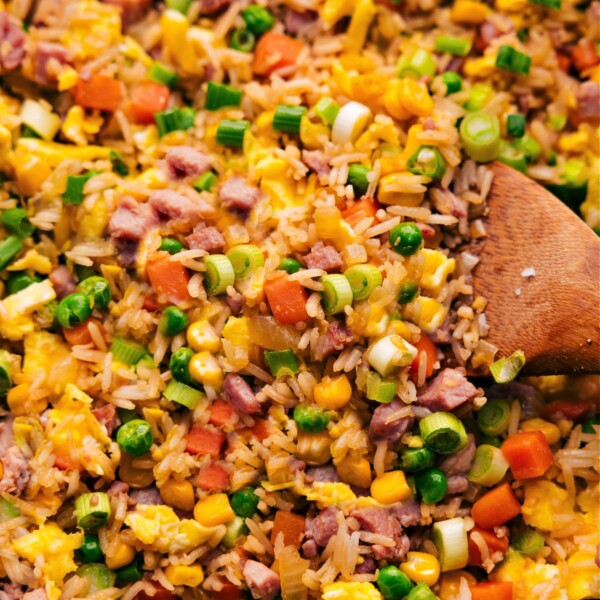
Ham Fried Rice Recipe
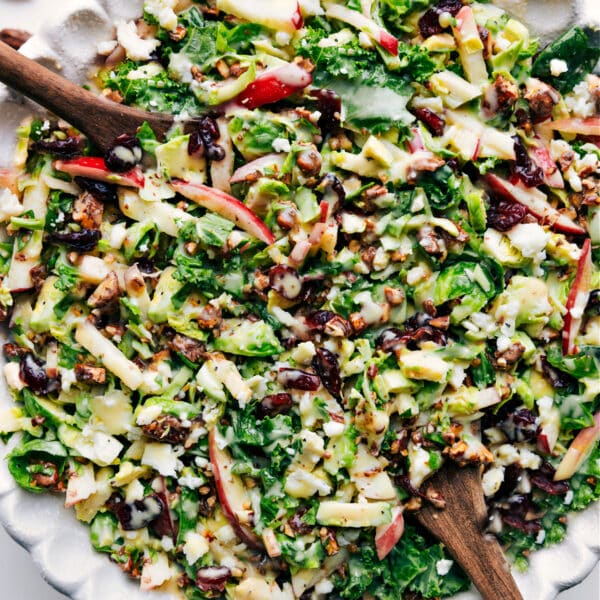
Appetizers
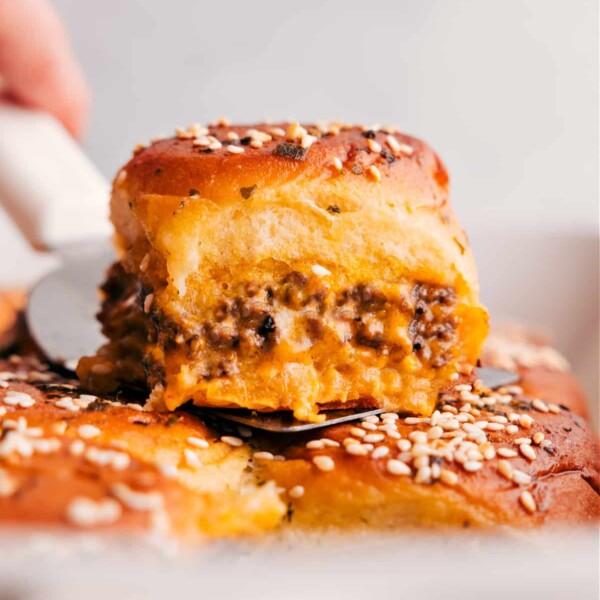
Cheeseburger Sliders Recipe
Desserts
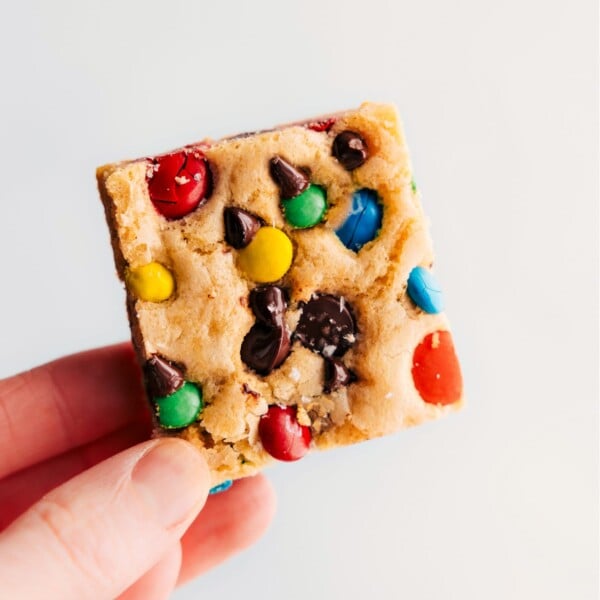
M&M Cookie Bar Recipe
Appetizers
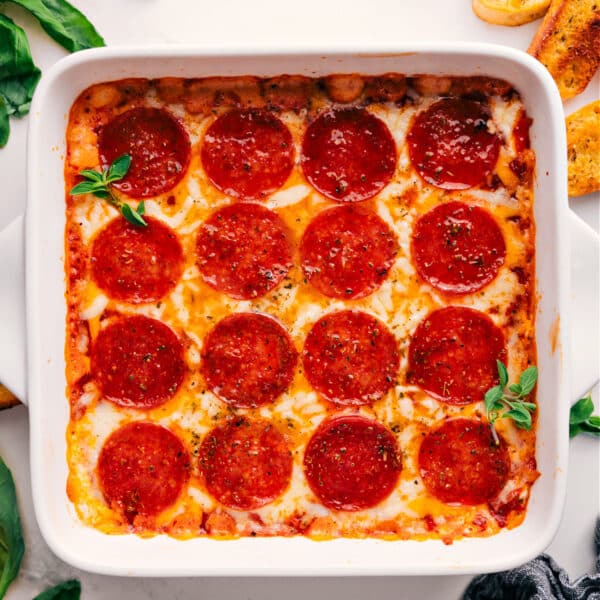
Pizza Dip Recipe
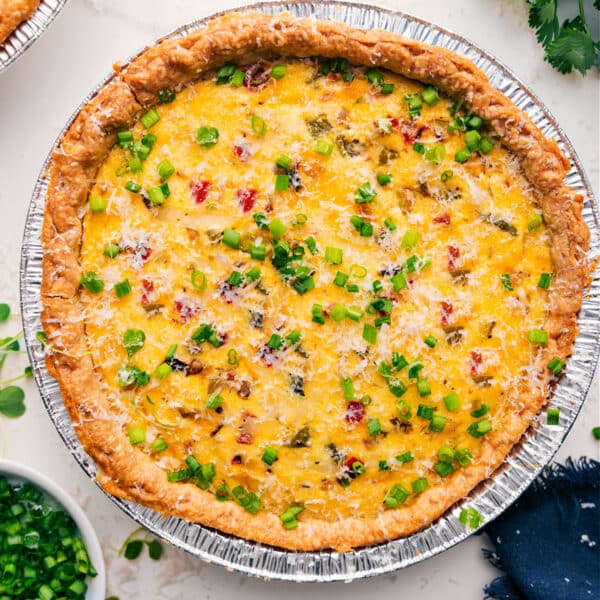
Breakfast
Veggie Quiche Recipe
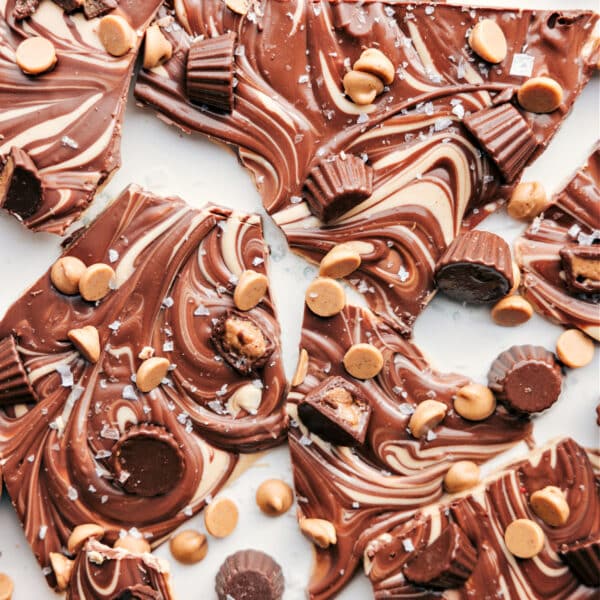
Desserts
Peanut Butter Bark
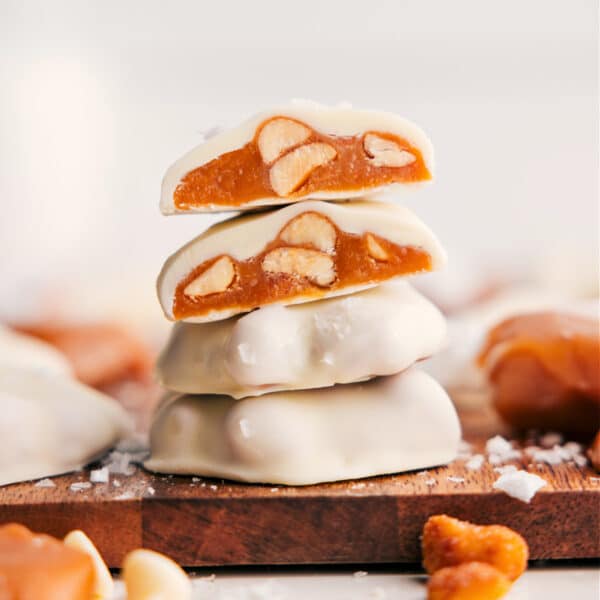
Desserts
Polar Bear Paws

Desserts
Hot Chocolate Recipe
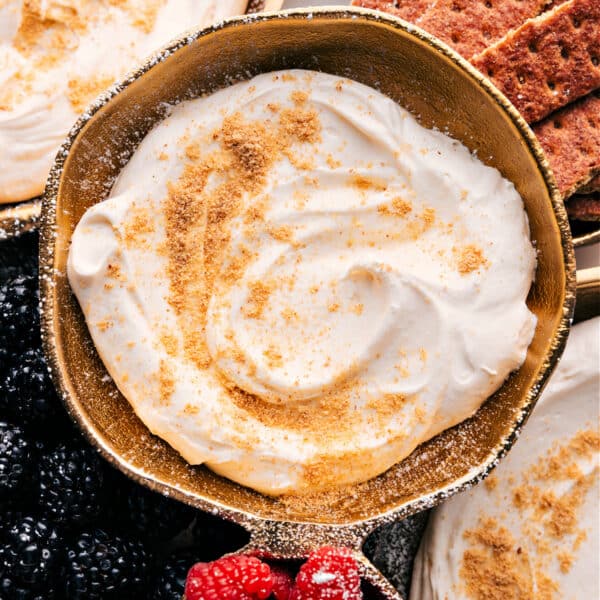
Appetizers
Cheesecake Dip
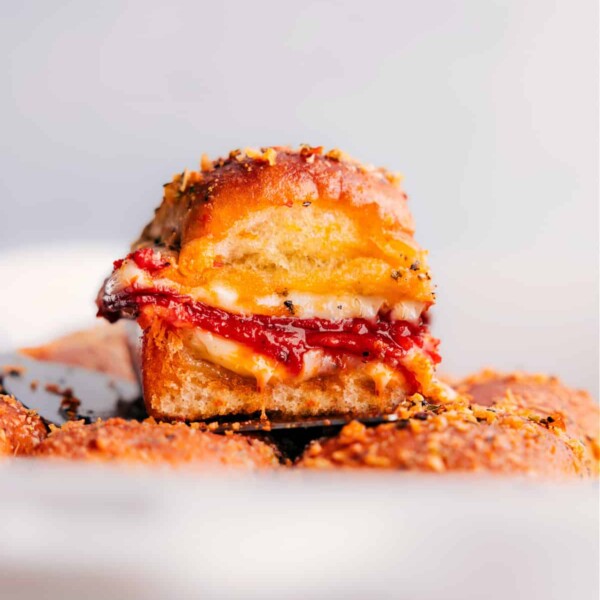
Appetizers
Pizza Sliders Recipe
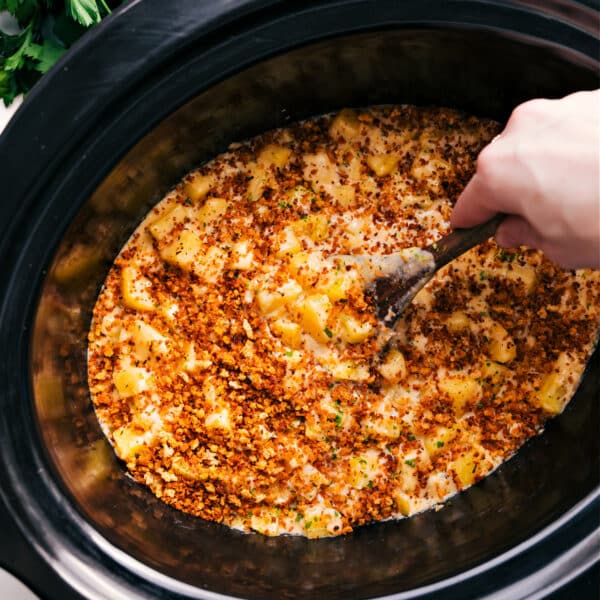
Slow Cooker
Crockpot Cheesy Potatoes
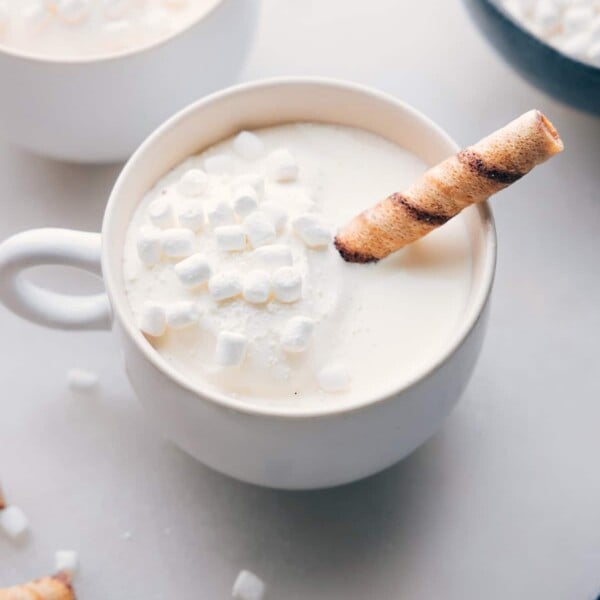
Beverages
White Hot Chocolate Recipe
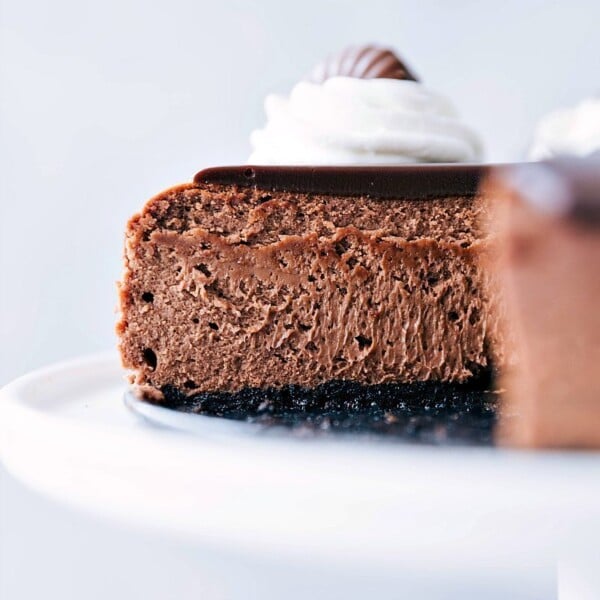
Desserts
Chocolate Cheesecake Recipe
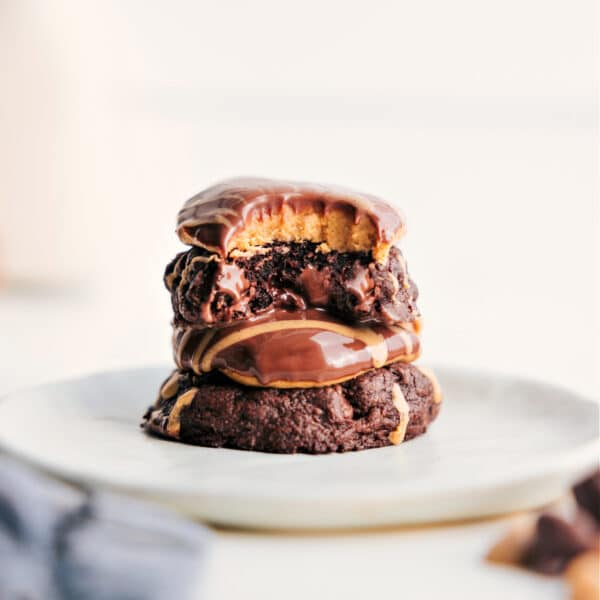
Desserts
Buckeye Brownie Cookies

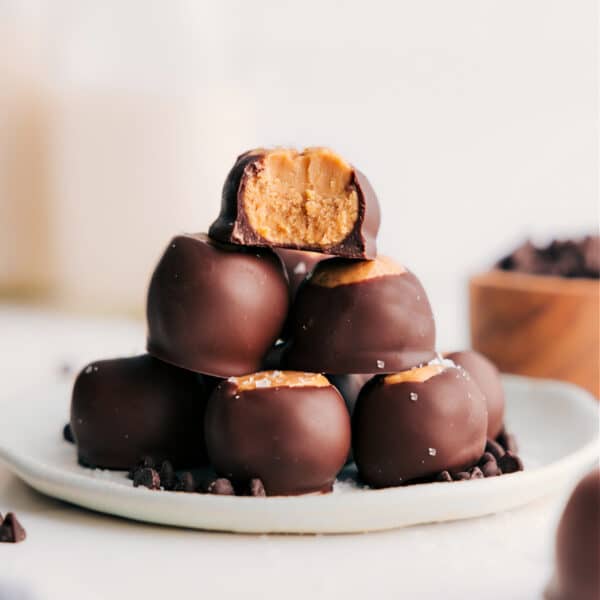
Desserts
Buckeye Candy Recipe
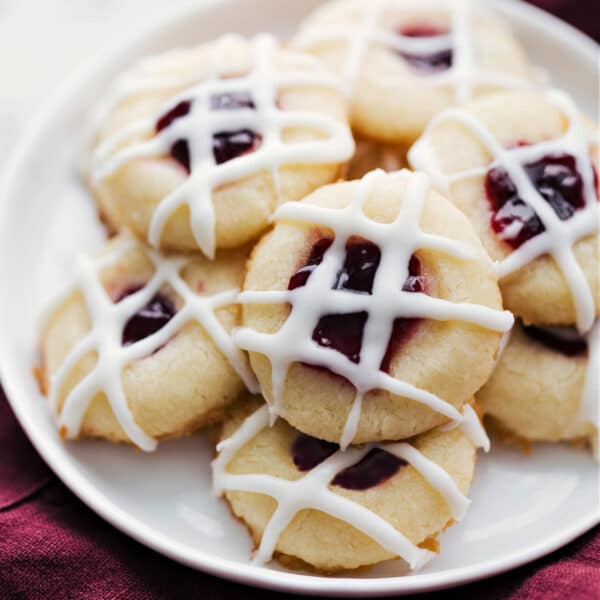
Cookies
Thumbprint Cookie Recipe
Desserts


