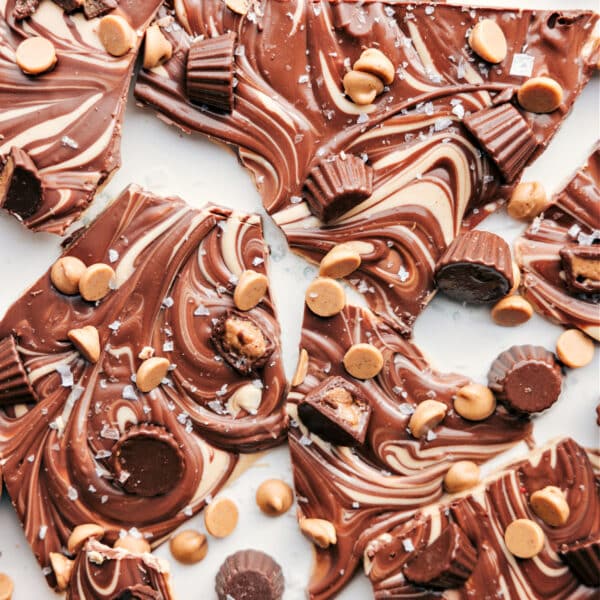
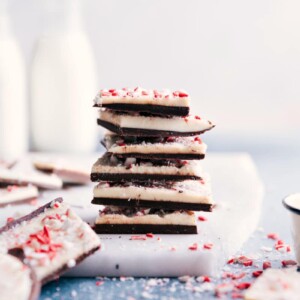
The best Peppermint Bark Recipe, made with three types of chocolate and topped with crushed peppermint for the ultimate holiday treat everyone will beg you to make.


author’s note
This Easy Peppermint Bark Is My Christmas Party Trick!
Every December growing up, my mom and I spent entire weekends baking. Carmelitas, 7 Layer Bars, and anything buttery and sweet always made our list. But peppermint bark was usually the one thing we bought instead of made. The fancy store-bought stuff was our shortcut treat.
Fast forward to my own kitchen. Once my boys got old enough to help, candy making became a fun December tradition. They love turtles. I love anything toffee. And last year I decided it was time to skip the store-bought peppermint bark and finally create a homemade version that tasted even better.
Once I figured out the right mix of chocolate and the method for getting clean, glossy layers, it instantly became our first treat of the season. My boys love smashing the peppermint. I love how easy it is. And every year since, a batch of peppermint bark marks the real start of Christmas in our home.
Homemade bark lets you decide the chocolate blend, adjust the peppermint flavor, and break the pieces as large or small as you want. Nothing compares to homemade.


Peppermint Bark Recipe Ingredients
| Ingredient | Notes |
|---|---|
| Candy Canes | Double bag before crushing to avoid tearing. |
| White Chocolate | Use baking bars instead of chips for smoother melting. |
| Chocolate | Use dark, semi sweet, or milk. Save a little to stir in after melting for a glossy finish. |
| Vegetable or Coconut Oil | Helps keep the chocolate smooth and easy to pour. |
| Peppermint Extract | Start small and adjust to your liking. |

How To Crush Peppermint
Before making this peppermint bark recipe, crush the peppermint!
- You can use candy canes or hard peppermint candies, but aim for small chunks, not powder.
- Put the unwrapped candies in a strong plastic bag (use two bags to stop tearing), seal out the air, and smash them with a rolling pin or meat mallet.
- Skip blenders or food processors—they make candy too fine.
Quick Tip
Try some other favorite peppermint goodies like Peppermint Bark Pretzels, Peppermint Muddy Buddies, and Peppermint Bark Cookies!

How To Make Peppermint Bark Recipe
- Crush Peppermint: Break candy canes or peppermint candies into small pieces.
- Melt Chocolate: Gently melt semi-sweet and white chocolate with a little oil.
- Layer: Spread the first chocolate, pour the white chocolate on top, and sprinkle peppermint pieces.
- Set: Let it cool and harden, then break into chunks.

Tips For Success
- Melt most of the chocolate, then mix in some unmelted pieces to cool it down and keep it smooth and shiny.
- Use strong, microwave-safe bowls (skip plastic or melamine).
- Heat in 15-second bursts, stirring for 15 seconds in between to avoid burning. Chocolate keeps melting from leftover heat—don’t overheat!
Quick Tip
Melting the chocolate slowly and stirring often keeps it smooth and streak-free. Adding a bit of unmelted chocolate at the end cools it down and helps it set firm at room temp.

Storage
This Peppermint Bark Recipe is best enjoyed within two weeks if stored properly. Keep it in a tightly closed container in a cool, dark spot at room temperature. No need to refrigerate.
More Delicious Holiday Treats:
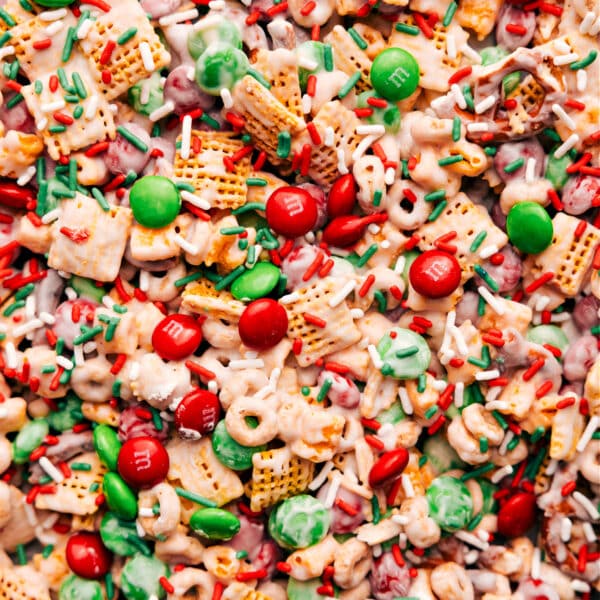
Quick And Easy
Christmas Snack Mix
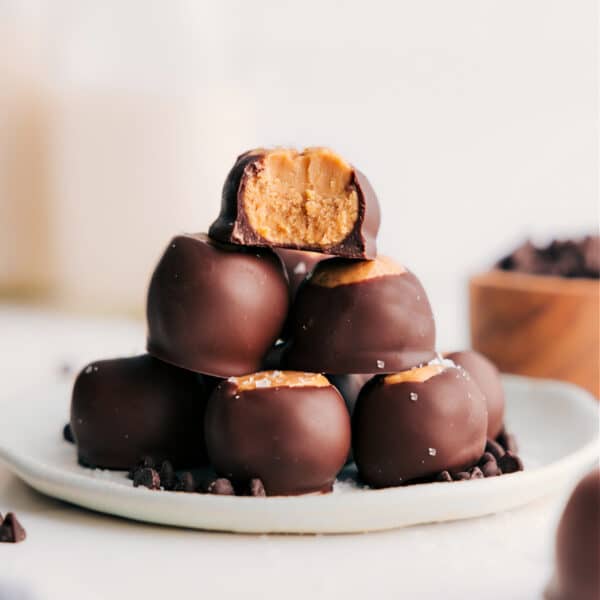
Desserts
Buckeye Candy Recipe
Quick And Easy
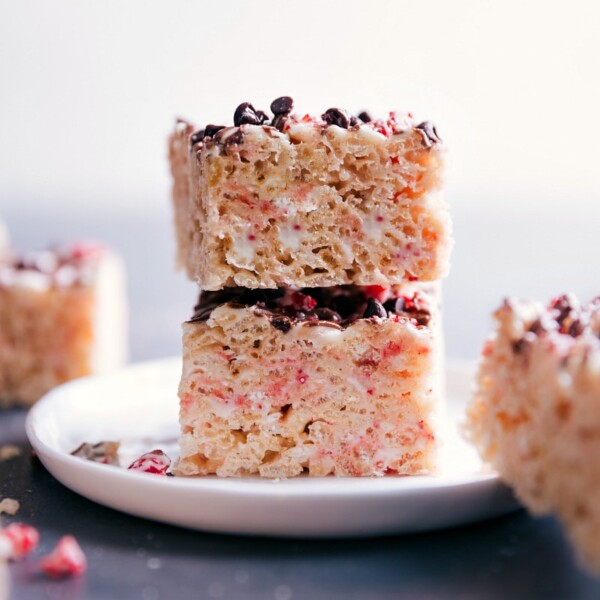
Peppermint Rice Krispie Treats

Desserts
Microwave Fudge Recipe
Peppermint Bark Recipe
Video
Equipment
- 8 x 8-inch baking pan or 9 x 9-inch
Ingredients
- 2 to 3 full-sized candy canes about 1/3 cup when crushed
- 8 ounces white chocolate baking bar see note 1
- 4 ounces semi-sweet baking bar
- 2 ounces milk chocolate or more semi-sweet or dark
- 1 teaspoon vegetable oil or coconut oil, divided
- 1/4 up to 1/2 teaspoon peppermint extract
Instructions
- Add unwrapped candy canes to a large plastic bag (or 2; the peppermint has a tendency to rip through plastic bags as it is crushed). Seal the bag without air, and crush with a rolling pin or meat mallet until coarse crumbs are formed. Set aside.
- Line an 8×8 or 9×9-inch pan with parchment paper, leaving an overhang for easy removal. Set aside. Coarsely chop the white, semi-sweet, and milk chocolate. Tip: Be patient when melting the chocolate and avoid rapid temperature changes (don’t microwave too long or excessively, stir too much, or refrigerate/freeze layers of finished bark).
- Add all except 2 tablespoons (see note 2) of the chopped semi-sweet and milk chocolate to a large microwave-safe bowl. Add 1/2 teaspoon oil. Microwave for 15 seconds, then stir vigorously for 15 seconds. Continue until chocolate is mostly melted. You never want the chocolate to get hot, just warm enough to melt gradually; once it's smoothly melted, it should be room temperature. Once chocolate is mostly melted, add the set-aside 2 tablespoons of chocolate and stir until it melts. Be patient and don’t microwave unless it isn’t melting after stirring for 1 minute. (Then microwave in bursts of 5 seconds.)
- Once chocolate is fully melted and smooth, pour in the peppermint extract (use 1/2 tsp for a stronger peppermint flavor) and mix to combine. Pour the chocolate mixture into the prepared pan and smooth in an even layer with a spatula. Do not refrigerate. Set aside at room temperature.
- Add all except 2 tablespoons of the chopped white chocolate to a large microwave-safe bowl. Add 1/2 teaspoon oil. Follow the directions above for melting. Add the reserved 2 tablespoons white chocolate and mix until melted. Once smooth, drizzle evenly on top of the chocolate base layer until all the chocolate is poured on top. Carefully and slowly smooth the white chocolate into an even layer with the back of a spoon, being careful to not swirl the two layers together. Immediately, sprinkle the crushed candy canes on top (add as much or as little as you’d like). Set aside at room temperature (not in the fridge) until the bark is completely hardened, about 3–5 hours.
- Once hardened, remove from the pan using the overhang. Break or cut (see note 3) into pieces as big or small as you’d like. Enjoy!
Recipe Notes
Nutrition
Nutrition information is automatically calculated, so should only be used as an approximation.