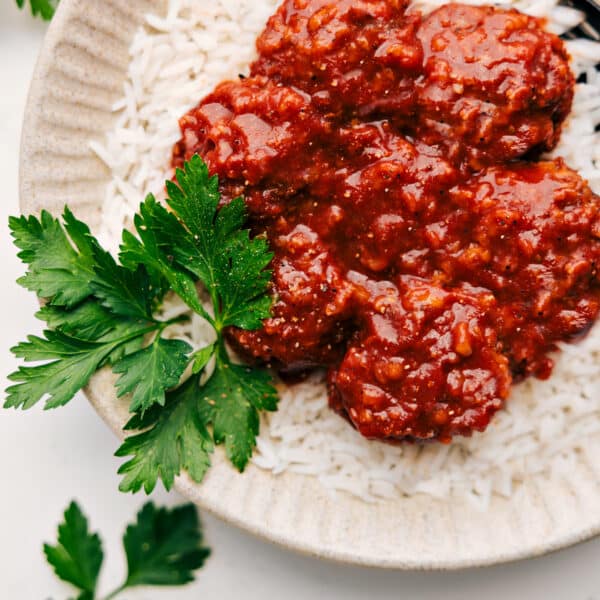
Dinner
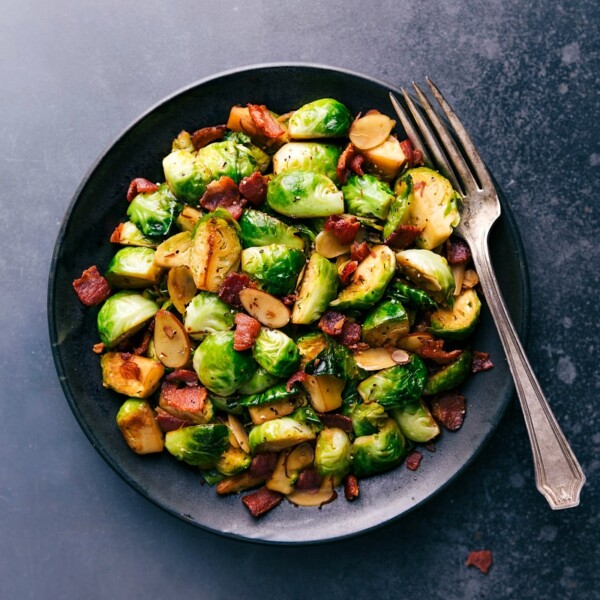
Side Dishes
Brussels Sprouts and Bacon
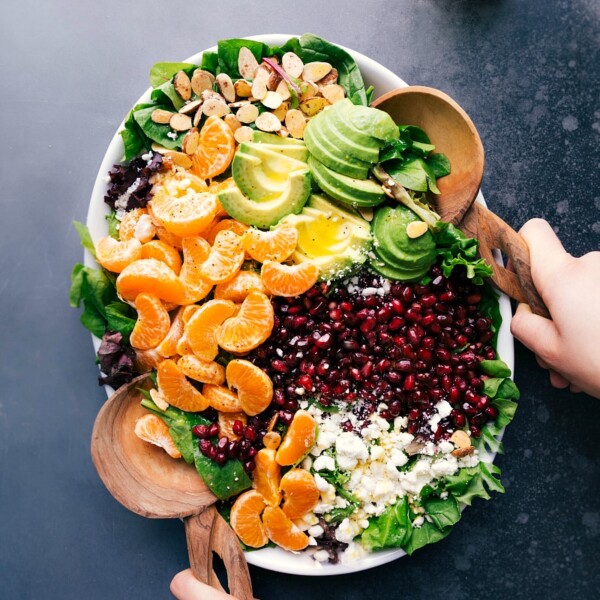
Salads
Orange Pomegranate Salad
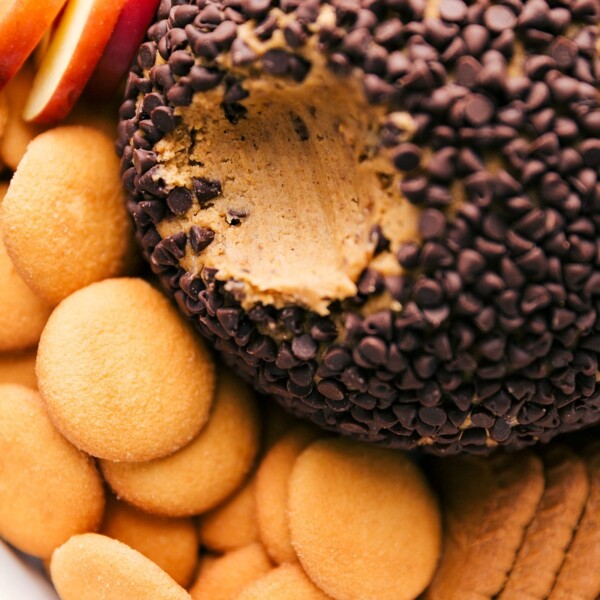
Desserts
Pumpkin Cheesecake Ball
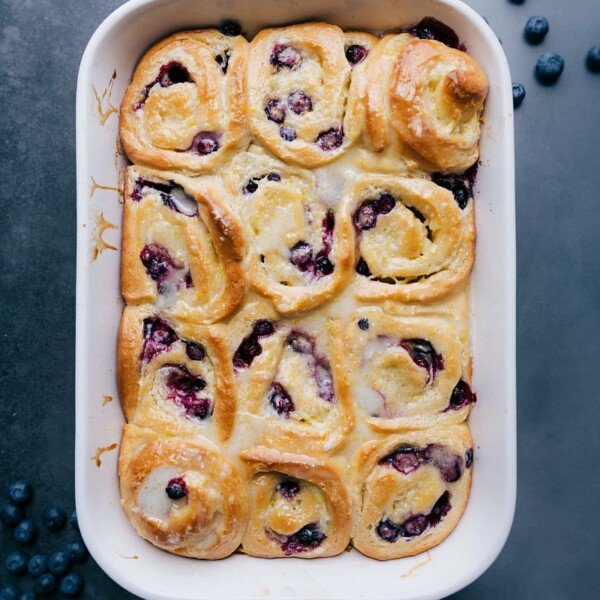
Breakfast
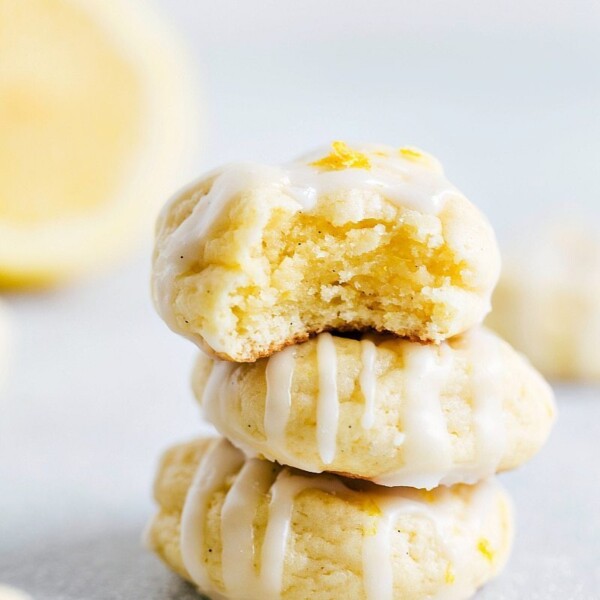
Lemon Blueberry Sweet Rolls
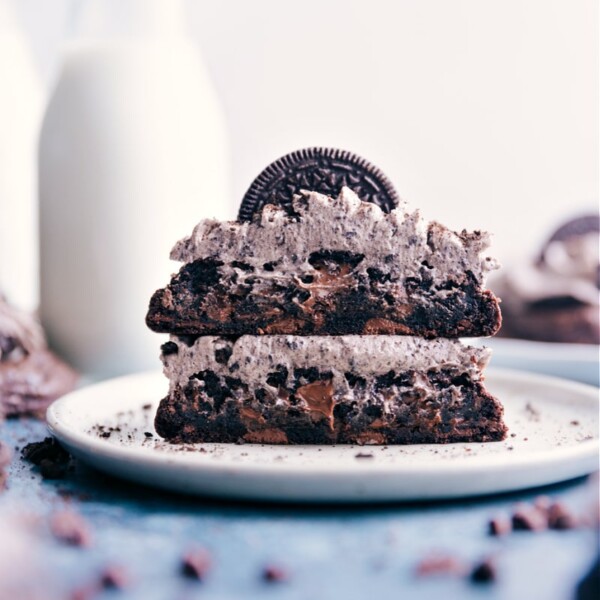
Cookies
Chocolate Oreo Cookies
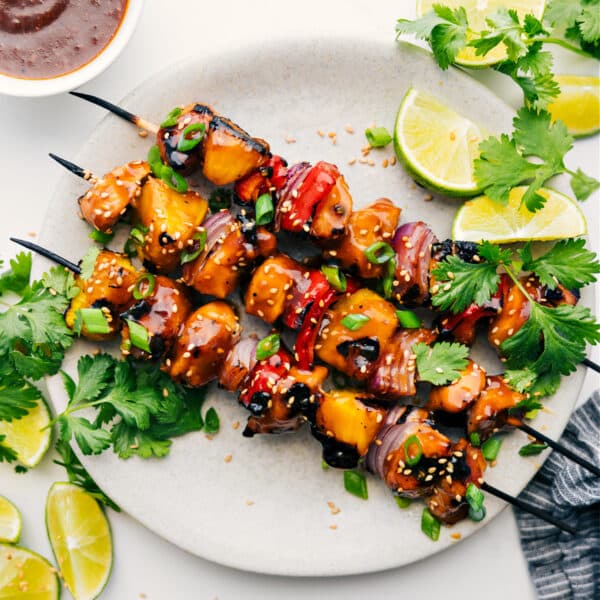
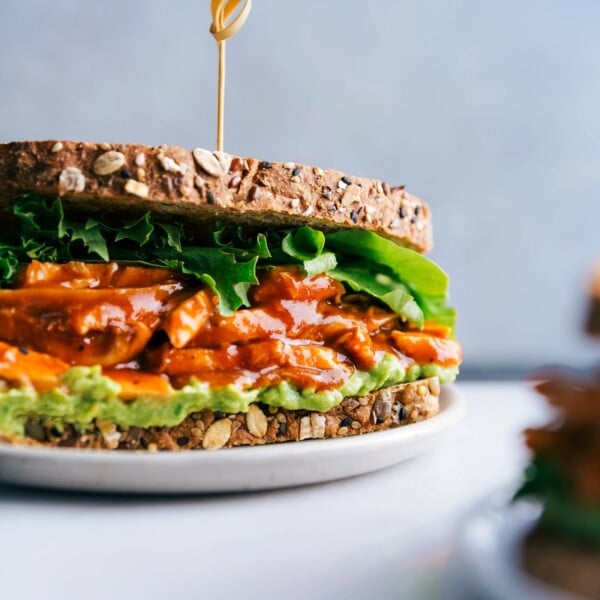
Dinner
Teriyaki Chicken Skewers
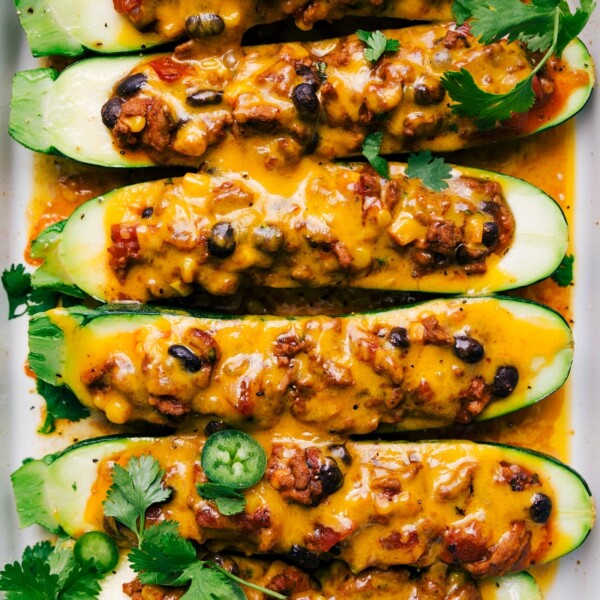
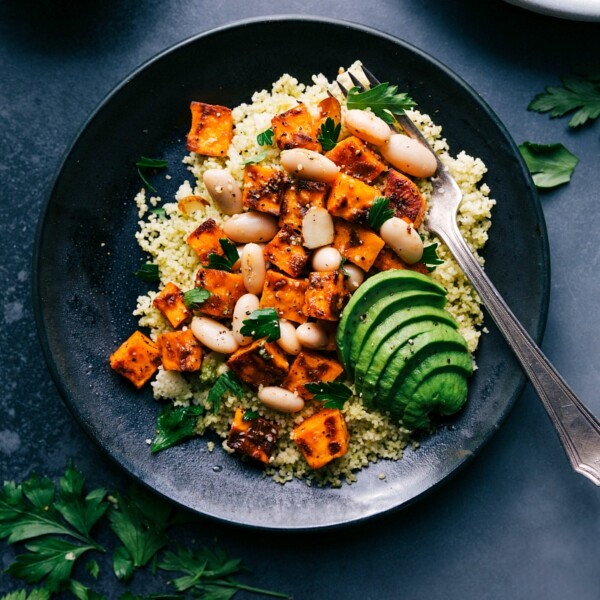
Dinner
Mexican Zucchini Boats
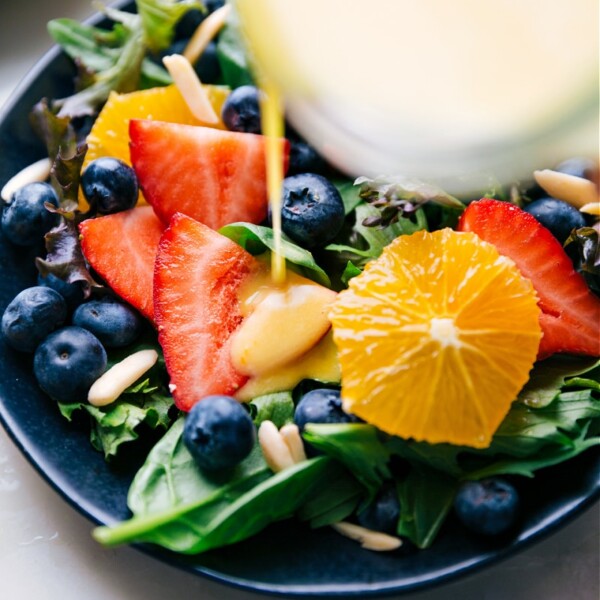
Salad Dressings
Citrus Vinaigrette Recipe
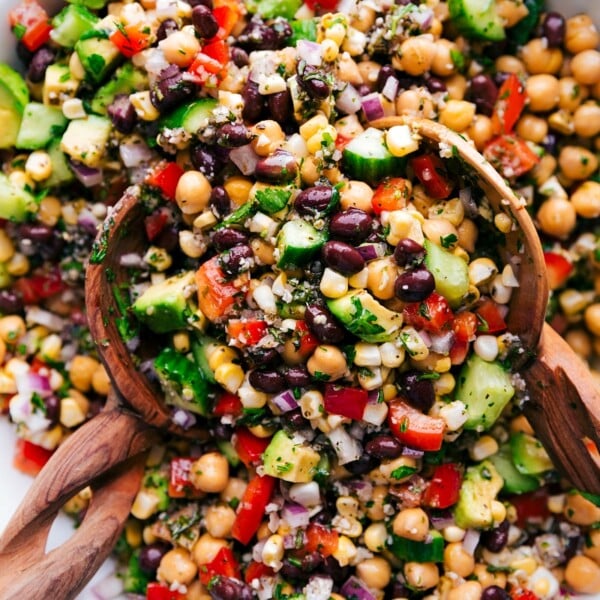
Salads
Garbanzo Bean Salad
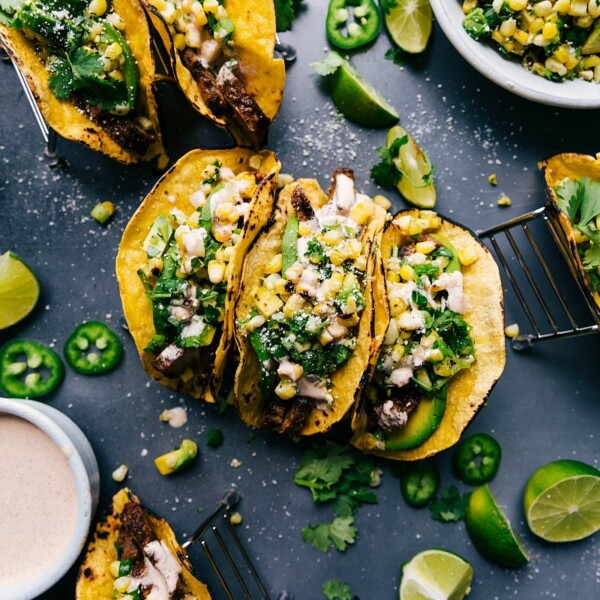
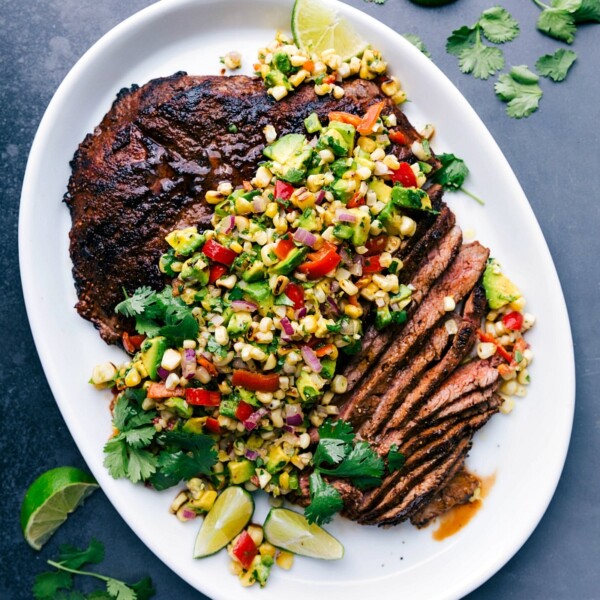
Dinner
Steak Tacos Recipe
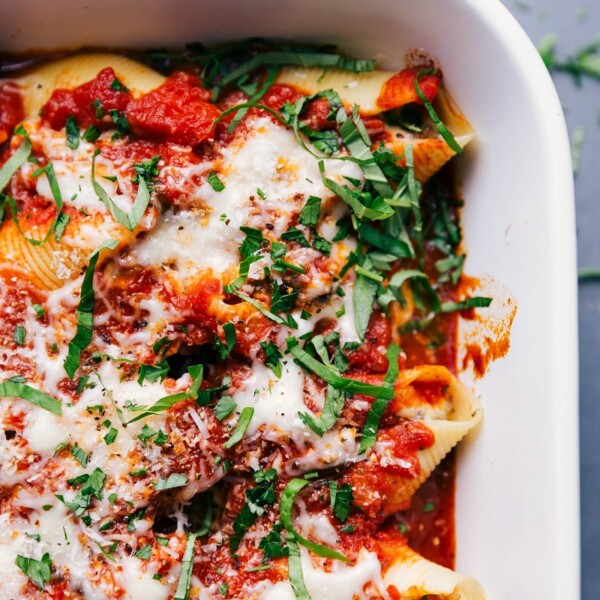
Dinner
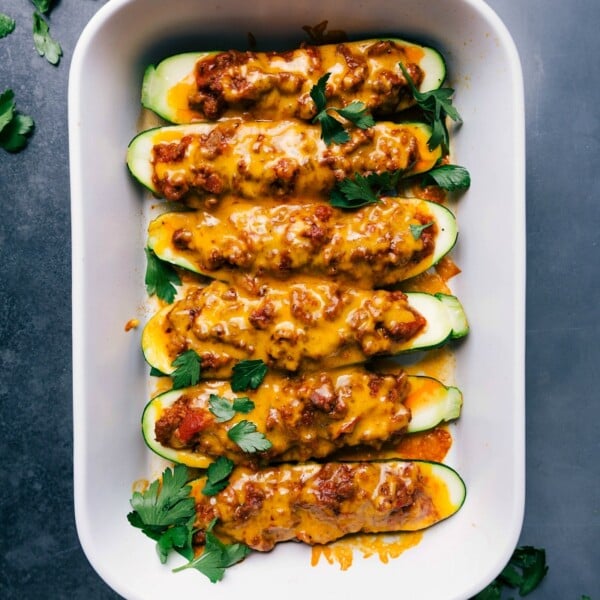
Zucchini Boats Recipe
Dinner
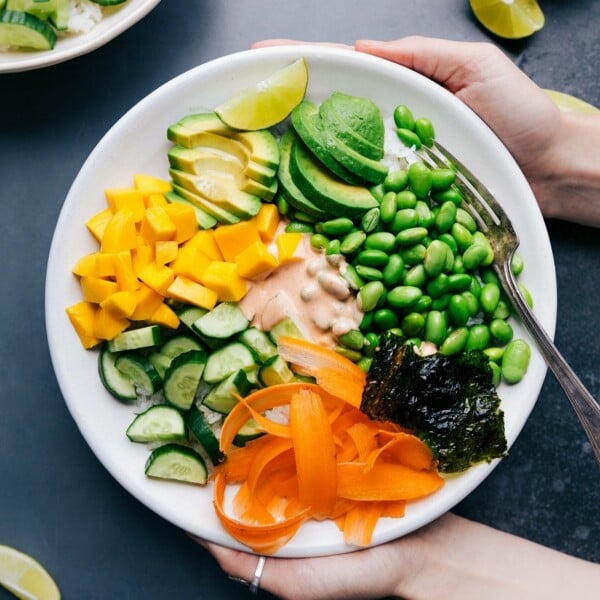
Vegetarian Sushi Bowls

Dinner