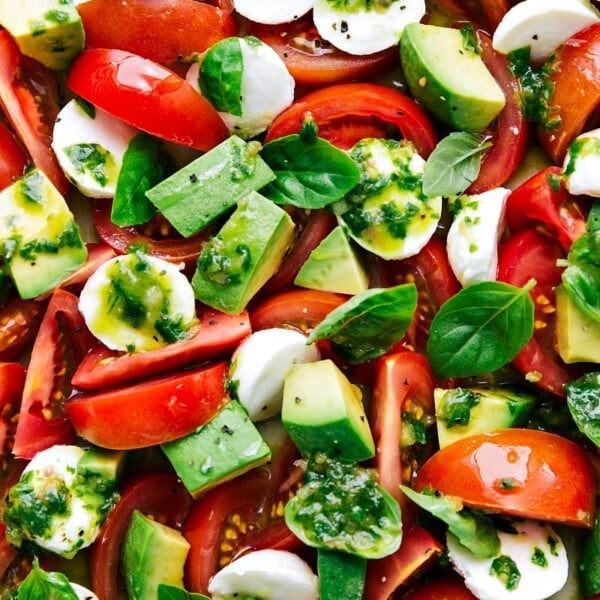
Salads
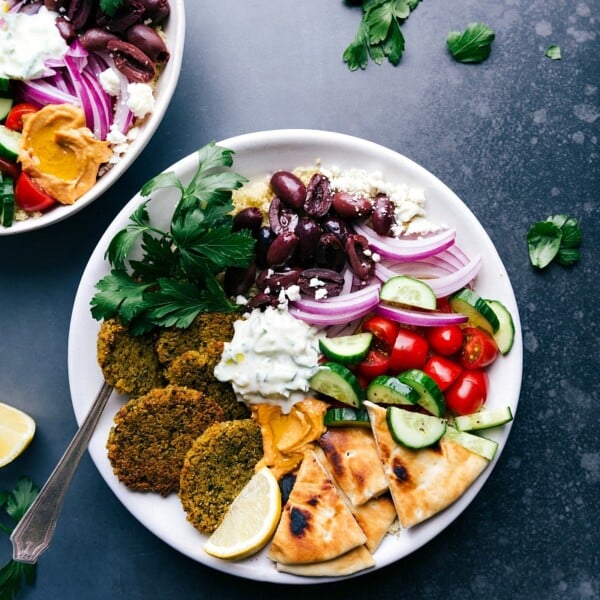
Dinner
Baked Falafel Recipe
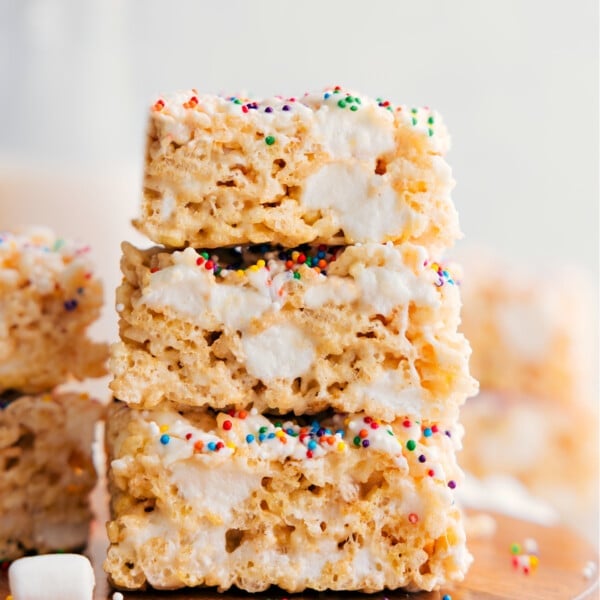
Desserts
Rice Krispie Treats Recipe
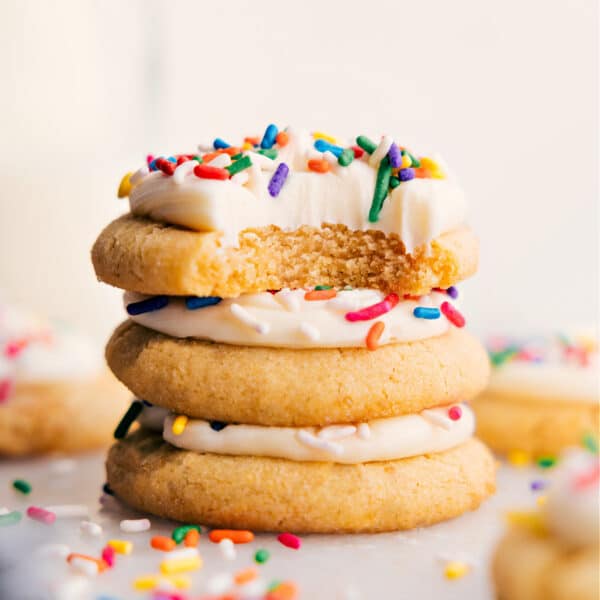
Desserts
Soft Sugar Cookie Recipe
Dressings
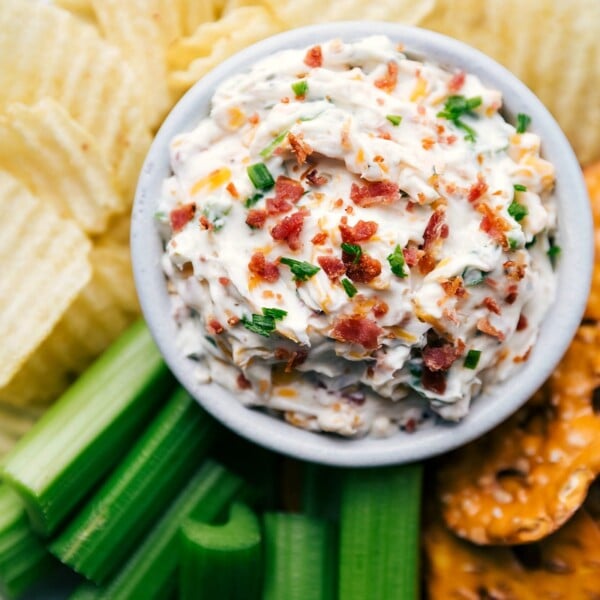
Loaded Baked Potato Dip
Desserts
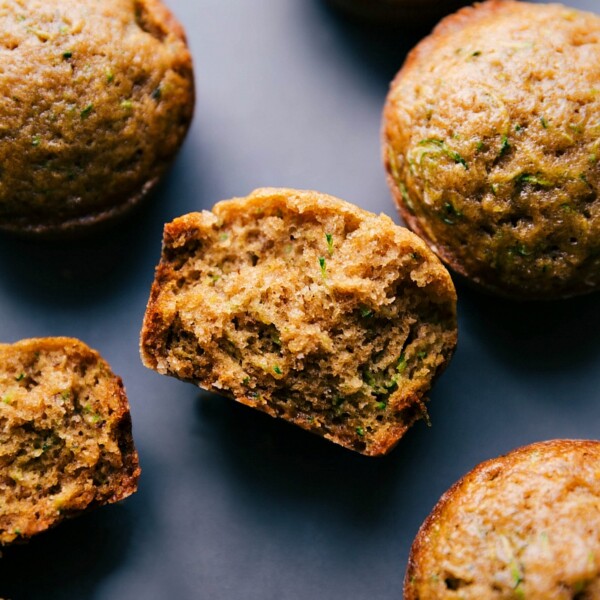
Healthy Zucchini Muffins

Desserts
Cinnamon Roll Popcorn
Desserts
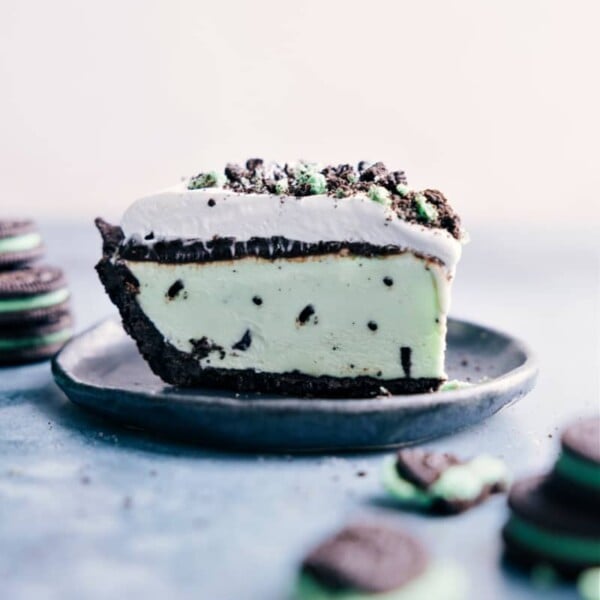
Grasshopper Pie Recipe
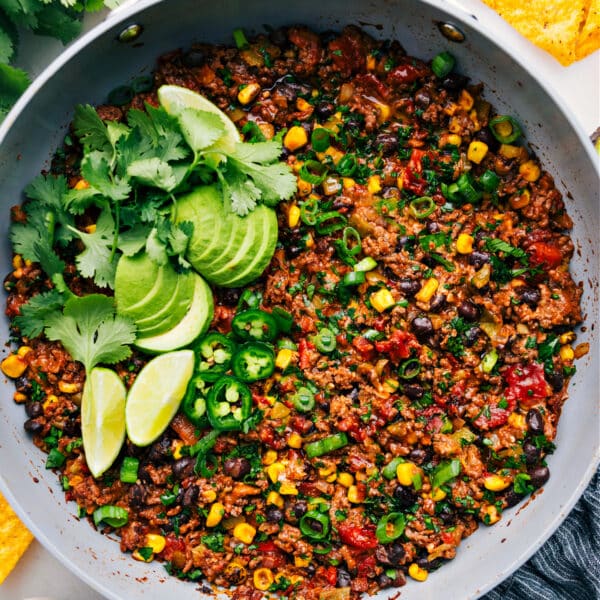
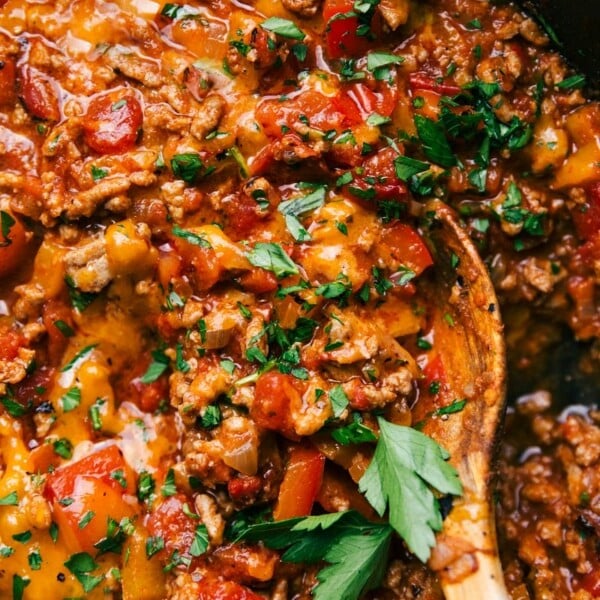
Dinner
Taco Skillet Recipe
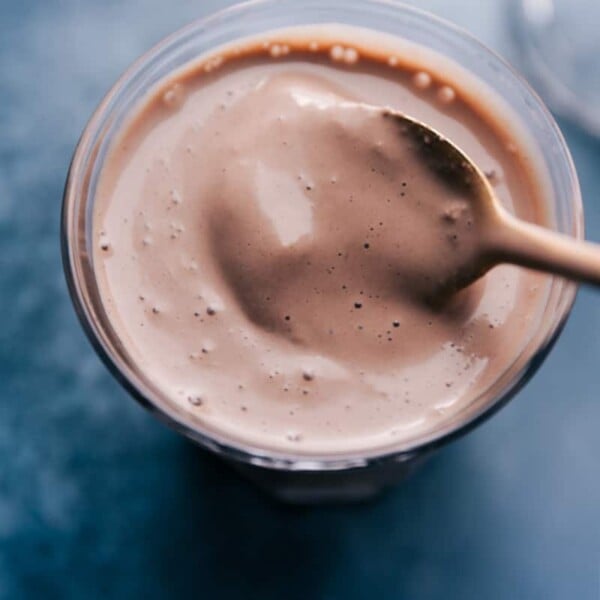
Beverages
Malted Milkshake
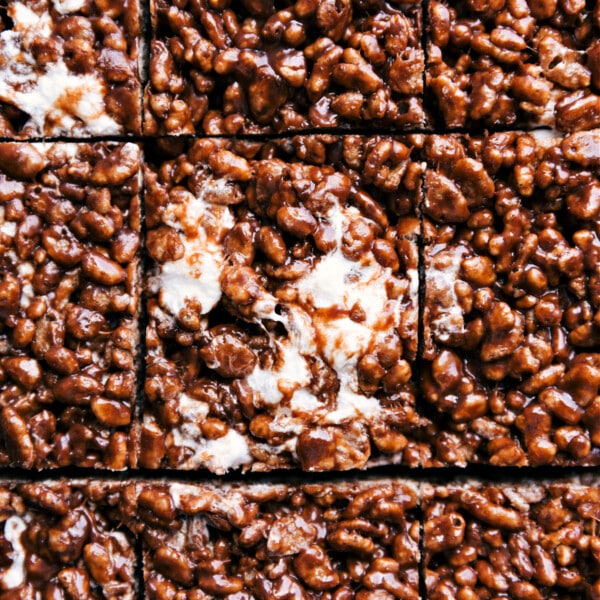
Desserts
Chocolate Rice Krispie Treats
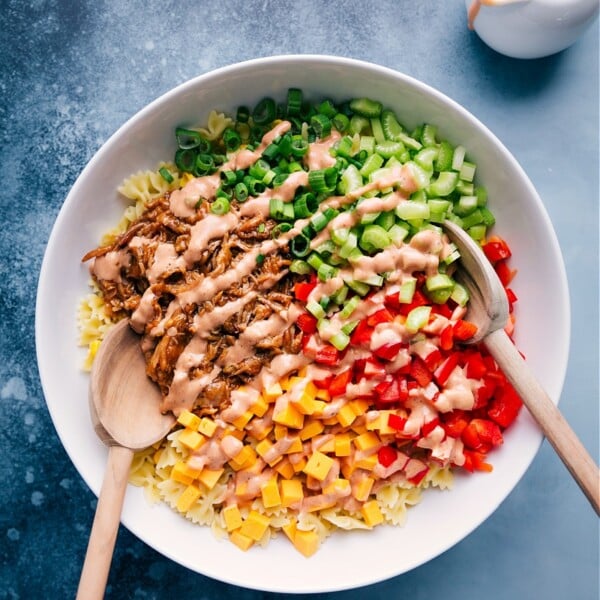
Dinner
BBQ Pasta Salad

Dinner
Chicken Tinga Tacos
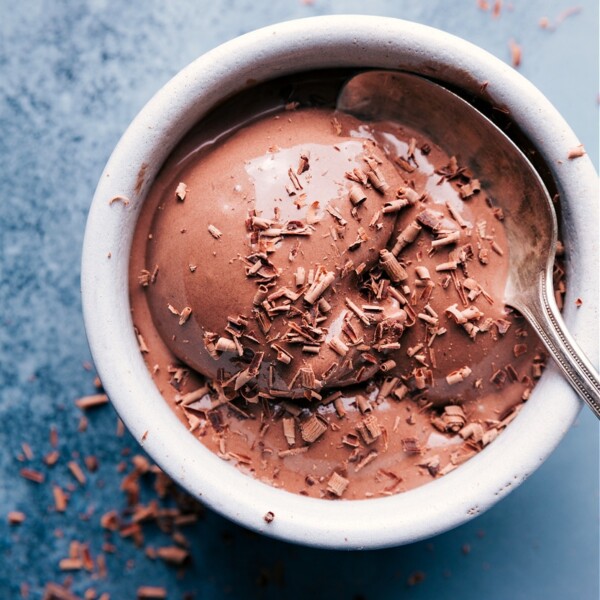
Desserts
Chocolate Frozen Yogurt

Desserts
Soft Pumpkin Cookies
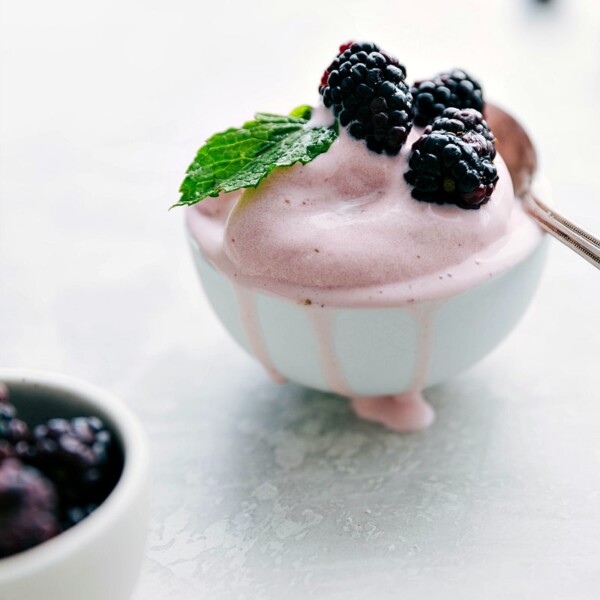
Desserts
Strawberry Frozen Yogurt
Dinner


