Snacks
Soups And Stews
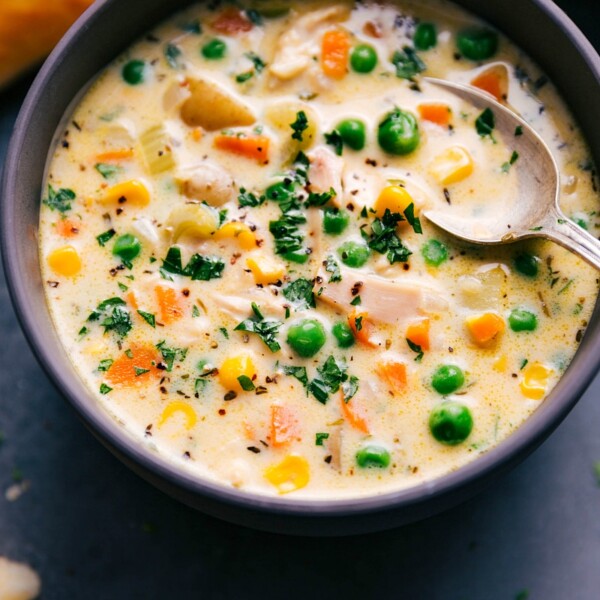
Chicken Pot Pie Soup Recipe

Desserts
Pumpkin Cinnamon Roll Cookies

Quick And Easy
Mummy Bark
Sandwiches
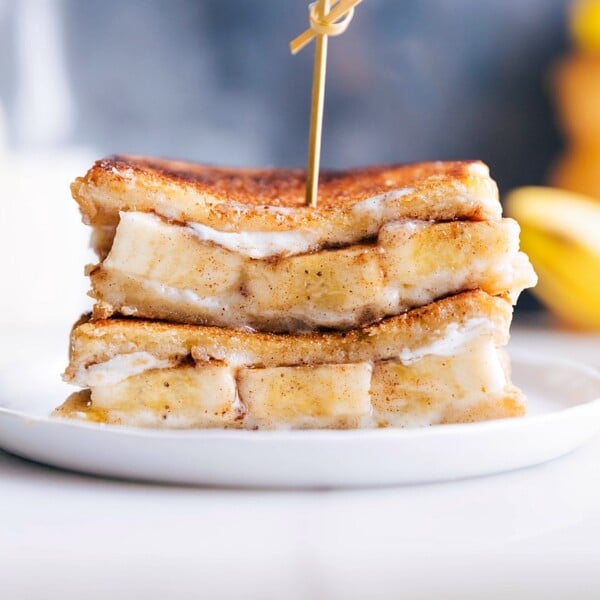
Banana Sandwich

Desserts
Halloween Rice Krispie Treats
Dinner
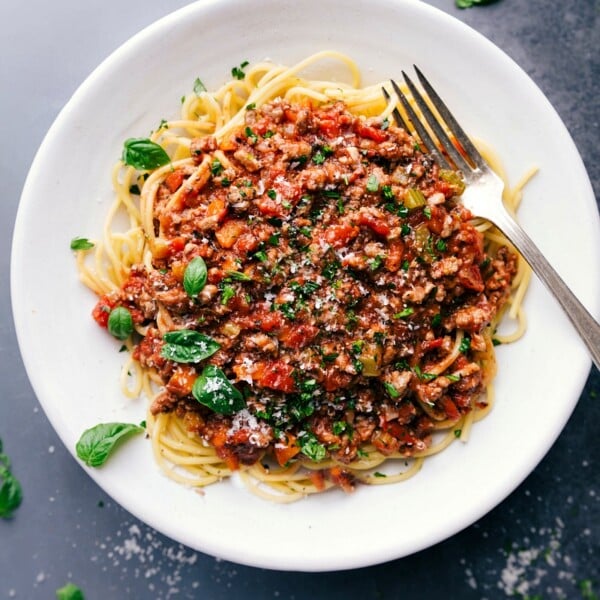
Turkey Bolognese Recipe
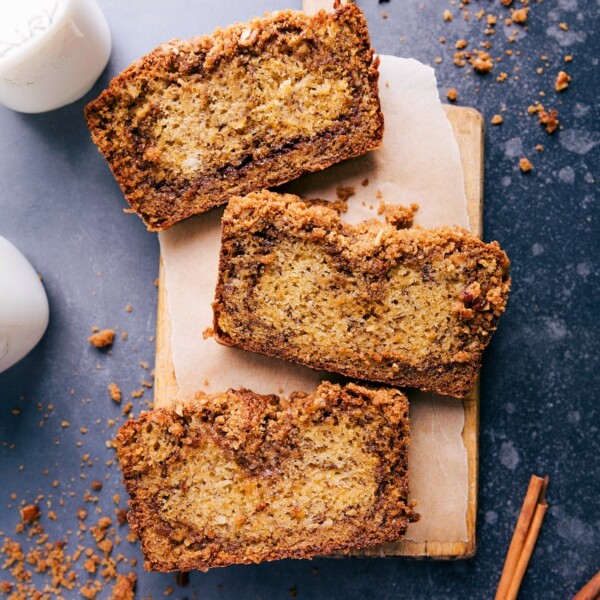
Breakfast
Cinnamon Banana Bread Recipe
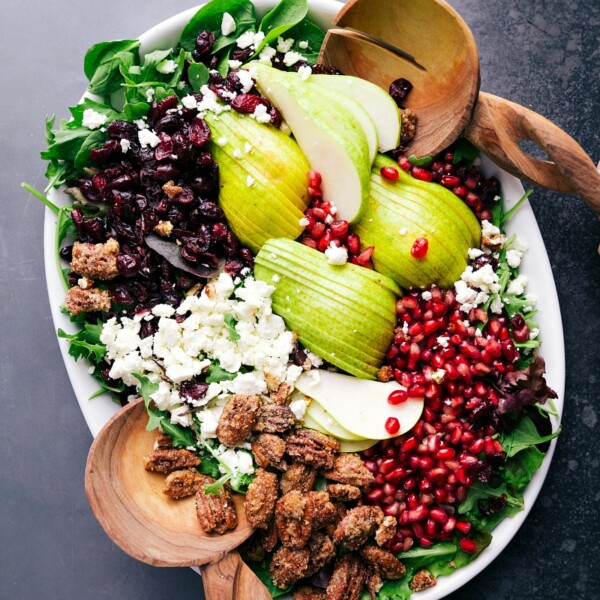
Salads
Pear Pomegranate Salad
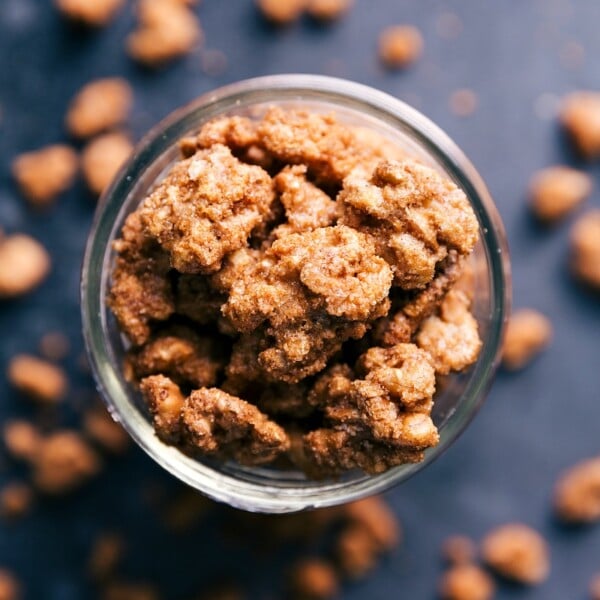
One Pan / One Pot
Candied Walnuts Recipe
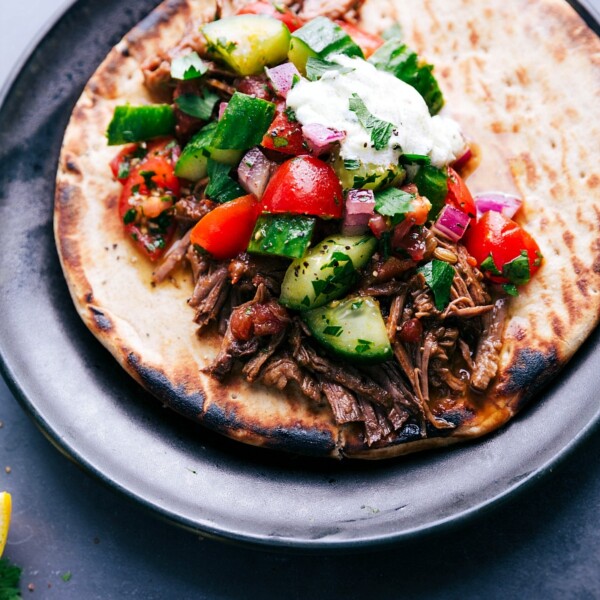
Dinner
Beef Gyros
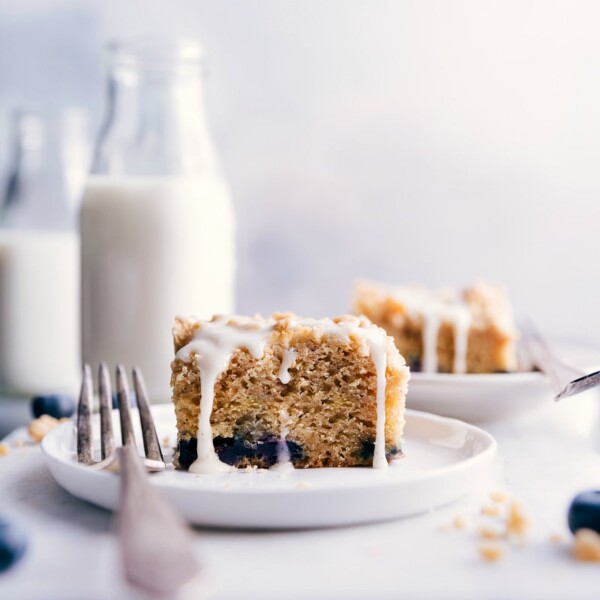
Desserts
Blueberry Coffee Cake Recipe
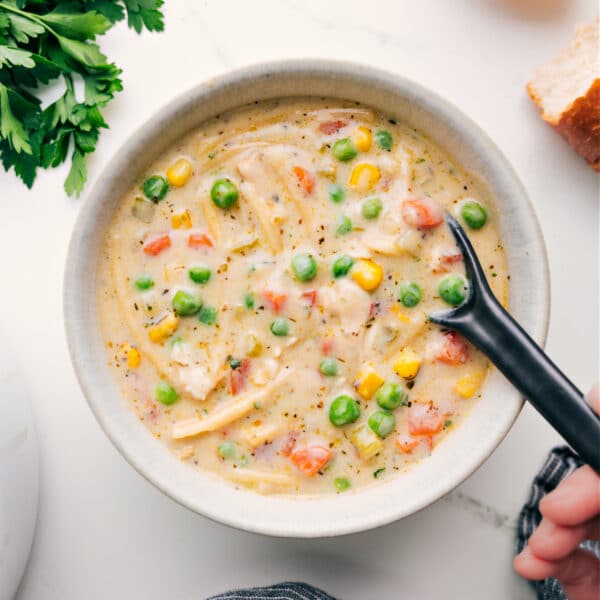
Soups And Stews
Creamy Chicken Noodle Soup Recipe
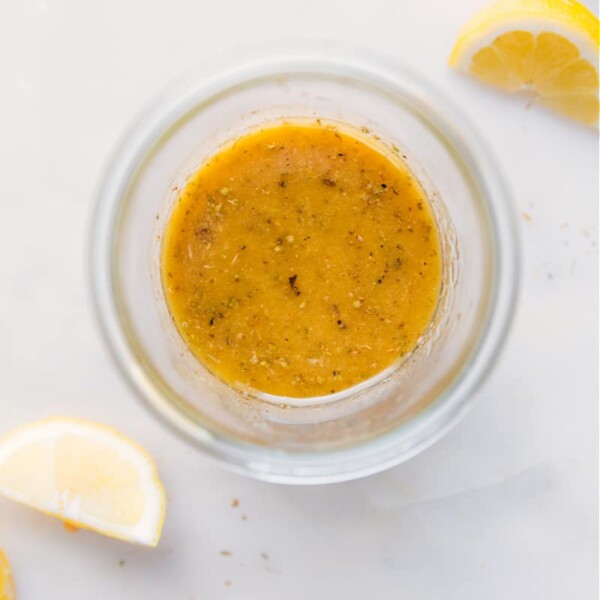
Salad Dressings
Greek Salad Dressing Recipe
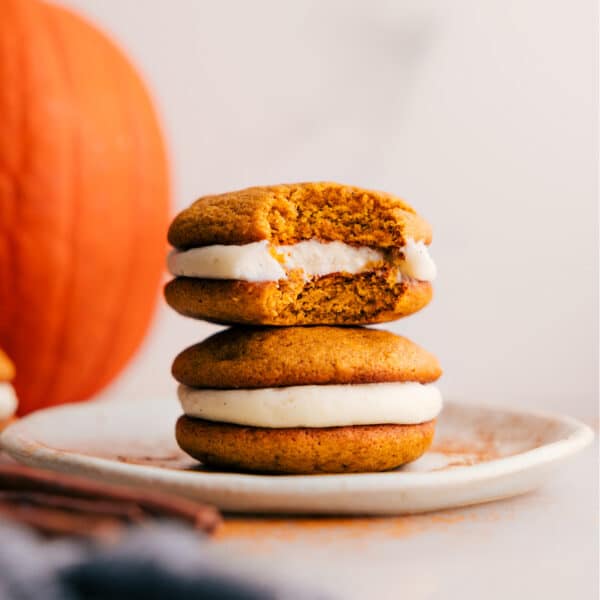
Desserts
Pumpkin Whoopie Pie Recipe

Desserts
Chocolate Oreo Cookies
Soups And Stews
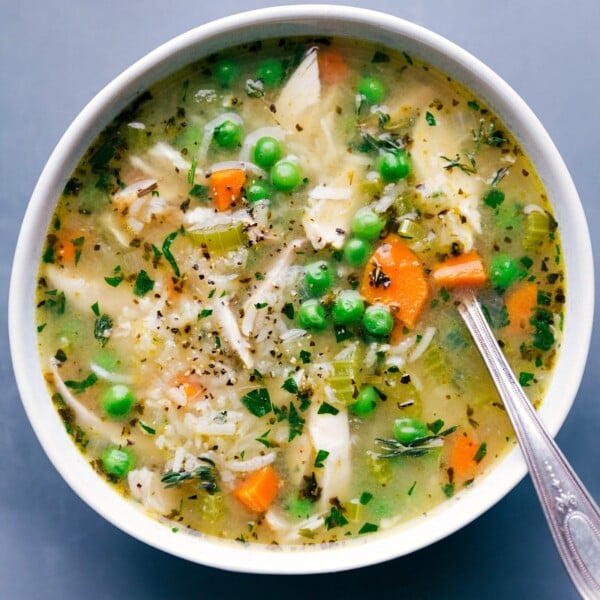
Chicken and Rice Soup Recipe

Soups And Stews
Italian Sausage Tortellini Soup

Desserts