Thanksgiving
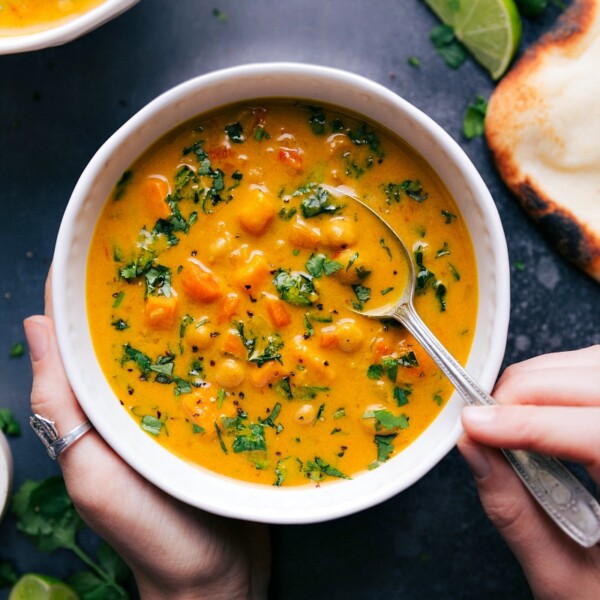
Soups And Stews
Sweet Potato Coconut Curry Soup
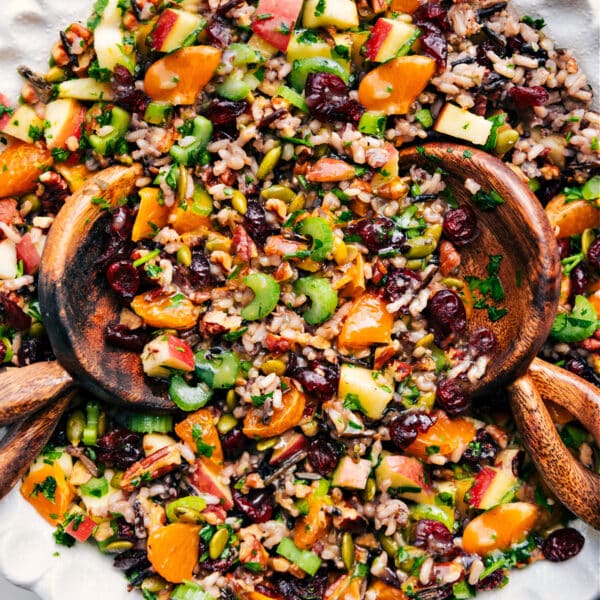
Salads
Wild Rice Pilaf
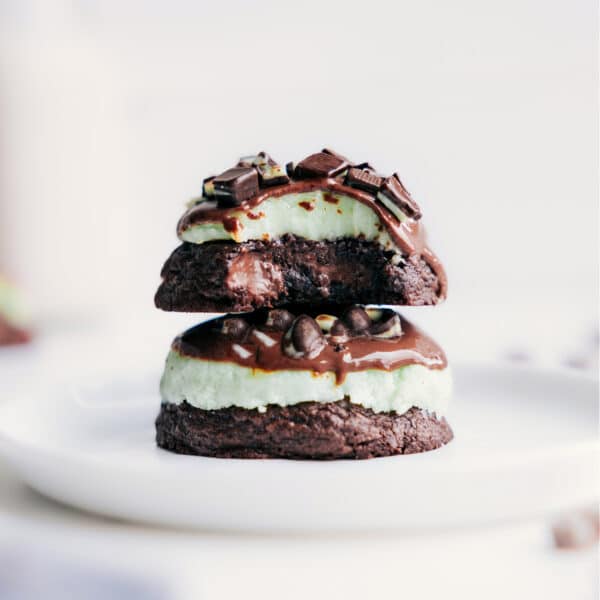
Desserts
Mint Brownie Cookies

Quick And Easy
Thanksgiving Treats
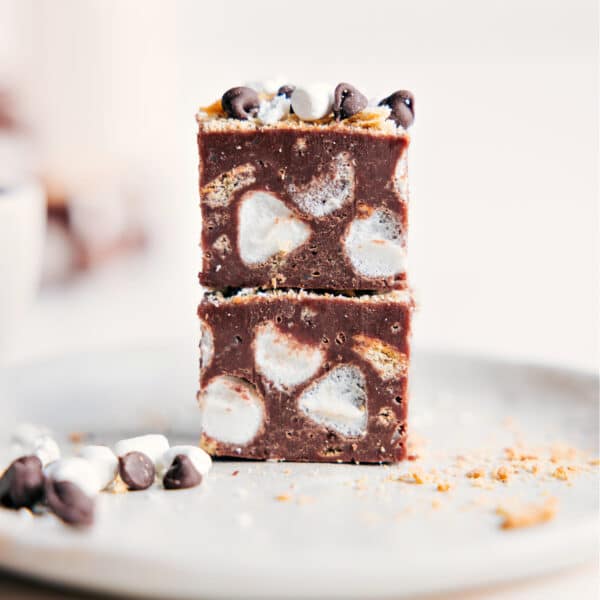
Desserts
S’mores Fudge
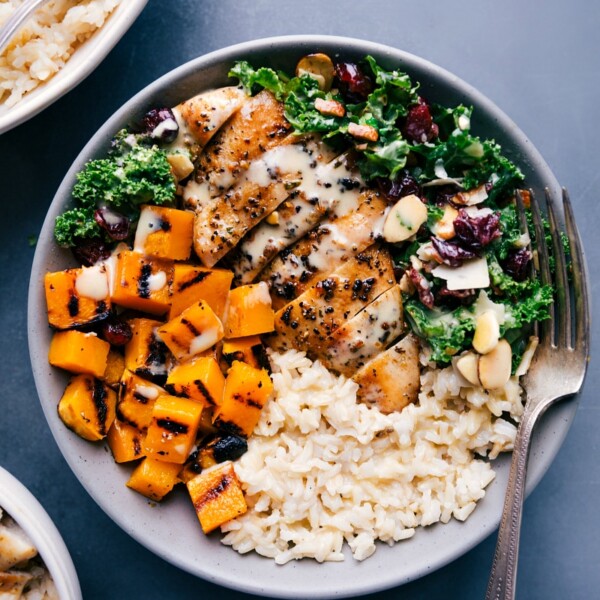
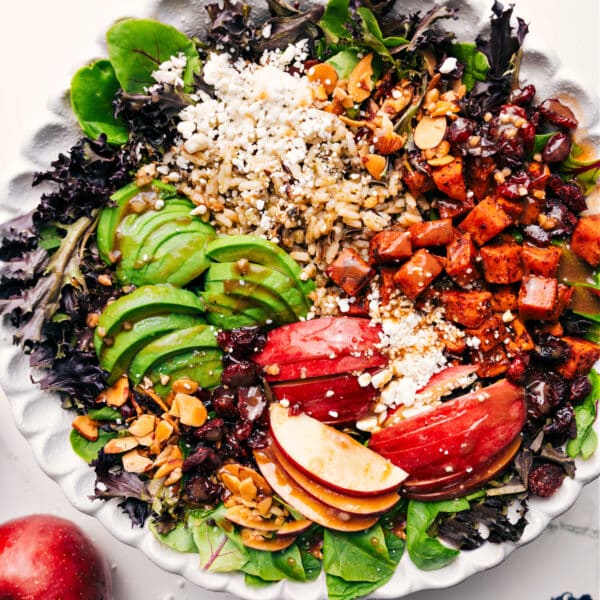
Dinner
Harvest Bowl
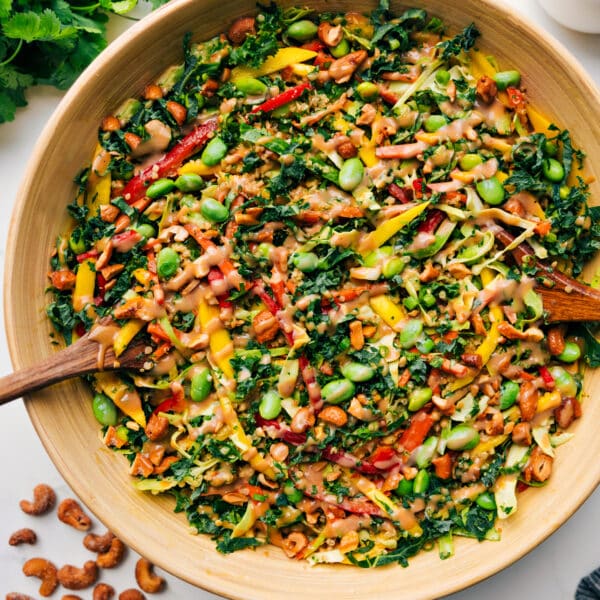
Salads
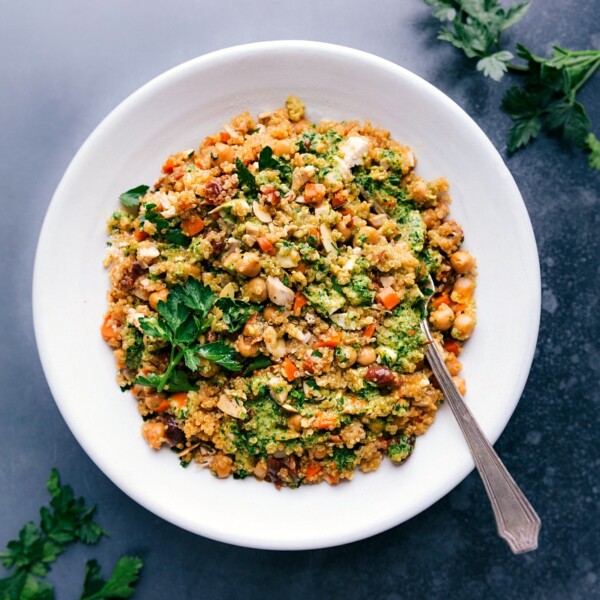
Thai Quinoa Salad

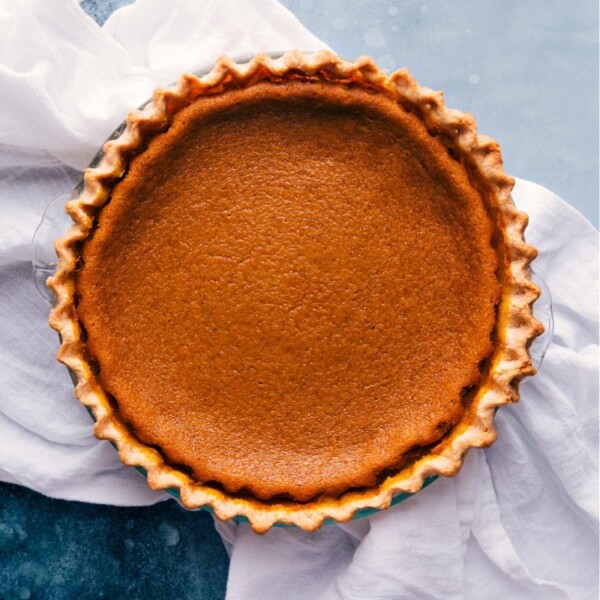
Desserts
Cornmeal Cookies
Dinner
One Pot Quinoa Pilaf
Salads
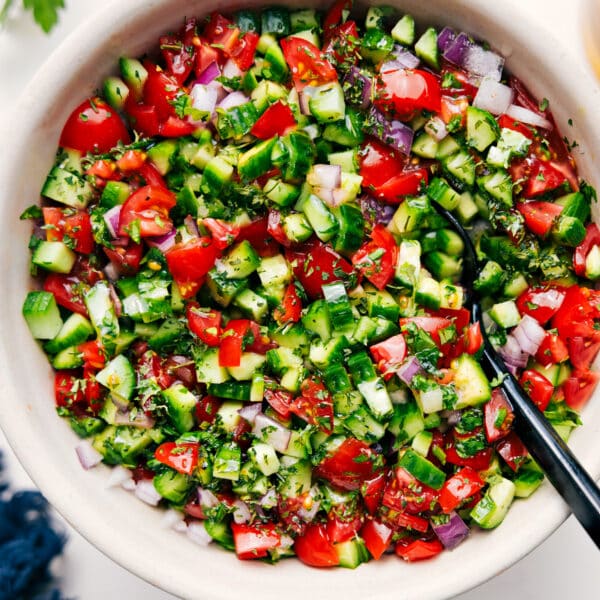
Israeli Salad Recipe
Salads
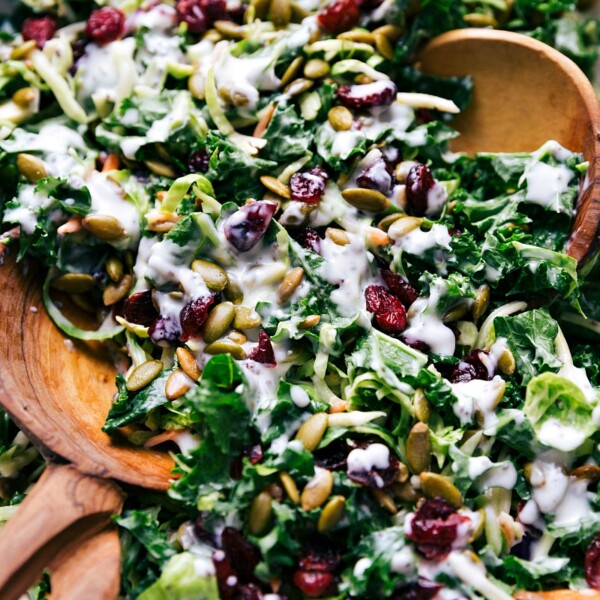
Costco Kale Salad
Dinner
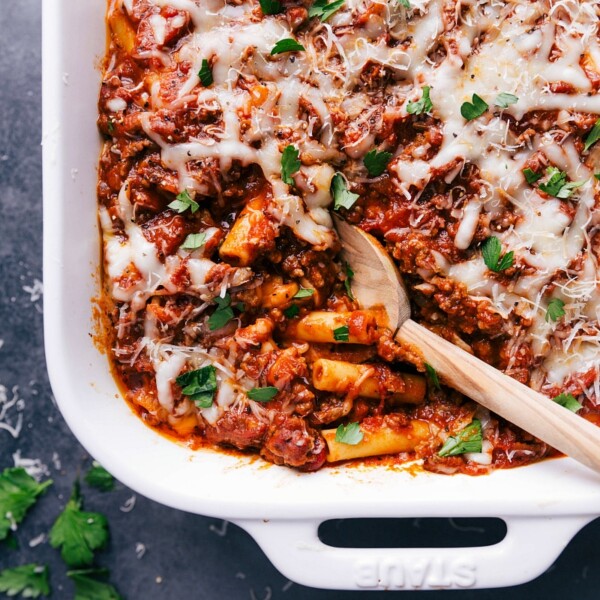
Baked Ziti Recipe
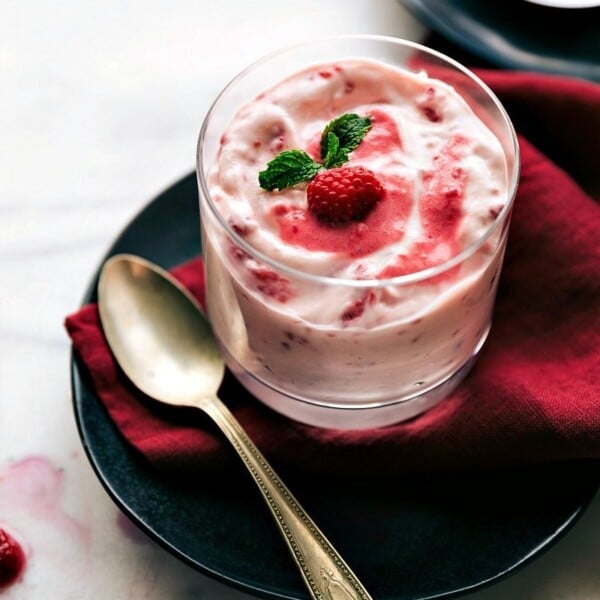
Desserts
Raspberry Fluff
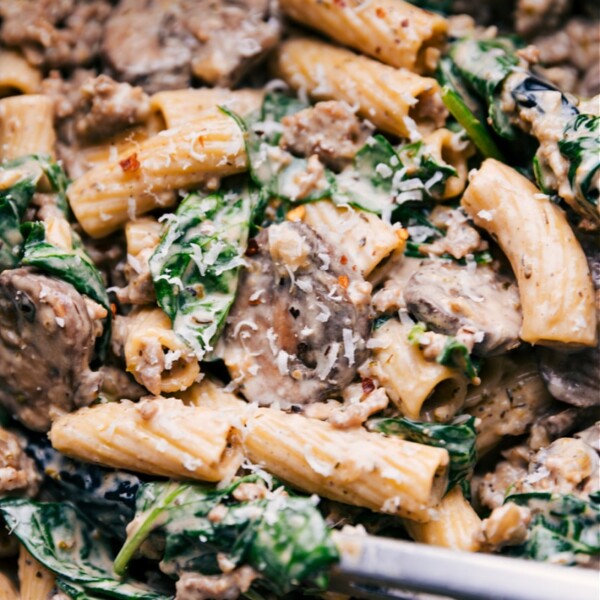
Pasta And Pizza
Creamy Sausage And Mushroom Rigatoni

Tacos
Asian Pork Tacos
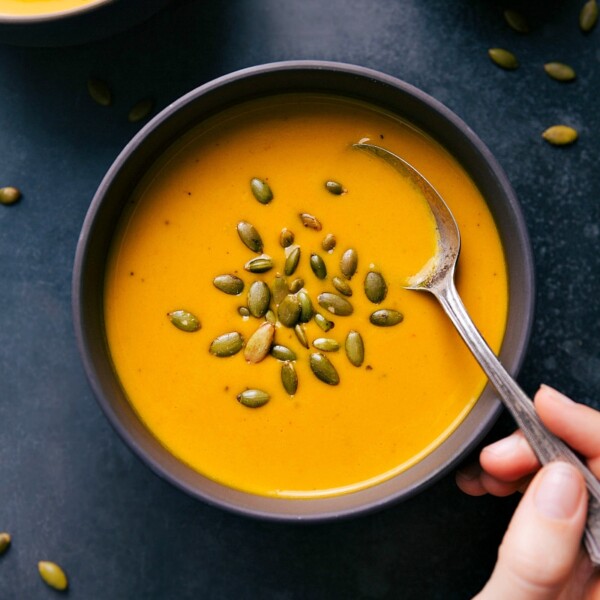
Soups And Stews
Carrot Soup Recipe
Salads