This is my forever Pie Crust Recipe! It’s easy, thanks to the food processor, and comes out flaky, tender, and buttery every time.
I’m also sharing a few pro tips from a French pastry chef!


Author’s Notes
The Only Pie Crust I’ll Ever Use!
If my husband had to pick one dessert for life, it would be this Apple Pie. He can take down the whole thing in two days flat.
This is the crust I use every single time. It’s buttery, flaky, and actually easy to roll out. No cracking or shrinking. Just a perfect pie crust that tastes amazing.
You only need a few pantry staples and all butter for the best flavor. No shortening here. I’m also sharing my best tips, like how to par-bake and avoid soggy bottoms.
Once you make this, store-bought crust won’t stand a chance!


Pie Crust Recipe Ingredients
- Butter: Adds rich flavor and flakiness; use unsalted and keep it as cold as possible.
- Ice Water: Helps bring the dough together; make sure it’s ice-cold!
- Powdered Sugar: Feel free to use granulated sugar if that’s all you have on hand!
- Egg Yolk: Adds richness and helps bind; save the whites for Meringue Cookies.
- Flour & Salt: Forms the base of the crust. Salt balances and brings out flavors.
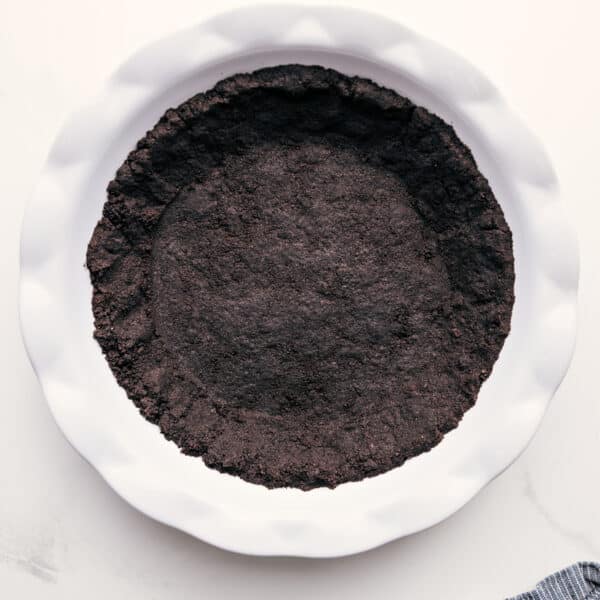
How To Make Pie Crust From Scratch
There are several different ways you can make this Pie Crust recipe, but I’ve found the most success with a 10 to 14-cup food processor. Similar to making this Biscuit Recipe, we want to handle the dough as little as possible, and the food processor helps pull the dough together with minimal handling.
No food processor? Use a pastry cutter or two knives to cut in the butter, then stir in the yolk and water with a spoon.

Pastry Chef’s Tips For Rolling Out Dough
Rolling pie dough used to be my baking nemesis when I was growing up. Then a French exchange student moved in with us and changed my life. Her dad was a pastry chef, and she passed along all his best tips. One of them? Handle the dough as little as possible.
- Use plastic wrap and parchment paper: It makes transferring the dough easy!
- Lay out plastic wrap: Place two big sheets on your counter.
- Add chilled dough: Put it in the center of the plastic wrap.
- Top with parchment: Add one sheet of parchment paper over the dough.
- Roll out dough: Make it slightly larger than your pie dish, then remove parchment.
- Flip into pan: Lift and flip dough into pan using the plastic wrap.
- Press gently: Fit the dough into the pan without pulling or stretching.
- Peel off plastic wrap: Then finish shaping the edges and this pie crust recipe is ready!

How to Crimp Pie Edges
Crimped edges look pretty and help keep the filling from leaking. A thicker edge also bakes up better. Thin edges can shrink or burn.
- To crimp: Trim excess dough, then fold the rest under to create a thick edge. Press it evenly around the pan without pulling.
- Use your thumb and index fingers to pinch the dough into a crimped pattern. Short fingernails help.
Easier method: After sealing the edge, press a fork around the crust for a quick pattern.
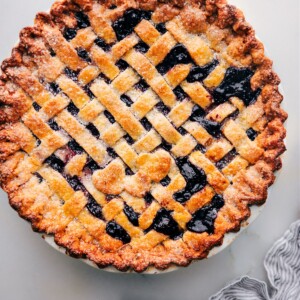
How To Make A Lattice Pie Crust
Want to try a lattice top? Elise at Simply Recipes has a great step-by-step with photos. If not, a full top crust still looks and tastes amazing.
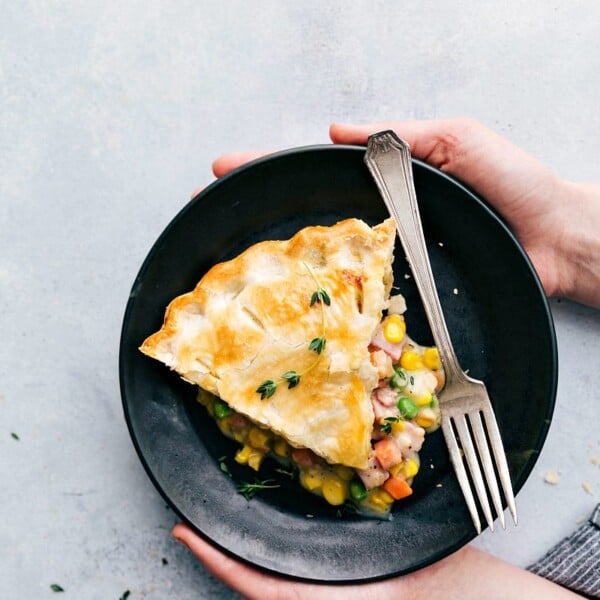
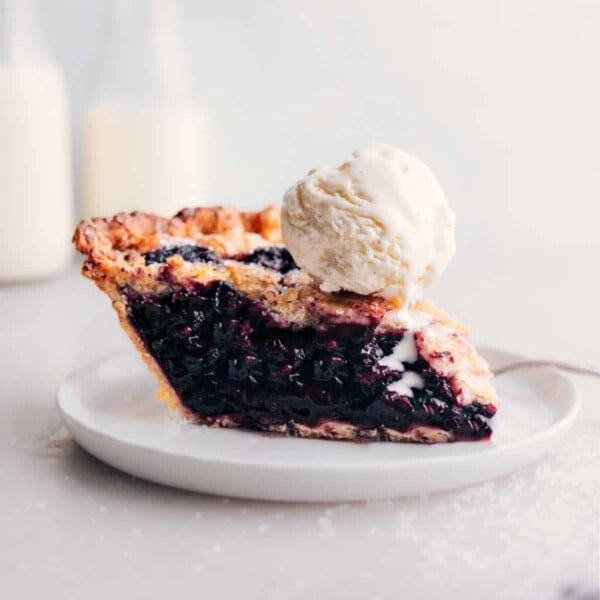
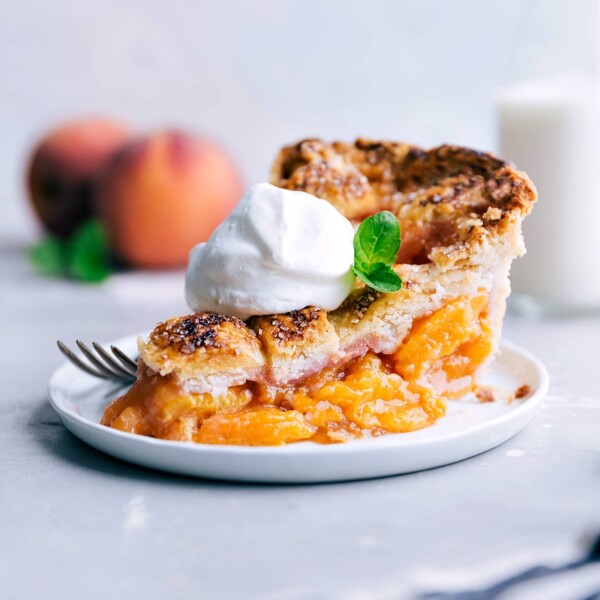
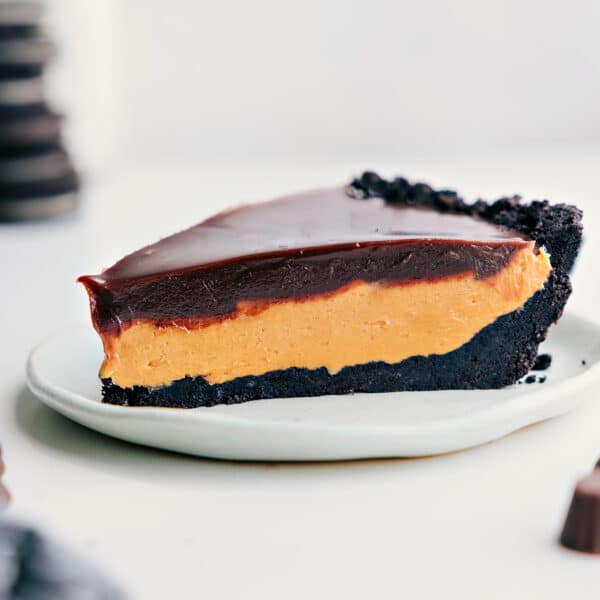
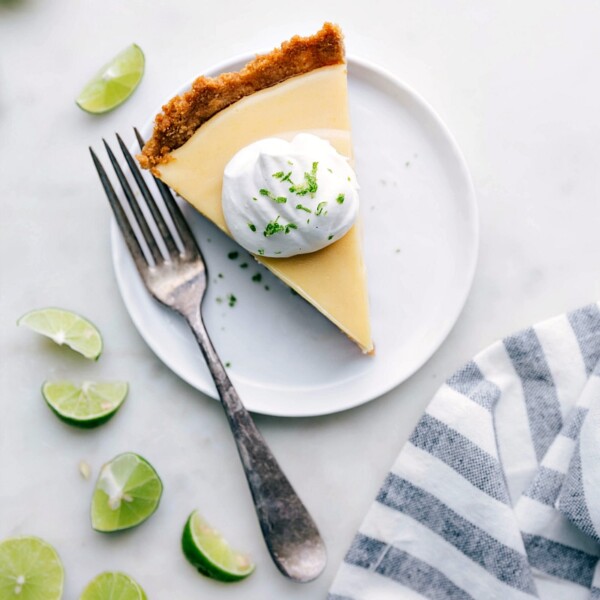
Use This Pie Crust In These Recipes:

Pie Crust Recipe
Video
Equipment
- Large food processor 10-14 cups, see note 2
- Plastic wrap plastic film, not press and seal
- Pie pan and pie weights (or dried beans, sugar, lentils, etc.)
Ingredients
- 7 tablespoons unsalted butter cubed and chilled
- 2 to 3 tablespoons ice water
- 1-1/3 cups all-purpose flour
- 1/2 teaspoon salt
- 1 tablespoon powdered sugar
- 1 large egg yolk see note 1
Instructions
- Cut butter into small cubes and keep in the fridge. Fill a small bowl with ice water and set aside.
- In a 12-cup food processor, pulse flour, salt, and powdered sugar for 2 seconds. Add cold butter and pulse 10–12 times until butter is pea-sized. Add egg yolk and 2 tablespoons ice water. Pulse just until soft crumbles form. If dry, add the last tablespoon of water and pulse a few more times or until dough begins to collect in large clumps. Don’t over-mix.
- Transfer dough to a clean surface and gently press into a flat disc (don’t knead). Wrap in plastic wrap and chill for 1–2 hours.
- Lay two overlapping sheets of plastic wrap on the counter. Place the chilled dough in the center and cover it with parchment paper. Roll the dough into a circle about 1/8 inch thick and 3 inches wider than your pie dish. Remove the parchment paper. Use the plastic wrap underneath to lift and invert the dough into the pie pan. Gently press the dough into the pan without pulling or stretching.
- For a single crust, trim excess dough and fold the edge under itself. Crimp with fingers or press with a fork. Freeze for 30–60 minutes before baking (see baking notes).
- For a double crust, chill the base crust for 20 minutes, then add filling and top crust. Seal and shape edges. Crimp or use a fork. You can also make a lattice top.
Recipe Notes
- If pie bakes for 40+ minutes: No par-baking needed. Add cooled filling and bake as directed.
- Par-bake (for shorter bakes): Prick the crust with a fork. Line with parchment and fill with weights or beans. Bake at 400°F for 15 minutes. Remove weights and parchment, then bake 5 more minutes. Cool before filling.
- Fully bake (for no-bake pies): Follow par-bake steps, then bake 60–75 minutes at 350°F. Use a crust shield if edges brown too fast. Cool completely before filling.
Nutrition
Nutrition information is automatically calculated, so should only be used as an approximation.
How To Blind Bake This Pie Crust Recipe
Once your crust is in the pan, you can add filling (if cooled) or bake it first.
Two baking options:
- Par-bake: Partially bake before adding filling. Great for custards, puddings, or no-bake pies. Only do this if the recipe says to.
- Fully bake: For pies that won’t go back in the oven, like chocolate pudding pie, coconut cream pie, or an ice cream pie.
Blind baking tips:
- Don’t stretch the dough or it will shrink.
- Prick the base with a fork to stop bubbling.
- Chill the crust, line with parchment, and fill with pie weights or beans.
- Bake with weights, then remove and bake again to set the crust.
FAQs
It makes the dough easier to roll and helps create a tender, compact crust.
It might be too dry, too cold, or not rested long enough for the flour to fully hydrate.
Chilling helps prevent shrinking. The butter firms up and the gluten relaxes.
Top Recipe Tips
- Keep it cold: Use cold butter, water, and egg yolk. Work fast and chill the dough often.
- Touch it less: The less you handle it, the flakier and better this pie crust recipe tastes.
- Don’t over-mix: Stop mixing when the dough is still crumbly.
- Egg wash: Mix 1 egg with 1 tablespoon milk and brush on the edges for a golden finish.
- Rustic is in: Don’t stress about perfection. Imperfect pies are beautiful!
- Protect the edges: Use a pie shield or make one at home with a tutorial.


Can this crust be baked ahead of time and filled a day or two later?
Absolutely! Just let it chill in the fridge or freeze if it is going to be more than a few days!