Roasted Green Beans are the best way to enjoy this veggie! With a few simple seasonings and a hot oven, green beans become incredibly delicious!
In this post, I’m sharing my two favorite roasted green beans—simple seasoned and crunchy Parmesan.

Roasted Green Beans
Green beans are one of my all-time favorite veggies—raw, sautéed, or in a casserole, I’ll happily eat them any way I can get them!
But roasted green beans? That takes them to a whole new level! Roasting gives them a beautiful caramelization, with a crisp, slightly crunchy exterior and a tender inside. They’re seriously addictive and one of the best side dishes ever!
")
Before we get to making Roasted Green Beans, here are some shopping and preparation tips:
Shopping, Storing, and Prepping
- Choose: Look for firm, bright green beans without blemishes or yellowing. Smaller beans are more flavorful and tender.
- Store: Use within 1-2 days for best taste. For up to 3-5 days, keep them in the fridge’s crisper drawer in a plastic bag. Don’t rinse or trim until ready to cook.
- Check Freshness: Slimy texture or a bad smell? Time to toss.
Cleaning and Trimming
- Rinse: Wash under cold water to remove dirt.
- Dry: Roll between two kitchen towels until completely dry. Wet beans steam instead of roast, so make sure they’re thoroughly dry!
- Trim: Line up the ends, then cut both sides at once for fast trimming.

How To Make Roasted Green Beans
- Preheat Oven: Set to 425°F (220°C) and spray a sheet pan with cooking spray.
- Prep Beans: Wash, dry, and trim green beans.
- Season: In a bowl, toss beans with olive oil, garlic powder, salt, and pepper.
- Add Coating: Mix in Panko and Parmesan, tossing to coat.
- Arrange: Place beans in rows on the baking sheet; sprinkle any remaining coating over the top. Spray generously with cooking spray.
- Roast: Bake for 12-16 minutes until crisp-tender and golden. Serve immediately.

How to Season Roasted Green Beans
If you aren’t making the crunchy Parmesan version, here are my favorite ways to jazz up plain Roasted Green Beans:
- Lemon: Add lemon zest and a squeeze of lemon juice after roasting.
- Spicy: Sprinkle red pepper flakes or a pinch of cayenne pepper.
- Herbs: Sprinkle with fresh herbs like Parsley, thyme, or chives.
- Cheesy: Top with grated Parmesan or crumbled feta after roasting.
Easy Ways to Serve Roasted Green Beans
- Simple Side: Serve with chicken, beef, or fish for a quick, tasty side.
- With Grains: Pair with rice, quinoa, or couscous.
- In a Salad: Toss into a salad with greens, nuts, and a light dressing.

Storing Roasted Green Beans
- Best Fresh: Enjoy right out of the oven.
- Fridge: Store leftovers in an airtight container for up to 2 days.
- Reheat: Use a skillet or oven to re-crisp.
More Roasted Vegetable Recipes:
Vegetables
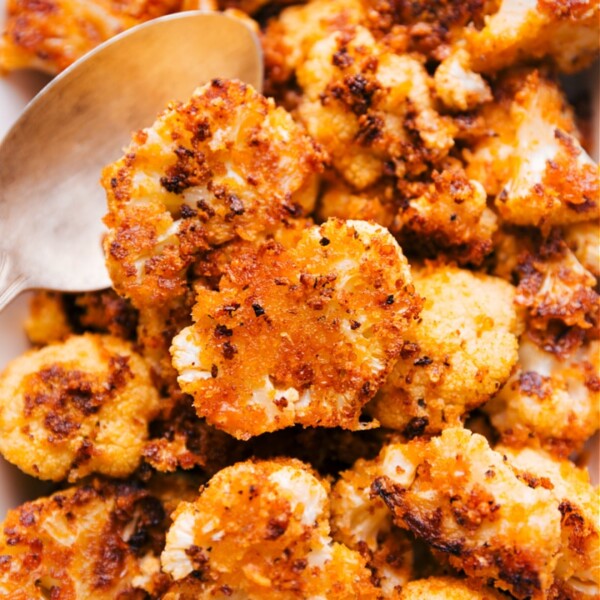
Roasted Cauliflower (Two Ways!)
Side Dishes
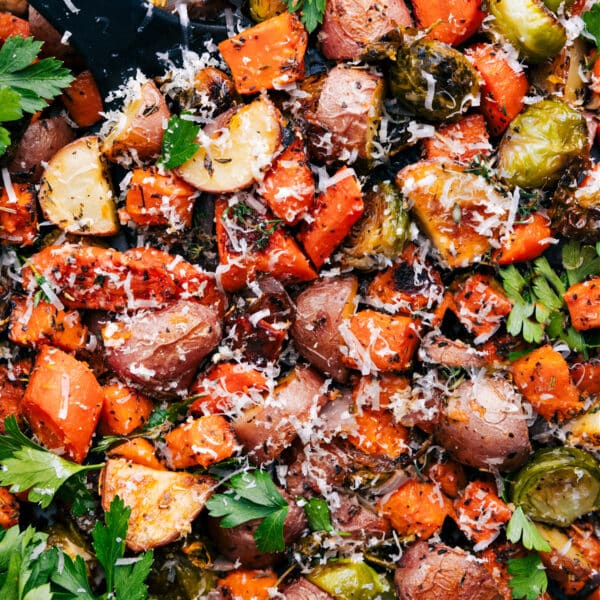
Roasted Vegetables
Side Dishes
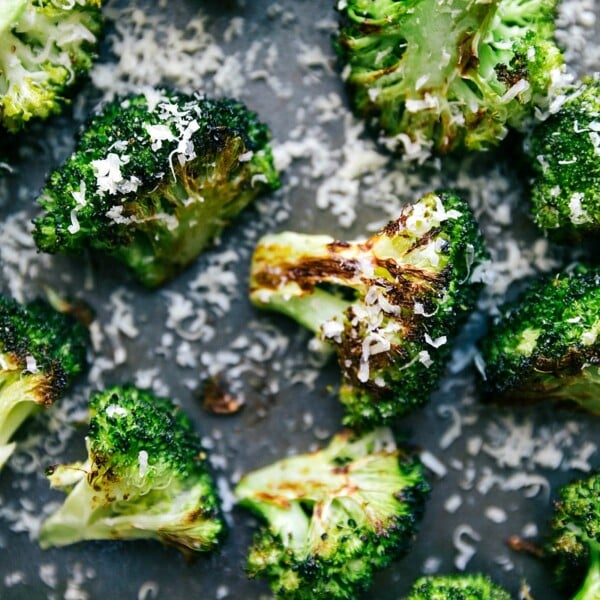
Roasted Broccoli Recipe

Side Dishes
Roasted Sweet Potatoes

Roasted Green Beans
Video
Equipment
Ingredients
- 1 pound (16 ounces) fresh green beans trim the ends
- 2 tablespoons olive oil
- 1/2 teaspoon Italian seasoning
- 1/2 teaspoon garlic powder
- Salt and pepper to taste, see note 1
- Toppings as desired see note 2
- Cooking spray
- 1 pound (16 ounces) fresh green beans ends trimmed
- 2 tablespoons olive oil
- 1/2 teaspoon garlic powder
- Salt and pepper to taste
- 1/3 cup panko breadcrumbs see note 3
- 1/3 cup grated Parmesan cheese sandy consistency, see note 4
Instructions
- Seasoned Green Beans: Preheat oven to 425°F (220°C). Wash and dry green beans thoroughly, as any moisture will prevent them from roasting well. Add beans to a sheet pan. Drizzle with olive oil, garlic powder, Italian seasoning, plus salt and pepper to taste (I add 1/4 teaspoon of each). Use your hands to toss well to coat, then spread in an even layer. Roast for 12–16 minutes, or until beans are crisp-tender. Adjust seasoning if needed, add any optional toppings, and serve immediately.
- Crunchy Parmesan Green Beans: Preheat oven to 425°F (220°C) and generously spray a sheet pan with cooking spray. Wash and dry green beans thoroughly, as any moisture will prevent them from roasting well. In a large bowl, use tongs to toss the beans with olive oil, garlic powder, and salt and pepper to taste (I add 1/4 teaspoon each). Add Panko and Parmesan, then toss again to evenly coat the beans. Using tongs, pull beans from bowl to place right next to each other in rows on the prepared pan. Sprinkle any remaining Parmesan and Panko from the bowl evenly over the beans. Spray the beans generously with cooking spray, ensuring an even coating. Roast for 12–16 minutes, until beans are crisp-tender and Panko is golden. Serve immediately, adding any toppings that fell to the pan on top of the beans!
Recipe Notes
- Difficult to chew? Undercooked
- Mushy? Overcooked
Nutrition
Nutrition information is automatically calculated, so should only be used as an approximation.


Can I use frozen green beans?
This recipe works best with fresh green beans! I haven’t tested with frozen so I can’t say how it’ll turn out.
These are the BEST green beans ever! Mind blowing! Thanks for the recipe!
Yay! So glad to hear that! Thanks for the comment and review