Dressings
Dinner
Quinoa Fajitas
Dinner
Egg Roll Noodles
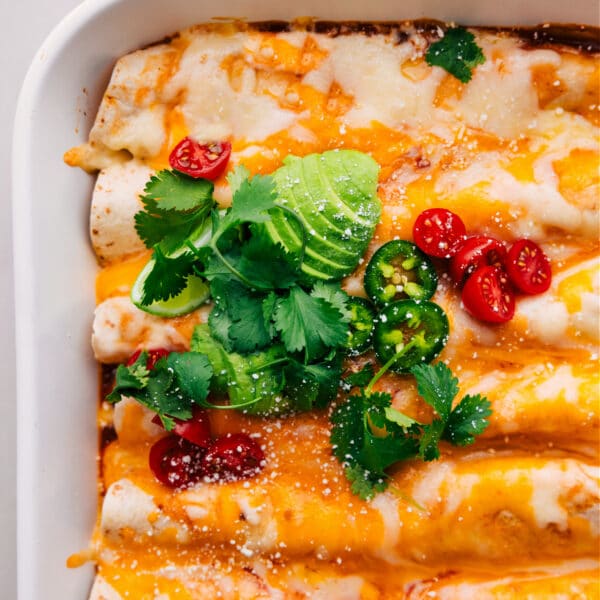
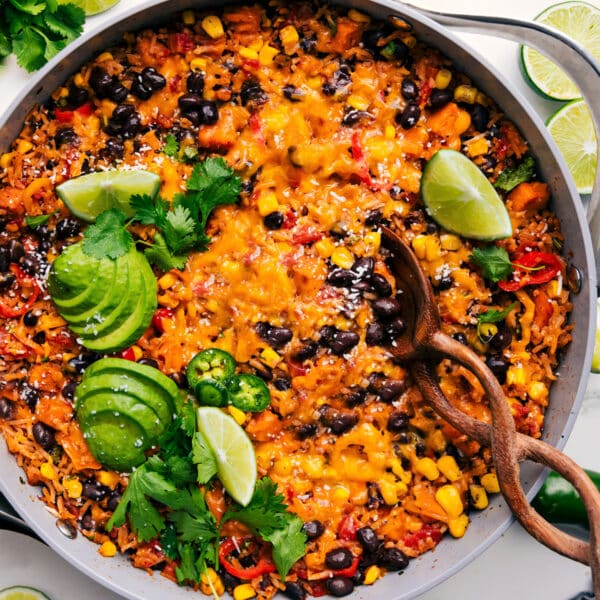
Dinner
Vegetarian Enchiladas
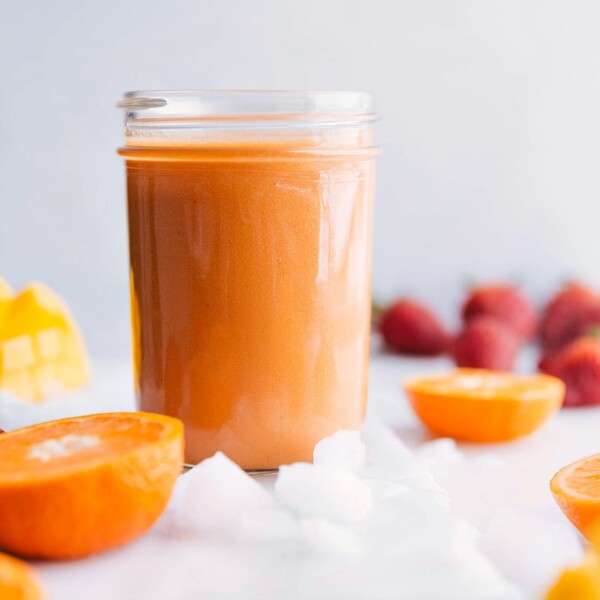
Beverages
Mango Smoothie Recipe
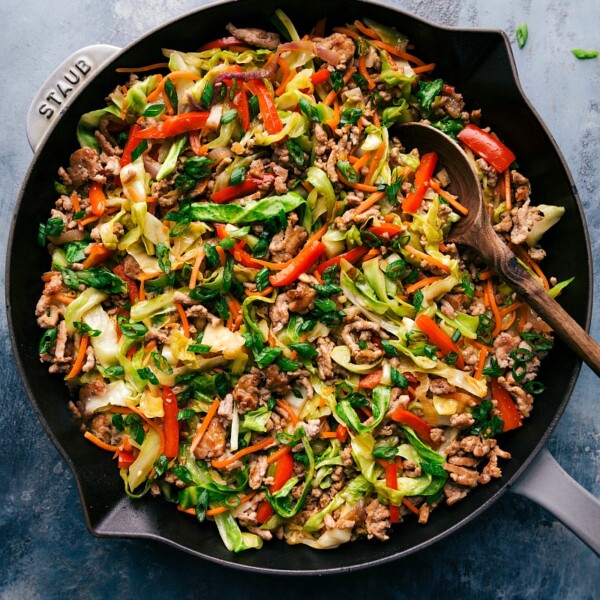
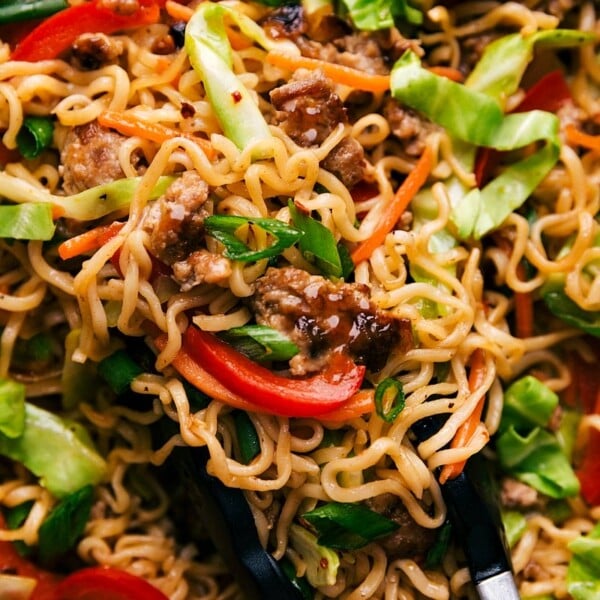
Dinner
Egg Roll in a Bowl
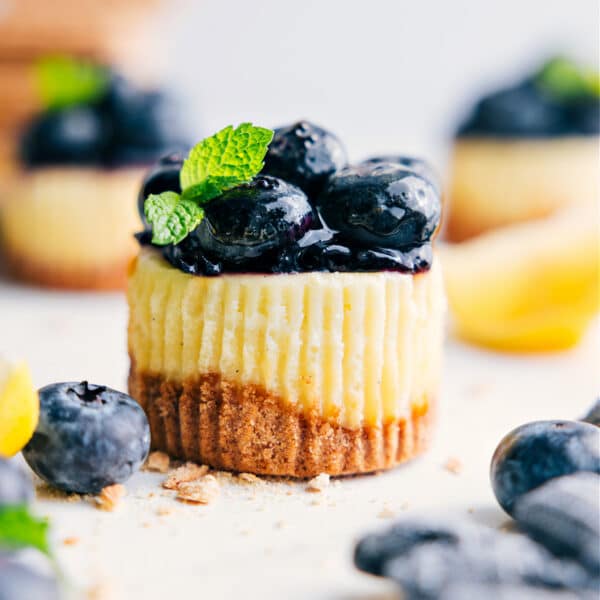
Desserts
Mini Blueberry Cheesecakes
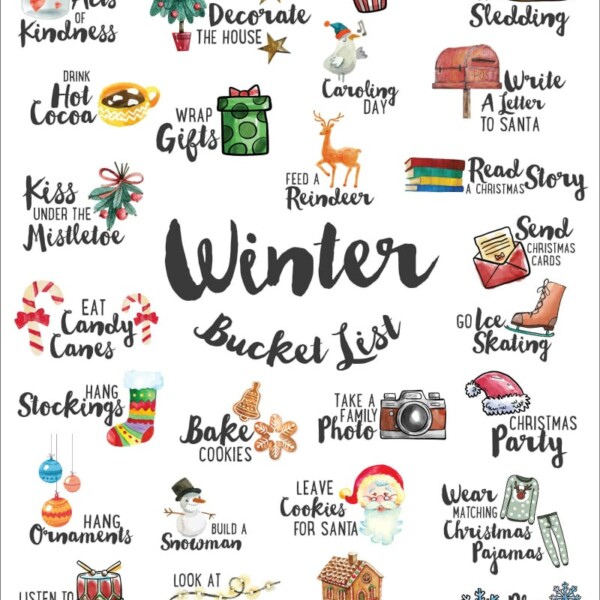
Uncategorized
FREE Winter Bucket List
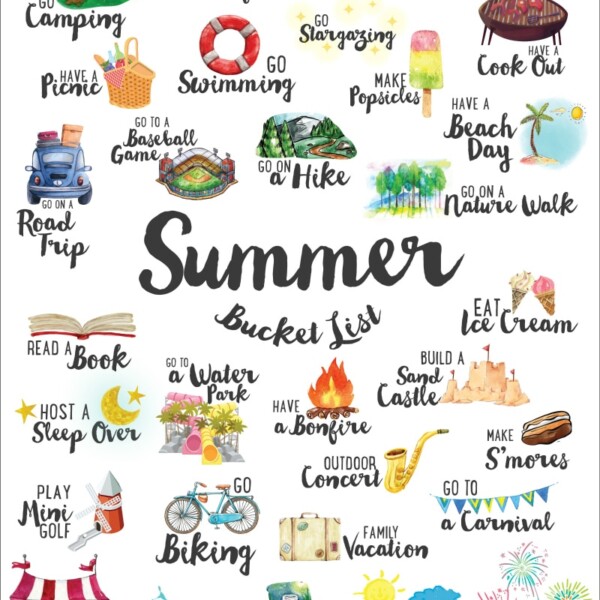
Uncategorized
FREE Summer Bucket List
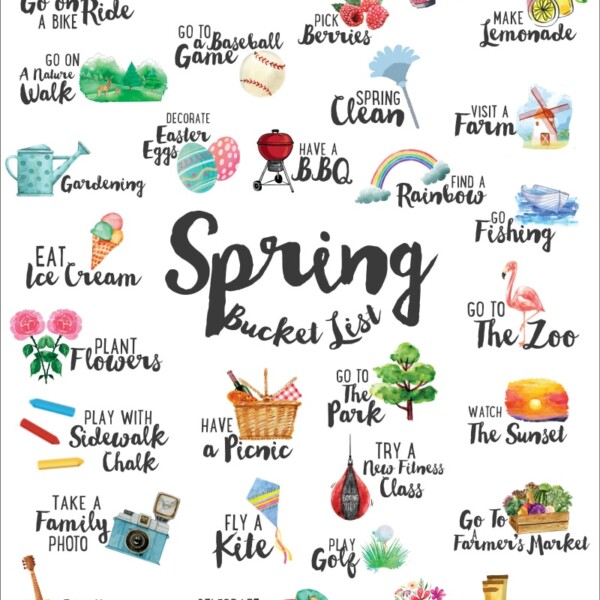
Uncategorized
FREE Spring Bucket List
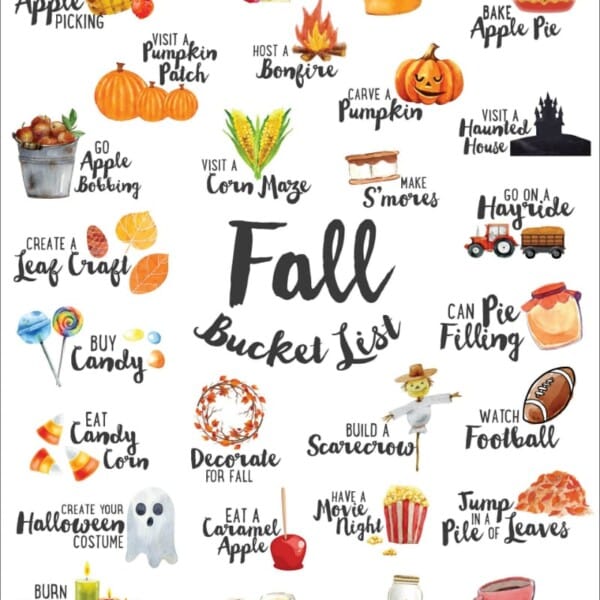
Uncategorized
FREE Fall Bucket List
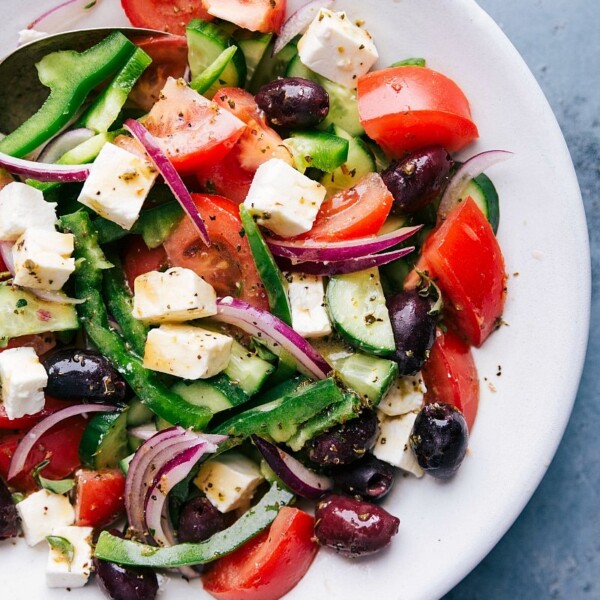
Salads
Greek Salad Recipe
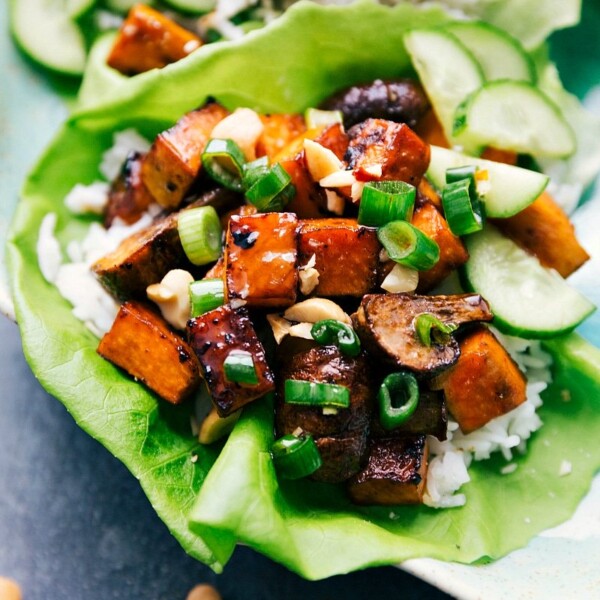
Dinner
Vegetarian Lettuce Wraps
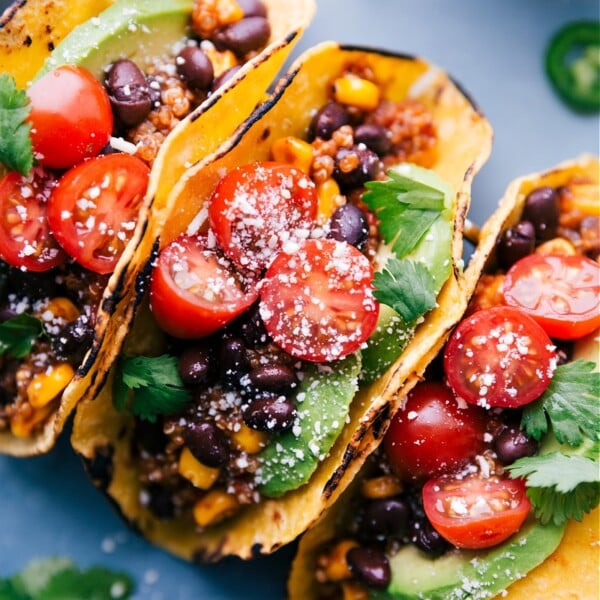
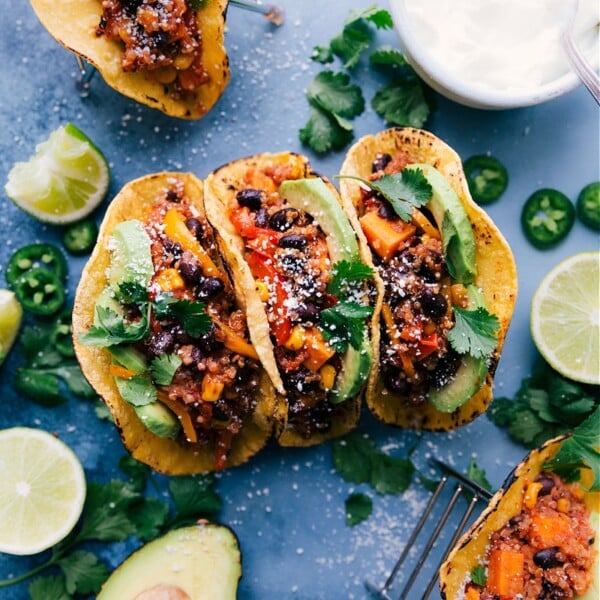
Dinner
Quinoa Tacos

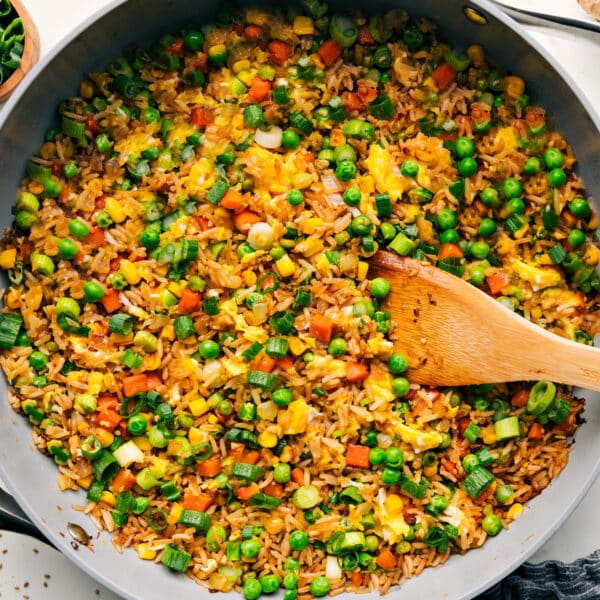
Quinoa
Quinoa Fried Rice
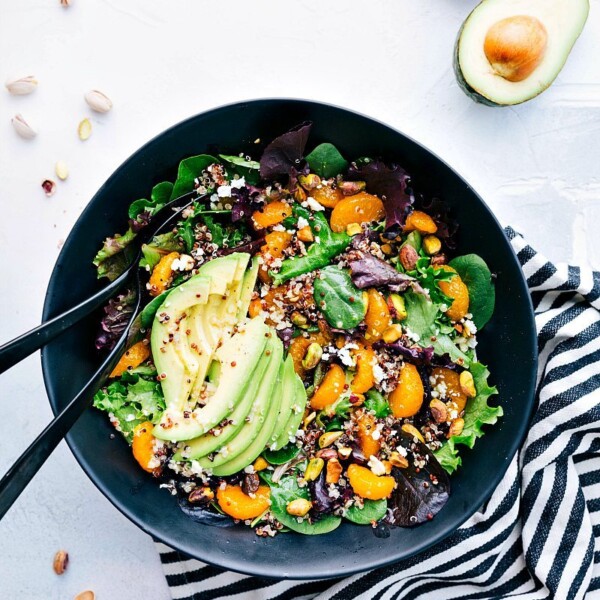
Salads
Citrus Quinoa Salad
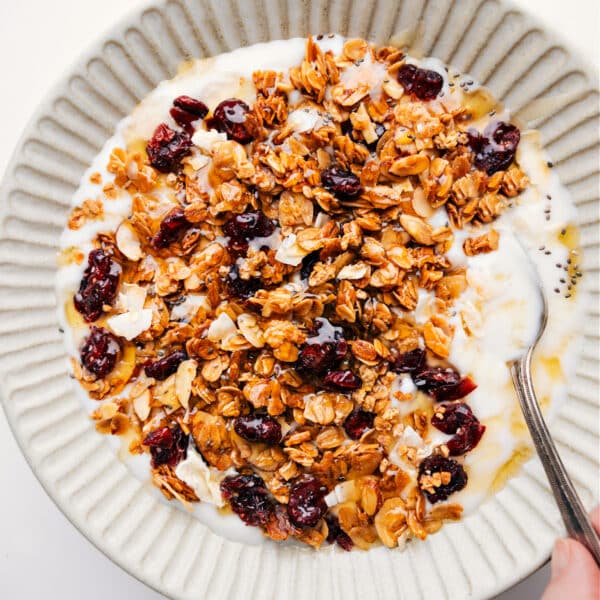
Breakfast
Honey Almond Granola
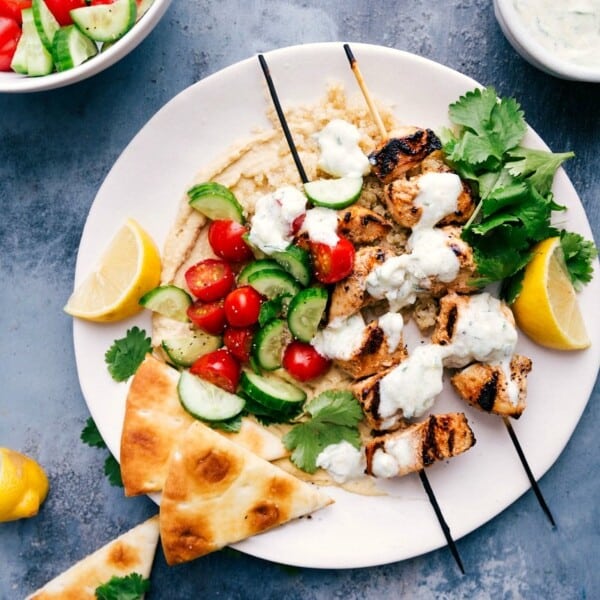
Dinner


