
Desserts
Mini Cheesecake Recipe
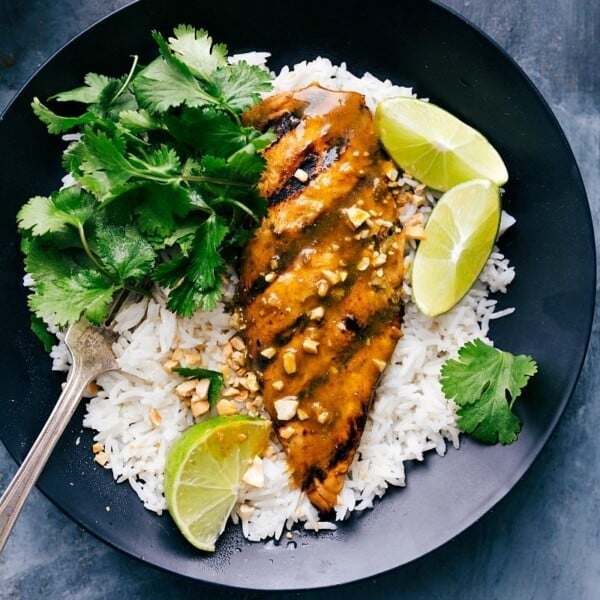
Dinner
Grilled Curry Chicken
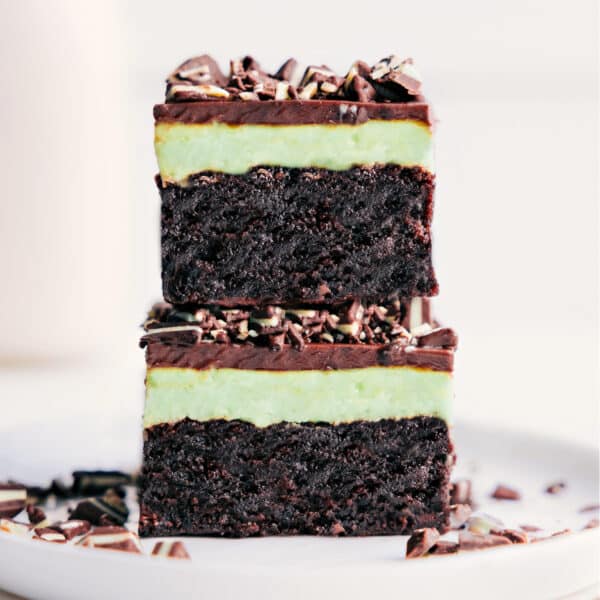
Desserts
Mint Brownies
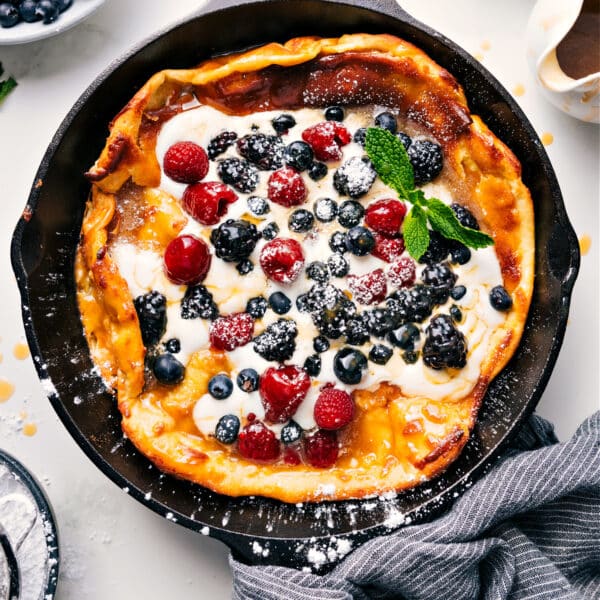
Breakfast
Dutch Baby Recipe (German Pancakes)

Breakfast
Cereal Bar Recipe
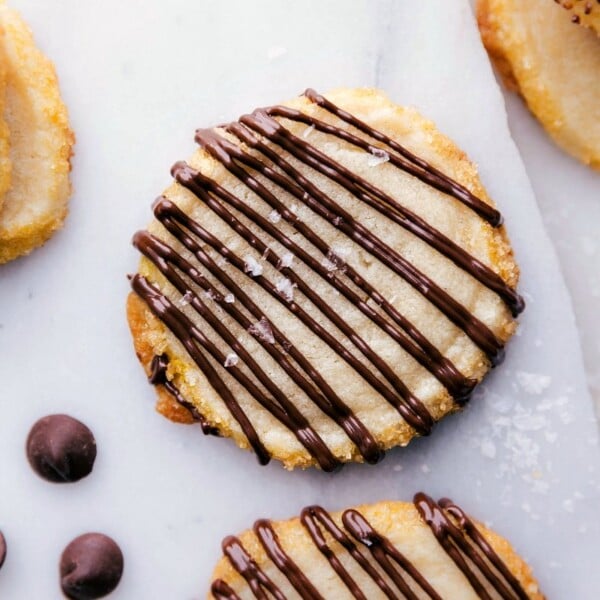
Desserts
Shortbread Cookies
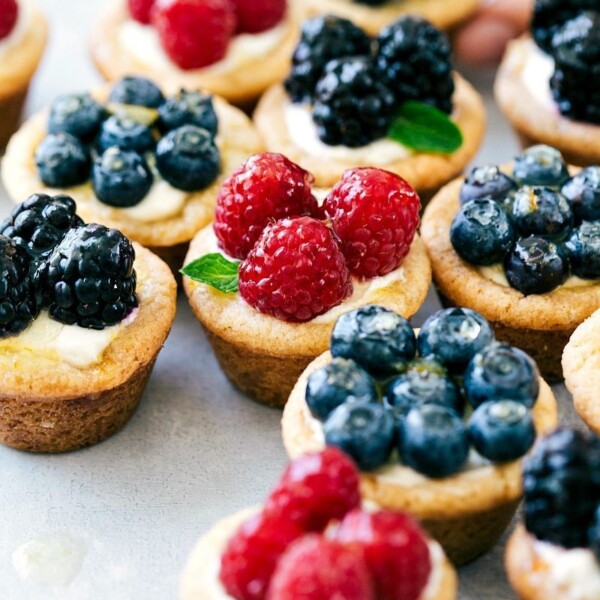
Desserts
Mini Fruit Tarts Recipe
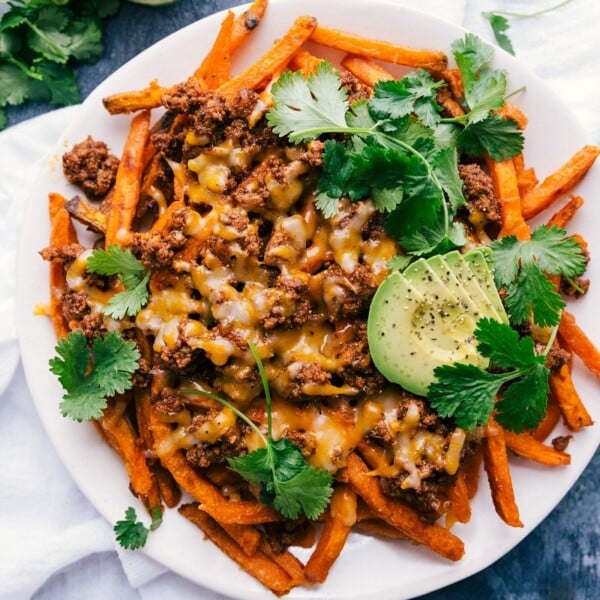
Dinner
Loaded Taco Fries
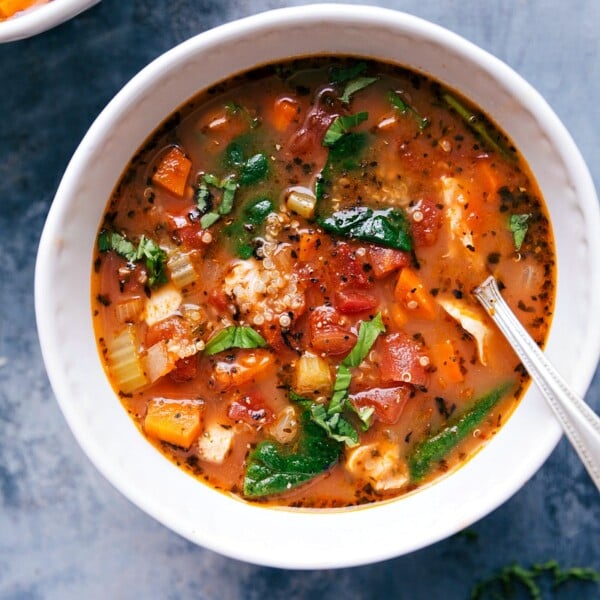
Soups And Stews
Chicken Quinoa Soup
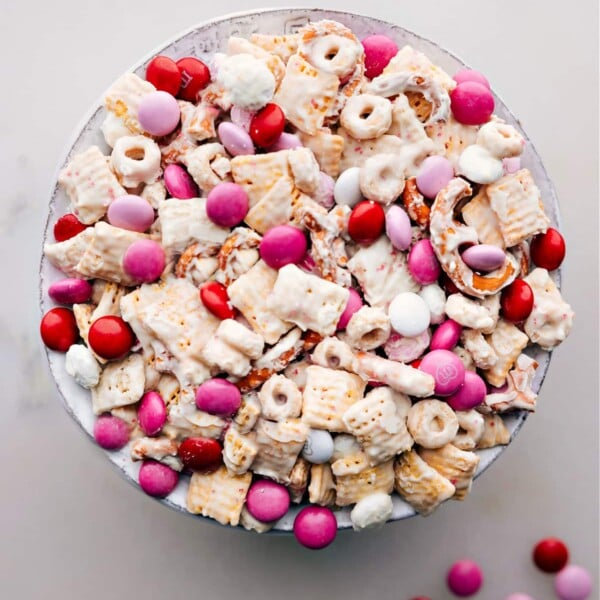
Quick And Easy
Valentine Snack Mix
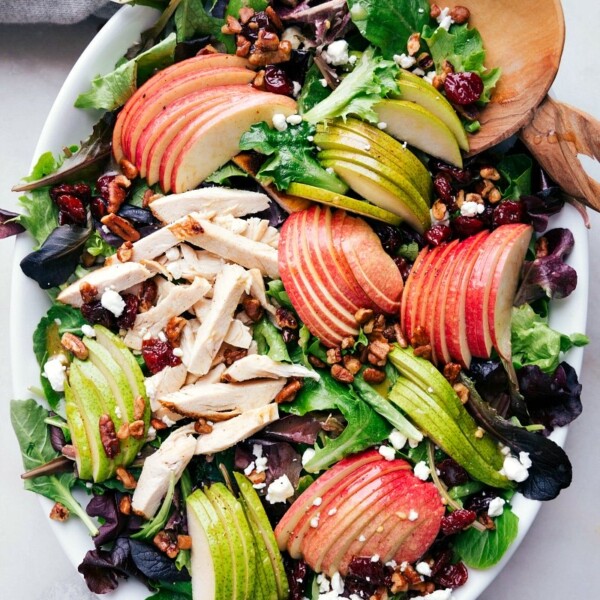
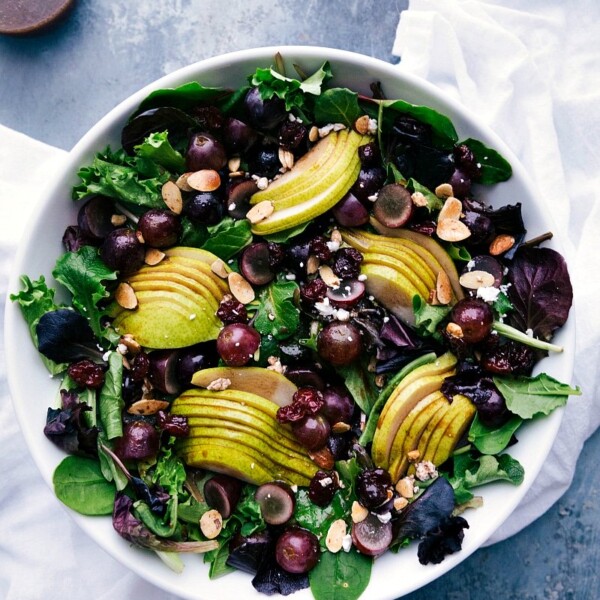
Salads
Apple Salad Recipe

Healthy
Oatmeal Energy Balls
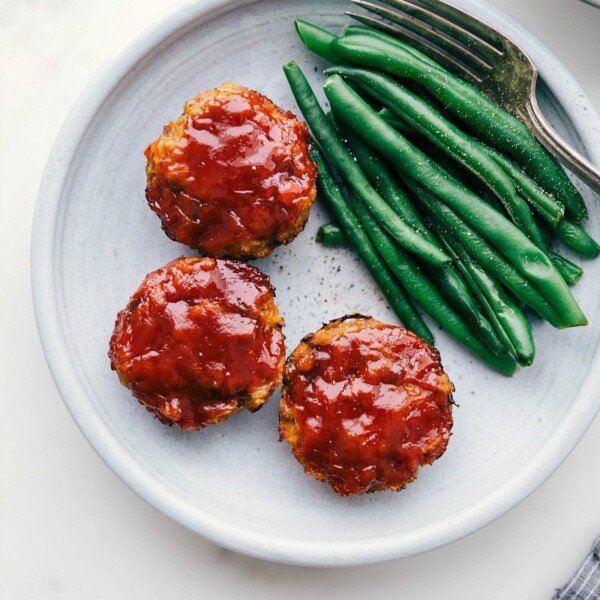
Dinner
Mini Turkey Meatloaf
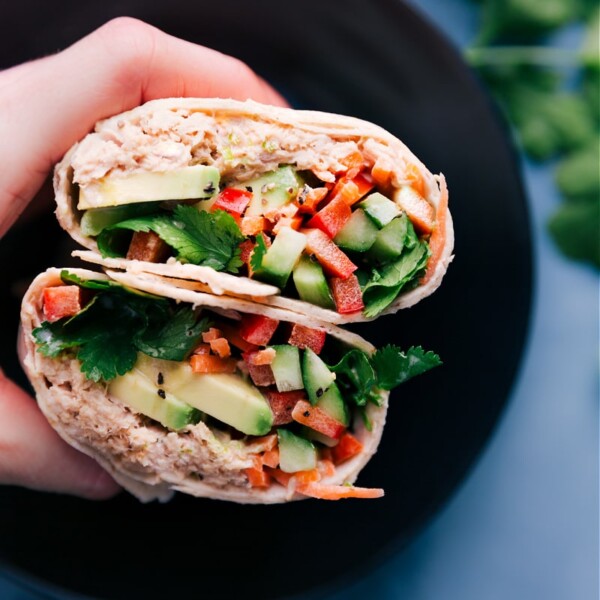
Lunch
Tuna Salad Wrap
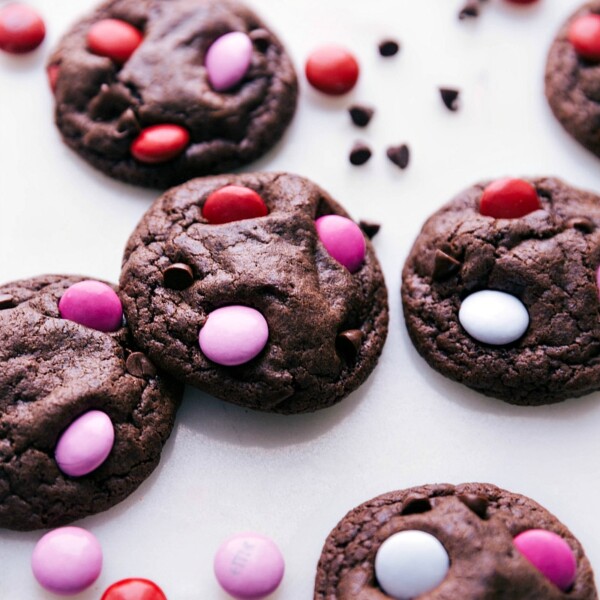
Quick And Easy
Valentine Cookies
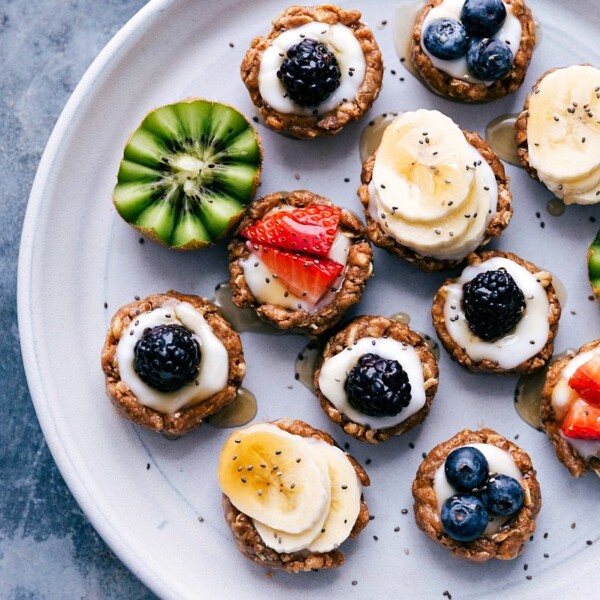
Breakfast
Healthy Fruit Tart
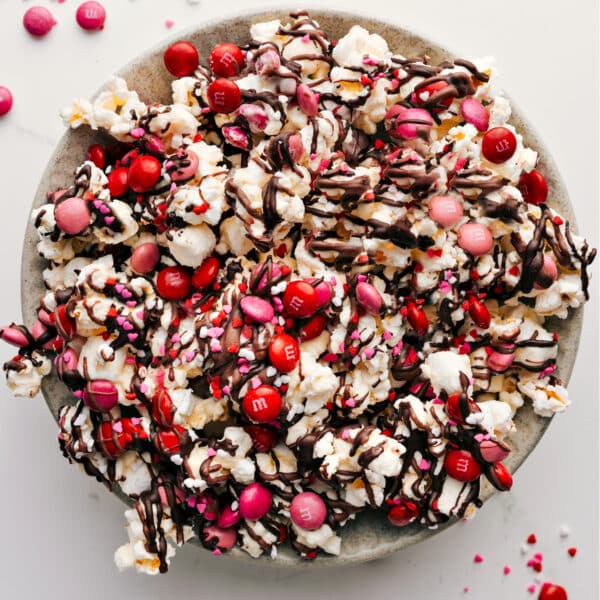
Quick And Easy
Valentine’s Popcorn

Soups And Stews