Soups And Stews

Snacks
Sweet Chex Mix Recipe
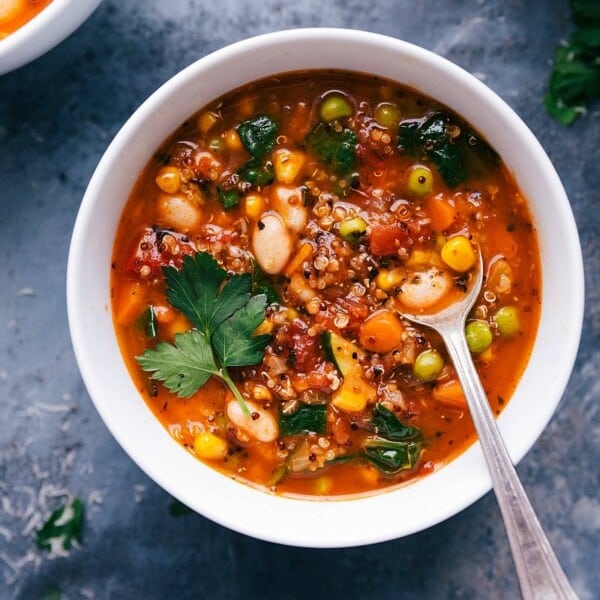
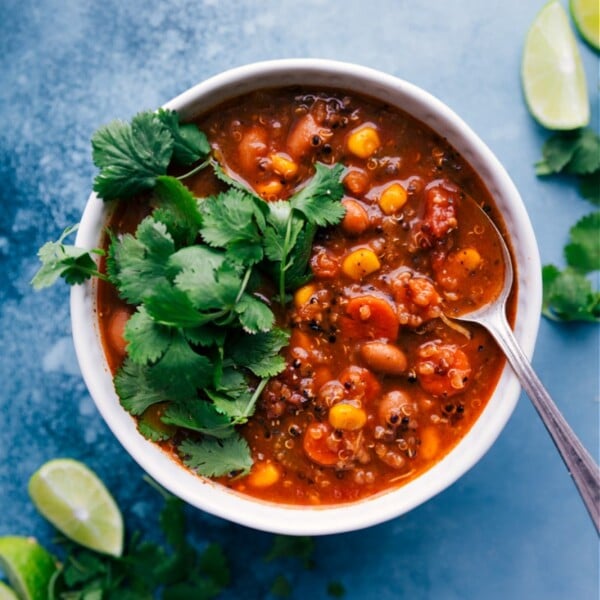
Soups And Stews
Healthy Minestrone Soup
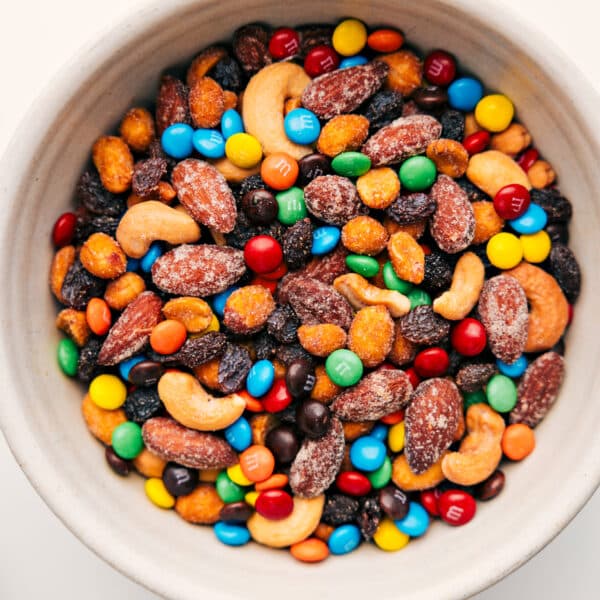
Snacks
Trail Mix Recipe
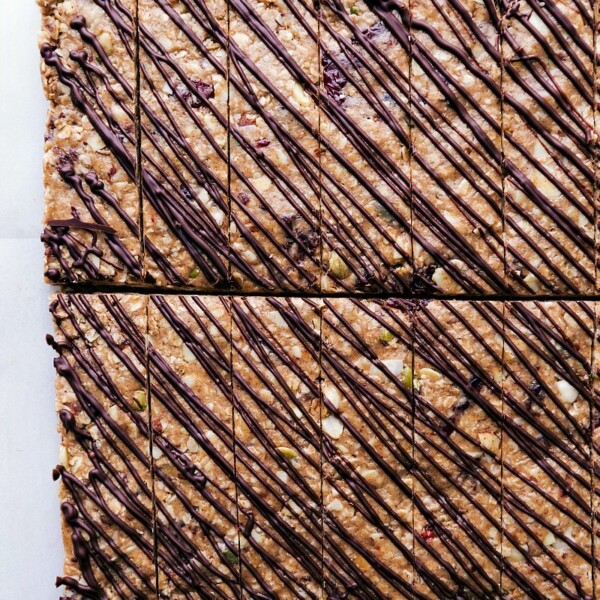
Snacks
No Bake Granola Bars
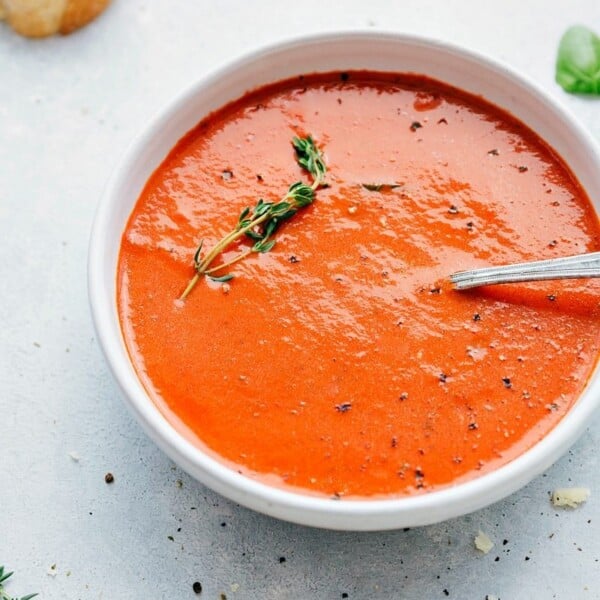
Soups And Stews
Tomato Basil Soup Recipe
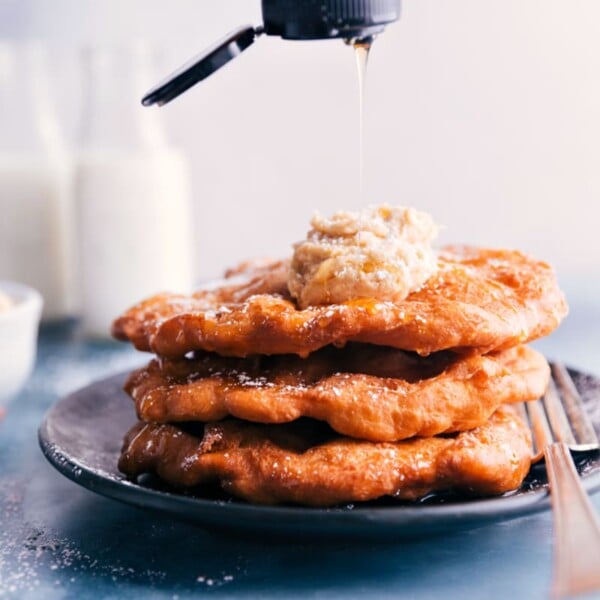
Desserts
Utah Scones
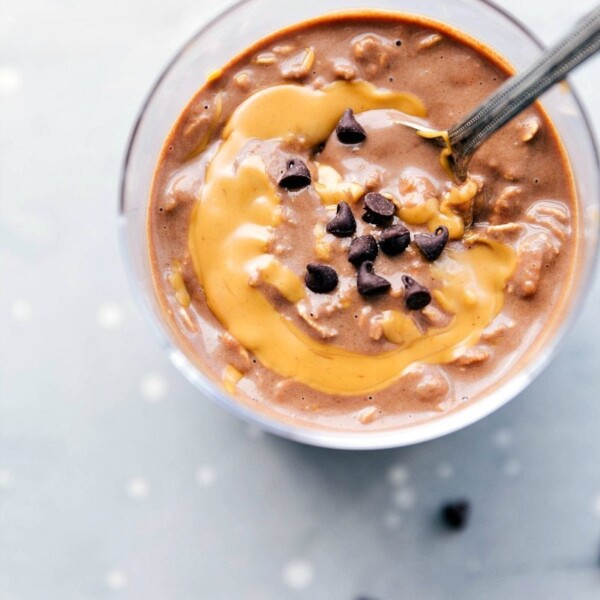
Breakfast
Peanut Butter Overnight Oats
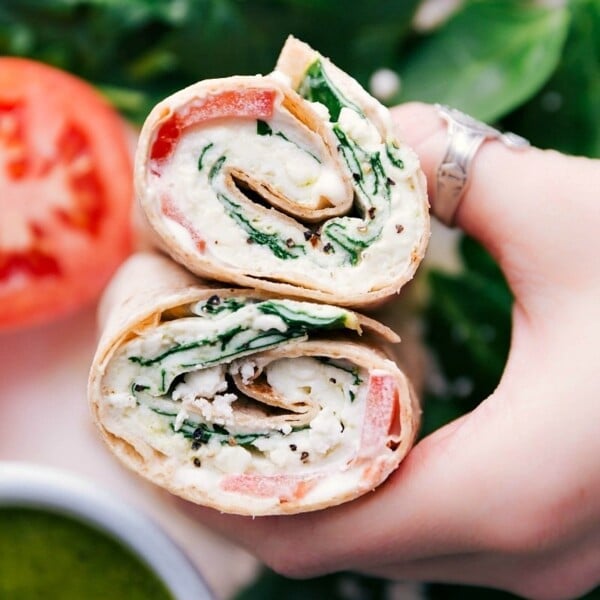
Breakfast
Egg Wrap Recipe
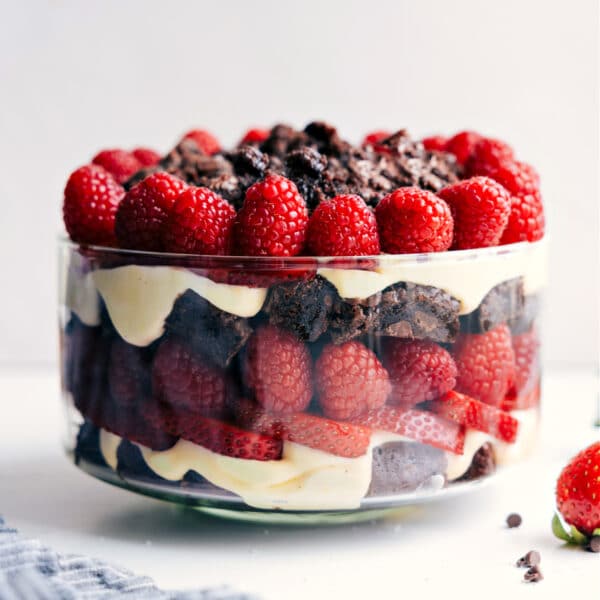
Desserts
Brownie Trifle

Snacks
Chocolate Energy Balls
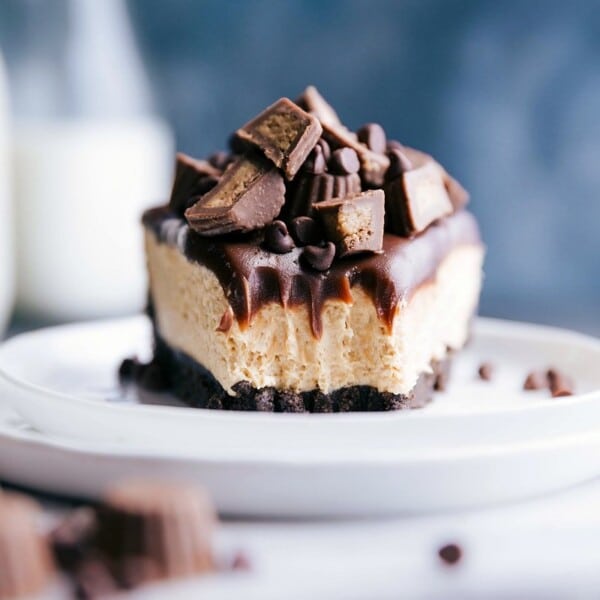
Desserts
No Bake Peanut Butter Cheesecake
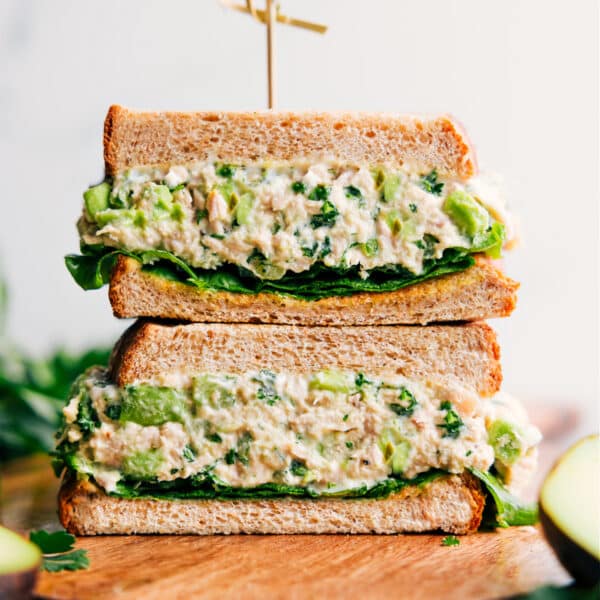
Lunch
Avocado Tuna Salad
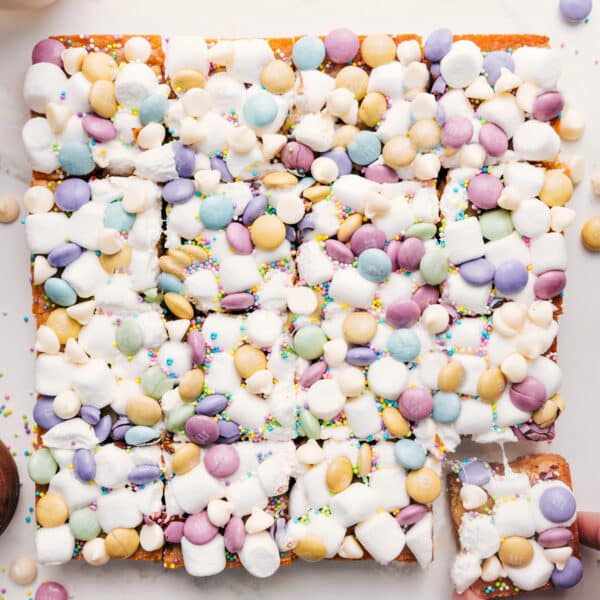
Desserts
Confetti Bars
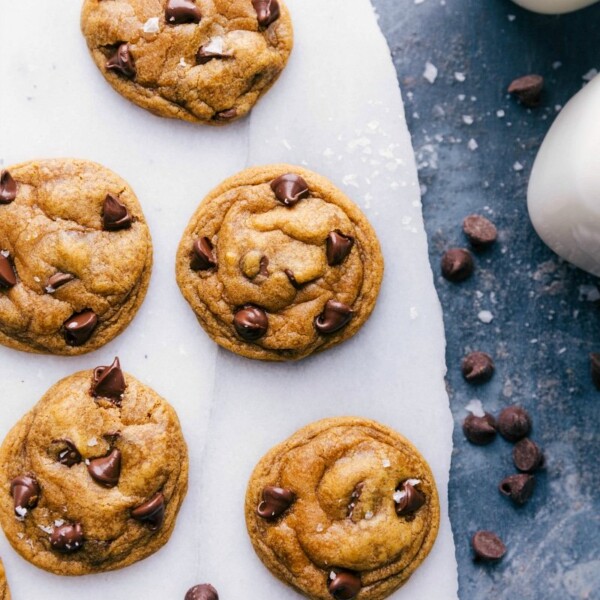
Desserts
Pumpkin Chocolate Chip Cookies
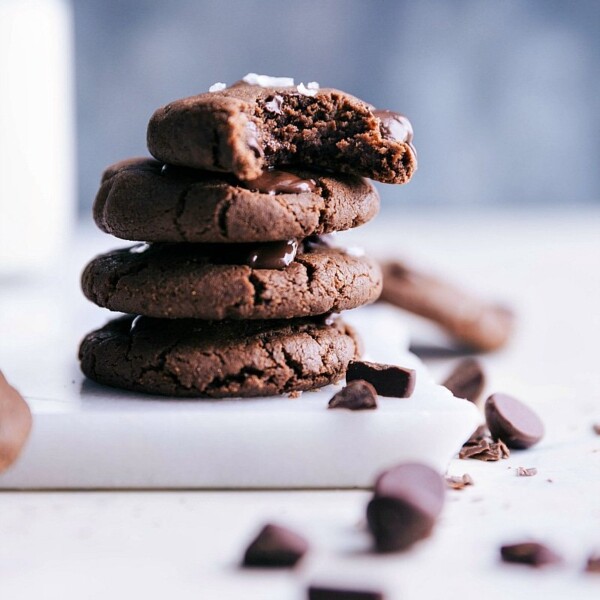
Breakfast
Healthy Chocolate Cookies
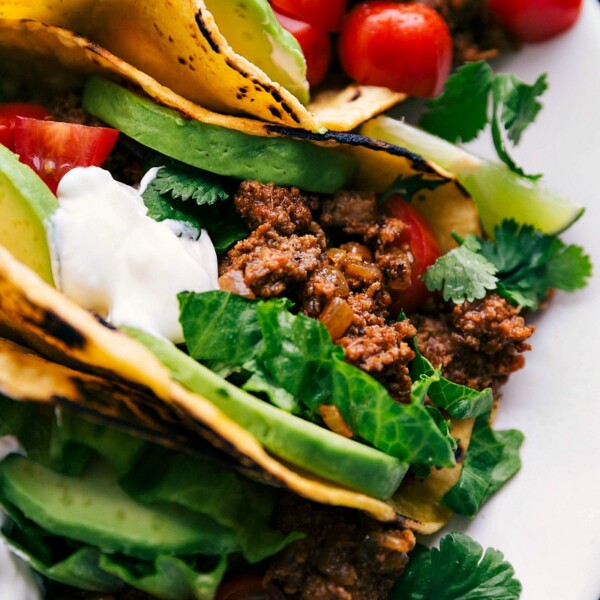
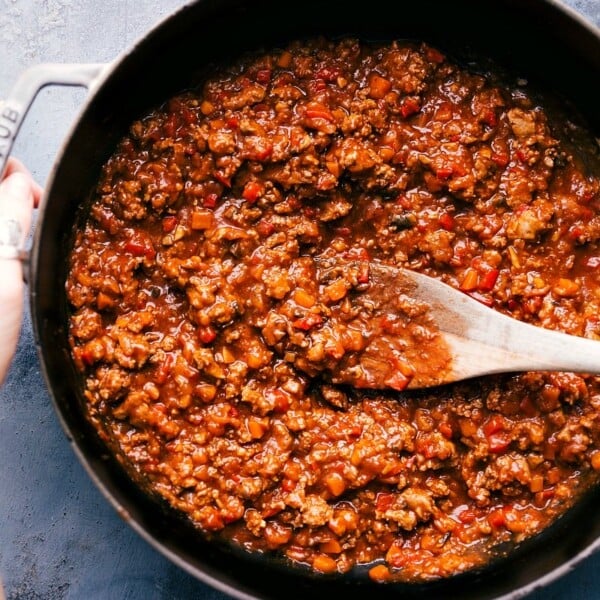
Dinner
Turkey Taco Recipe
Desserts


