Desserts
Desserts
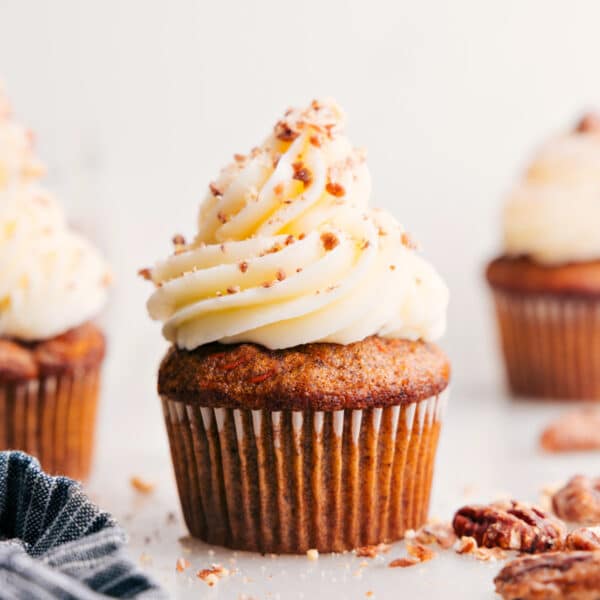
Carrot Cake Cupcakes Recipe
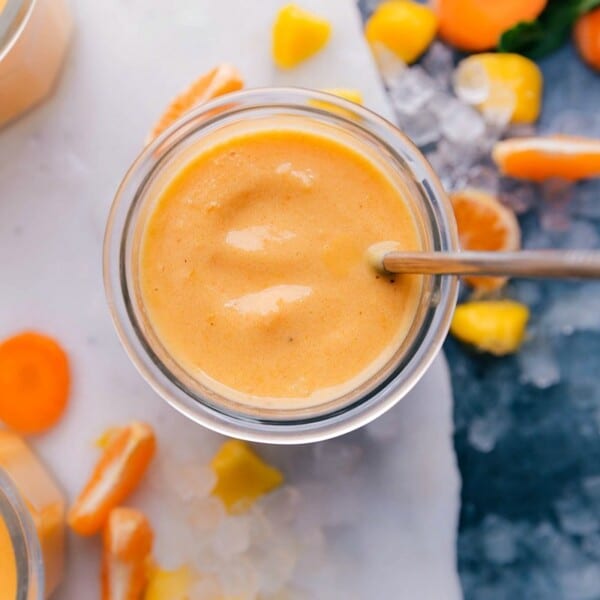
Breakfast
Immune Boosting Smoothie
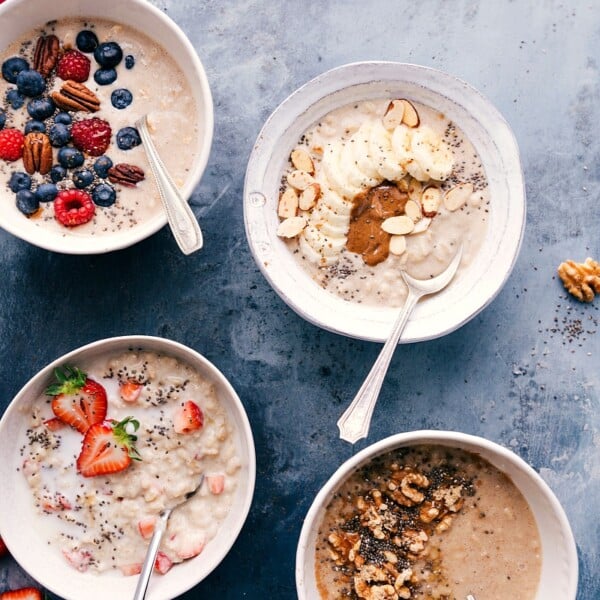
Breakfast
Oatmeal Recipe
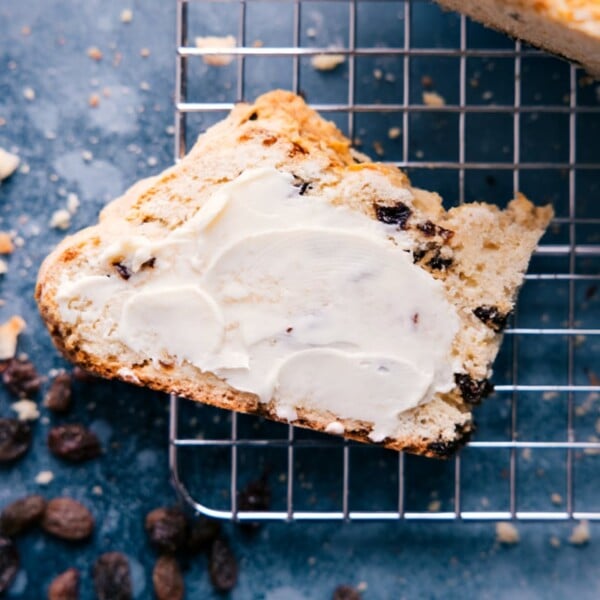
Muffins And Quick Breads
Irish Soda Bread Recipe
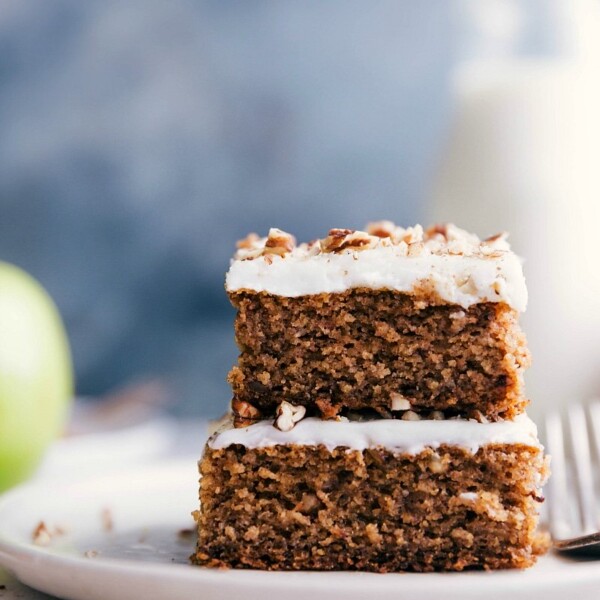
Desserts
Applesauce Cake Recipe

Desserts
Thin Mint Cheesecake
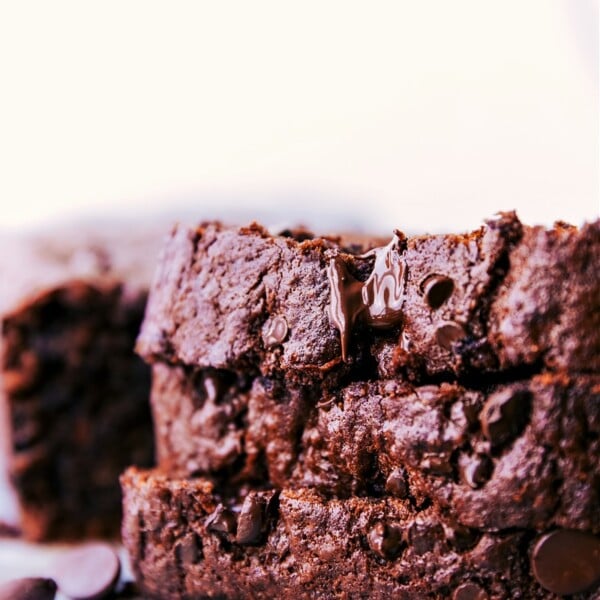
Desserts
Chocolate Banana Bread Recipe
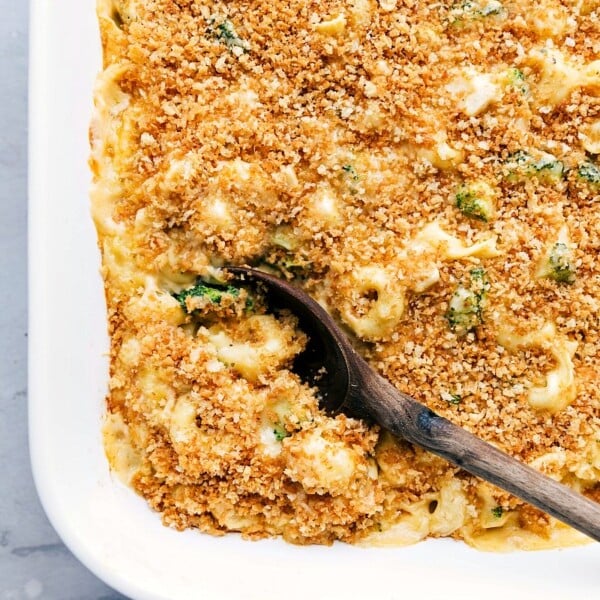
Dinner
Chicken Tortellini
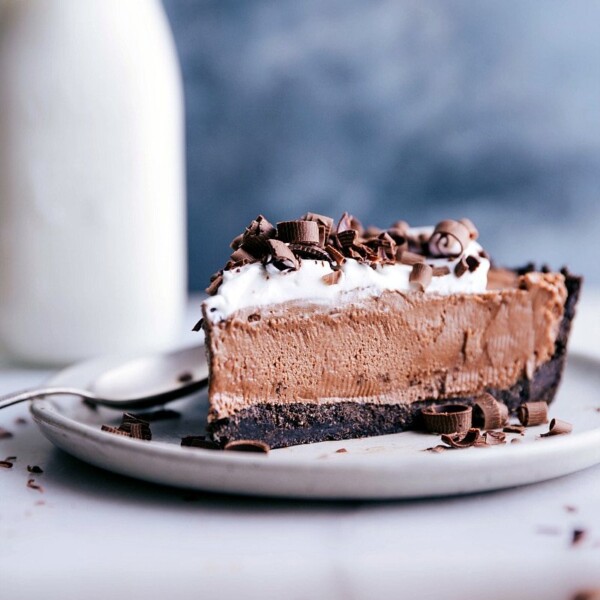
Desserts
Nutella Pie
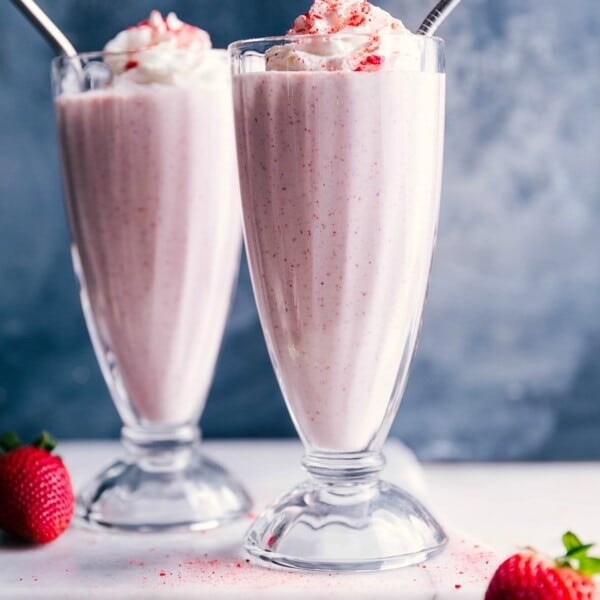
Desserts
Strawberry Milkshake
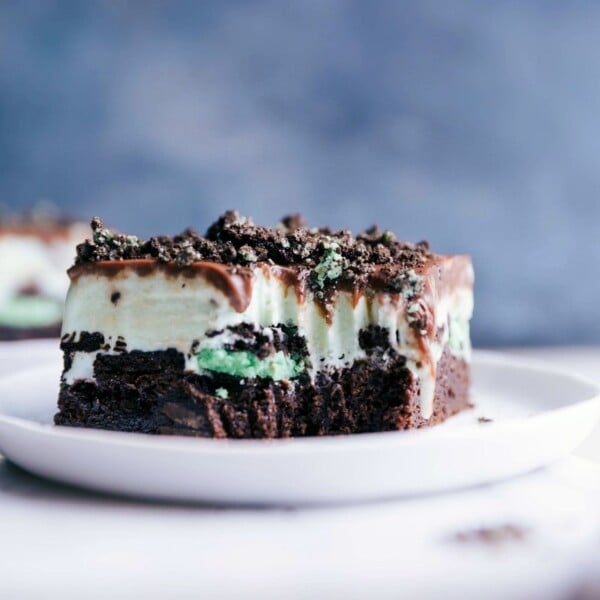
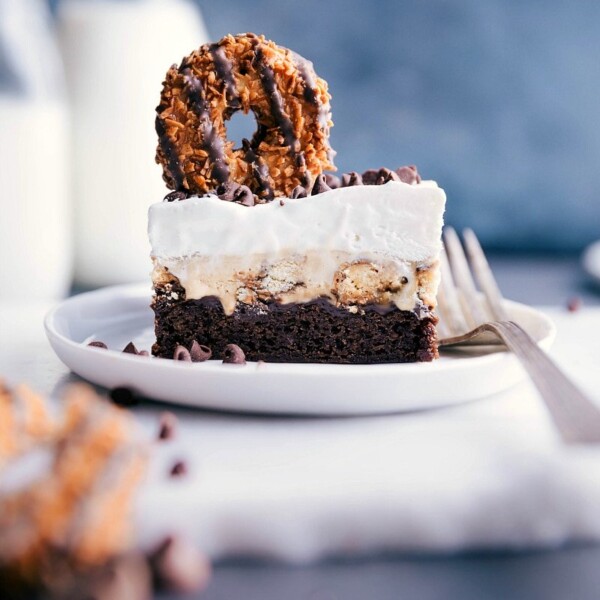
Desserts
Mint Ice Cream Bars
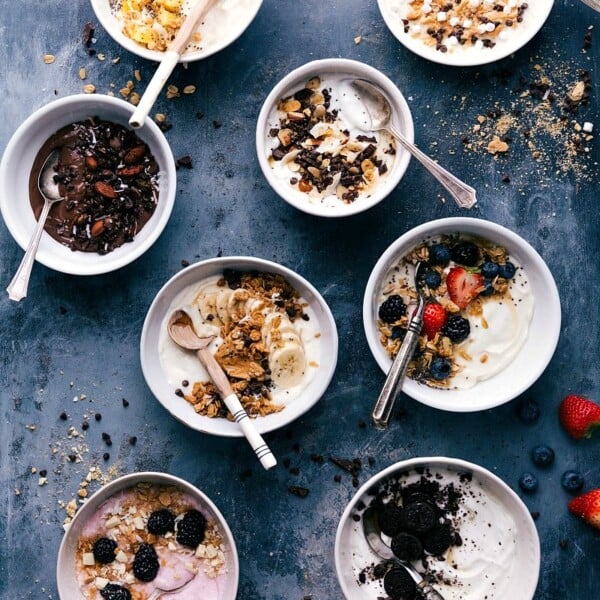
Breakfast
Yogurt Bowl
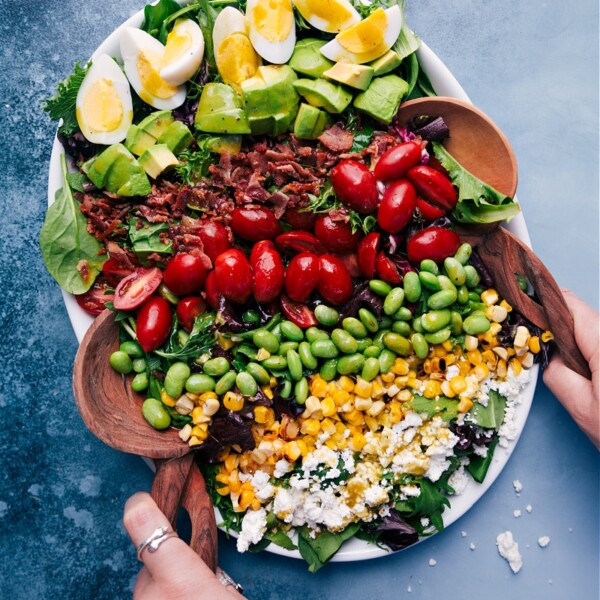
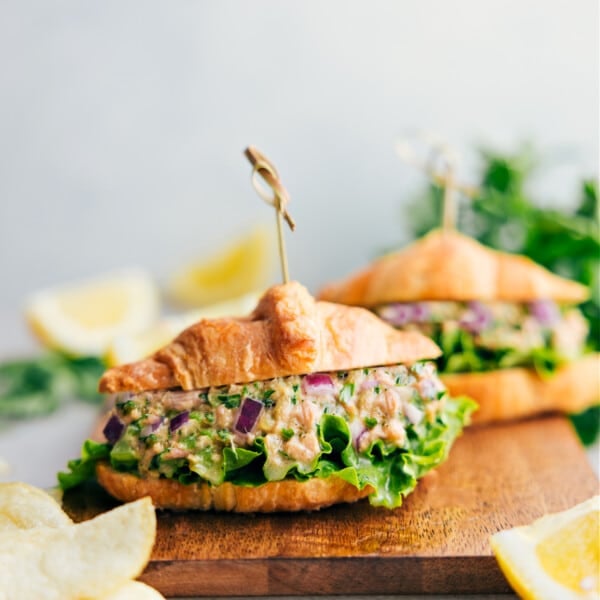
Salads
Cobb Salad
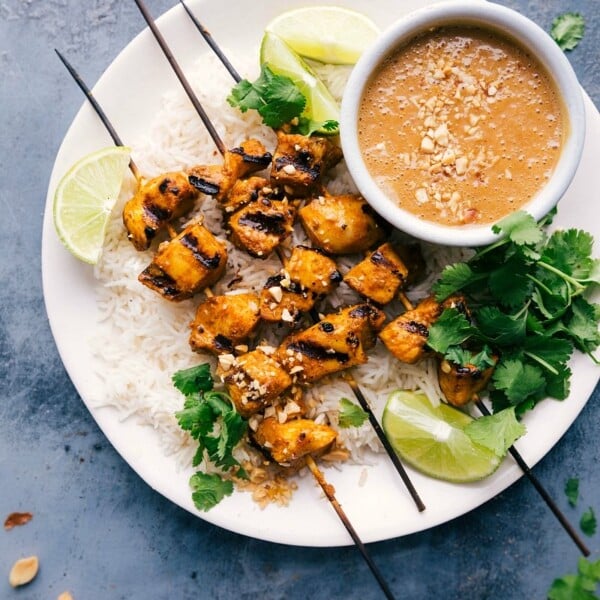
Dinner
Peanut Butter Chicken


Desserts


