Dinner
Pasta Salads
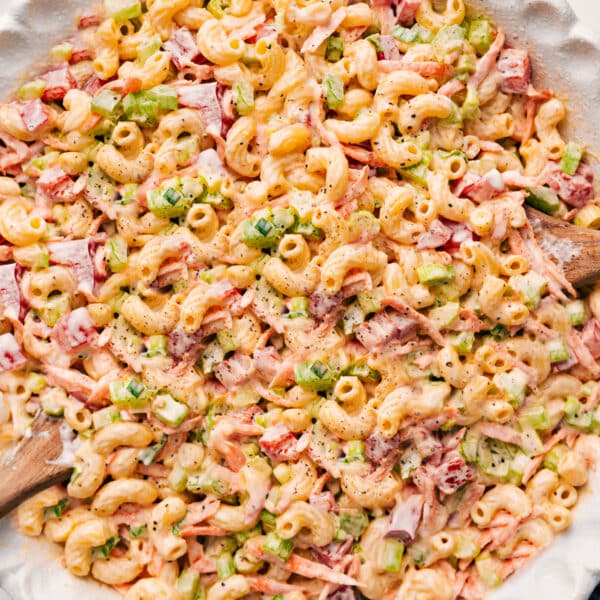
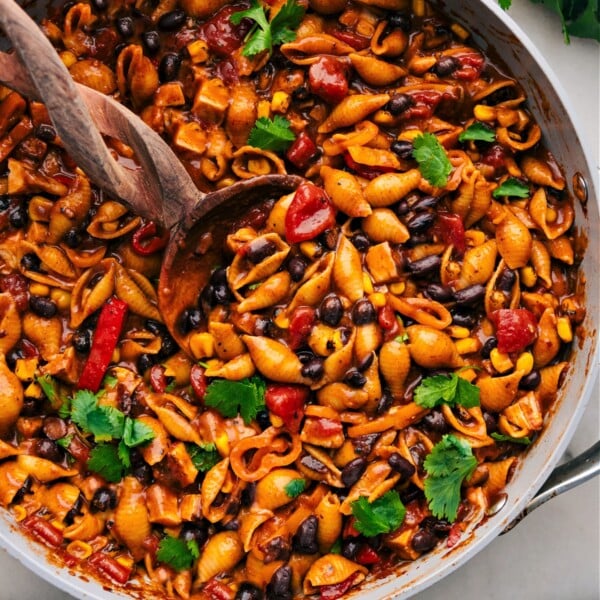
Macaroni Salad Recipe
Dinner
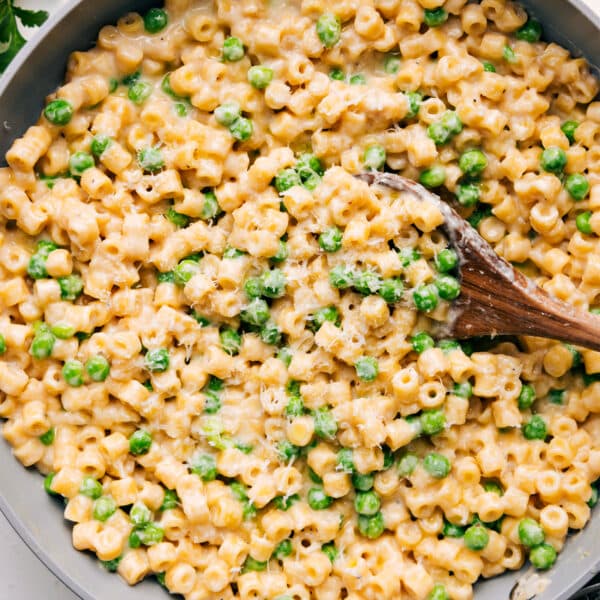
Pasta With Peas
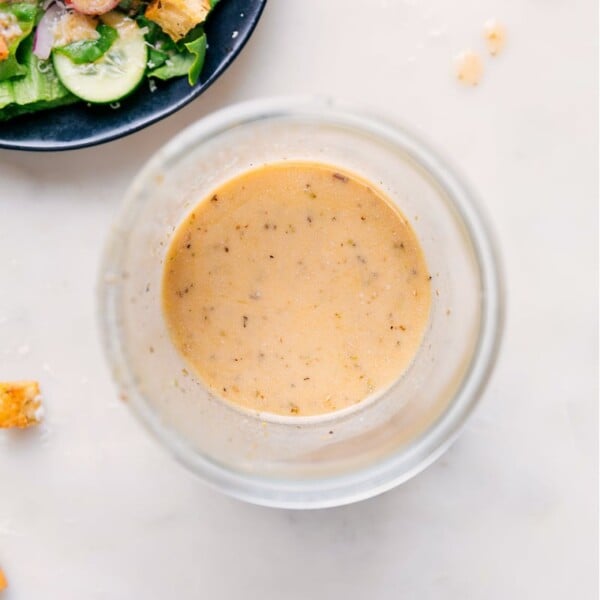
Dressings
Italian Dressing Recipe
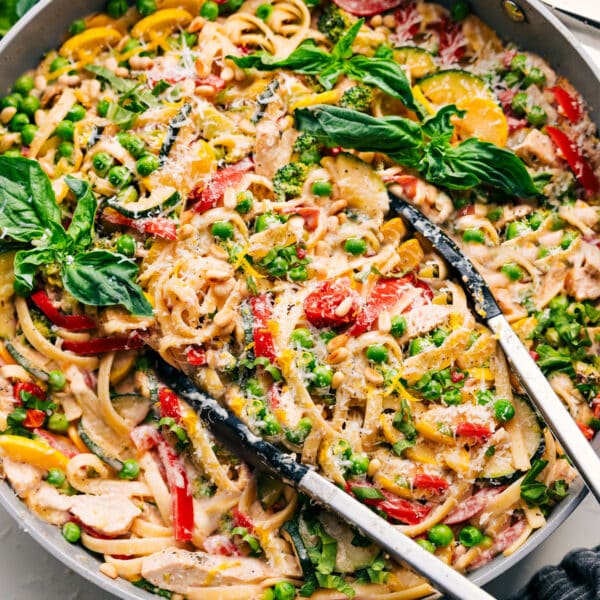
Pasta And Pizza
Chicken Primavera
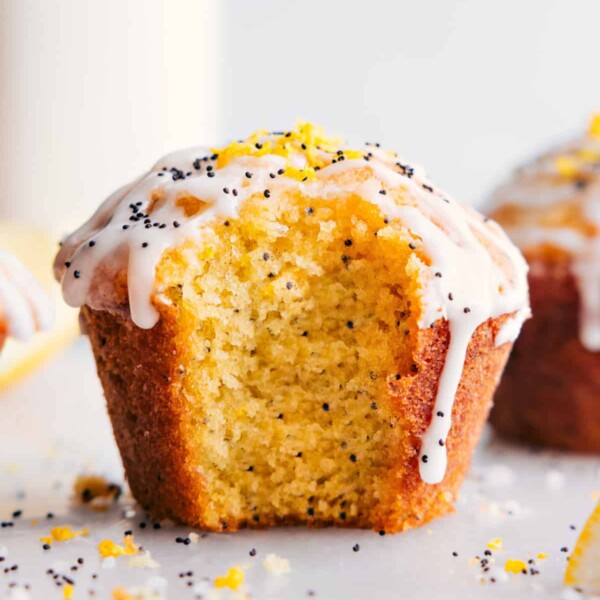
Muffins And Quick Breads
Lemon Poppy Seed Muffin Recipe
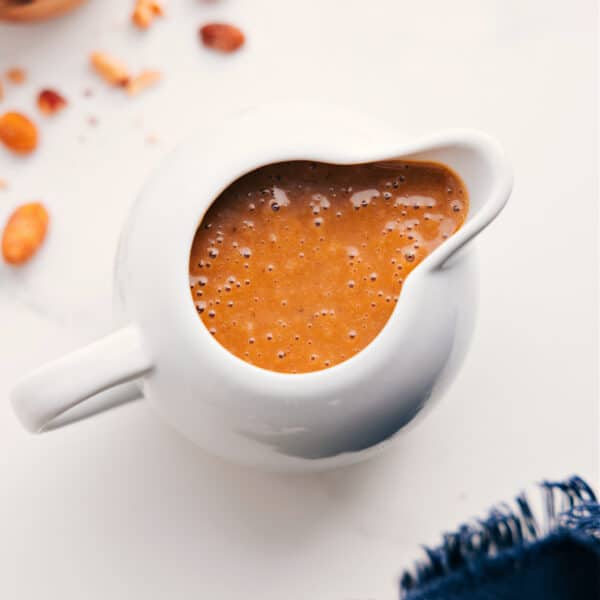
Dressings
Thai Peanut Dressing
Desserts
Ice Cream Sandwich Cake Recipe
Appetizers
Cream Cheese Fruit Dip Recipe

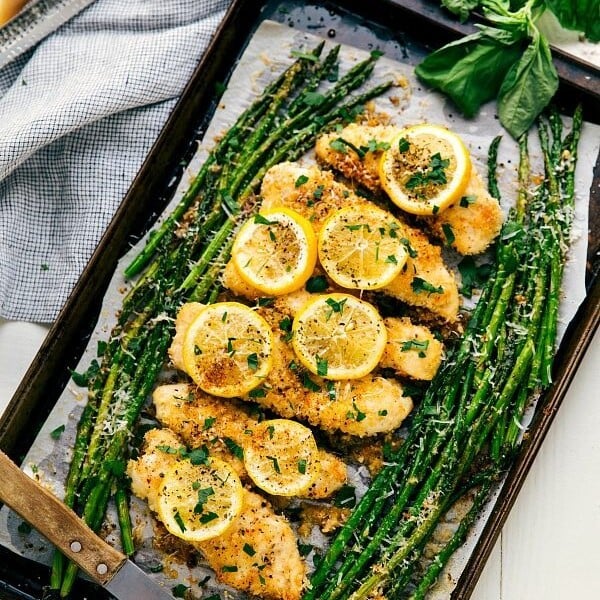
Dinner
Asparagus Pasta Recipe
Dinner
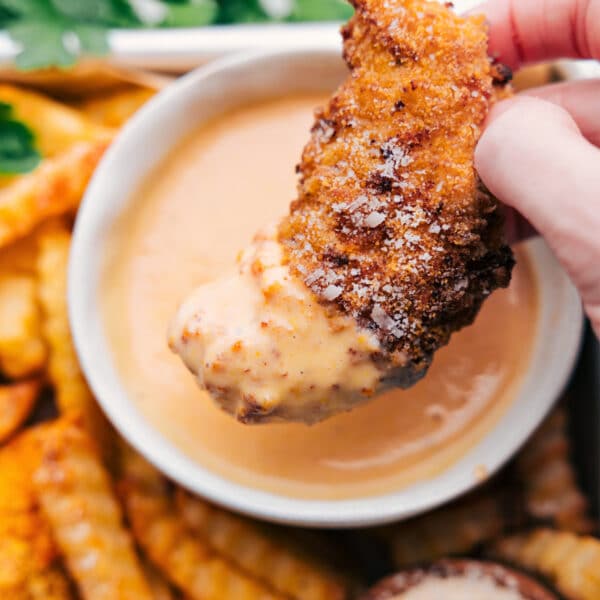
40 Easy Chicken Recipes
Muffins And Quick Breads
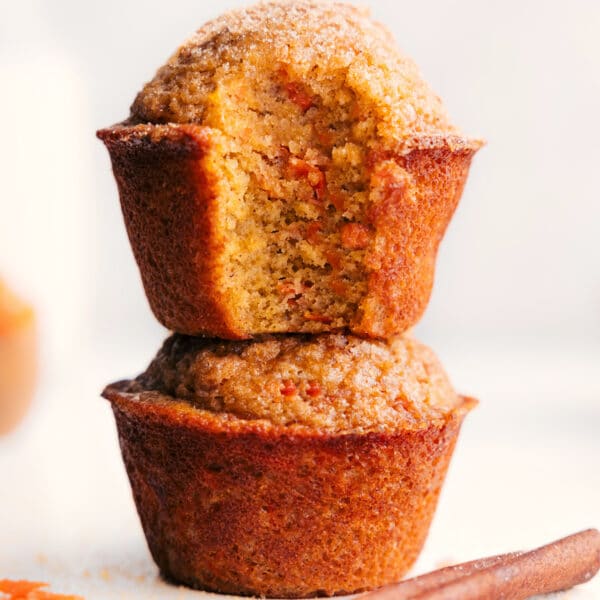
Healthy Carrot Muffins
Dessert Sauces
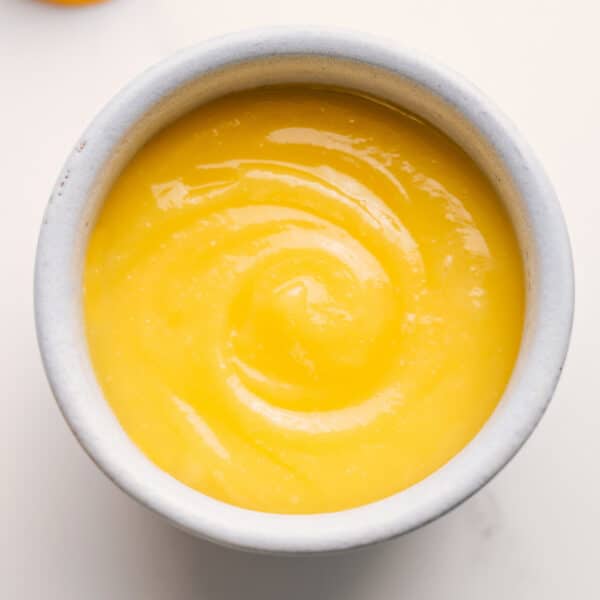
Lemon Curd Recipe
Salads
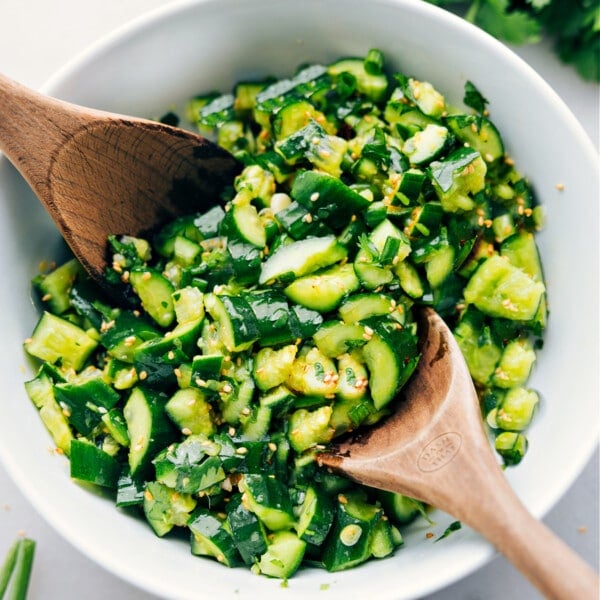
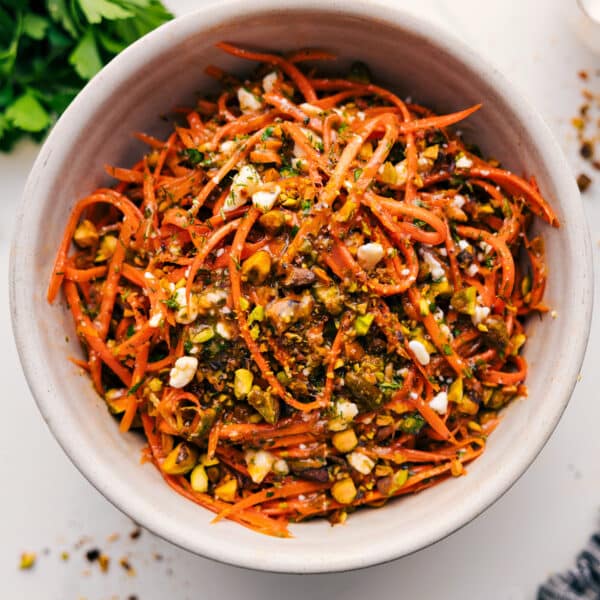
Ribbon Carrot Salad
Pasta And Pizza
30 Weeknight Pasta Recipes
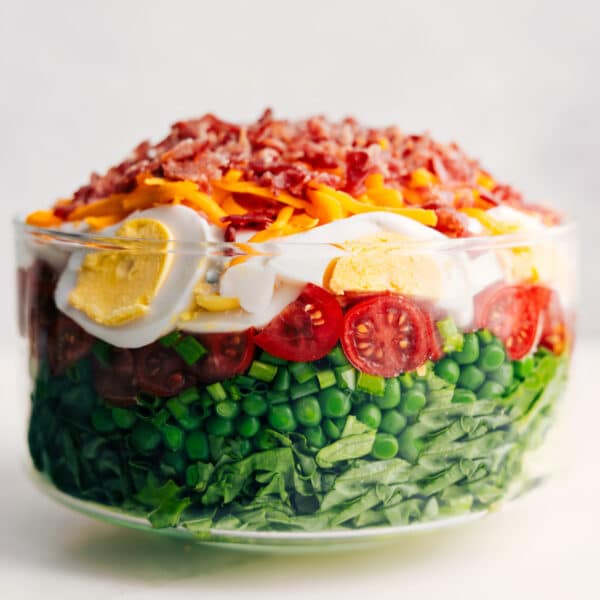
Salads
7 Layer Salad
Cooking Guides
15 Light And Bright Spring Recipes
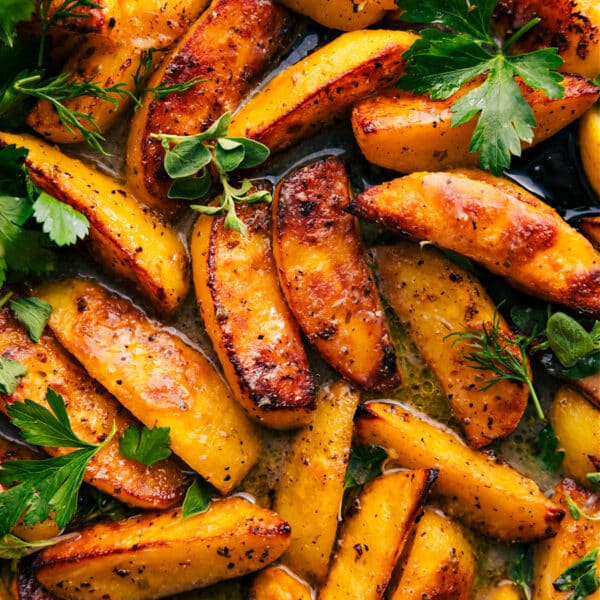
Side Dishes


