Dinner

Desserts
Protein Cookie Dough

Chicken
Chicken Taco Marinade
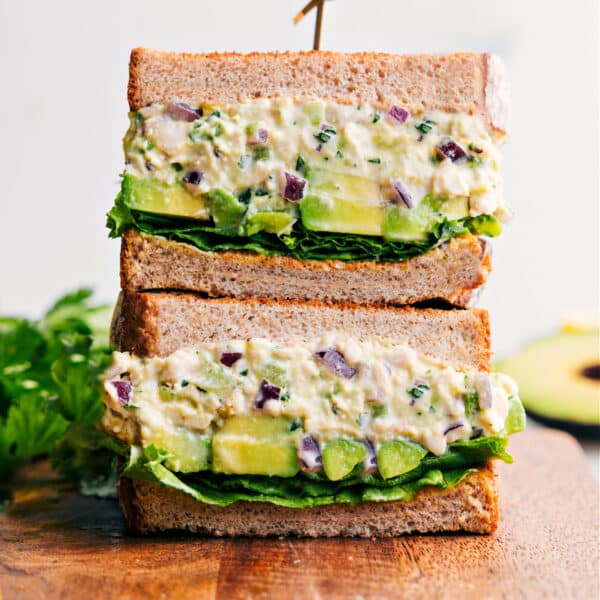
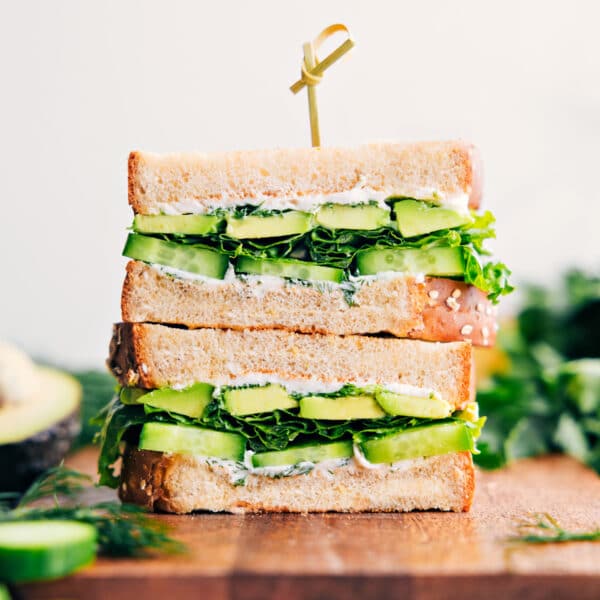
Sandwiches
Chicken Avocado Sandwich
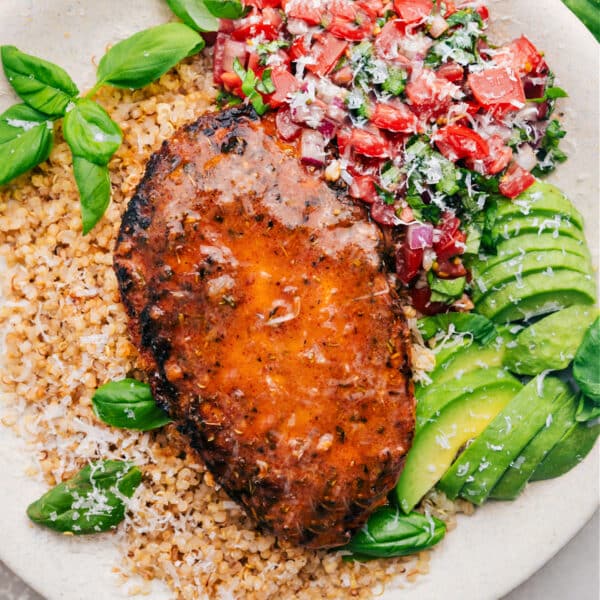
Dinner
Bruschetta Chicken
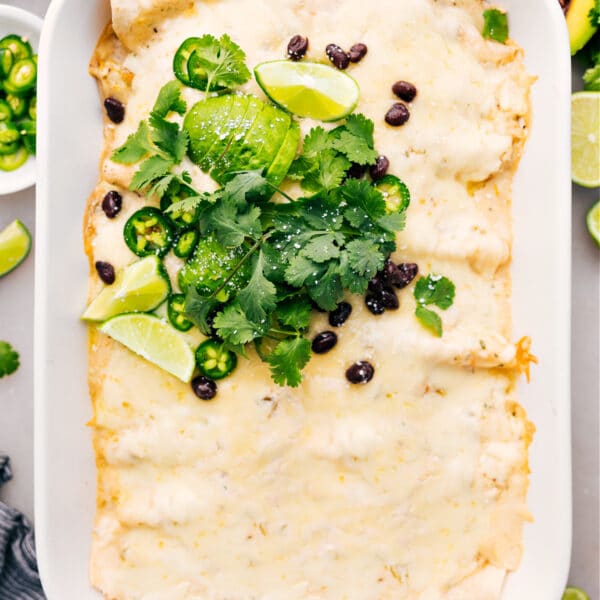
Dinner
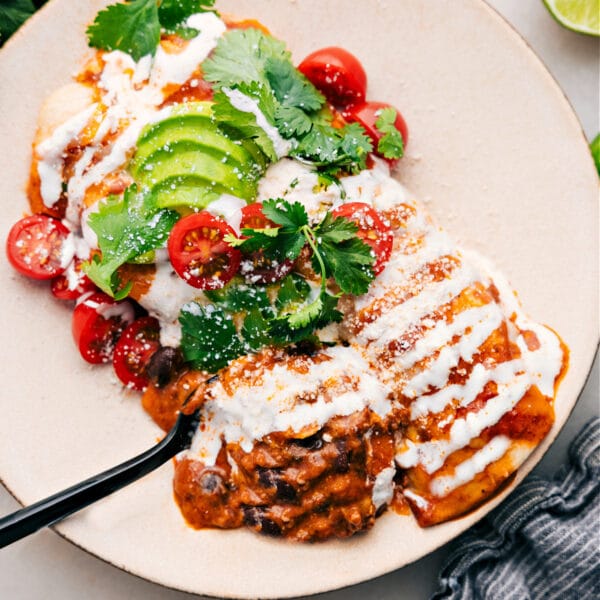
White Chicken Enchiladas
Dinner
Southwest Chicken
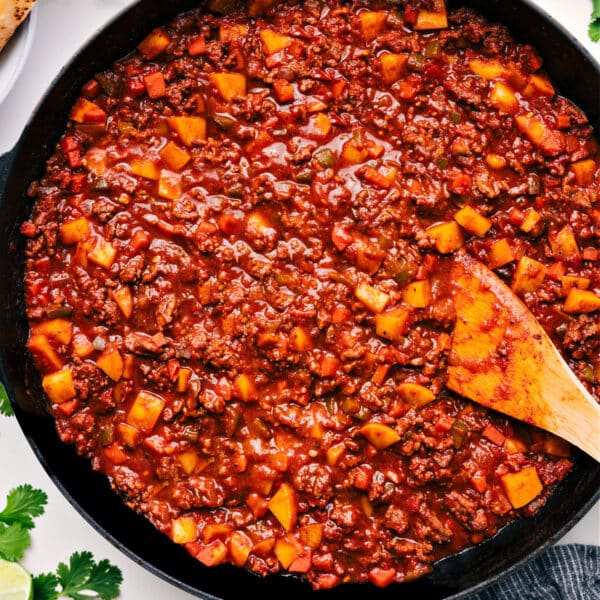
Dinner
Ground Beef Enchiladas

Dinner
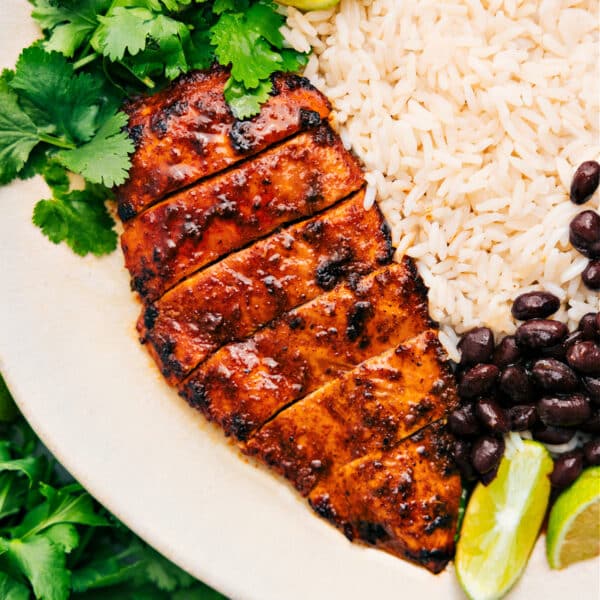
Hot Honey Chicken
Salads
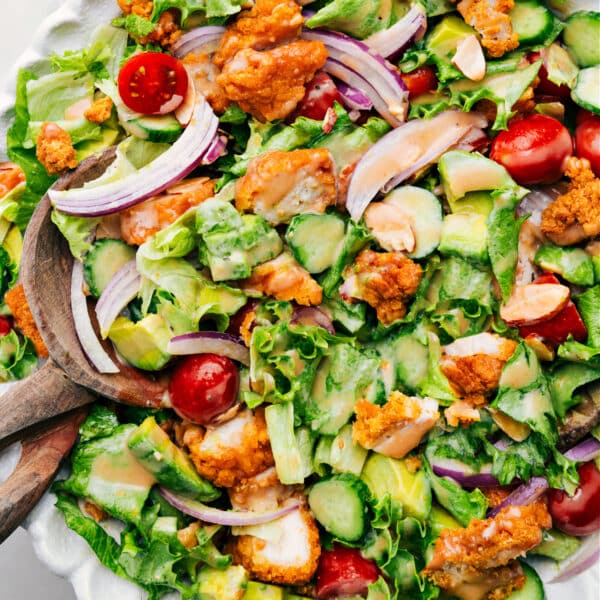
Crispy Chicken Salad

Quick And Easy
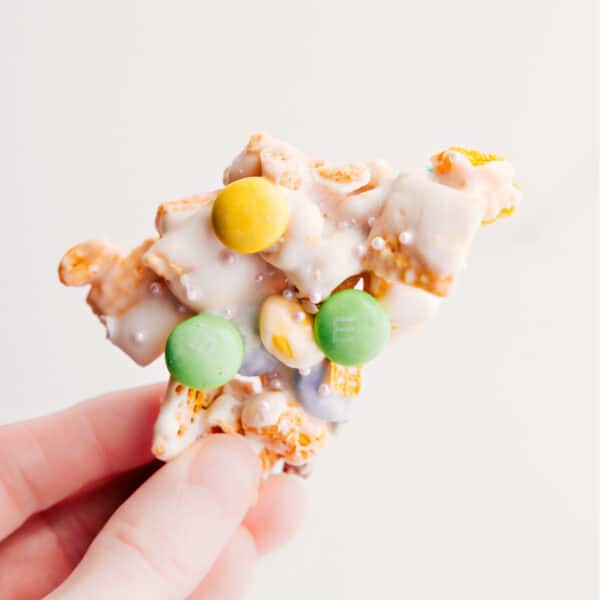
Bunny Bait

Dinner
Chicken Spiedini
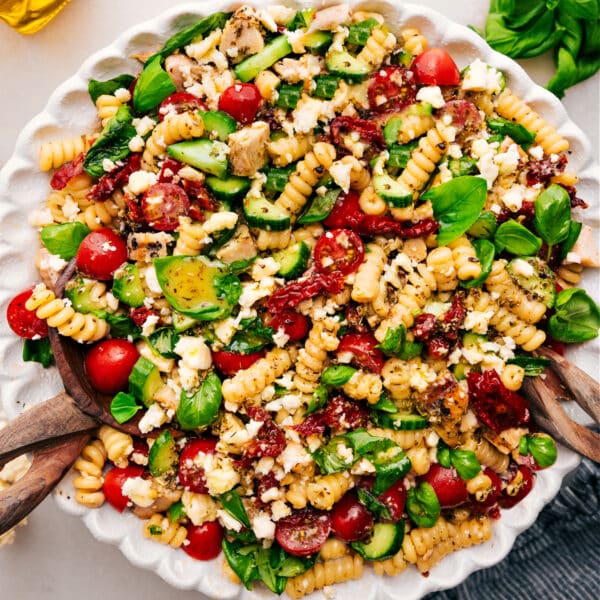
Pasta Salads
Marry Me Chicken Pasta Salad

Desserts
Carrot Cake

Appetizers
Deviled Eggs Recipe

Sandwiches
Avocado Egg Salad
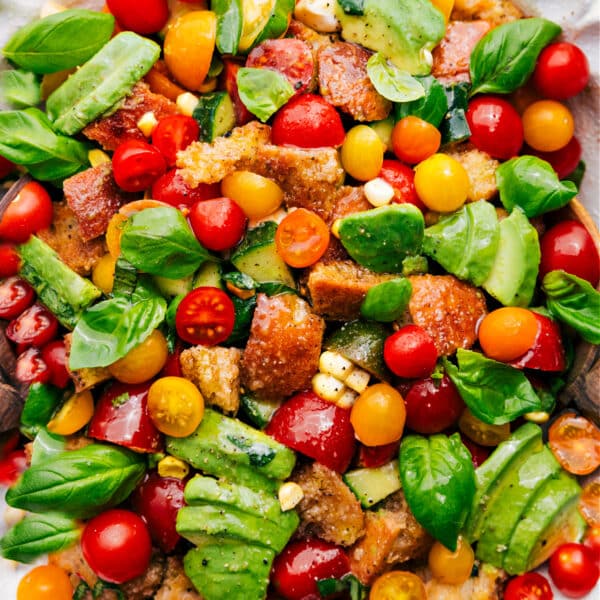
Salads
Panzanella
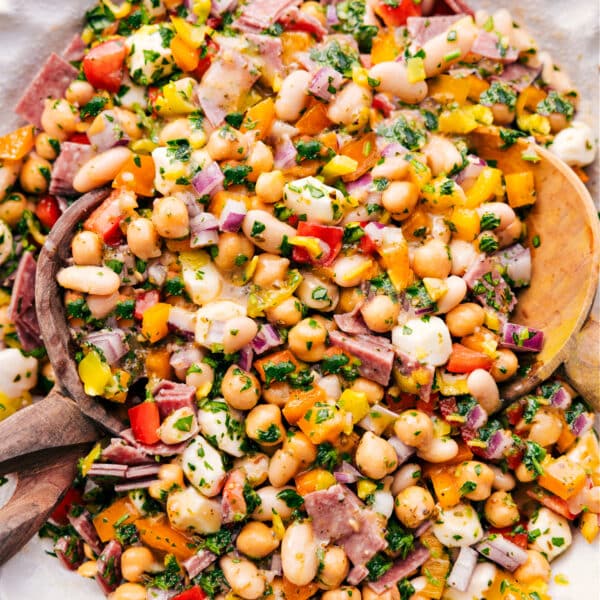
Dinner
Dense Bean Salad
Sandwiches


