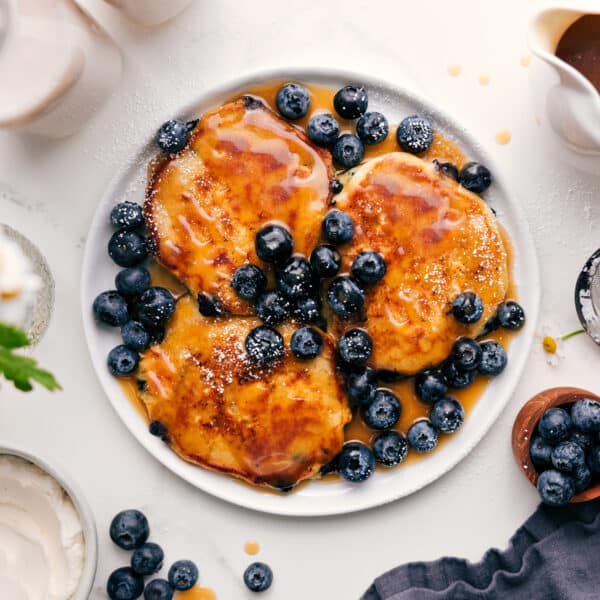
Breakfast
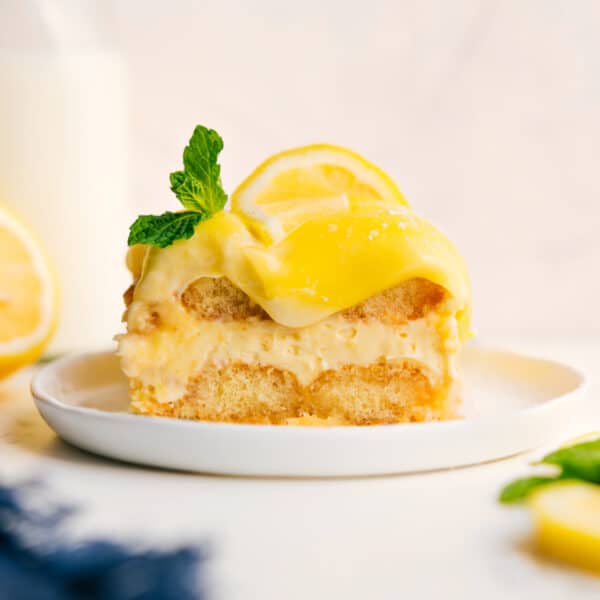
Desserts
Lemon Tiramisu
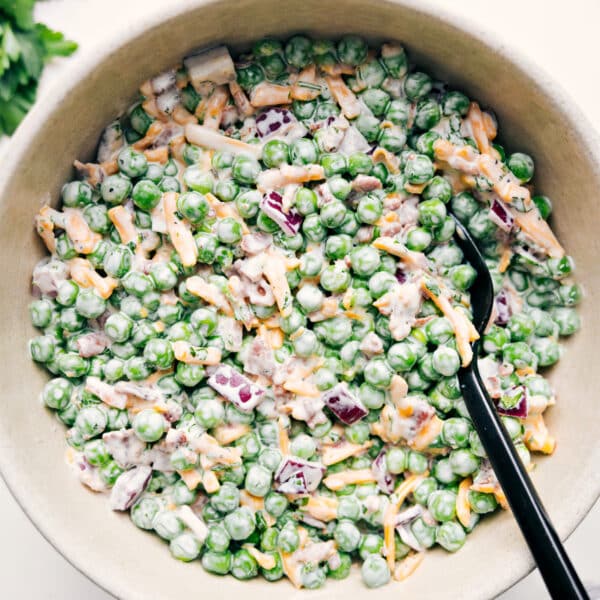
Salads
Pea Salad Recipe
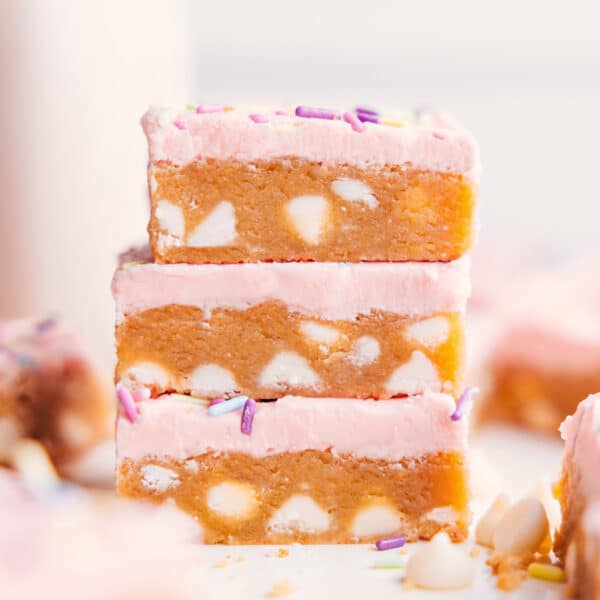
Desserts
Sugar Cookie Bars Recipe
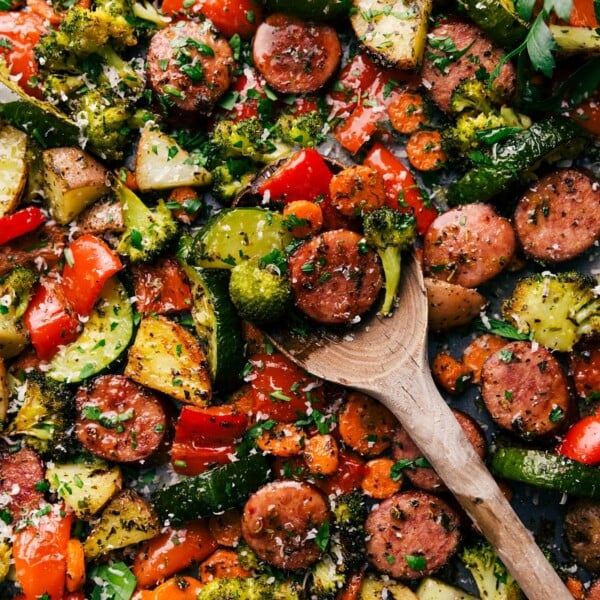
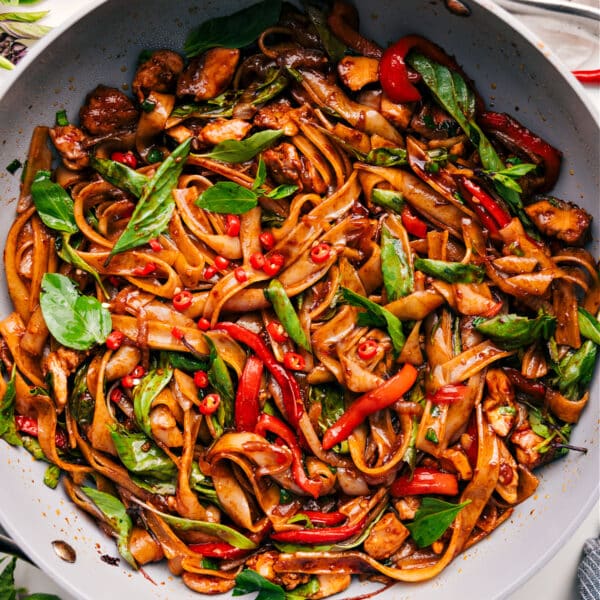
One Pan / One Pot
8 Effortless One-Pan Dinners for Your Busiest Weeknights
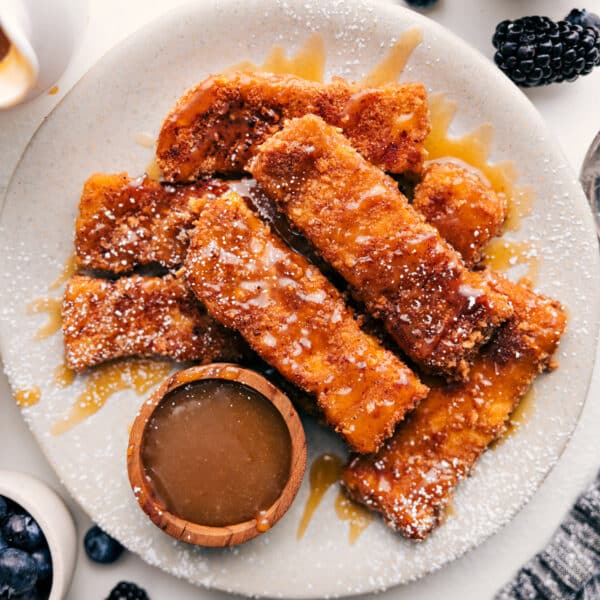
Breakfast
French Toast Sticks Recipe
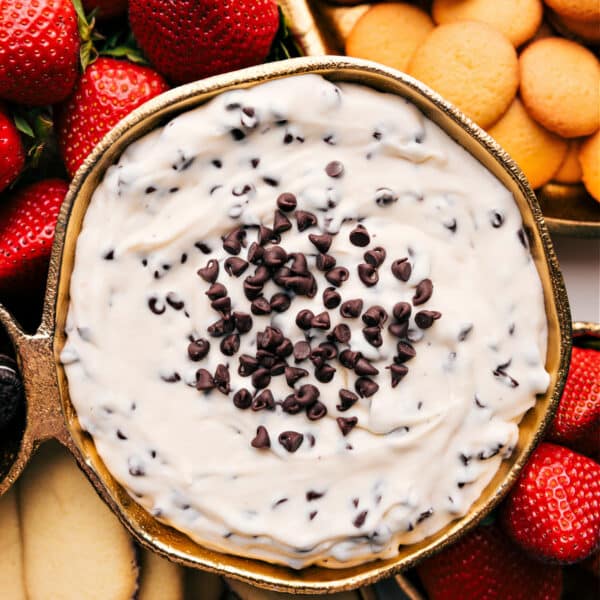
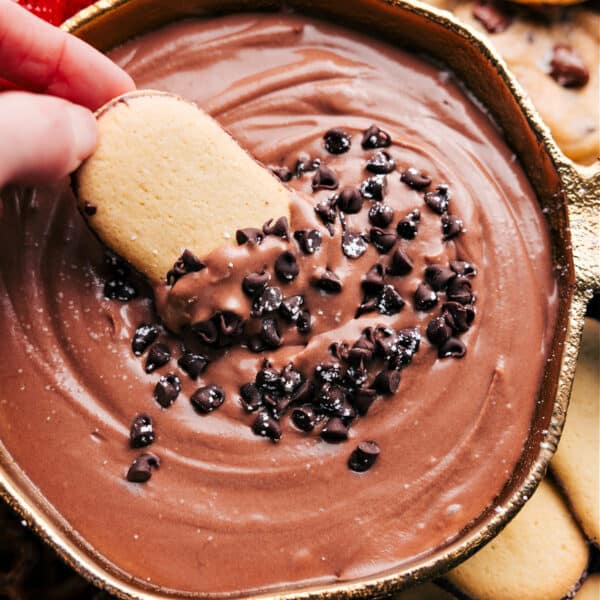
Desserts
Chocolate Chip Dip

Dinner
Chicken Kofta Recipe

Side Dishes
Breakfast Potatoes Recipe
Desserts
Chocolate Fruit Dip
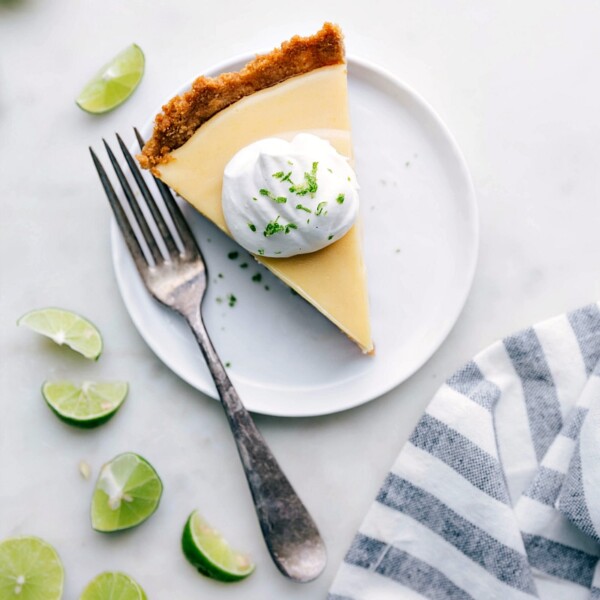
Desserts
The Best Key Lime Pie Recipe

Healthy
How To Make Spring Rolls
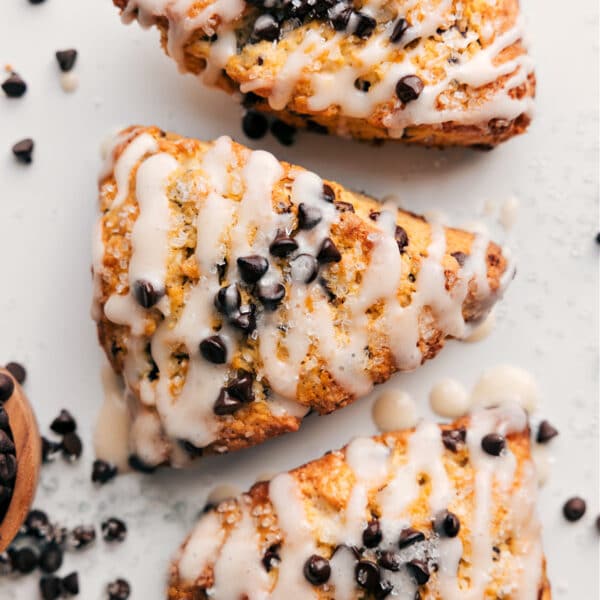
Desserts
Chocolate Chip Scones
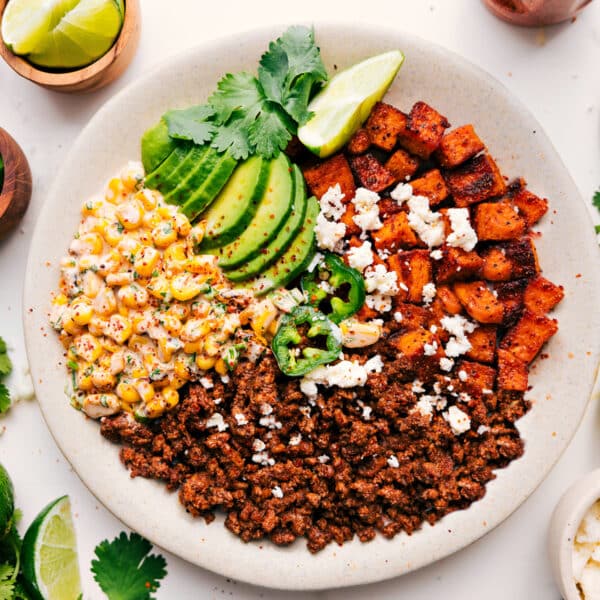
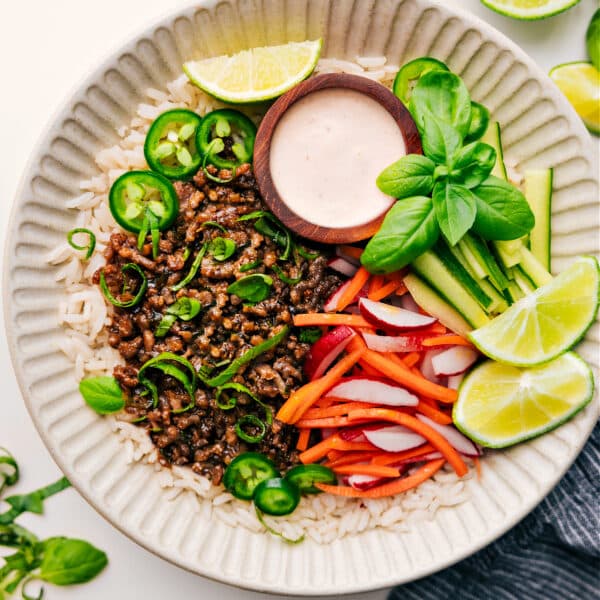
Dinner
Street Corn Beef Bowl
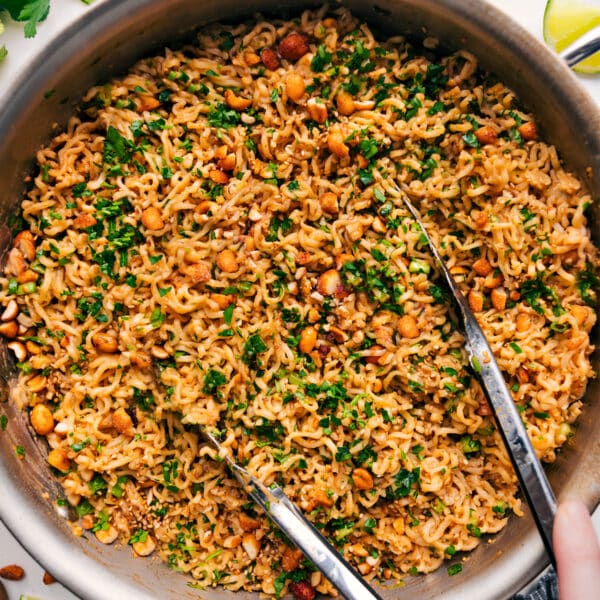
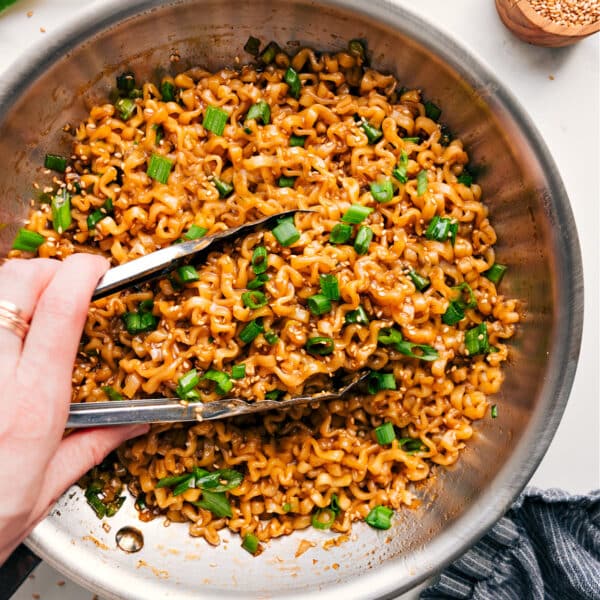
Dinner
Peanut Butter Ramen
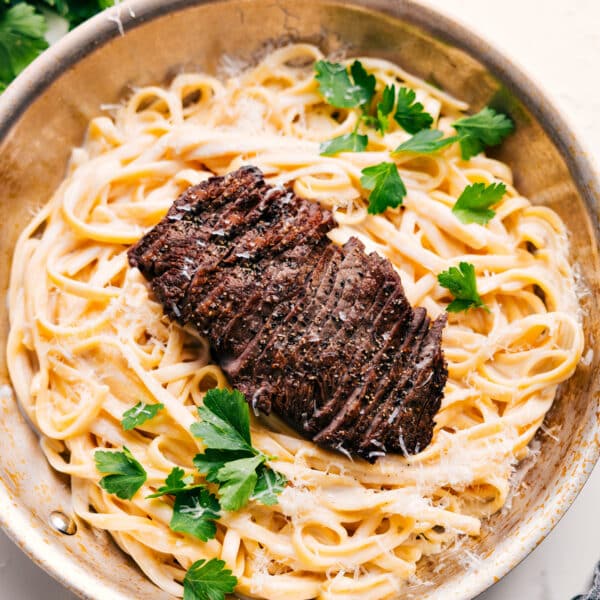
Dinner
Steak Alfredo Recipe
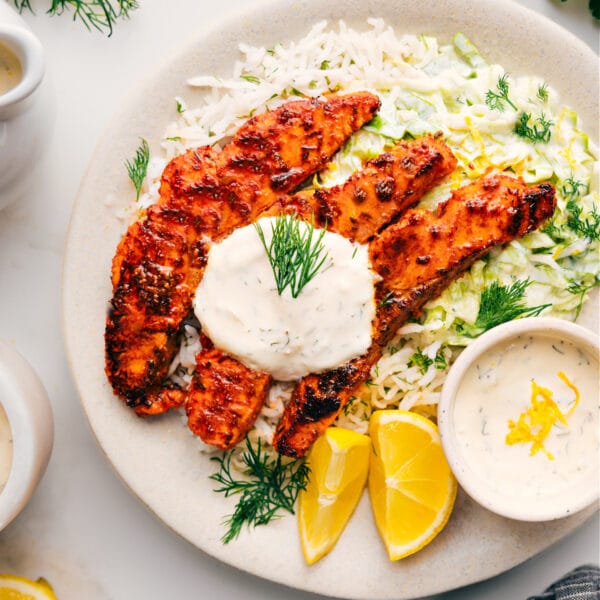
Dinner
Blackened Salmon Recipe
Dinner


