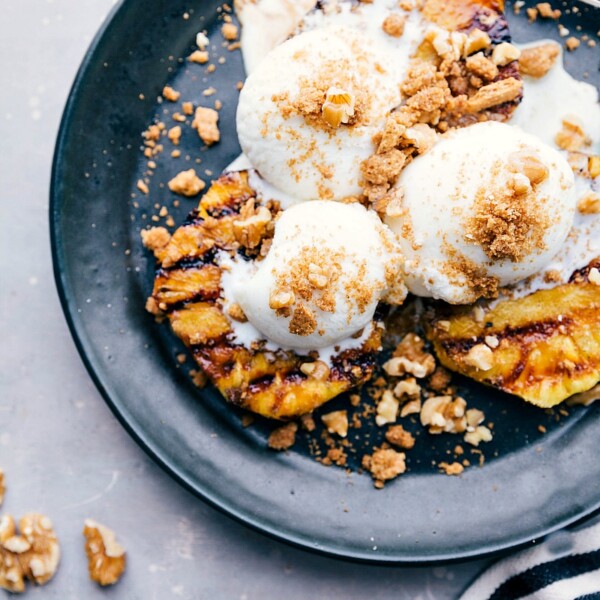
Desserts
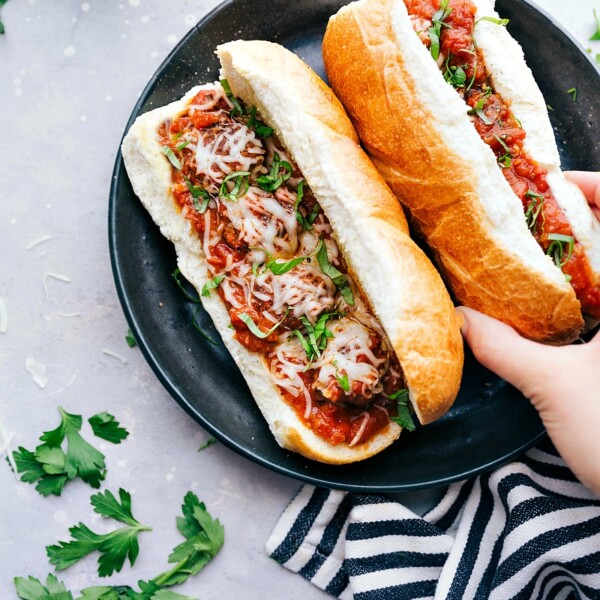
Dinner
Meatball Sub Recipe
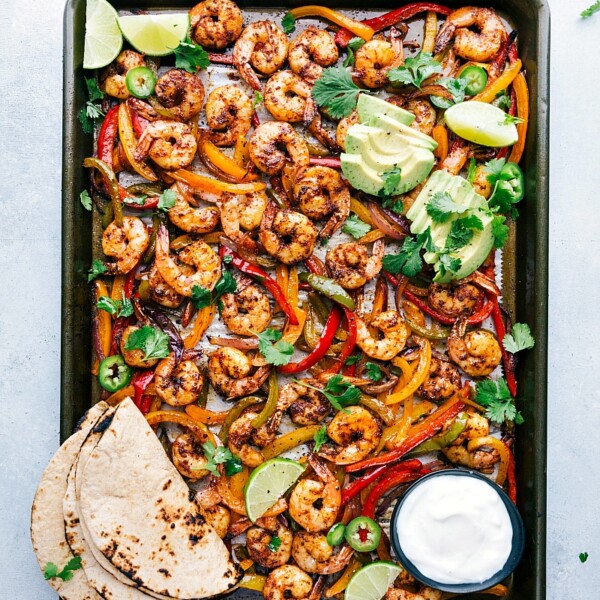
Dinner
Shrimp Fajitas Recipe
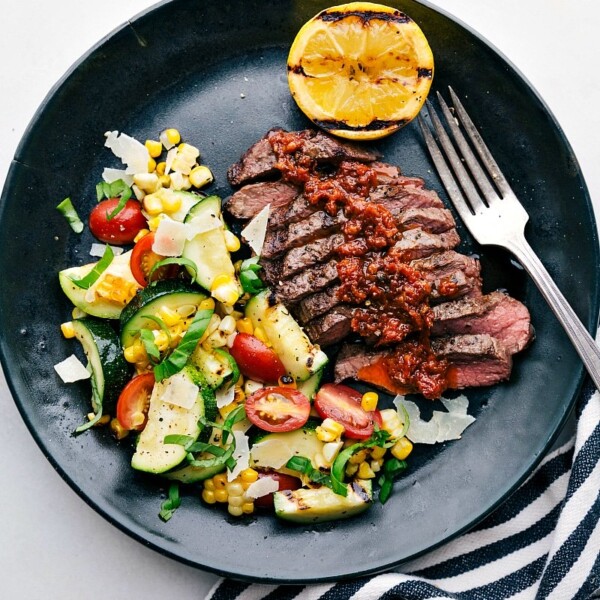
Dinner
Flat Iron Steak Recipe
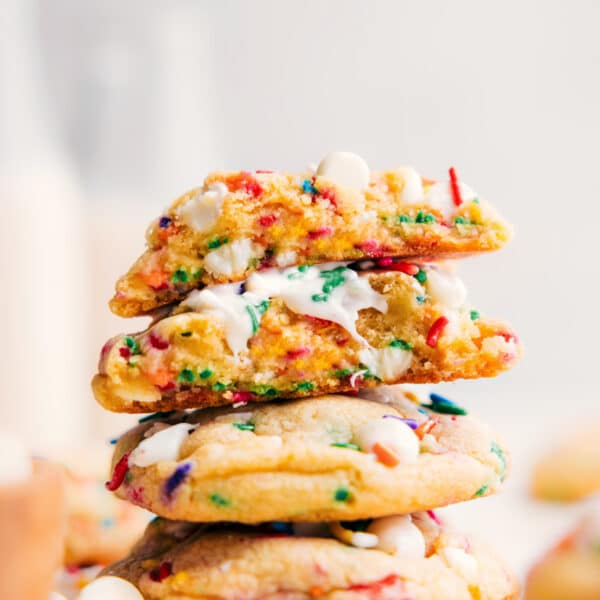
Desserts
Cake Batter Cookies
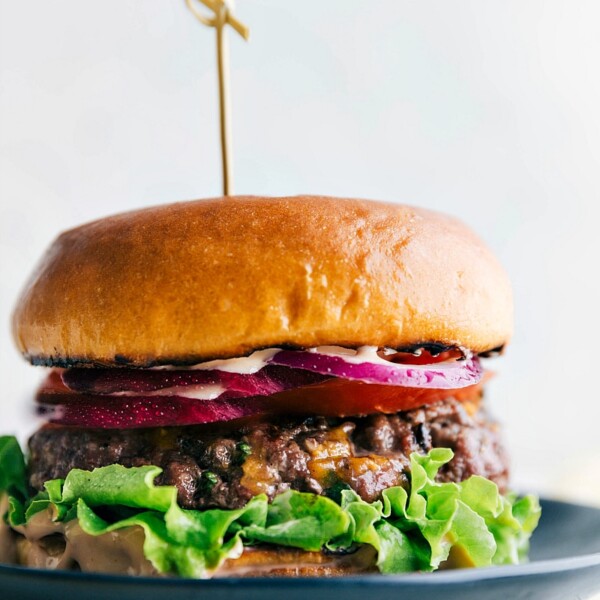
Dinner
Hamburger Recipe
Dinner
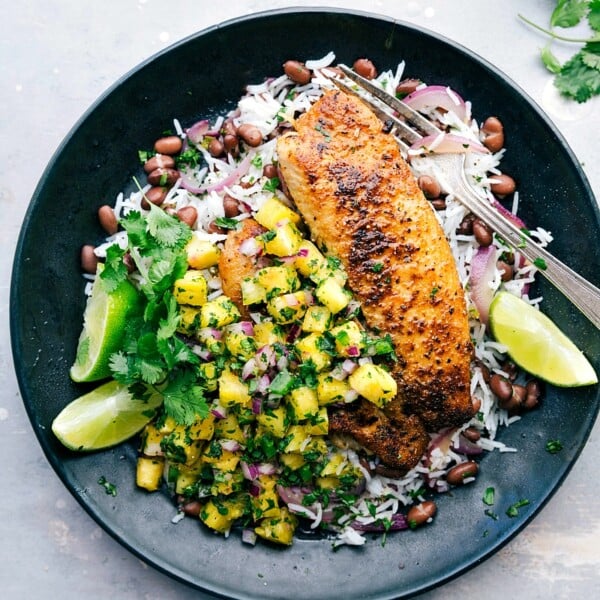
Blackened Tilapia Recipe

Dinner
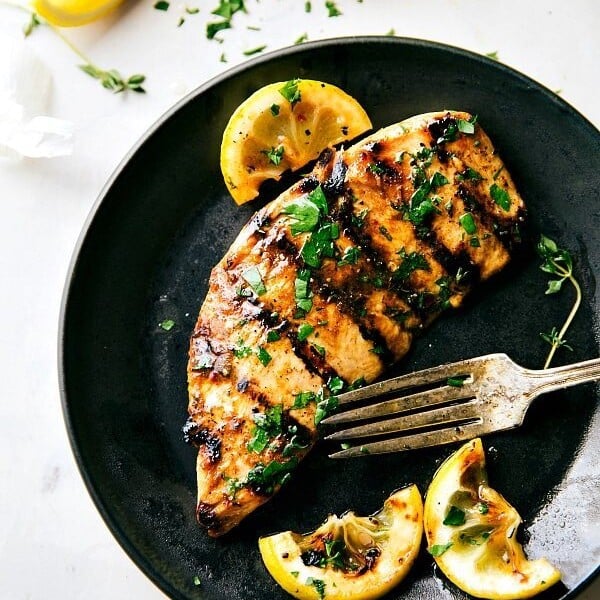
Greek Chicken Recipe

Desserts
Oatmeal Coconut Cookies
Breakfast
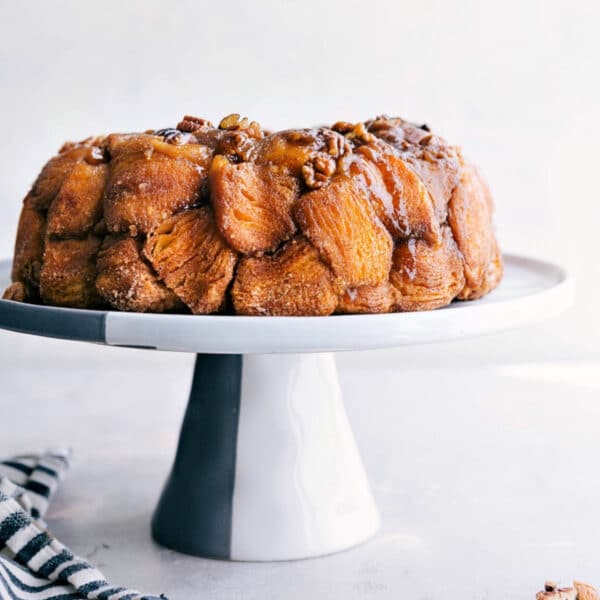
Monkey Bread Recipe
Quick And Easy
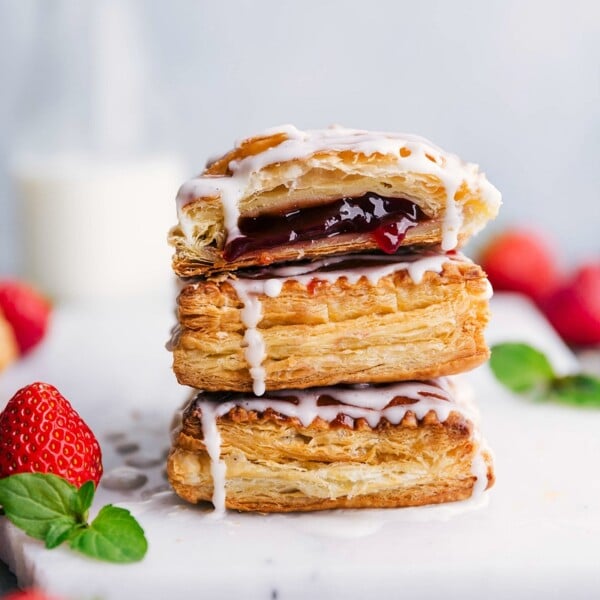
Toaster Strudel Recipe
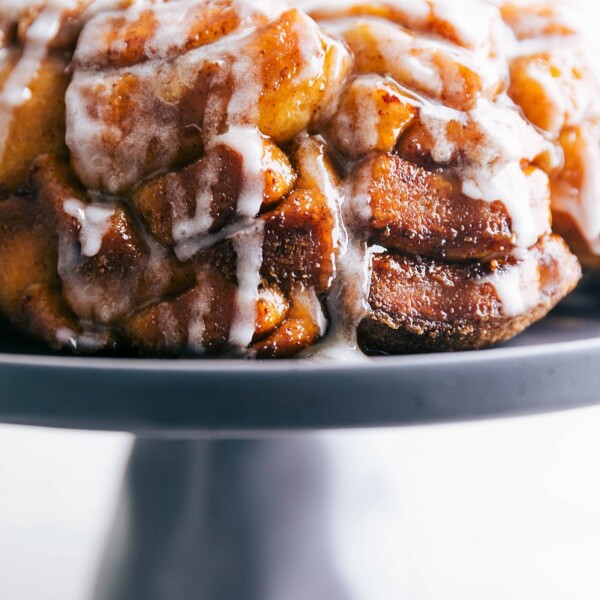
Breakfast
Cinnamon Roll Monkey Bread
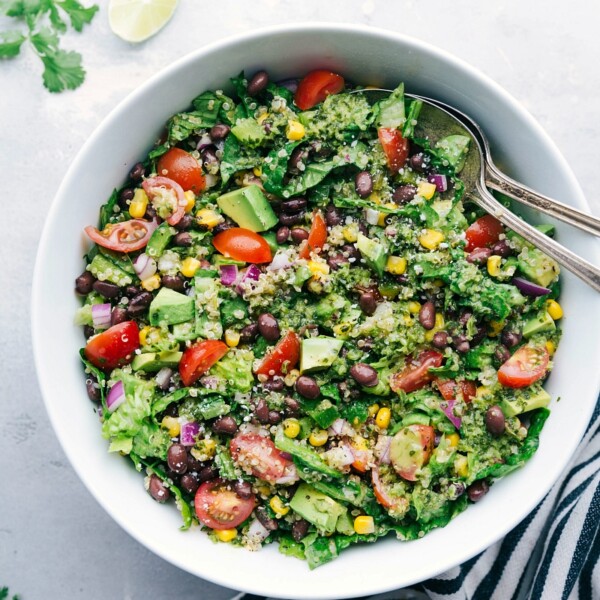
Salads
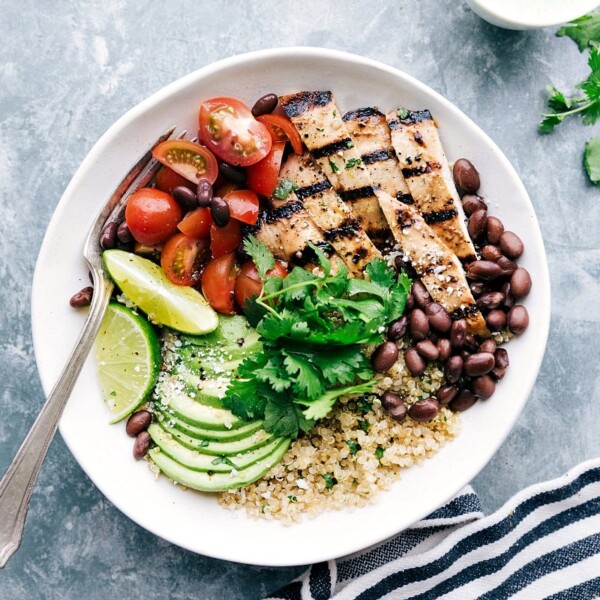
Southwest Quinoa Salad
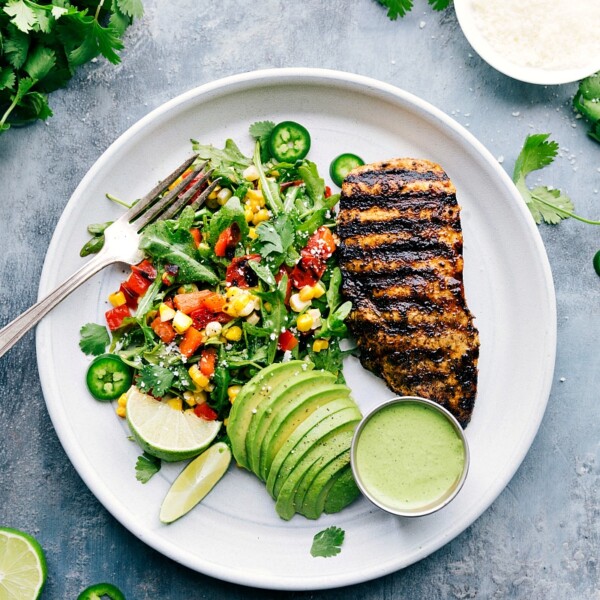
Dinner
Peruvian Chicken Recipe
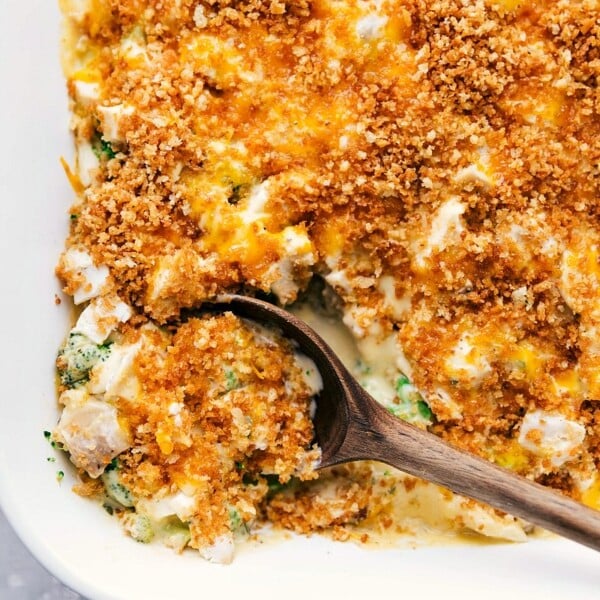
Dinner
Chicken Divan Recipe

Desserts
Cosmic Brownies Recipe
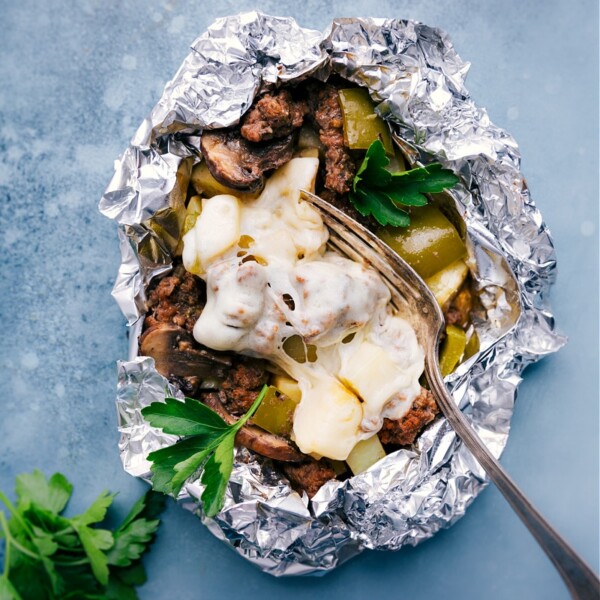
Dinner


