Desserts
Desserts
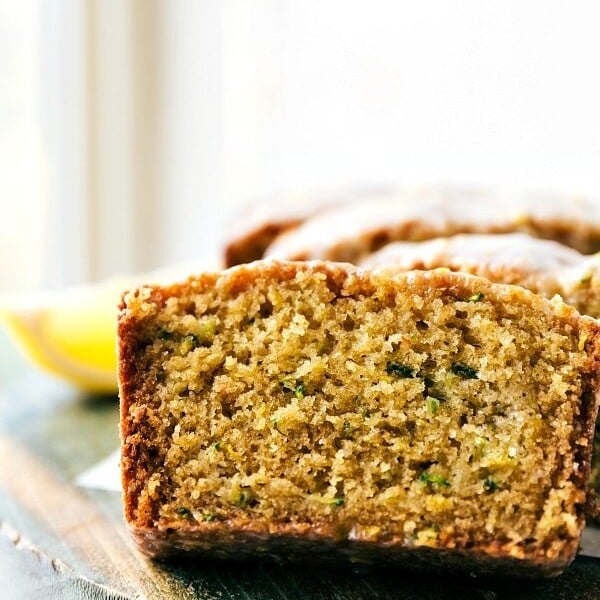
Lemon Zucchini Bread
Desserts
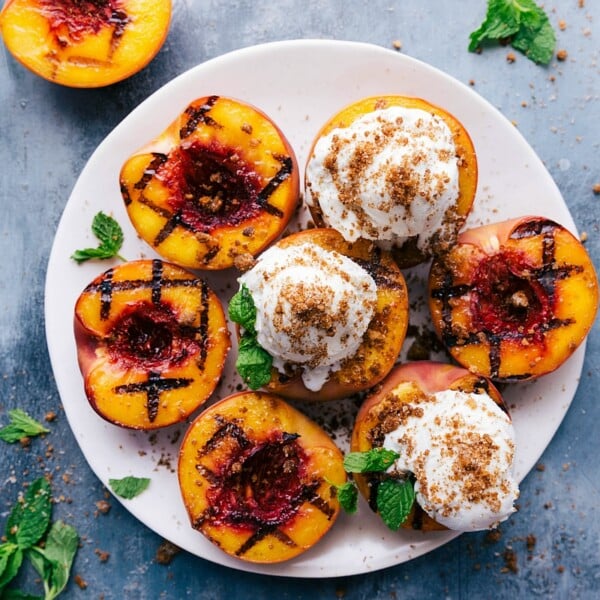
Grilled Peaches Recipe
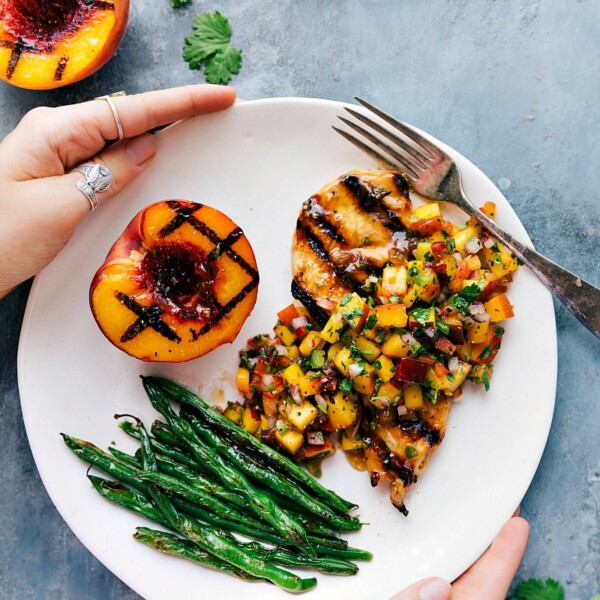
Dinner
Peach Salsa Chicken

Breakfast
Healthy Apple Muffins
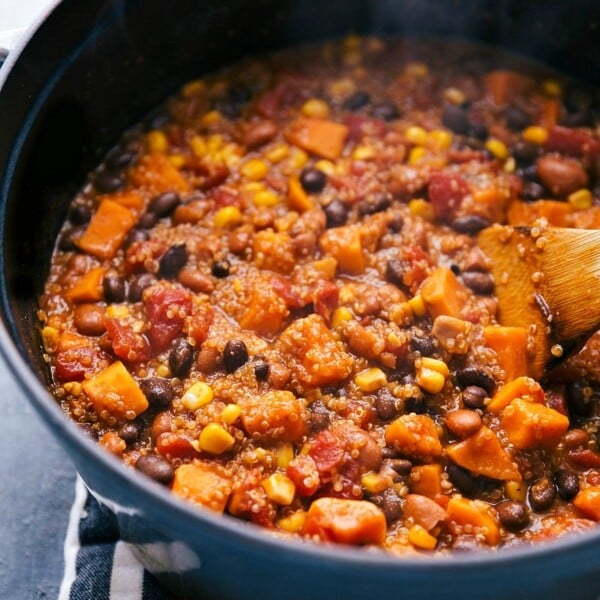
Dinner
Quinoa Chili
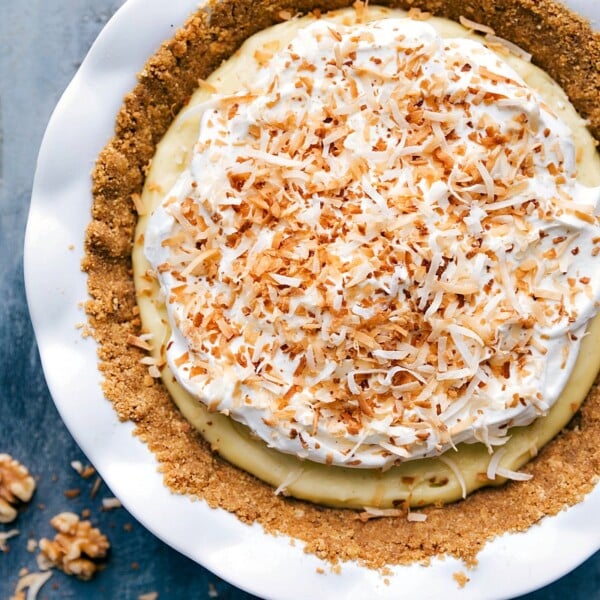
Desserts
Coconut Cream Pie Recipe
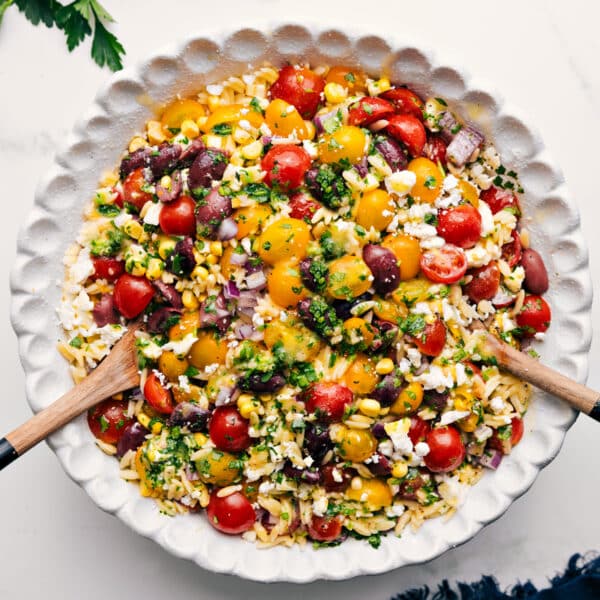
Healthy
Greek Orzo Pasta Salad
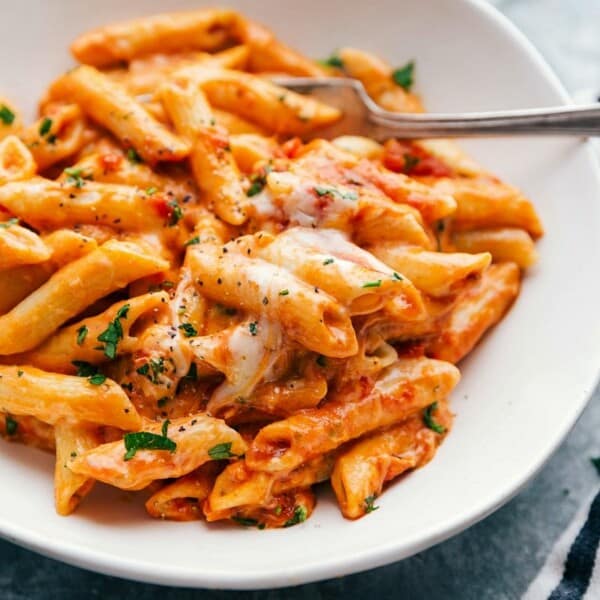
Dinner
Red and White Pasta
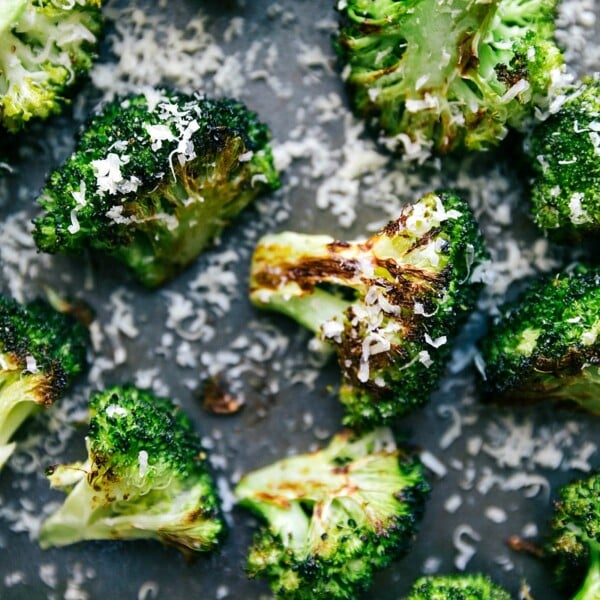
Side Dishes
Roasted Broccoli Recipe
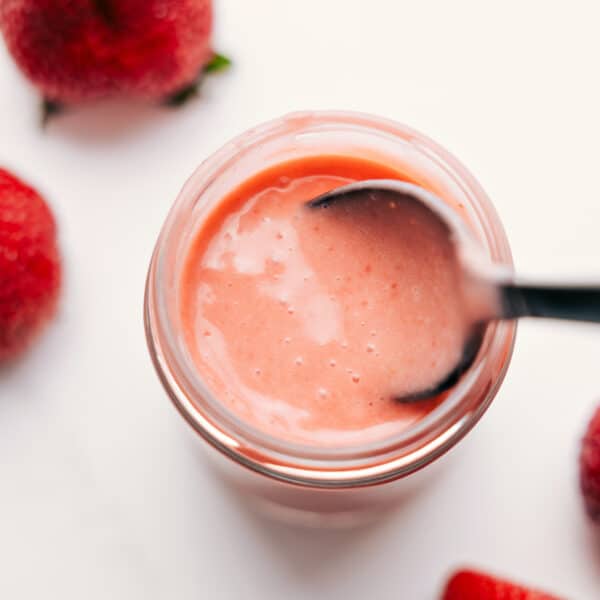
Dressings
Strawberry Vinaigrette Recipe
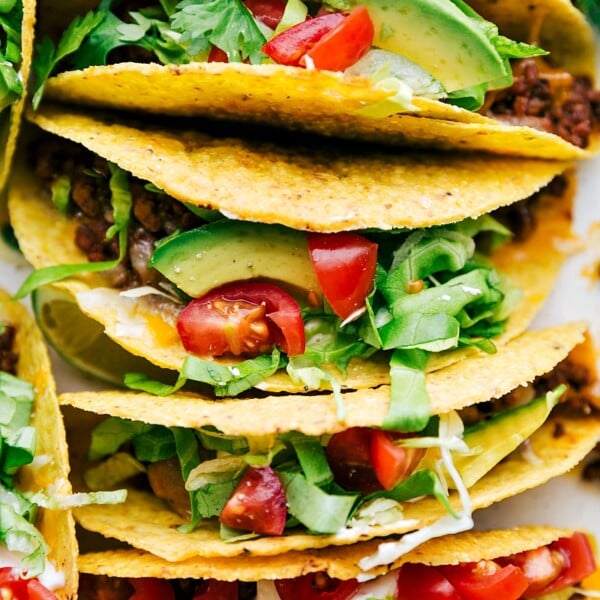
Dinner
Ground Beef Tacos Recipe
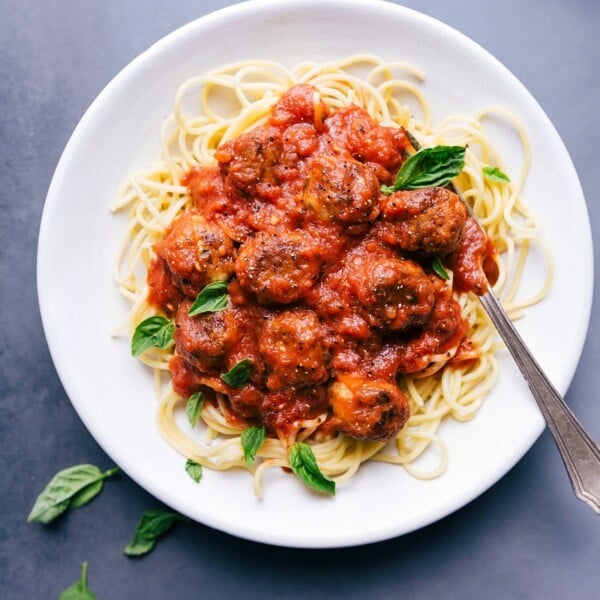
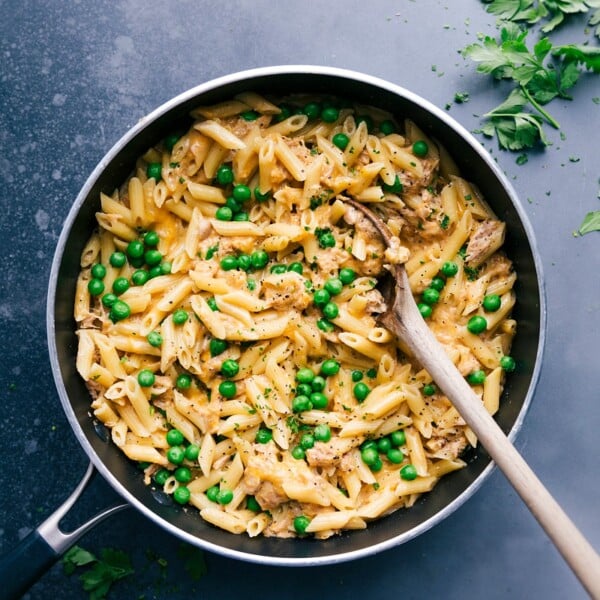
Dinner
Tuna Pasta Recipe
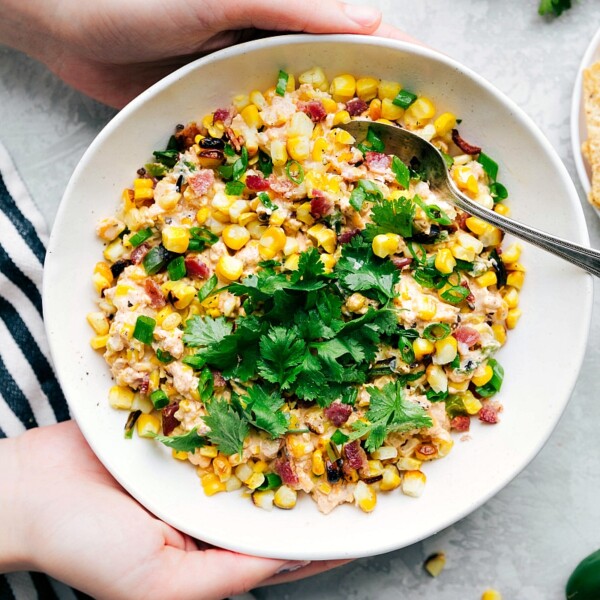
Dinner
Creamy Corn Salad
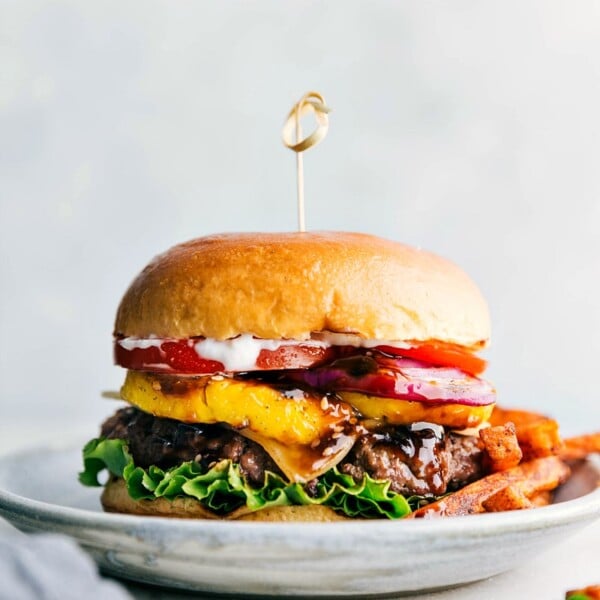
Dinner
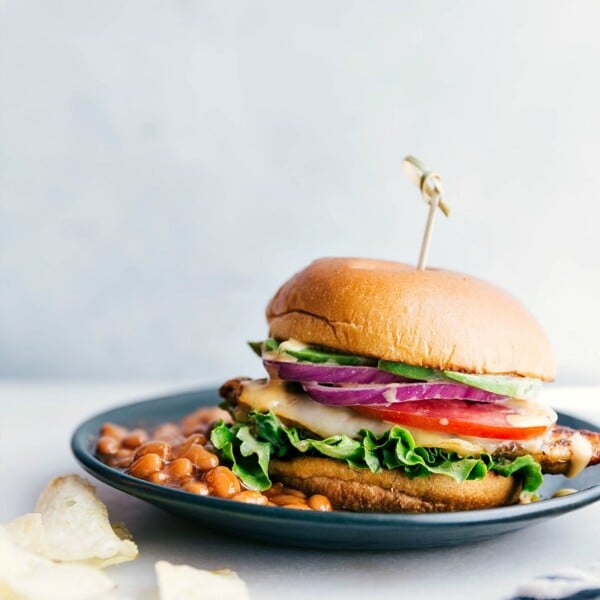
Teriyaki Burger Recipe
Dinner
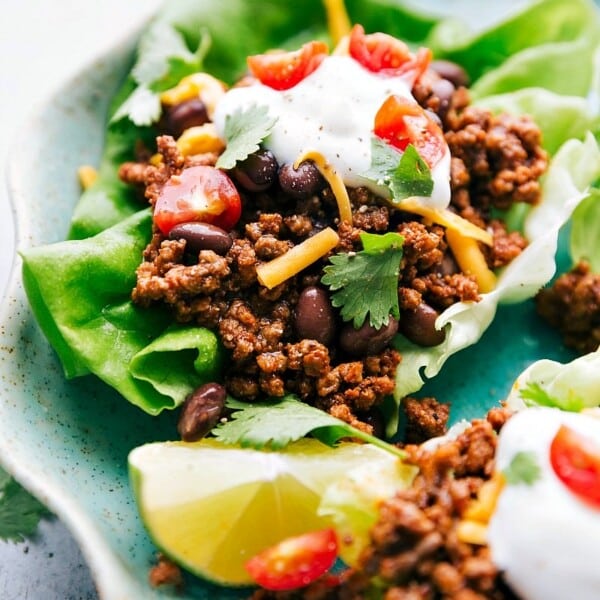
Taco Lettuce Wraps
Desserts
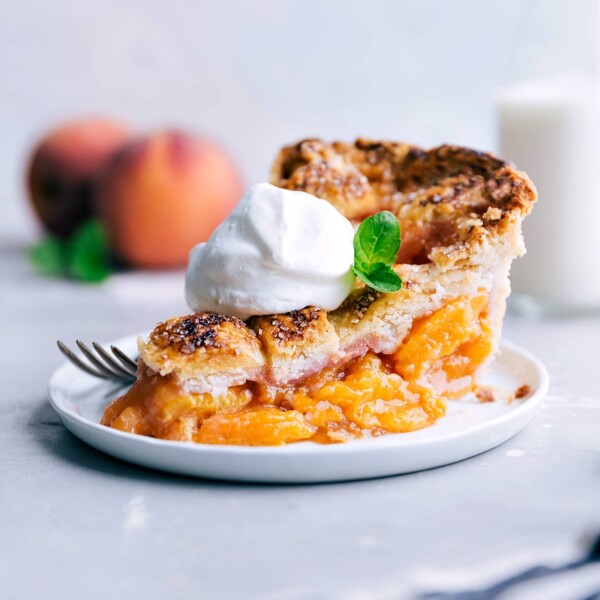
Peach Pie Recipe
Dinner


