
Quick And Easy

Quick And Easy
Thanksgiving Cookies
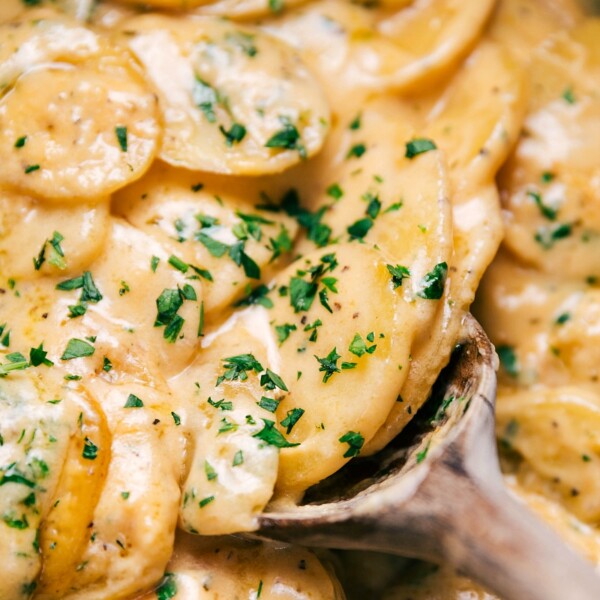
Side Dishes
Crockpot Au Gratin Potatoes
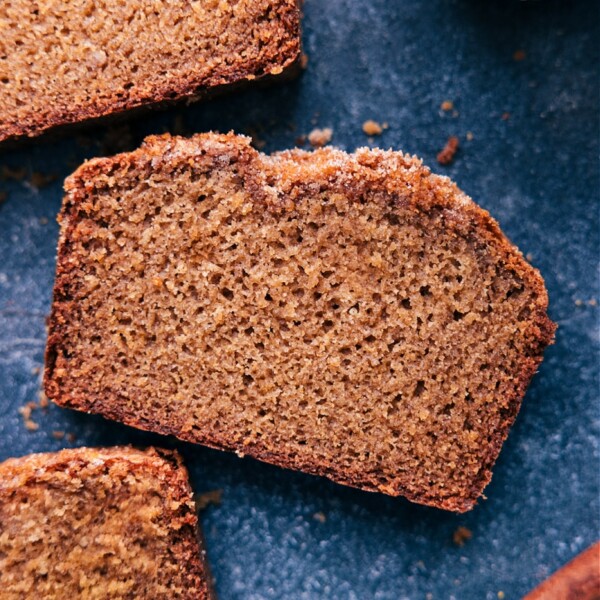
Desserts
Applesauce Bread
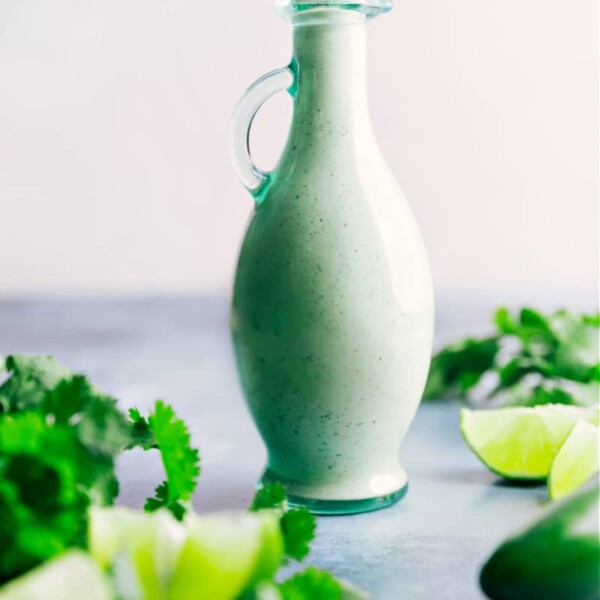
Dressings
Cafe Rio Salad Dressing

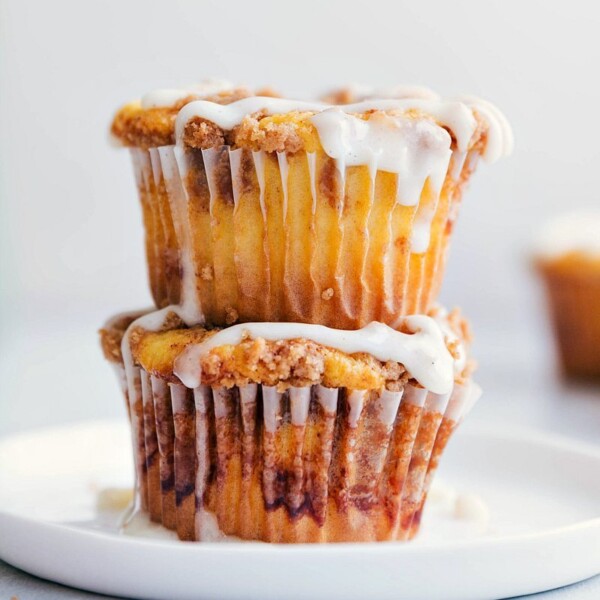
Desserts
Cinnamon Roll Cupcakes
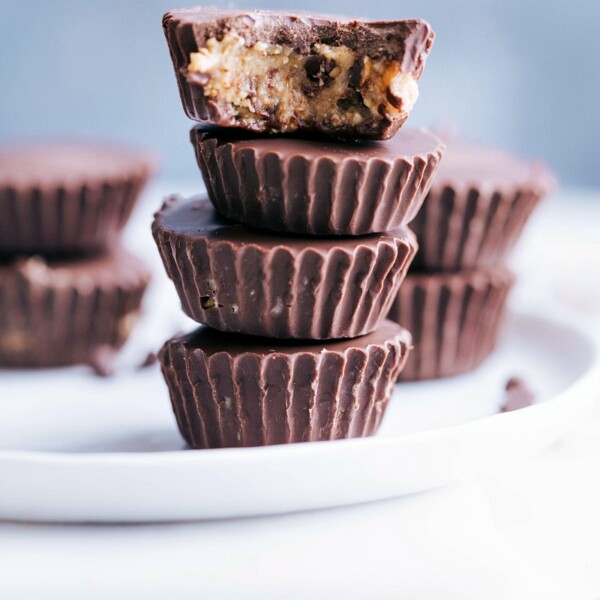
Desserts
Healthy Cookie Dough Cups
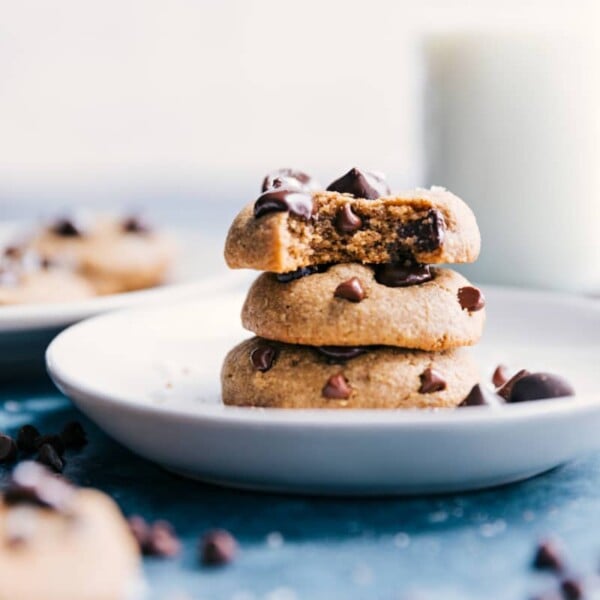
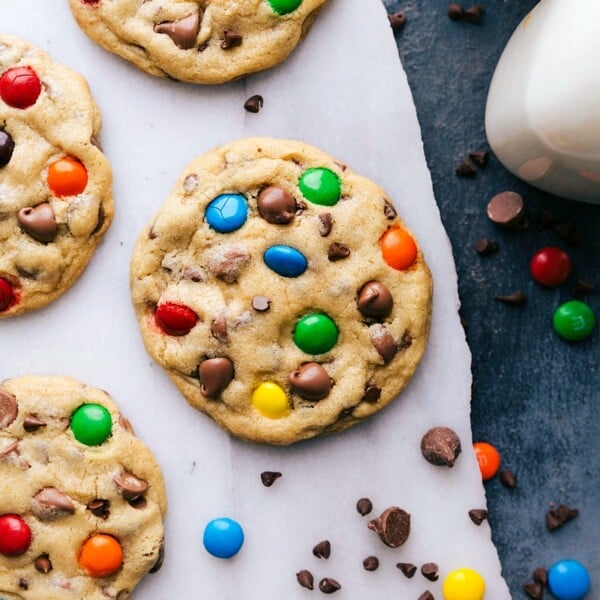
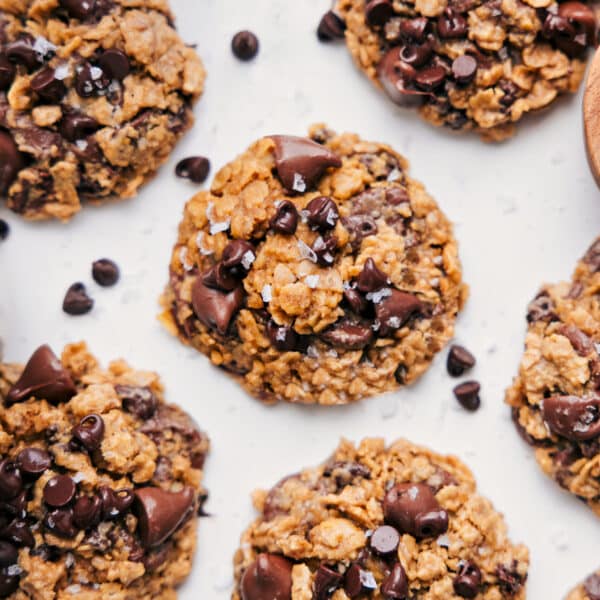
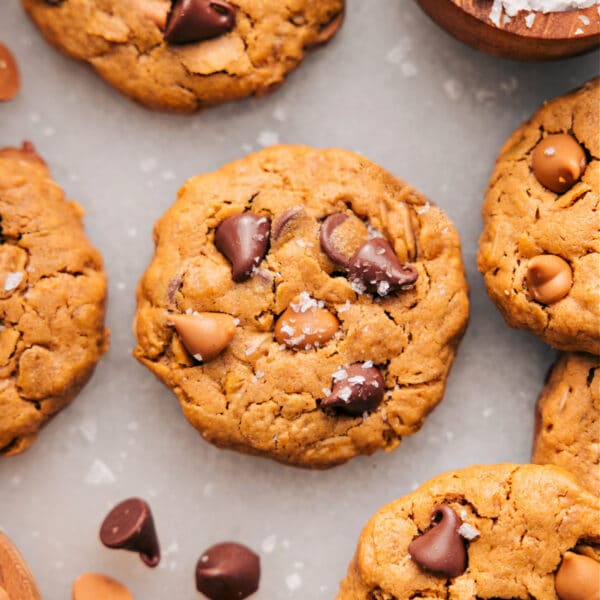
Desserts
Chocolate Chip M&M Cookies
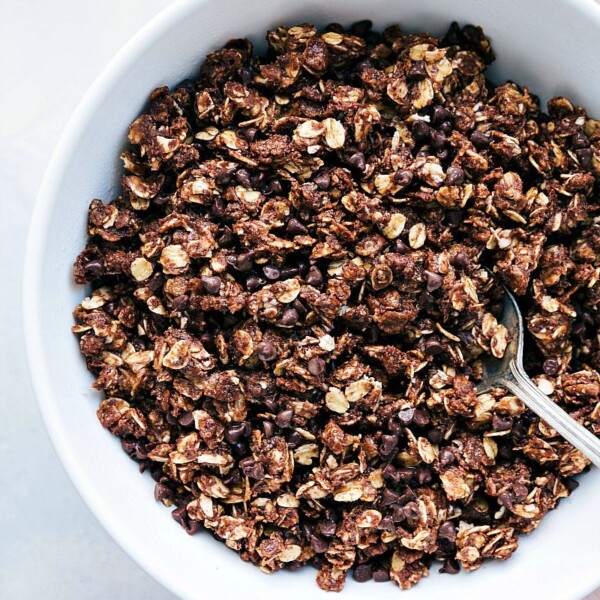
Breakfast
No-Bake Chocolate Granola
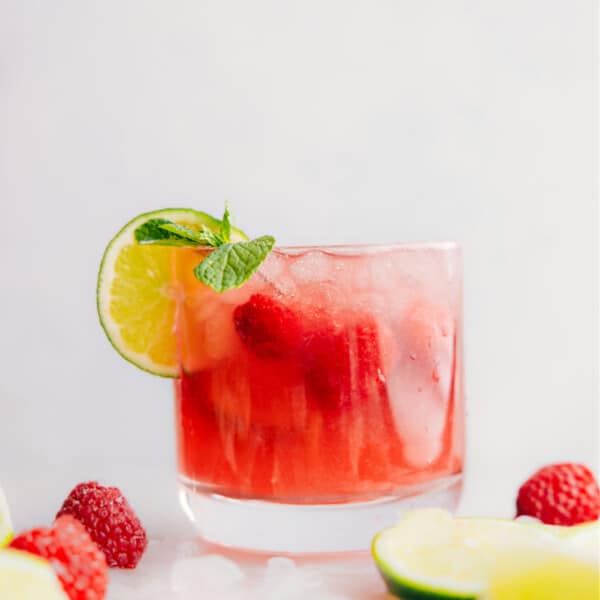
Beverages
Sparkling Raspberry Limeade
Breakfast
Breakfast Cookies

Desserts
Easter Cupcakes
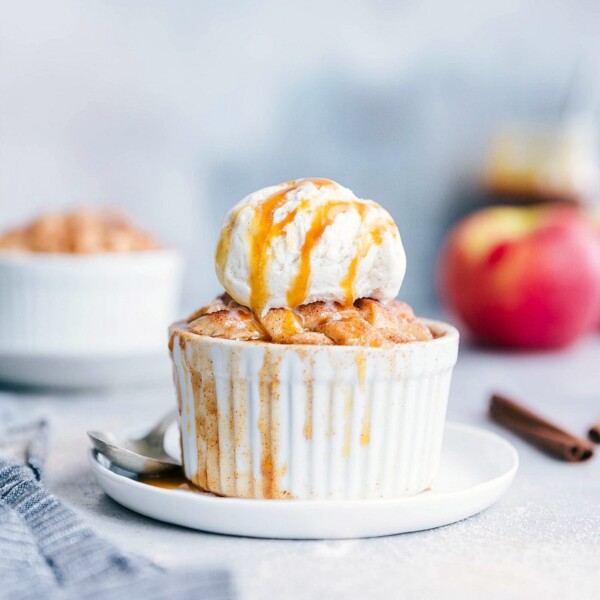
Desserts
Mini Apple Pies
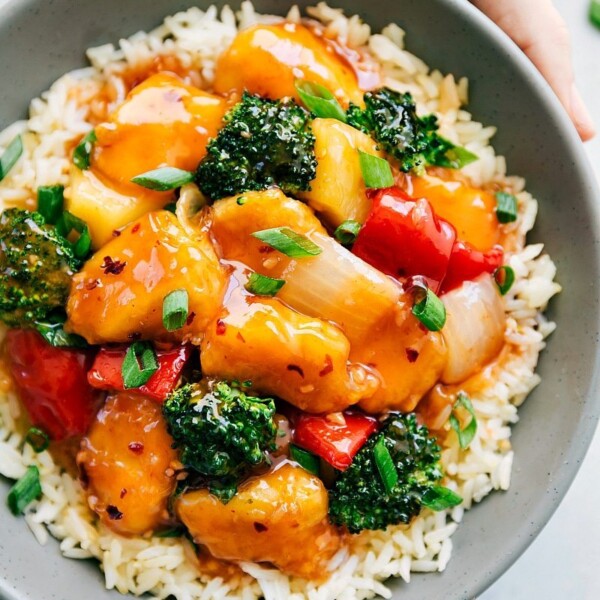
Dinner
Sweet and Sour Chicken
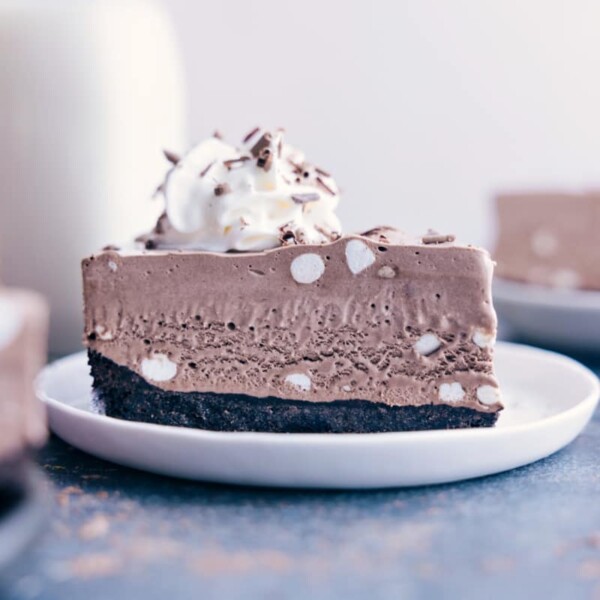
Desserts
Frozen Hot Chocolate Cheesecake
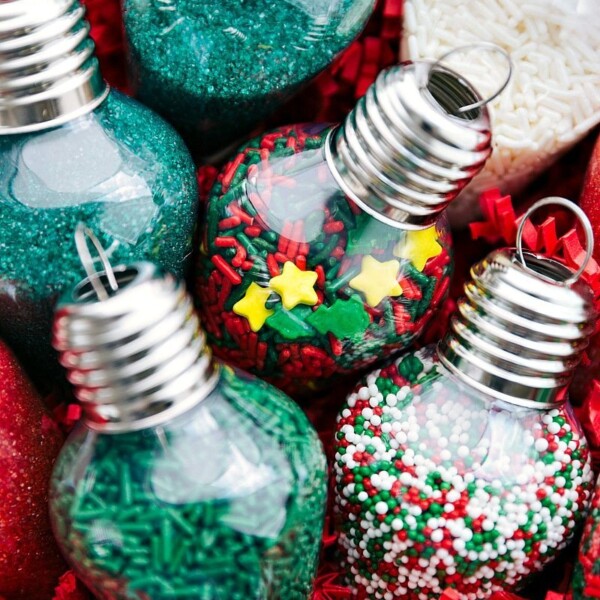
Desserts
Christmas Sugar Cookie Kits

Pasta And Pizza


