Dinner
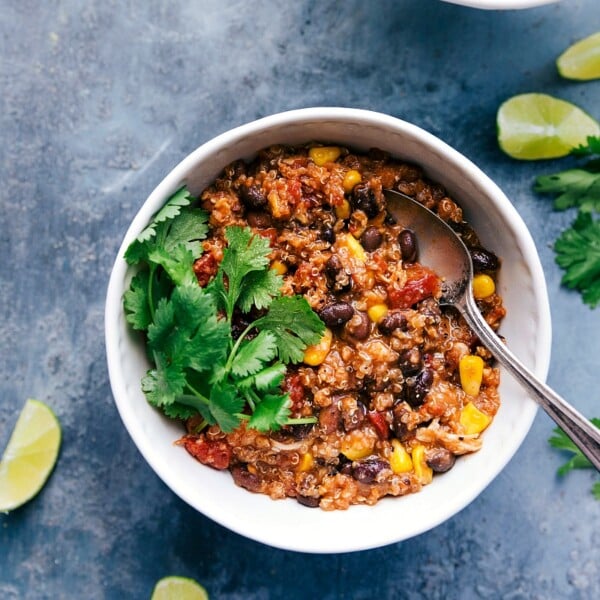
Soups And Stews
Crockpot Quinoa Chili
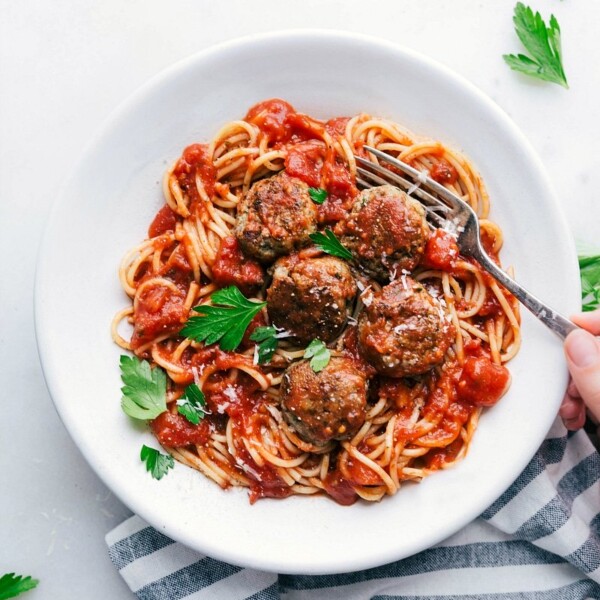
Dinner
Turkey Meatballs Recipe
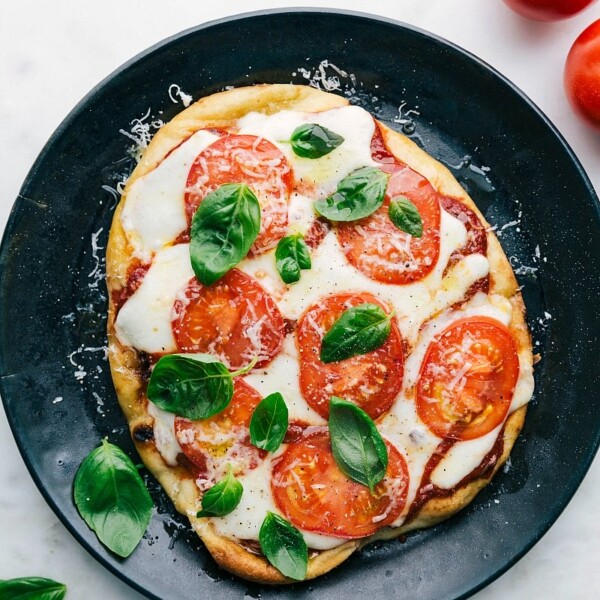
Dinner
Naan Margherita Pizza
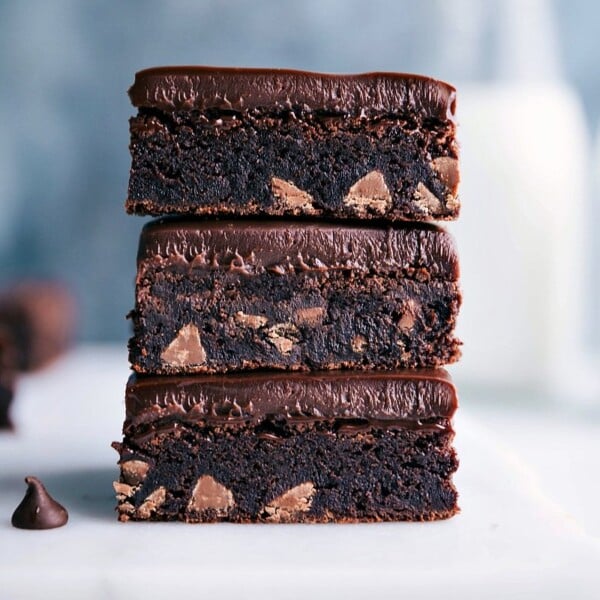
Desserts
Gluten Free Brownies Recipe
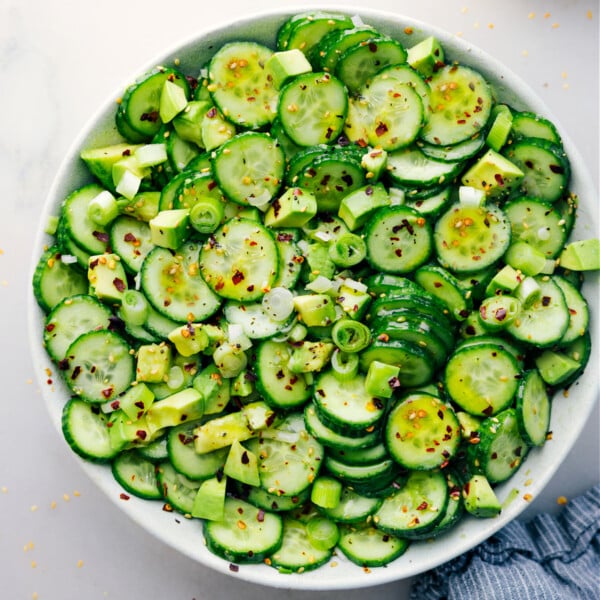
Salads
Asian Cucumber Salad
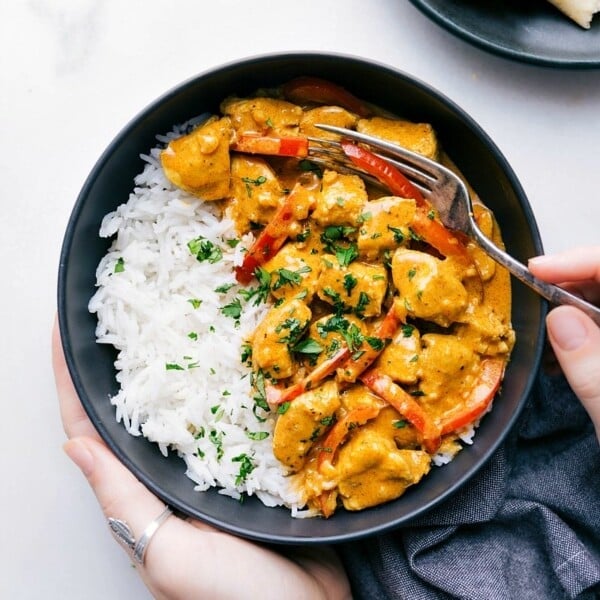
Dinner
Coconut Curry Chicken
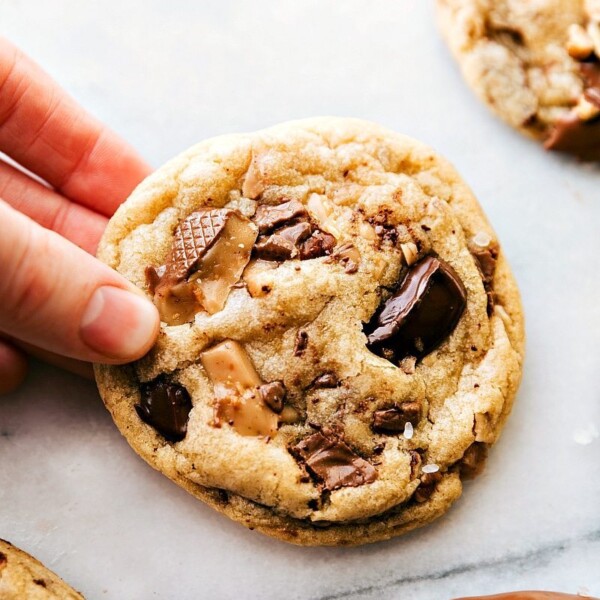
Desserts
Toffee Cookies
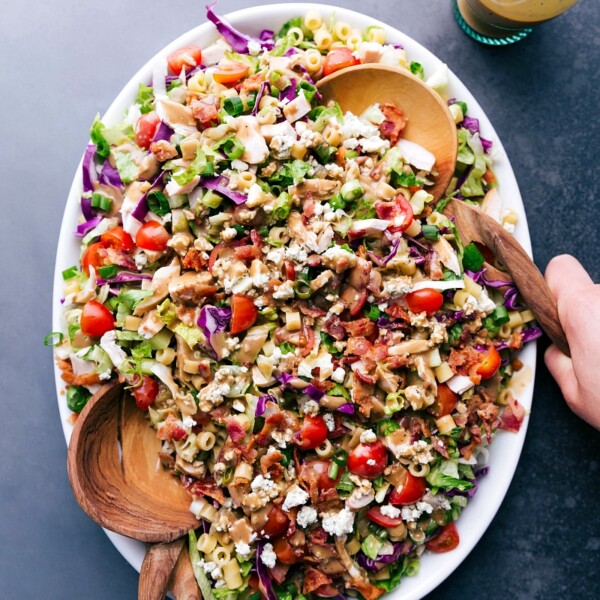
Salads
Portillo’s Chopped Salad
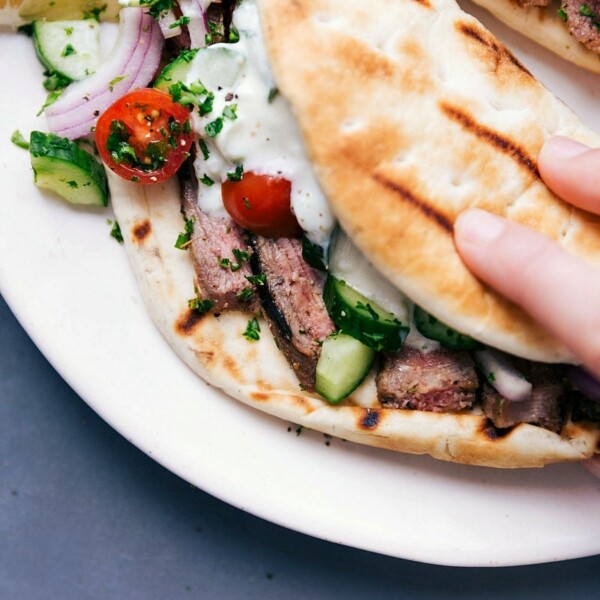
Dinner
Steak Gyros

Desserts
Gelato Recipe
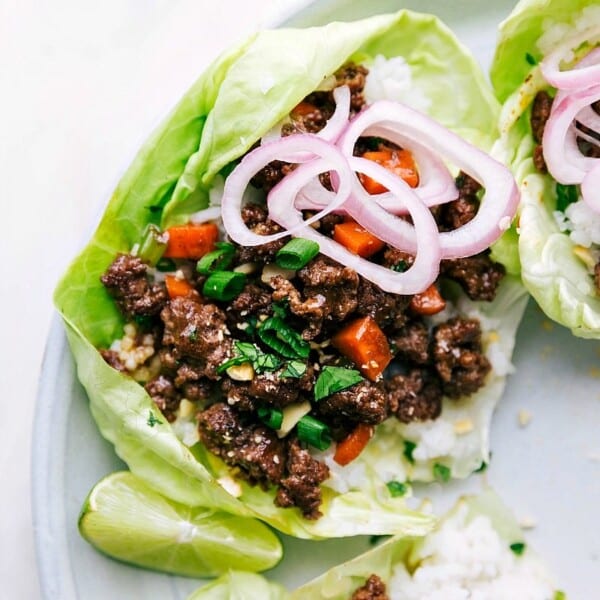
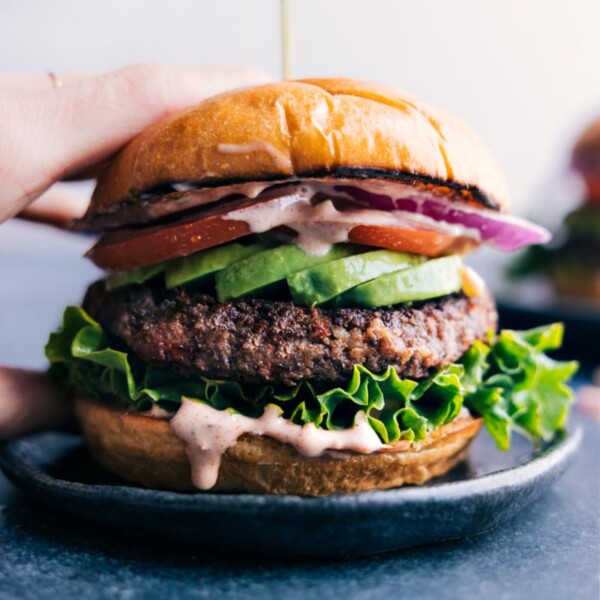
Dinner
Black Bean Burger Recipe
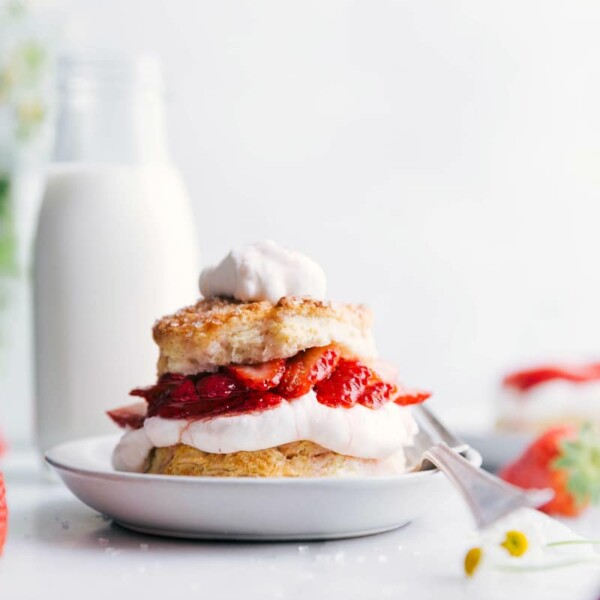
Desserts
Strawberry Shortcake Recipe

Breakfast
Nutella Crepes
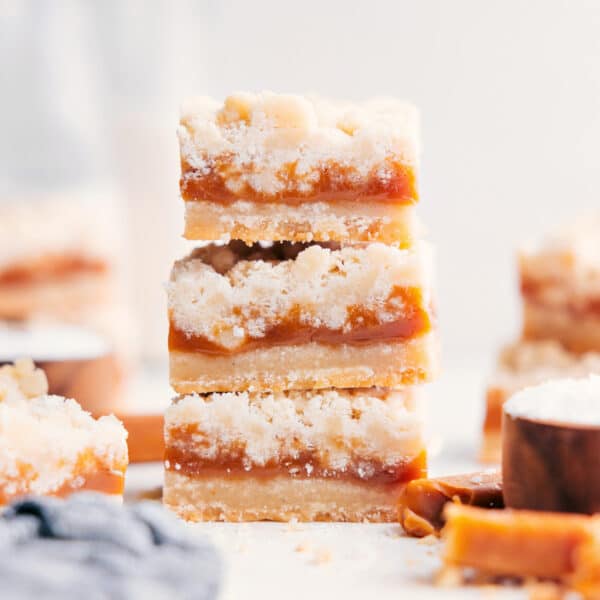
Desserts
Caramel Cookie Bars
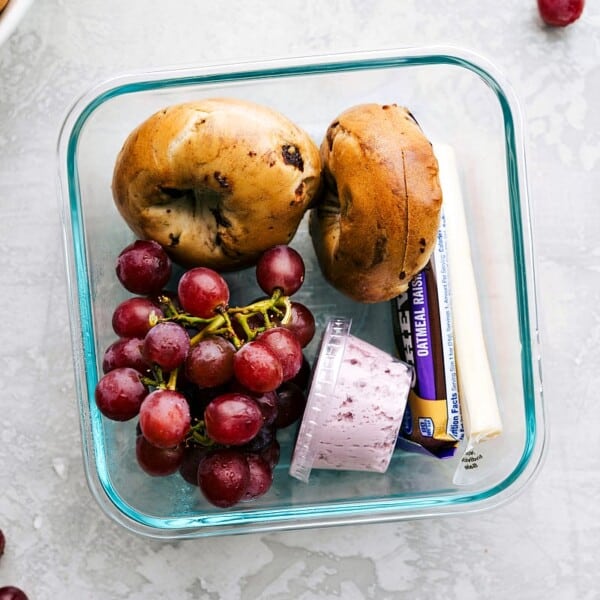
Healthy
School Lunch Ideas
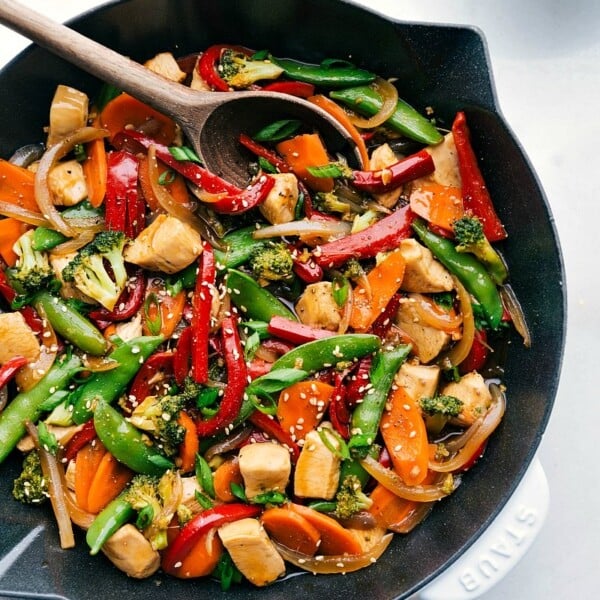
Dinner
Chicken Chow Mein Recipe
Desserts


