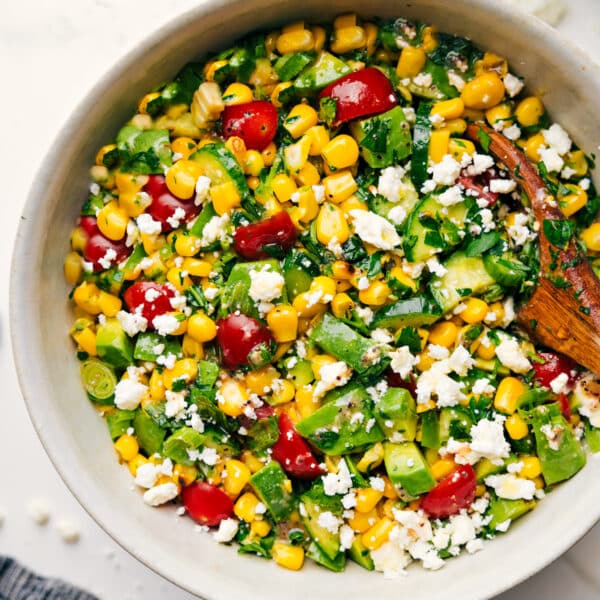
Salads
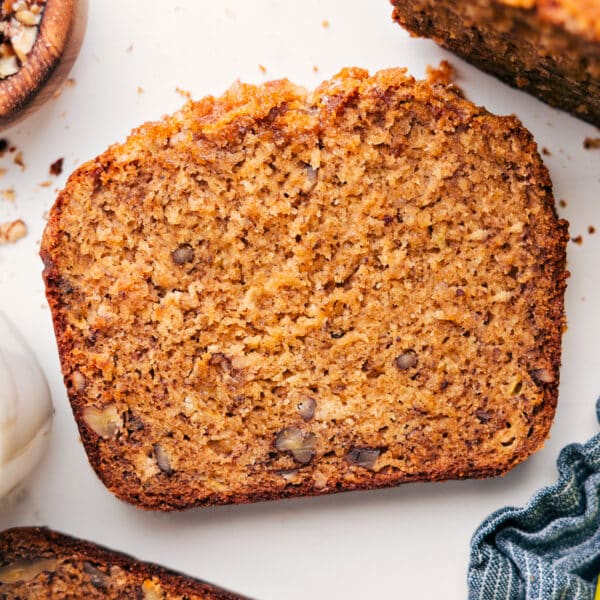
Muffins And Quick Breads
Banana Nut Bread Recipe
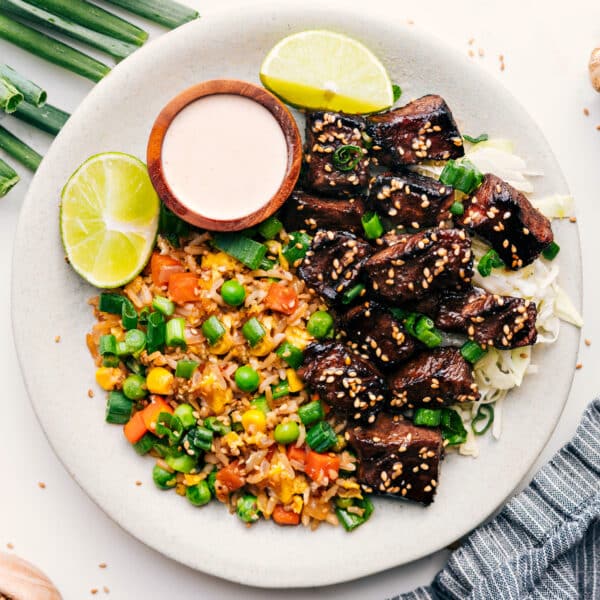
Dinner
Hibachi Steak Recipe
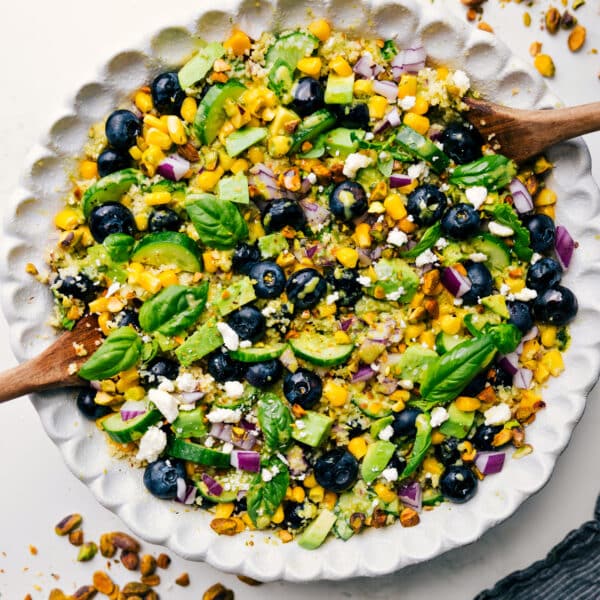
Salads
Blueberry Salad
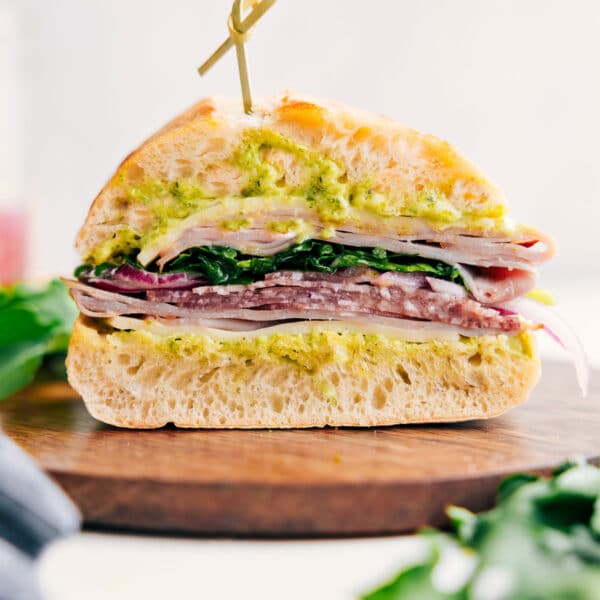
Lunch
Ciabatta Sandwich
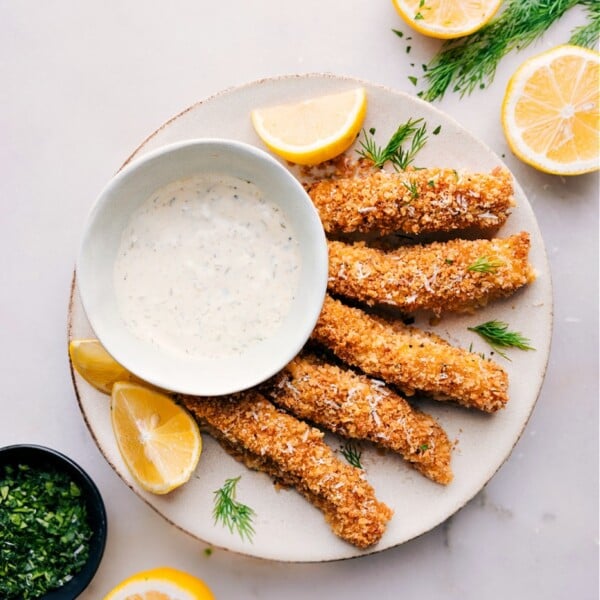
Dinner
Fish Sticks Recipe
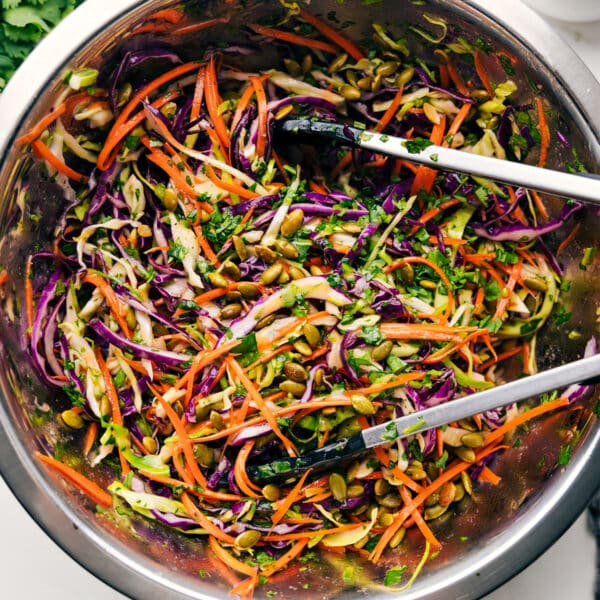
Healthy
Healthy Slaw
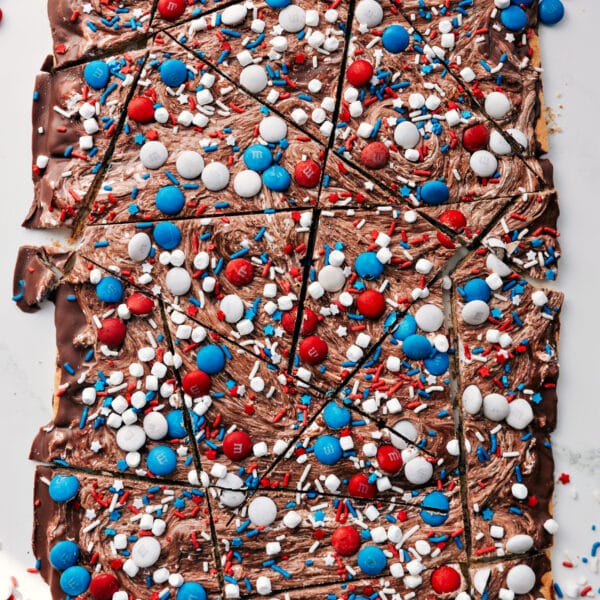
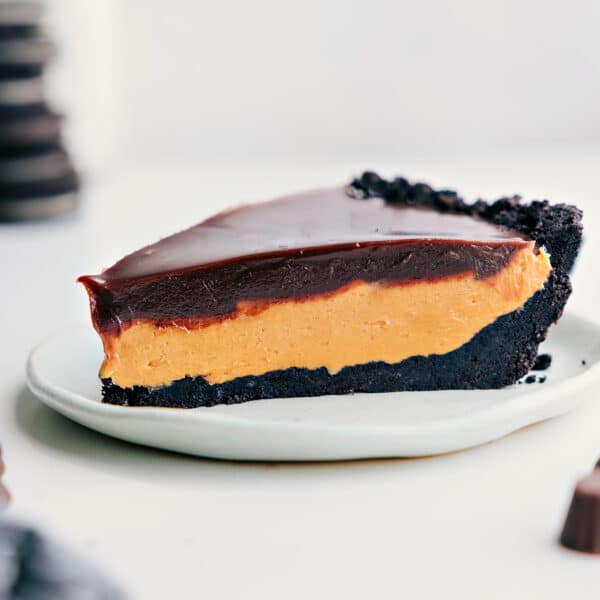
Desserts
4th of July Bark Recipe
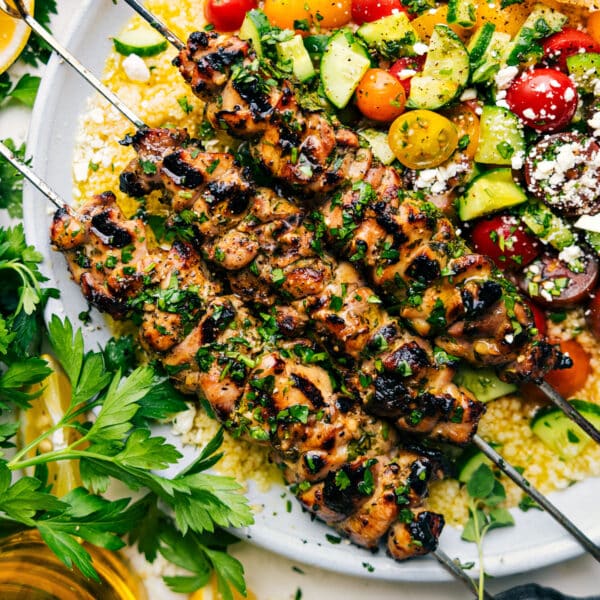
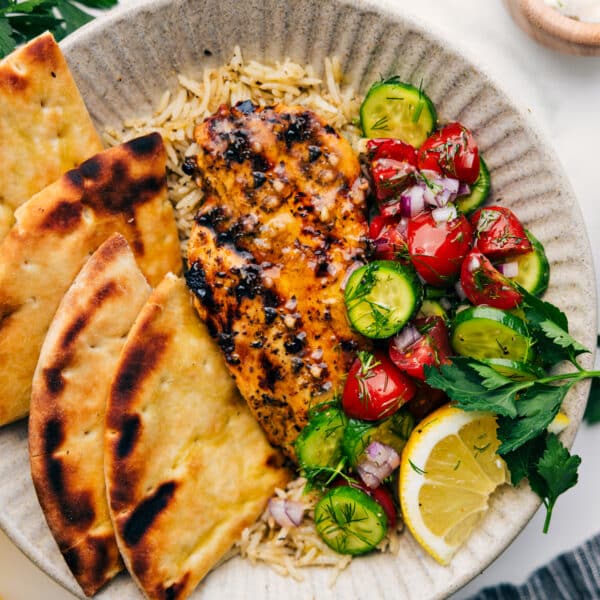
Dinner
Chicken Souvlaki
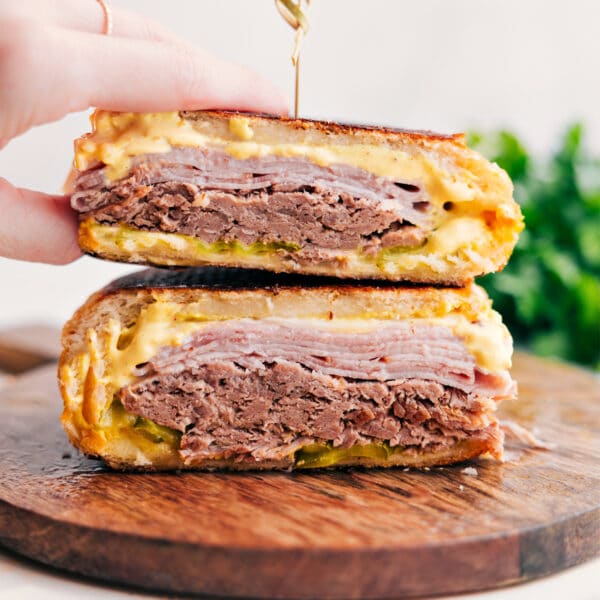
Sandwiches
Cuban Sandwich Recipe
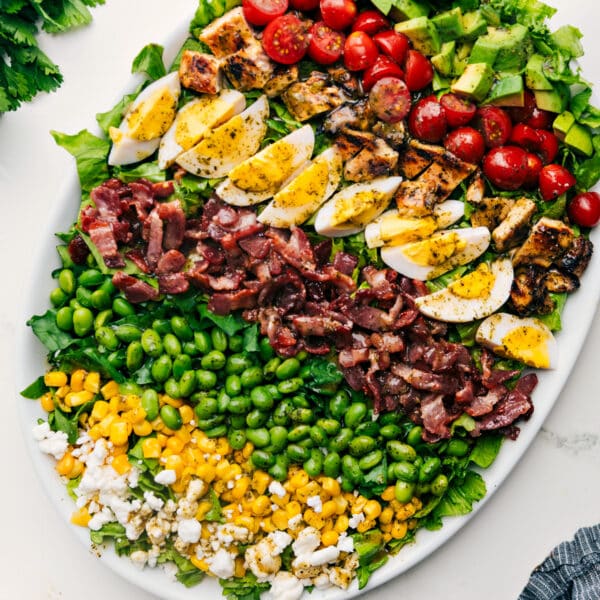
Salads With Meat
Cobb Salad Recipe

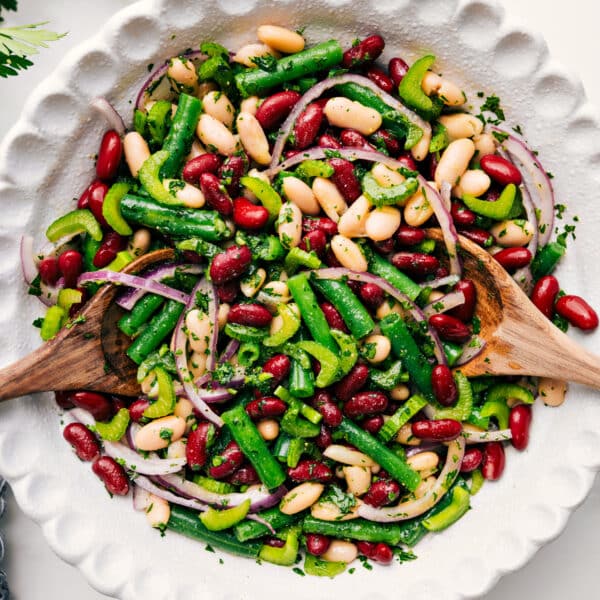
Salads
Three Bean Salad
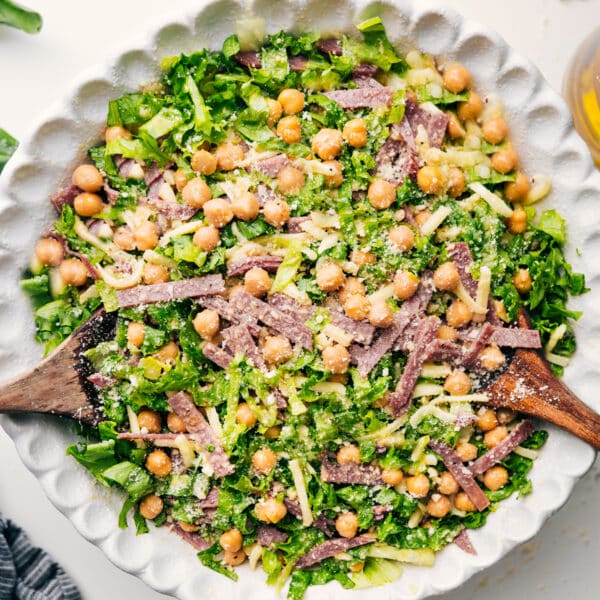
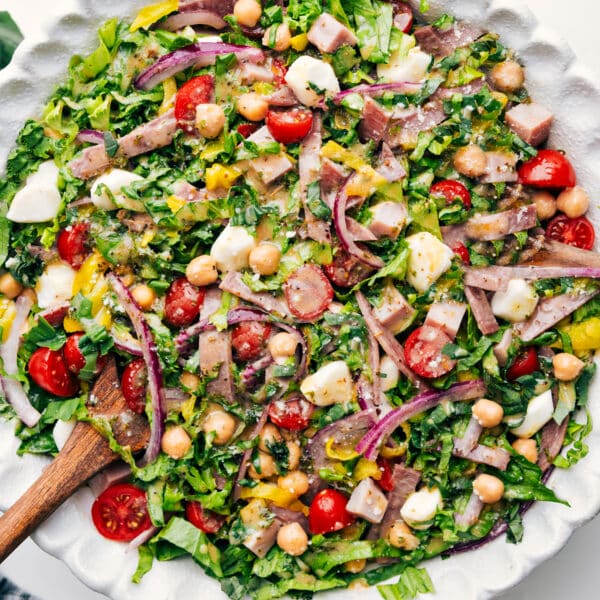
Salads With Meat
La Scala Chopped Salad
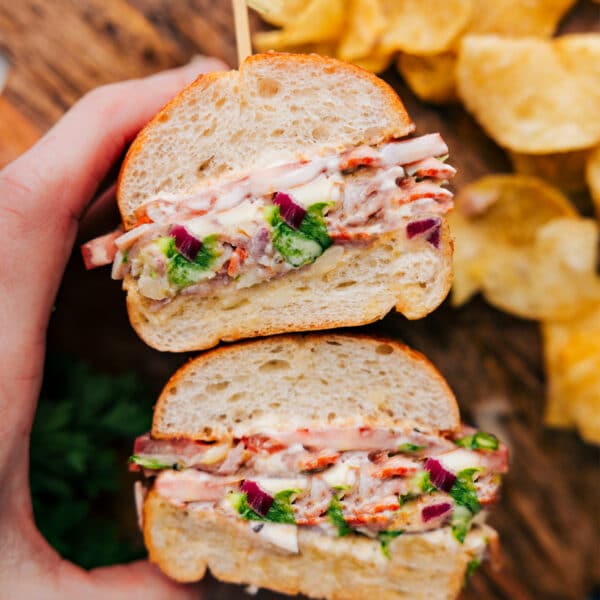
Sandwiches
Chopped Italian Sandwich
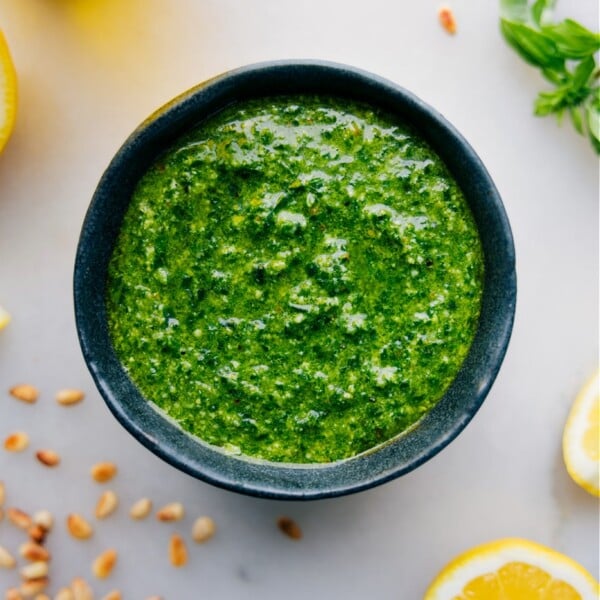
Sauces
Pesto Sauce Recipe
Appetizers


