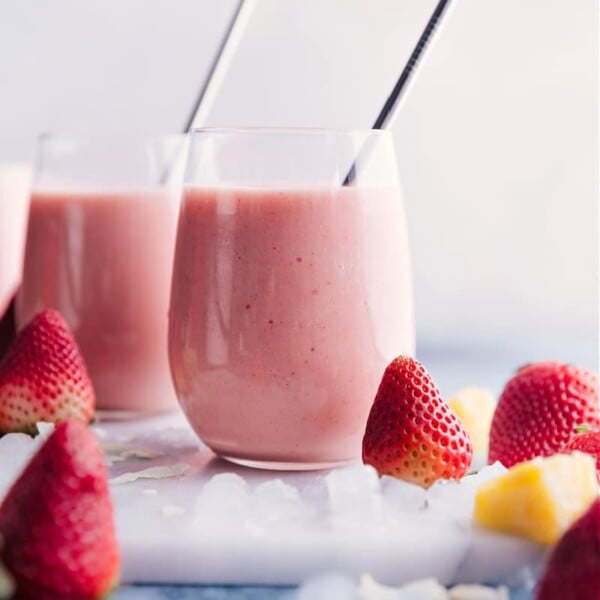
Beverages
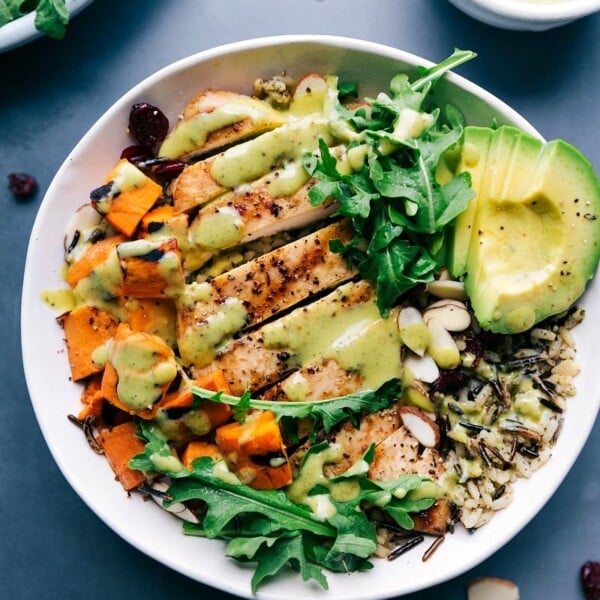
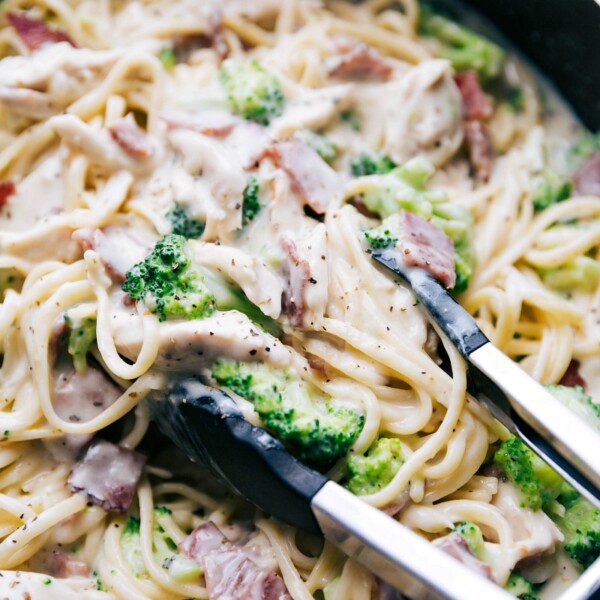
Dinner
Chicken and Wild Rice

Dinner
Grilled Flank Steak
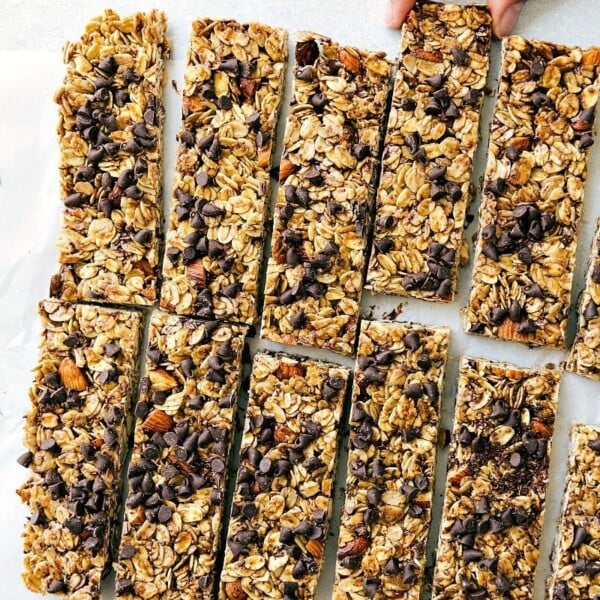
Breakfast
Homemade Granola Bars
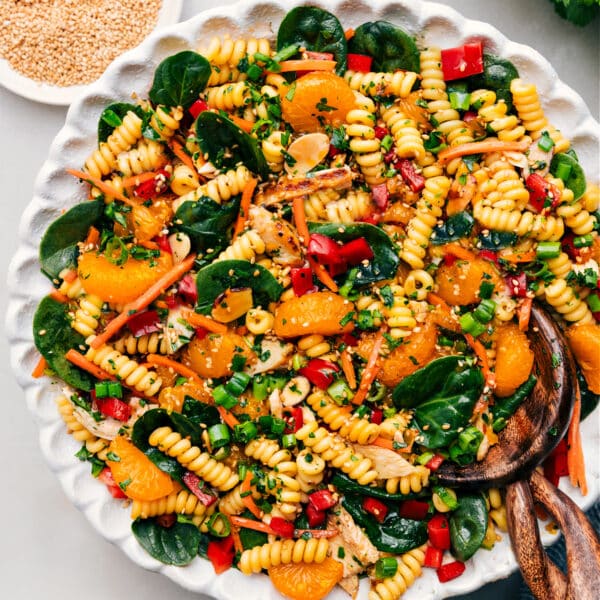
Salads
Asian Pasta Salad

Sandwiches
Ham and Cheese Sandwich
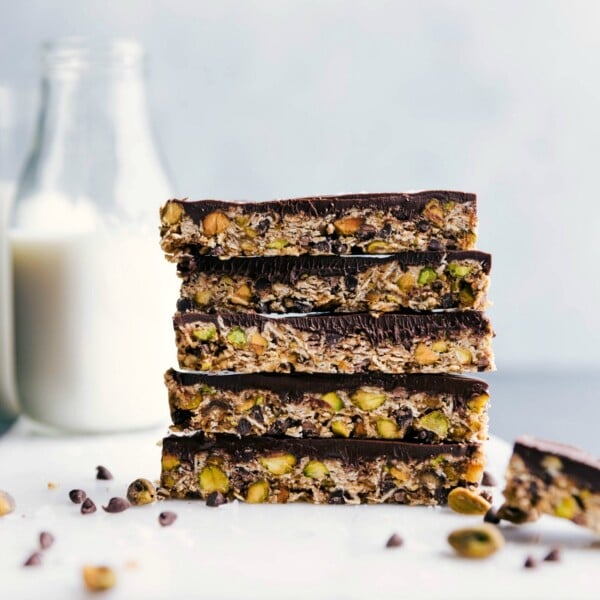
Snacks
Granola Bars
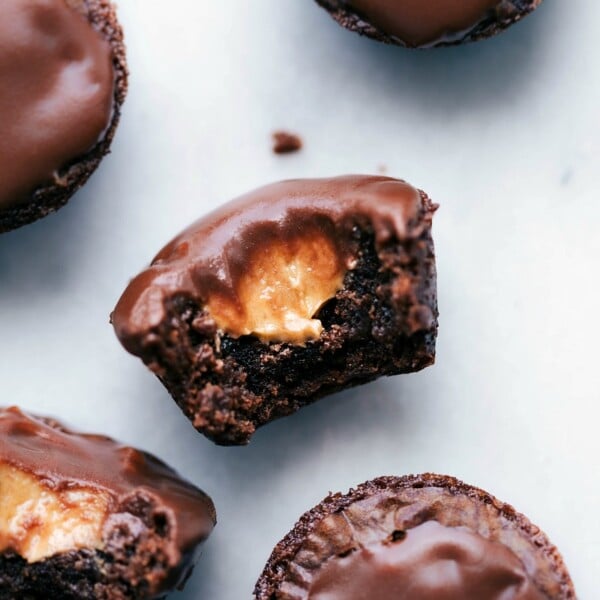
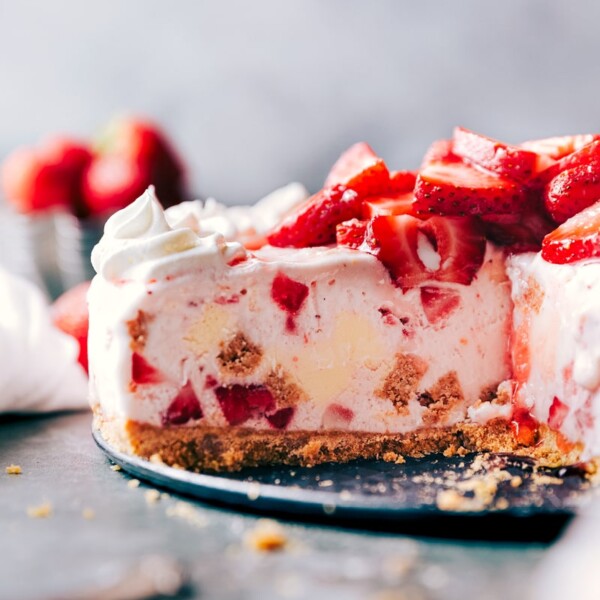
Desserts
Peanut Butter Brownie Bites
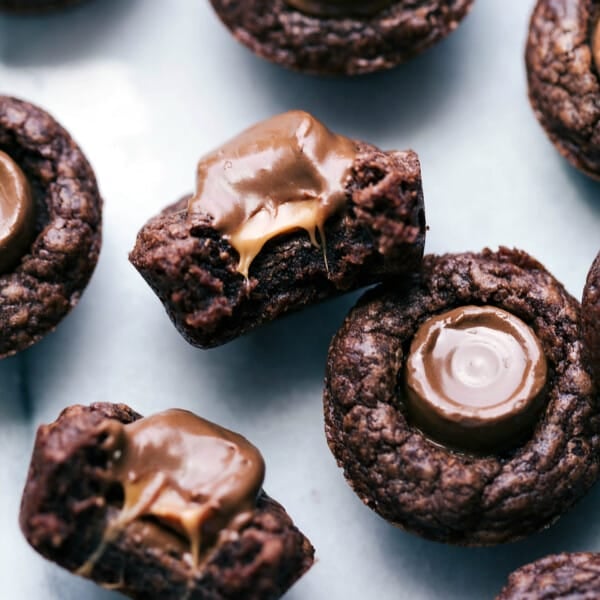
Desserts
Mini Brownie Bites with Rolos
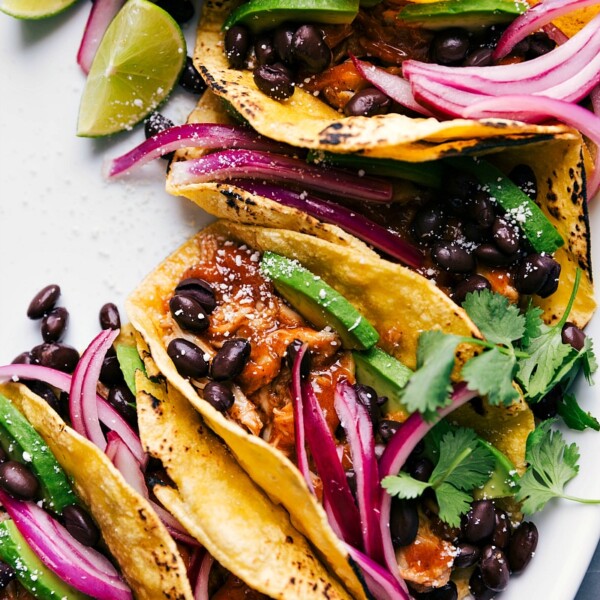
Dinner
Chipotle Chicken Tacos
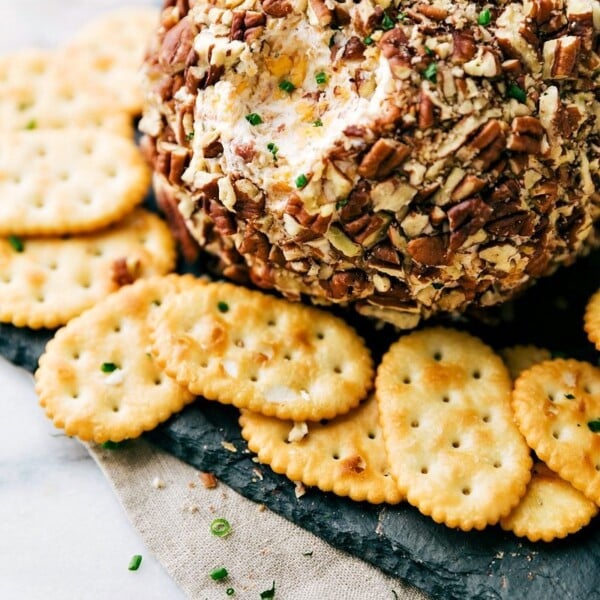
Appetizers
Cheese Ball Recipe
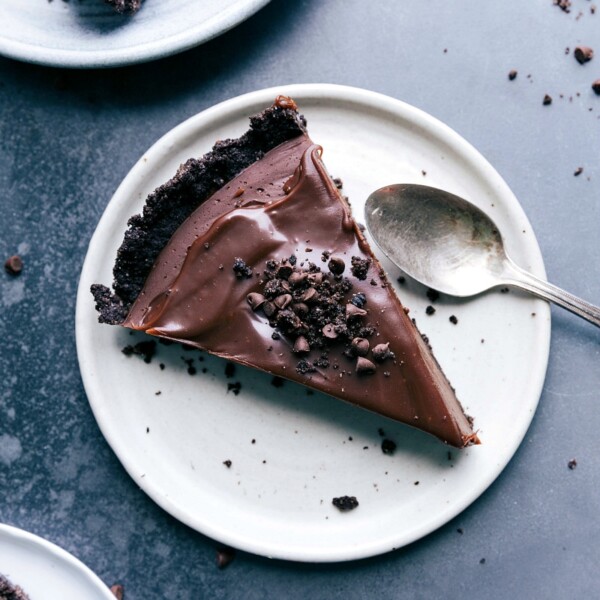
Desserts
Chocolate Tart Recipe
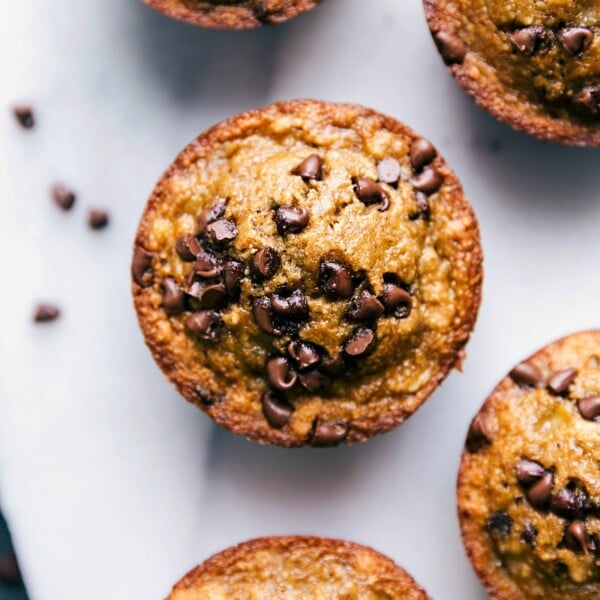
Desserts
Flourless Banana Muffins
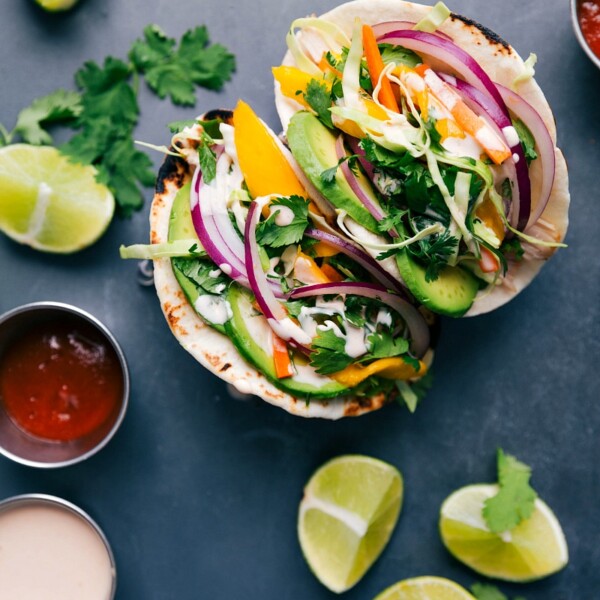
Dinner
Asian Chicken Tacos
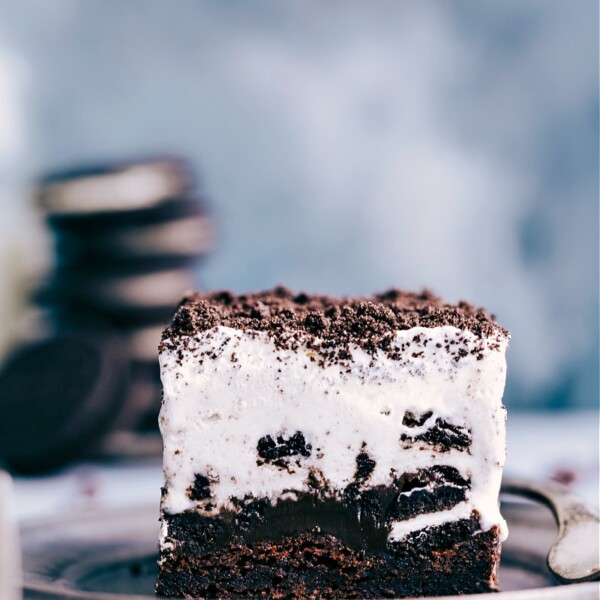
Desserts
Brownie Oreo Ice Cream Bars
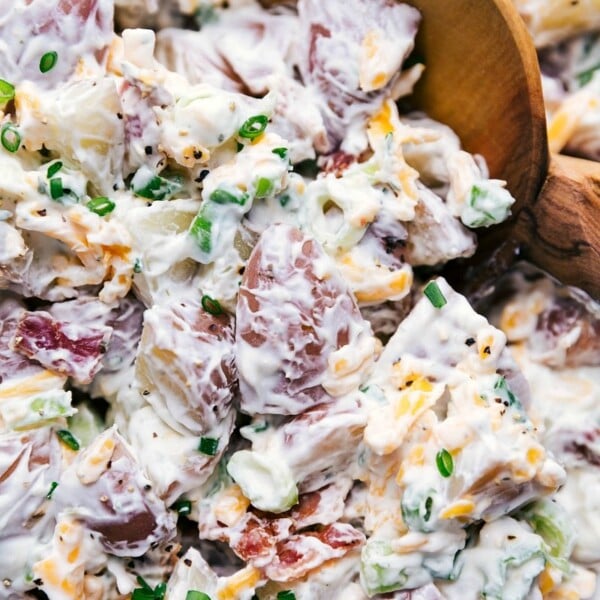
Salads


