Beverages
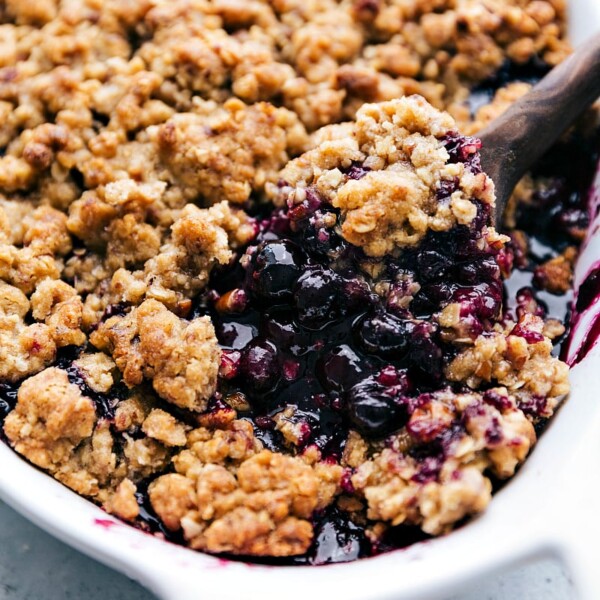
Desserts
Blueberry Crisp
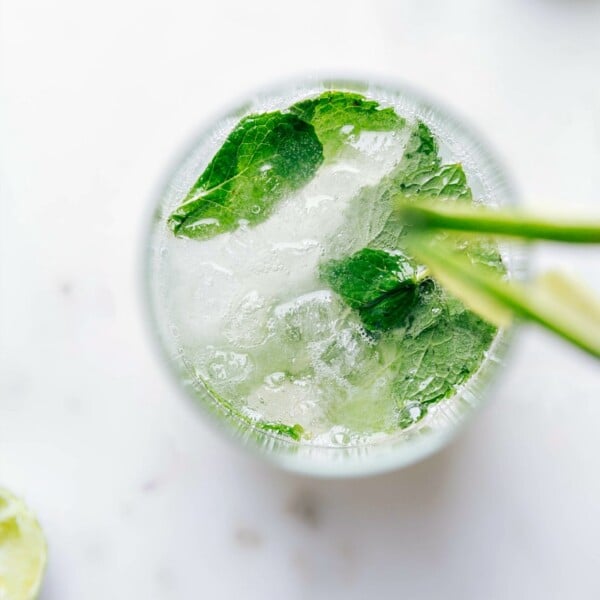
Beverages
Virgin Mojito Recipe
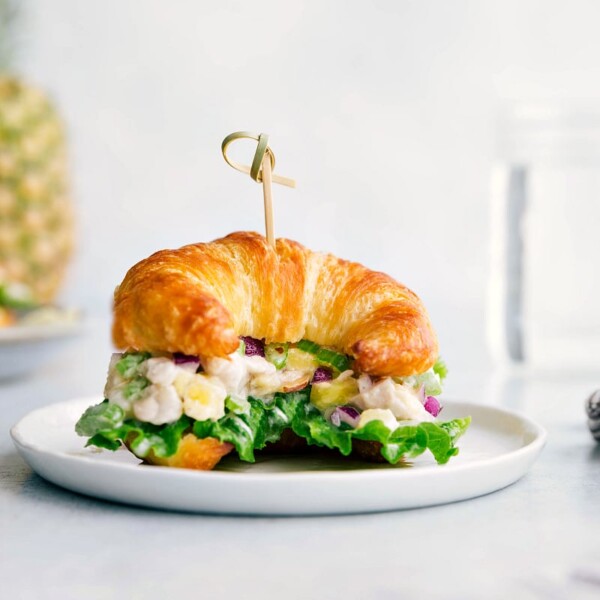
Dinner
Pineapple Chicken Salad
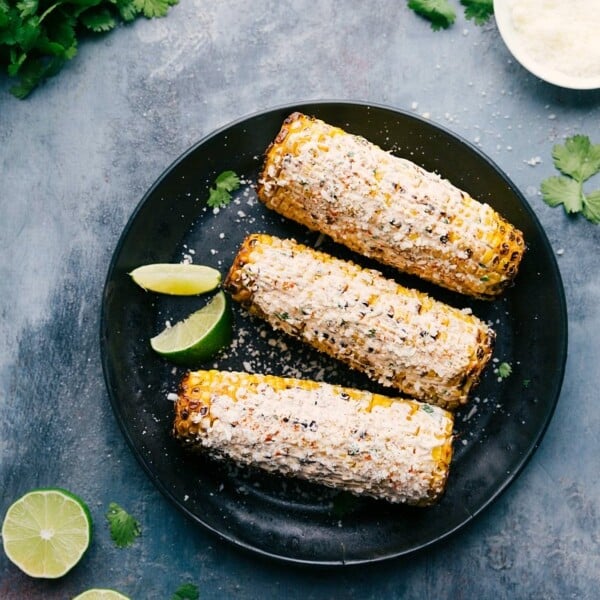
Appetizers
Elote Recipe
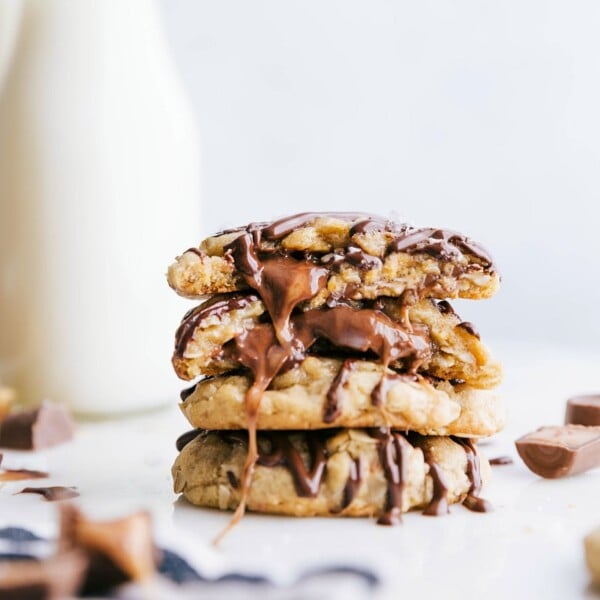
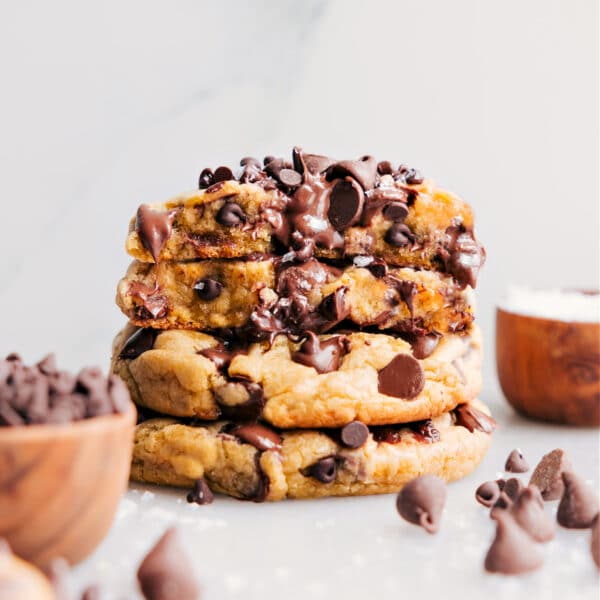
Desserts
Caramel Oatmeal Cookies
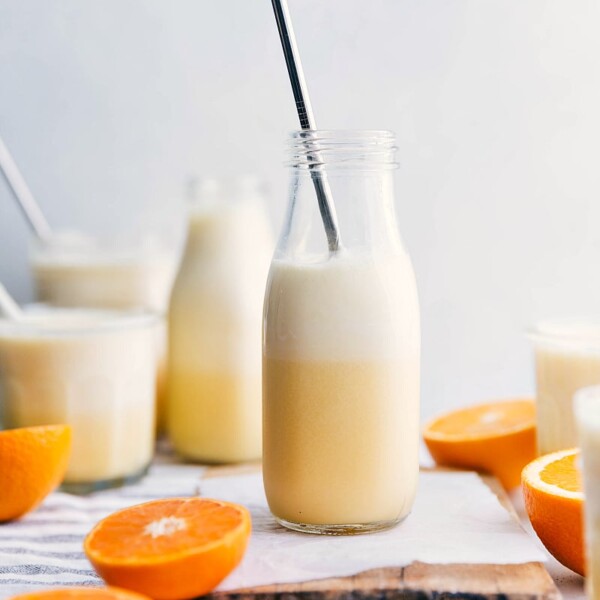
Beverages
Orange Julius Recipe
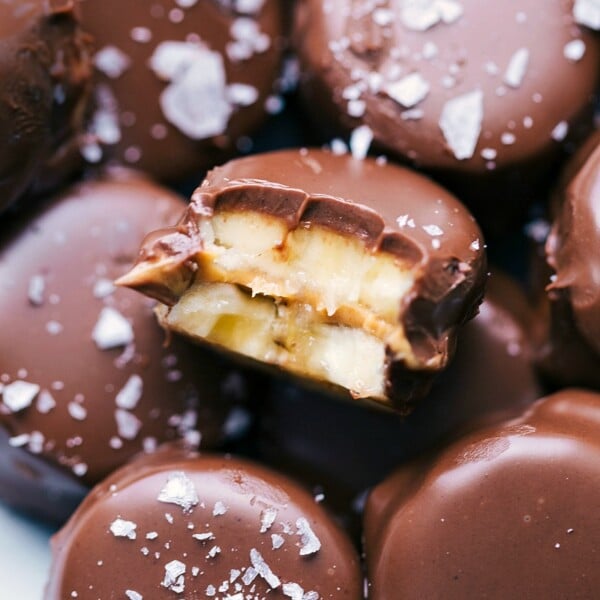
Snacks
Banana Bites (2 Ways!)
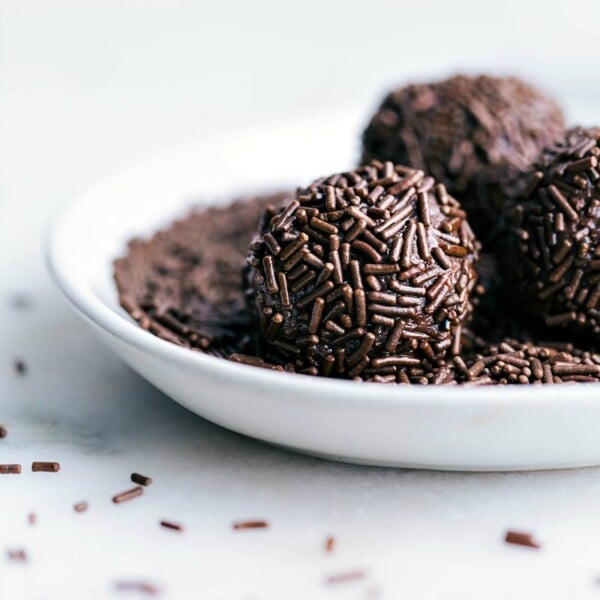
Desserts
BEST Brigadeiros
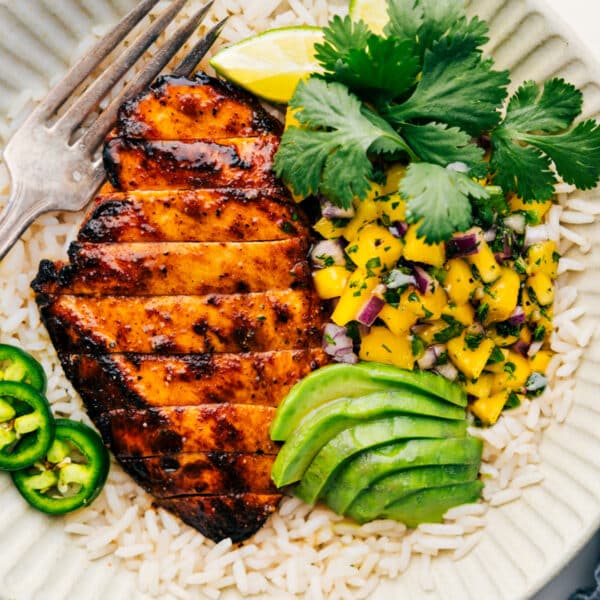
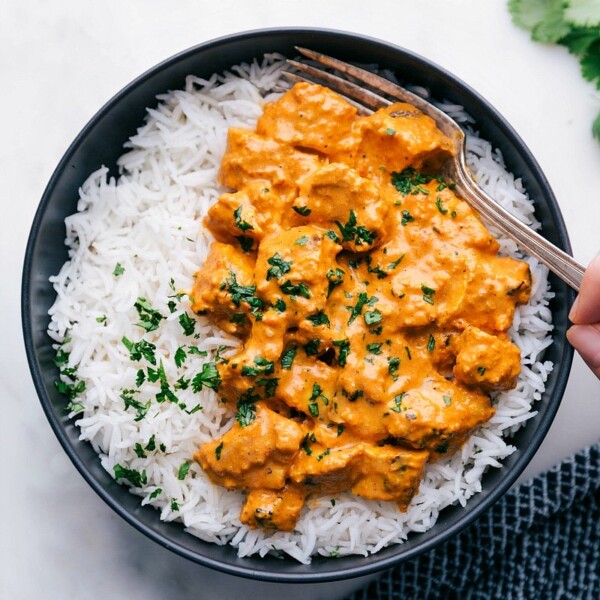
Dinner
Mango Chicken

Breakfast
Greek Yogurt Pancakes
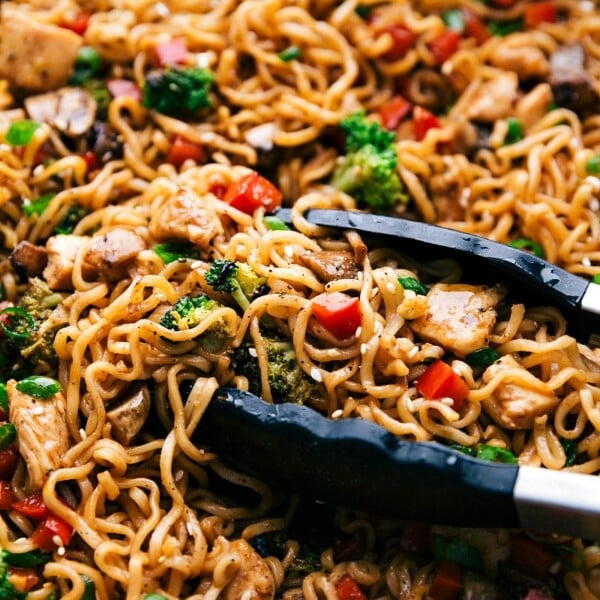
Dinner
Chicken Ramen
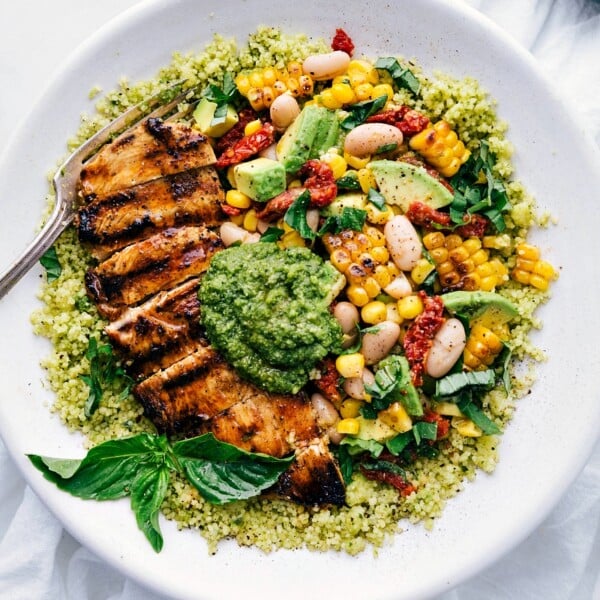
Dinner
Pesto Chicken Recipe
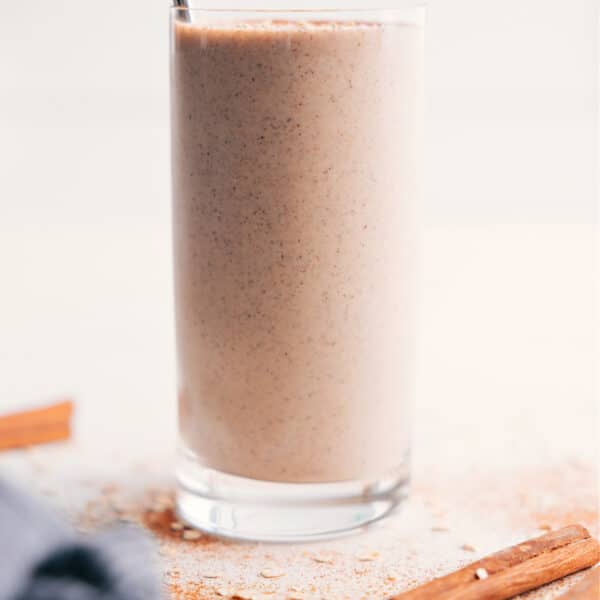
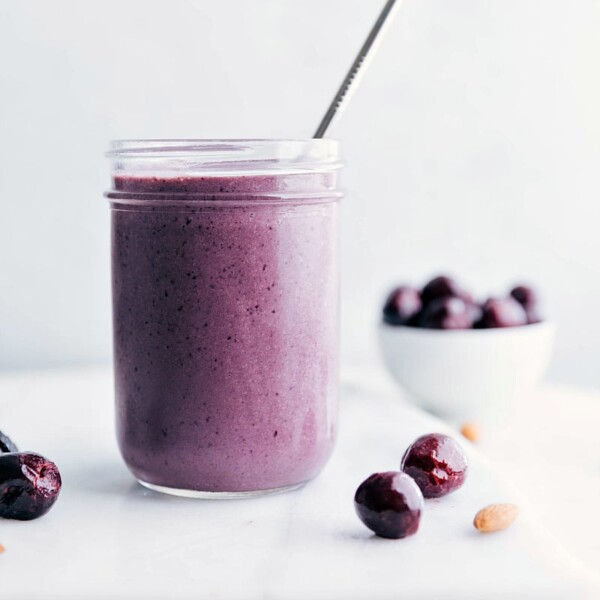
Beverages
Oatmeal Smoothie

Dinner
Chicken Salad Wrap
Breakfast


