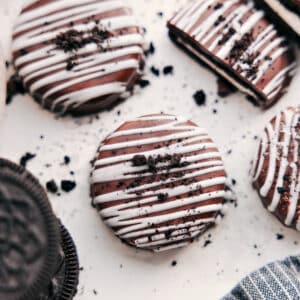
These Chocolate Covered Oreos are rich, chocolatey, and super easy to make! Top with sprinkles, crushed peppermint, or cookie crumbs for a fun touch.


author’s note
The Treat That Always Hits!
Every holiday season, a neighbor would drop off a bag of chocolate-covered Oreos as a gift, and I looked forward to them all month. They were my favorite treat as a little girl, so I can’t believe it’s taken me so many years to finally recreate them, especially since they’re so simple.
And while they are simple, I’ve found a few tips and tricks I’m sharing below so you can avoid the dipping mistakes I’ve made. It’s the best treat, and I can’t wait for you to try them!


Chocolate Covered Oreos Ingredients
| Ingredient | Swaps & tips |
|---|---|
| Oreos | Use original, Double Stuf, Golden, or seasonal flavors. Thins work too. |
| Chocolate melting wafers or baking bars | Melt smoother than chocolate chips and set up better. Milk, dark, or white all work. |
| Neutral or coconut oil | Add a tiny bit more only if the chocolate feels thick. |
| Decorations | Add toppings while the coating is still wet. |
Quick Tip
Gift chocolate-covered Oreos! Once hardened, place a few in a small gift bag or box with a festive ribbon. Perfect for friends, teachers, coworkers, and neighbors.

Chelsea’s Tip
Make Em Pretty!
These chocolate covered Oreos look great on their own, but here are a few fun ways to dress them up.
- Salty-sweet: Maldon sea salt flakes.
- Toppings: Sprinkle on Oreo crumbs, graham cracker crumbs, coconut flakes, chopped nuts, or sprinkles.
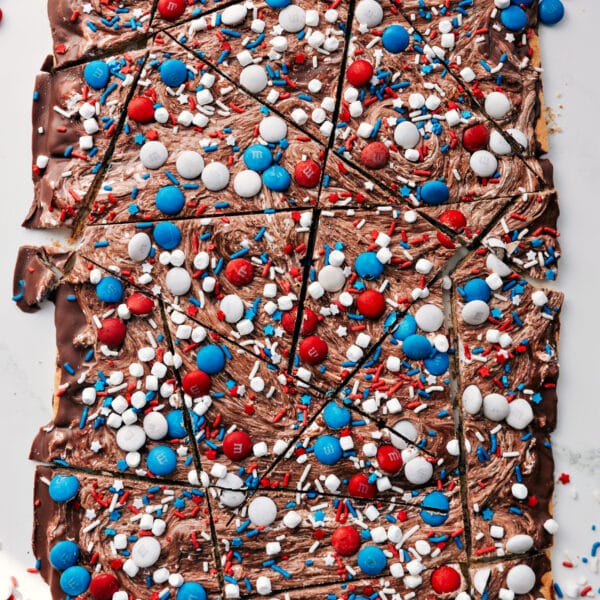
- Holiday: Use colored candy melts or themed sprinkles. These are perfect for Christmas Oreo pops or Halloween Oreos.
- PB: Drizzle melted peanut butter chips over dark chocolate.

Chocolate Covered Oreos Tips
- Prep: Line a sheet pan with parchment. Chill the empty tray for a few minutes so the shell sets faster.
- Chocolate: Microwave in 15-second bursts. Stop when mostly melted, then stir to finish.
- Dip: Use a fork. Tap the fork on the bowl to shake off extra. Scrape the bottom off.
- Decorate: Add sprinkles right away while the coating is still wet.
- Set: Let set at room temp for best shine.

Storage
- Store chocolate covered Oreos in an airtight container at room temp for 2 to 3 weeks. Layer cookies with parchment or wax paper.
- Freezing is possible, but the chocolate can look cloudy after thawing.
More Oreo Treats:
Desserts
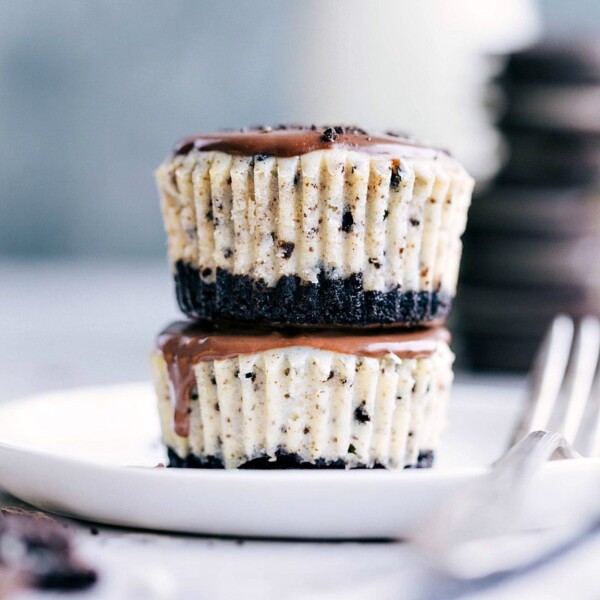
Mini Oreo Cheesecakes
Desserts
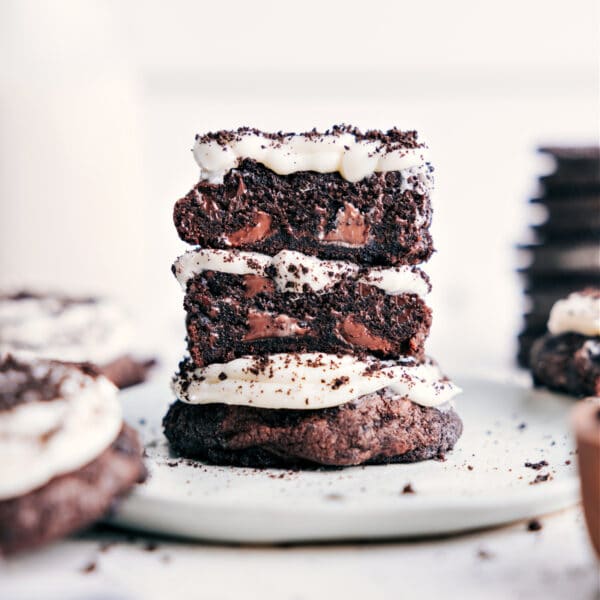
Chocolate Oreo Cookies
Desserts
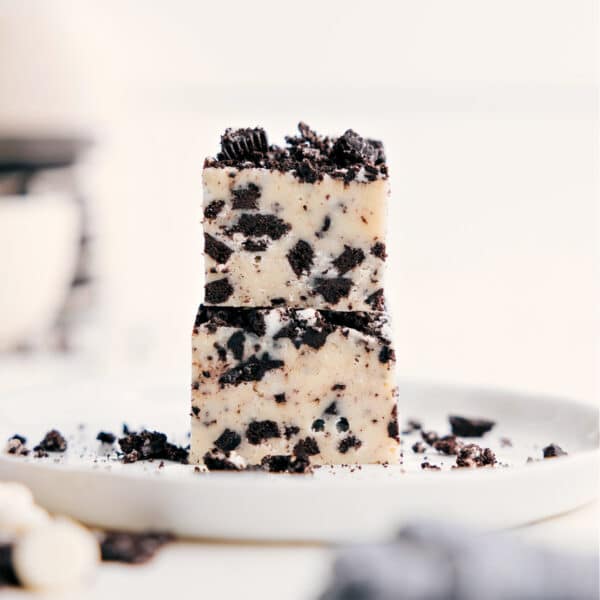
Oreo Fudge
Desserts
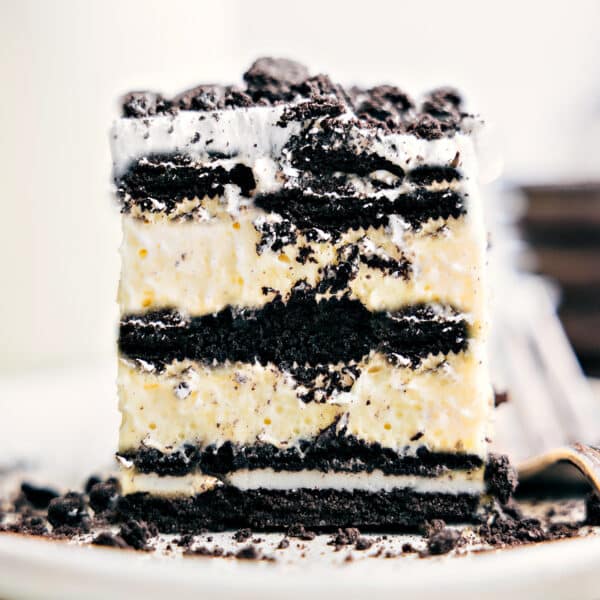
Oreo Icebox Cake
Chocolate Covered Oreos
Video
Equipment
- Sheet pan (15" x 10") lined
Ingredients
- 1 (13.29-ounce) package Oreos any flavor
- 2 (10-ounce) packages chocolate melting wafers or baking bars, see note 1
- 3 teaspoons coconut oil or vegetable oil, divided
- Toppings as desired see note 2
Instructions
- Line a large sheet pan with parchment paper and set it aside. If using baking bars, coarsely chop the chocolate. Melt the chocolate slowly to avoid rapid temperature changes. Don’t microwave for too long or too often and stir the chocolate frequently as it melts. Allow the coated cookies to harden at room temperature; avoid refrigerating or freezing them.
- Start by using 1 bag or 2 bars of chocolate at a time (see note 3). In a large microwave-safe bowl, combine all but 2 tablespoons of the chopped chocolate or chocolate wafers, along with 1-1/2 teaspoons of oil (see note 3). Microwave for 15 seconds, then stir vigorously for 15 seconds. Repeat until the chocolate is mostly melted. Then, add the reserved 2 tablespoons of chocolate and stir until completely melted. Be patient; resist microwaving unless the chocolate isn’t melting after stirring for 1 minute. If needed, microwave in 5-second bursts.
- Once chocolate is fully melted and smooth, dip a fork into the chocolate and place an Oreo on top. Spoon melted chocolate over the cookie, then tap the fork against the bowl a few times to smooth it out and remove excess chocolate. Slide the fork against the bowl’s edge to eliminate any remaining chocolate. Use a table knife to gently transfer the cookie onto the prepared parchment-lined tray.
- Repeat this process until half the cookies are dipped. If the chocolate begins to harden, microwave another 15 seconds and stir. You may need to switch to a new fork and knife as the chocolate cools or add a little more oil. If decorating, proceed to the next step. If not, leave the cookies at room temperature until the chocolate firms up. Repeat this process with the remaining chocolate and oil.
- If adding sprinkles, Oreo crumbs, or crushed peppermint, sprinkle them on top immediately after transferring the cookie to the baking tray. To drizzle chocolate, set aside some melted chocolate in a small plastic bag and cut off the tip. Drizzle it over the Oreo. For a raised drizzle, wait until the chocolate has hardened. For a drizzle that blends into the cookie, apply it right after coating the Oreo in chocolate. You can also add sprinkles, peppermint, or Oreo crumbs on top of the drizzle.
Recipe Notes
Nutrition
Nutrition information is automatically calculated, so should only be used as an approximation.
Chocolate Covered Oreos Troubleshooting
Tap the fork on the bowl after dipping and let the extra chocolate drip off. Stir the bowl often while you work.
You don’t need a mold. Use a bowl, a fork, and parchment.


These are SO GOOD! Simple but delicious. As Chelsea’s husband, we get this treat frequently in our family, and love them every time.