
Applesauce Bread is sweet, soft, and packed with flavor from real applesauce. Sprinkle sugar on top for the best crunchy crust.


author’s note
From Backyard Apples To The Coziest Bread!
My sister has a few apple trees that give off a ton of apples. After making an Apple Pie, my favorite Apple Crumble, and more Apple Nachos than I can count, I still had plenty left. So I used the rest to make and can the best homemade applesauce.
And of course, I had to bake some of that applesauce into treats too. I started with this healthy Applesauce Cake and now this amazing old-fashioned Applesauce Bread. It’s moist, full of warm spices, and topped with the best crunchy sugar crust.


Ingredients
| Ingredient | Tip |
|---|---|
| Applesauce | Use unsweetened applesauce so the bread isn’t too sweet. Homemade or store-bought both work. |
| Eggs, Oil, and Vanilla | Use room-temp ingredients for the smoothest batter. Vegetable or canola oil keeps the bread moist. |
| Sugar | Granulated sugar sweetens the loaf and helps give it a tender texture. |
| Flour | Spoon and level the flour so the bread doesn’t turn out dry or dense. |
| Spices | Cinnamon, nutmeg, and allspice add that cozy, old-fashioned flavor. |

Featured Comment
“Just baked and WOW. Great recipe thanks. Definetly will be making time and time again.”
– Laura

How To Make Applesauce Bread
- Preheat Oven: Heat the oven. Grease and flour a 9×5-inch pan.
- Mix Wet Ingredients: Whisk applesauce, eggs, oil, sugar, and vanilla until smooth.
- Mix Dry Ingredients: Whisk flour, salt, spices, baking soda, and baking powder.
- Combine: Stir wet and dry ingredients together until just mixed.
- Add Topping (Optional): Sprinkle sugars, and cinnamon on top.
- Bake: Pour batter into the pan and bake until a toothpick comes out clean.
Variations
For a chunky applesauce bread, mix one cup of chopped nuts or dried cranberries/raisins into the batter.

chelsea’s recipe tip
Tips For Success
- No Hand Mixers: Use a whisk; mixers add too much air, which can make the bread sink.
- Check Freshness: Make sure baking soda and powder are fresh.
- Measure Carefully: Measure ingredients heaping and level with a knife.
- Use Room-Temp Ingredients: Ensure wet ingredients are the same temperature for smooth mixing.
- Use A 9×5-Inch Pan: (1-pound) pan; other sizes won’t work. Grease the pan well with spray and flour, or line with parchment paper to prevent sticking.
Storage
How Long Does Applesauce Bread Last?
The bread stays fresh at room temperature for up to three days. After that, wrap slices in plastic and refrigerate for up to a week.
Freezing: Cool the bread on a rack, slice it, wrap each slice in plastic, and freeze in a bag. Thaw and enjoy within three months.
Use Leftover Applesauce In:
Desserts
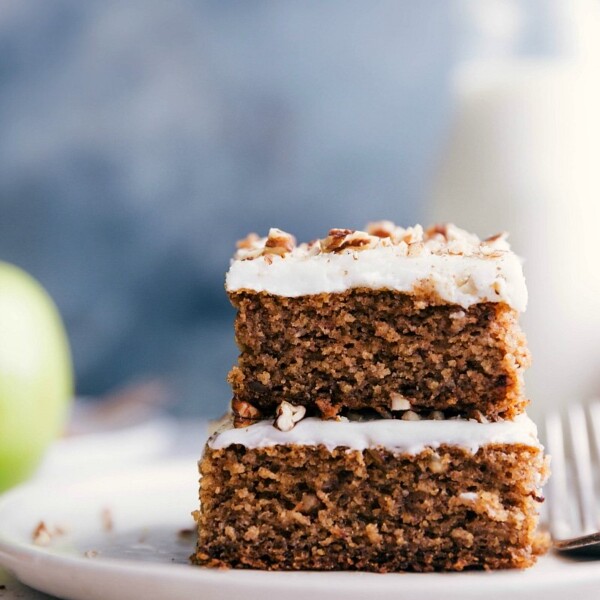
Applesauce Cake Recipe

Pancakes And Waffles
Applesauce Pancakes (Thick & Fluffy!)
Desserts
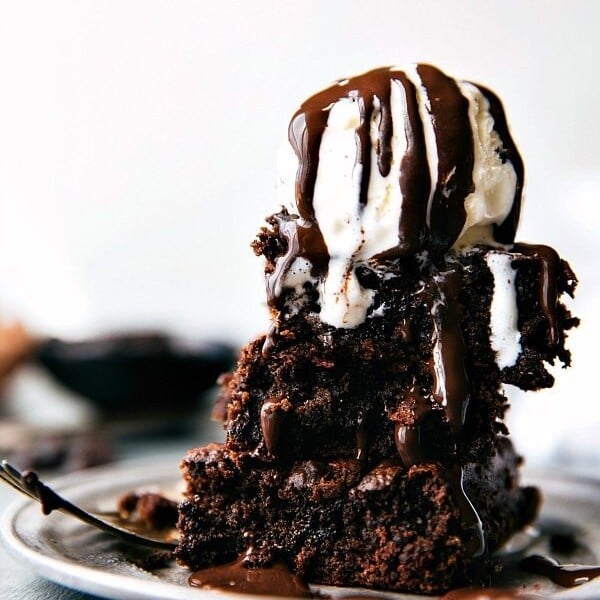
Applesauce Brownies (No Beans!)
Desserts
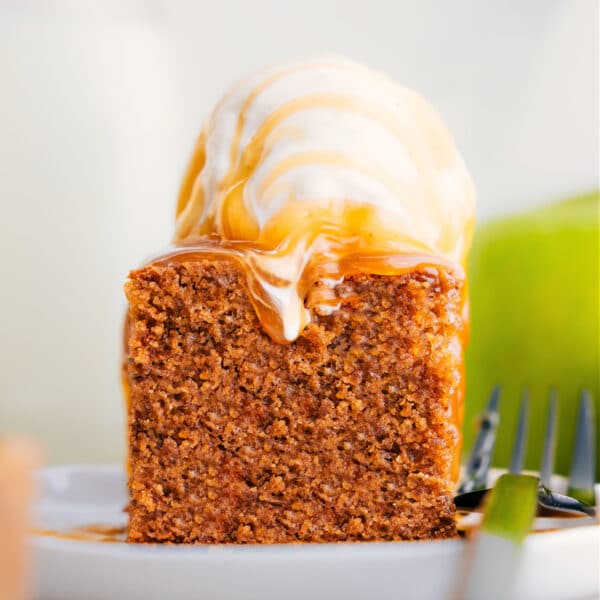
Healthy Apple Cake

Applesauce Bread
Equipment
- 9 x 5-inch bread pan see note 1
Ingredients
- 1 cup unsweetened applesauce
- 2 large eggs
- 2/3 cup vegetable oil or canola oil
- 1 cup granulated sugar
- 1 teaspoon vanilla extract
- 2 cups flour
- 1 teaspoon salt
- 2 teaspoons ground cinnamon
- 1/2 teaspoon nutmeg
- 1/4 teaspoon allspice
- 3/4 teaspoon baking soda
- 1/2 teaspoon baking powder
- 2 tablespoons light brown sugar
- 1 tablespoon granulated sugar
- 1/4 teaspoon cinnamon
Instructions
- Prepare all wet ingredients at room temperature by removing them from fridge 45–60 minutes before use. Grease and flour a 9×5-inch bread pan and preheat oven to 350°F.
- Combine wet ingredients in a large bowl and whisk until completely smooth (avoid using a hand or stand mixer to prevent excess air).
- Add all dry ingredients to a large bowl and whisk together. Make a well in the center.
- Pour wet ingredients into the well of dry ingredients and mix until a batter forms.
- Separate from the batter, mix all topping ingredients together (optional).
- Pour batter into the prepared pan, smooth the top, and sprinkle with topping (do not press in). Bake for 60–75 minutes or until a toothpick inserted into the center comes out clean or with moist crumbs.
- Remove from oven and let cool in the pan for 15 minutes, then invert onto a wire cooling rack. Allow to cool for 1 hour before slicing to avoid affecting texture.
Recipe Notes
Nutrition
Nutrition information is automatically calculated, so should only be used as an approximation.













Came out perfect, thank you for posting this!
Yay! Thanks for sharing!